There are several ways to fix this material to the surface, the choice of which depends largely on its condition. You can glue drywall on the wall in such cases:
- when it does not need to be insulated;
- if the surface is flat enough;
- the height of your walls is less than the height of the sheet.
Otherwise, you will have to create a framework that will eliminate all these shortcomings. Consider the second most common case.
We cover the walls with plasterboard
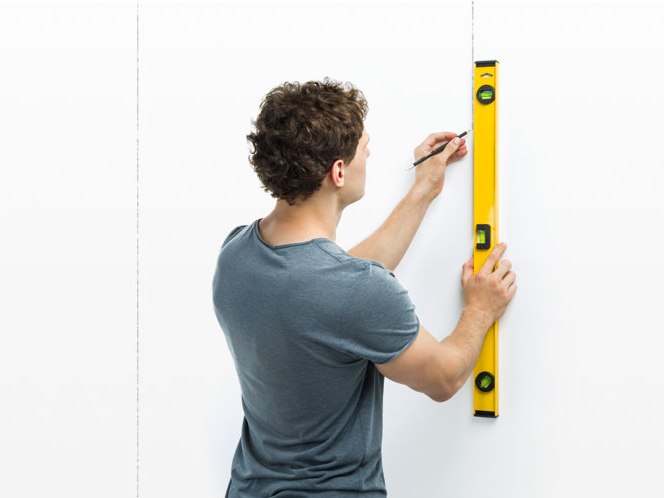
- At first glance, your walls seem almost perfectly flat. But it is worthwhile to attach to them a long level, as you will see a lot of shortcomings. There are many ways to align them, but the fastest and most qualitative method is to coat the surface with plasterboard.
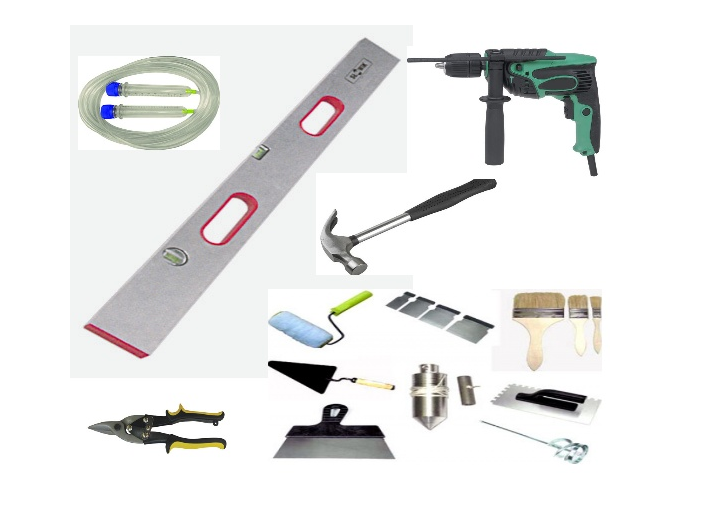
- What tools do we need? This is the most common set of modern master builder - water level, hammer, drill, set of spatulas, mixer, metal scissors, platen, plumb bob, tassels, metal screws and profile for gypsum board walls (wall rack and wall guide). Its quality should be good - the metal is hard, not crumpled at hand.
- Of course, you need to buy more work material, but you should know that it can be different. Depending on the conditions, you can choose for yourself a conventional drywall, moisture resistant and fire resistant. Look carefully so that the corners are intact on the sheets, the paper is not torn off. Wall plasterboard has a greater thickness than the ceiling (12, 5 mm against 12, 5 mm). Do not confuse the brand when buying material. There are also arched sheets, which are somewhat thinner (6, 5 mm), more flexible and more elastic. All these nuances should be considered when buying.
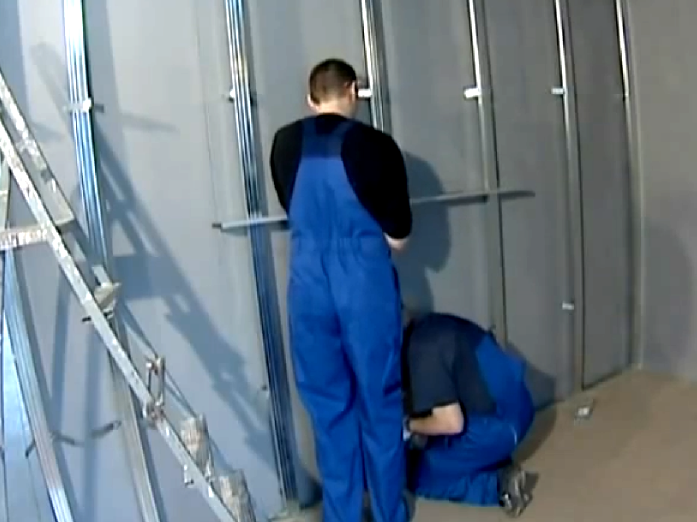
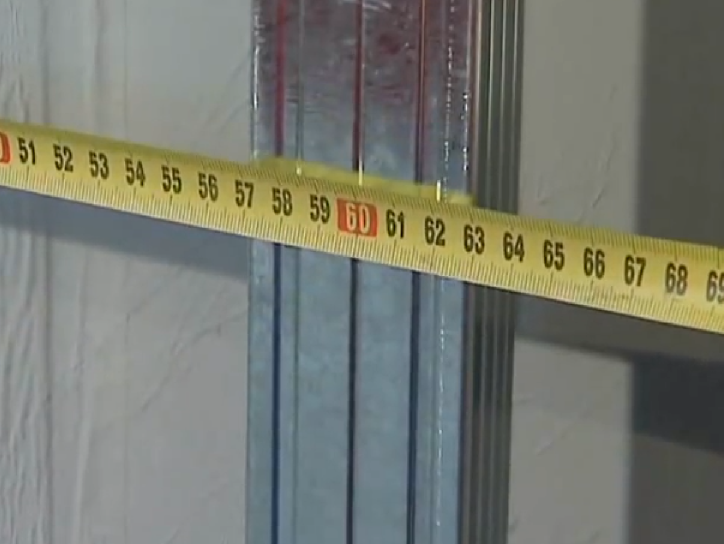
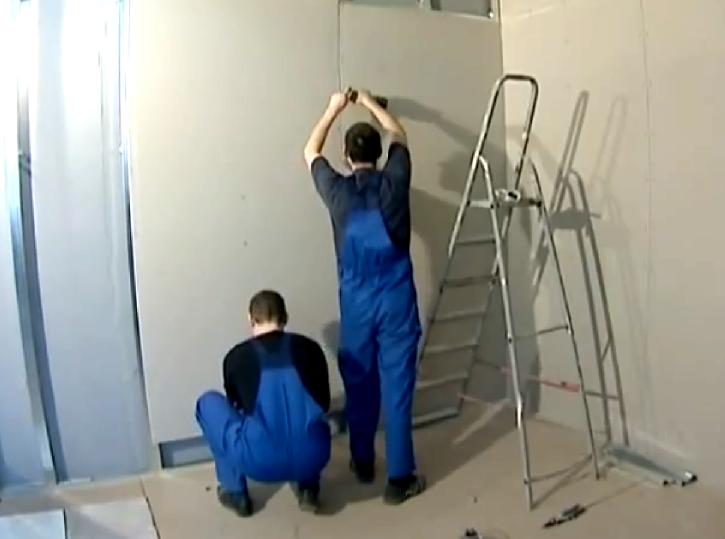
- In order to fix qualitatively gypsum cardboard to the wall, it is necessary to mount a frame here. First, we produce an accurate markup. The distance between the axes should be 60 cm. The length of the profile is equal to the height of the ceiling.
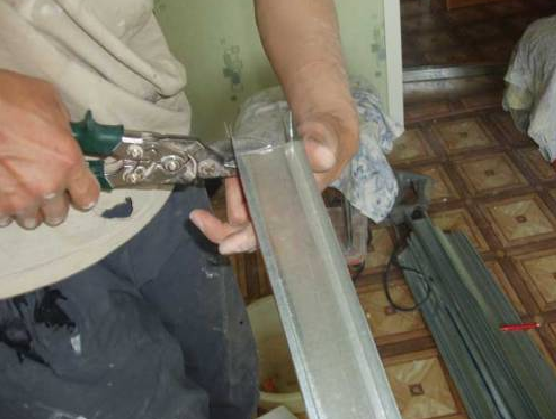
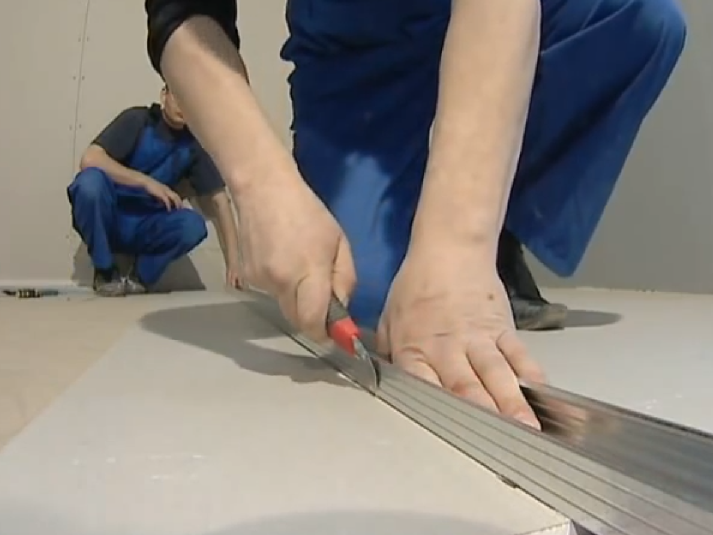
- The profile is cut without much effort with the help of hand scissors for metal.
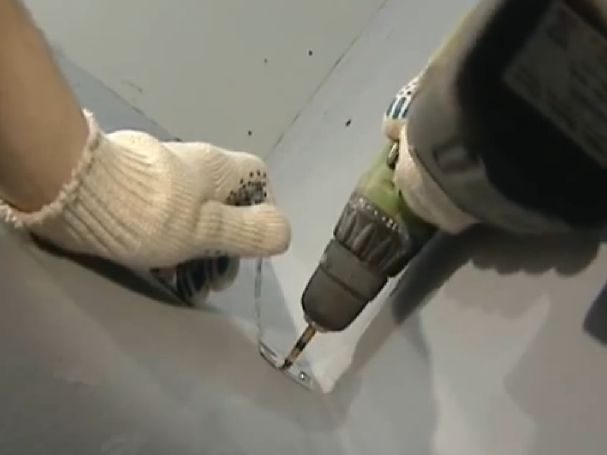
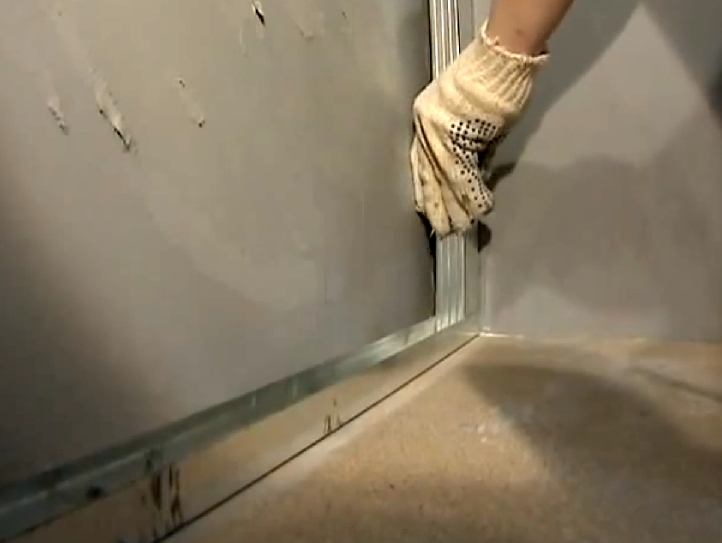
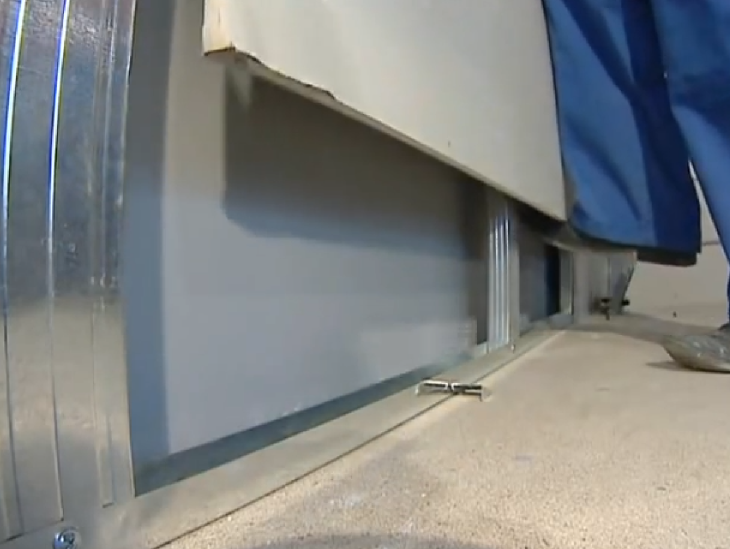
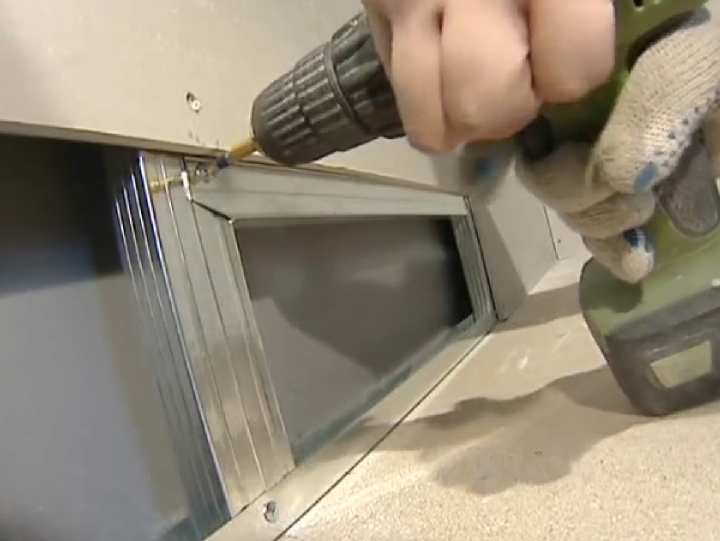
- On the floor with self-tapping screws we fix the guide profile.
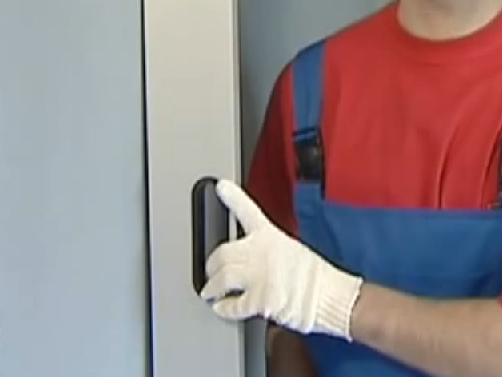
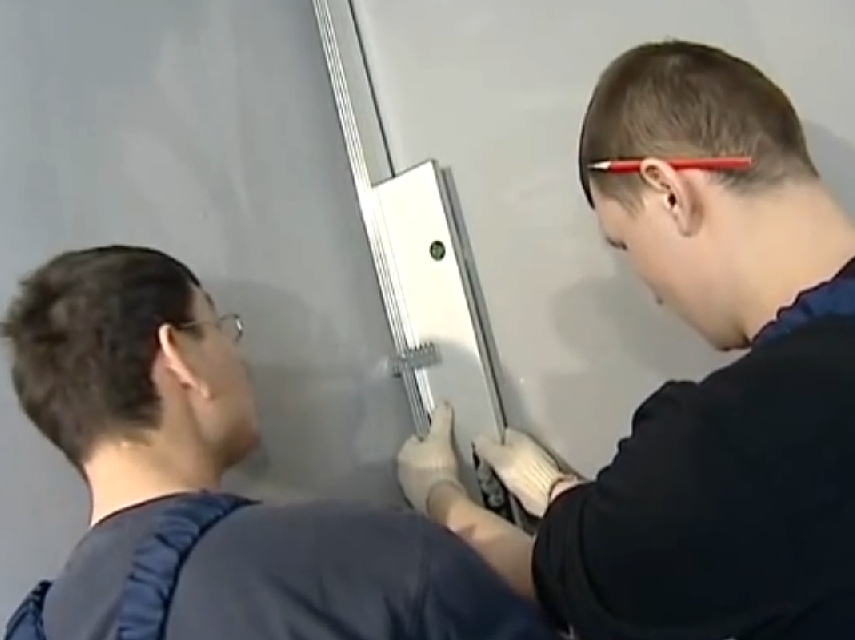
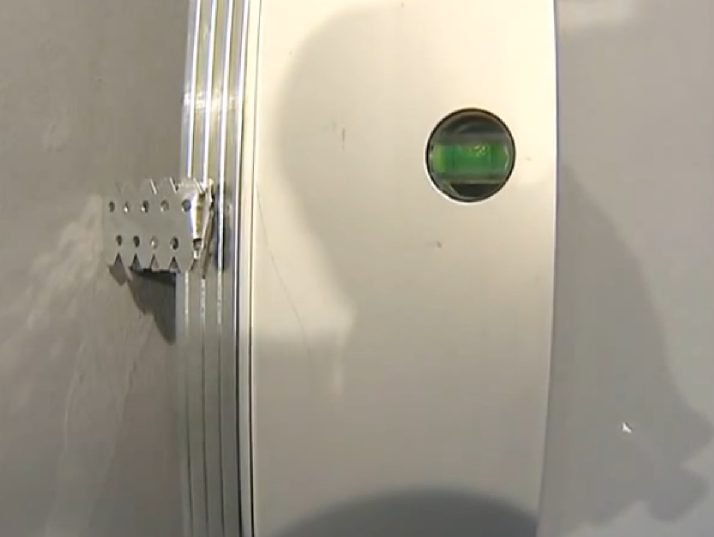
- Pendants are mounted on the wall at a distance of 50-60 cm from each other.
- The profile is pre-leveled using the level and only then we attach it to the wall.
- With the help of self-tapping fasten all our profile, strictly withstanding the center distance of 60 cm.
- The standard width of drywall is 1 m 20 cm, and if you do everything correctly, the joint between adjacent sheets will have to be strictly on the middle of the profile, which is very important when installing it.
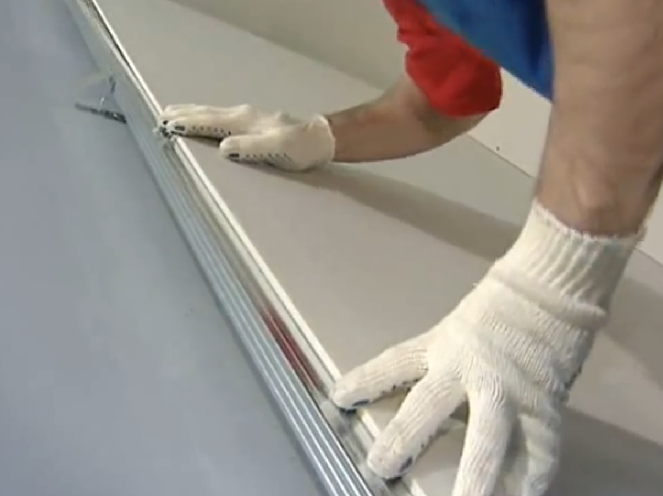
- We fix plasterboard to the wall.
- Distance between the screws do not more than 25 cm.
- Sometimes the height of the walls is longer than the length of the sheet, then we set them "with a run-off". The first is fixed to the floor, and the next one from the ceiling. This will in the future help to make your joints not so noticeable.
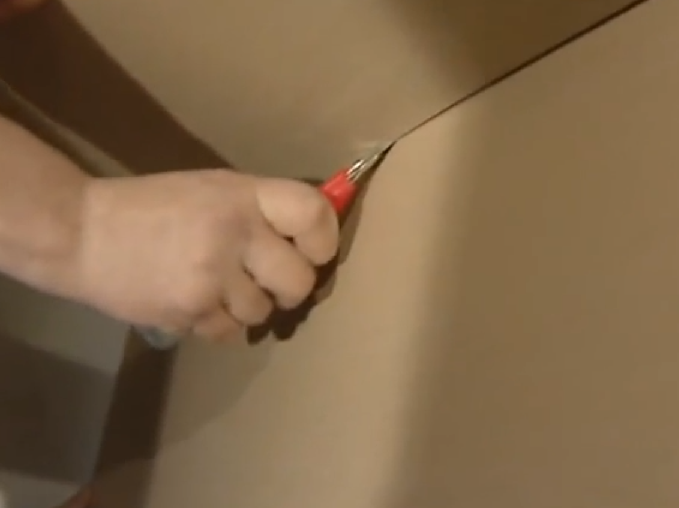
- The remaining space of the wall is closed with cut pieces of gypsum board, first reinforcing the construction in this place with metal bridges. Dissolve the material on the strip can be easily done with a sharp knife to cut the GCR.
- When all the sheets are sewn, you can proceed to the shpaklevke and other finishing works.
You see that working with this natural material is not very difficult, you just need to do everything scrupulously and fulfill the necessary requirements. After you master the basic skills, you can at home to embody any fantasy and design solutions. And most importantly, your walls will be perfectly even and beautiful, ready for wallpapering or any other kind of further finishing.