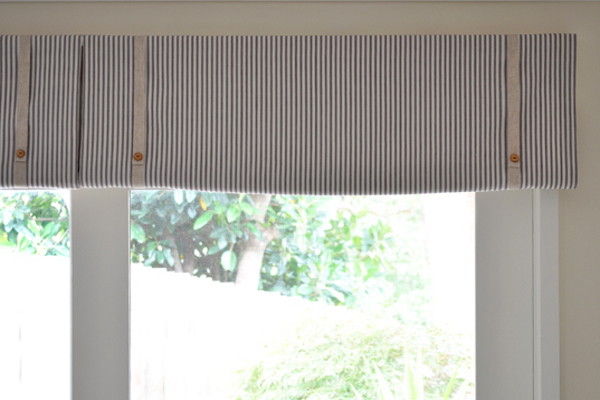
Window decoration with roll curtains allows you to create a diverse and unusual design. They perfectly fit into any room, and care is eased as much as possible due to the simplicity and laconism of the cut. This is a good solution for the kitchen, balconies, nurseries and even bedrooms. The mechanism of roller blinds with their own hands is quite simple and it is quite possible to make something original and unique.
Production of roller blinds by own hands
Finished curtains in rolls are quite simple and in terms of originality they are not very diverse. The easiest way to make them more interesting is to make a separate structure from the fabric and hang it on top.
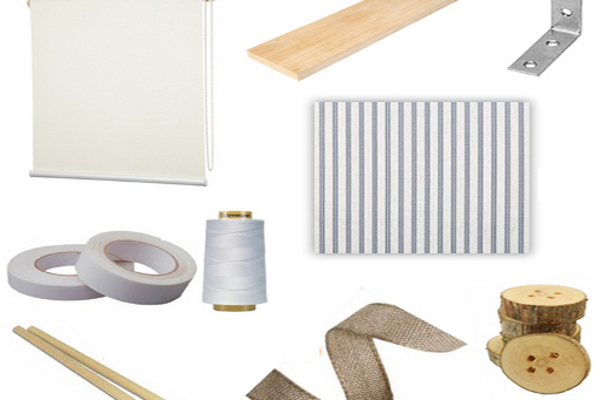
If you want to create a unique window design with your own hands, in the building store we buy the mechanism of roller blinds. In principle, you can do with the simplest and most accessible materials:
- wooden board length with a window aperture;
- metal corner;
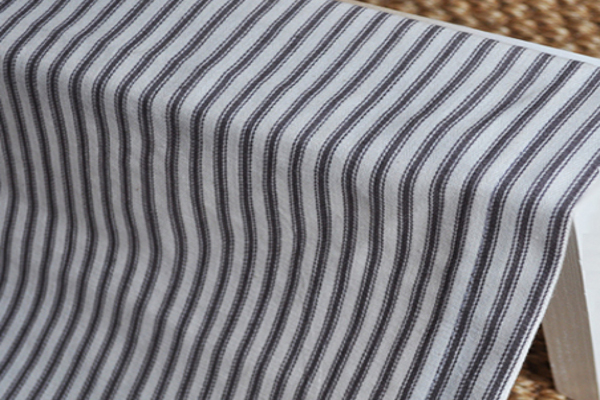
- cut fabric;
- Threads in tone or ribbon for bending;
- wooden rods;
- corsage or dense satin ribbon;
- buttons or decorative buttons.
Now consider step by step how to make roller blinds with your own hands and create an original window design.
- First we install a standard roll-type construction.
- We cut off the necessary length from the wooden board. At the same time, we add 5 cm from each edge so that the window is completely closed and the window sill is not visible.
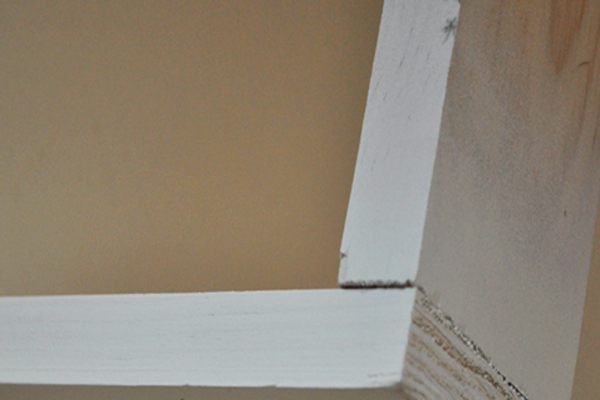
- Next, we make the side parts of the base for roller blinds with our own hands. We measure the necessary length and fasten the side parts with the help of carpentry glue or corners.
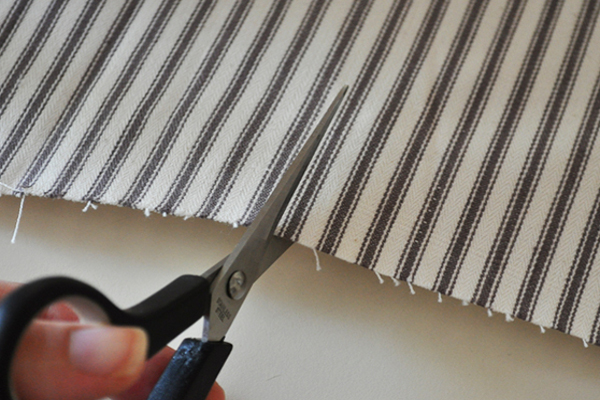
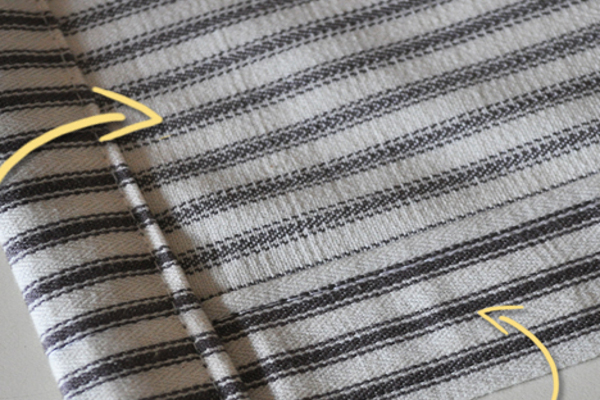
- Now cut the necessary length and width of the fabric to install roll blinds with your own hands . Lateral parts we bend, and from below and from above we make a kuliska. Can be used for side parts or thread, or simply walk through the iron with the edges fixed using a special tape. When folding, be sure that the wooden slats will fit into the left side of the wings in width.
- In the holes for the kulis we insert our wooden slats. They will make it ready to be flat and straight. Due to the weight of the fabric and such a weighting agent, the construction is sufficiently rigid to make the curtain smooth.
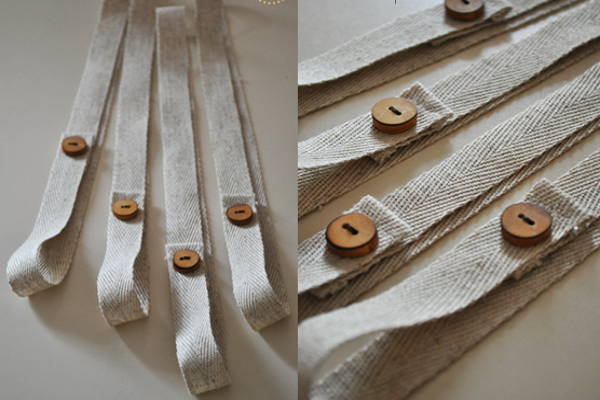
- Now let's do pick-ups. To do this, you can use any convenient materials: ribbons, ribbons or simply cut from the fabric for the base strip. Attach curtains to the window and determine how long they should hang.
- We measure the necessary length of ribbons and sew buttons or buttons to them. In the future we will fix the picks directly to the wooden base.
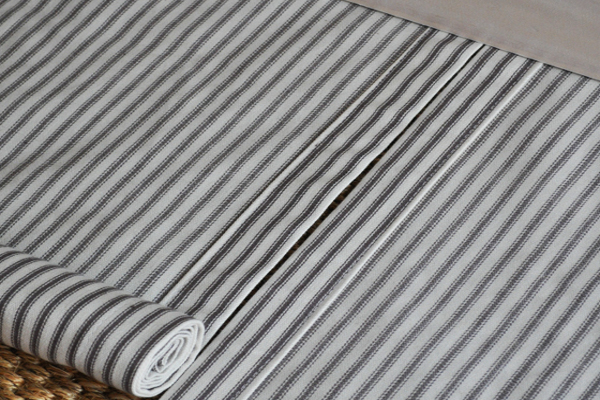
- Turn the curtains into rolls and check if our pick-ups are long enough.
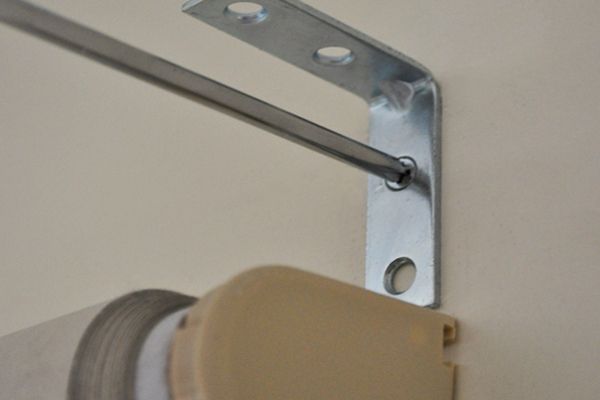
- To make roller blinds with your own hands, we will use a metal corner. We attach it directly to the roll construction. The bottom part is rigidly fixed to the wall.
- Further we apply a wooden basis and we fasten it self-cutters to the top part of a corner.
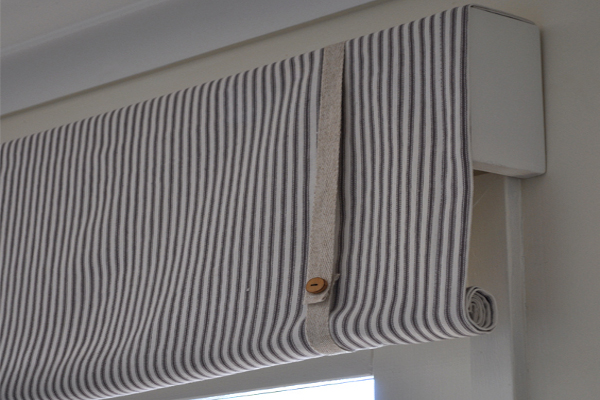
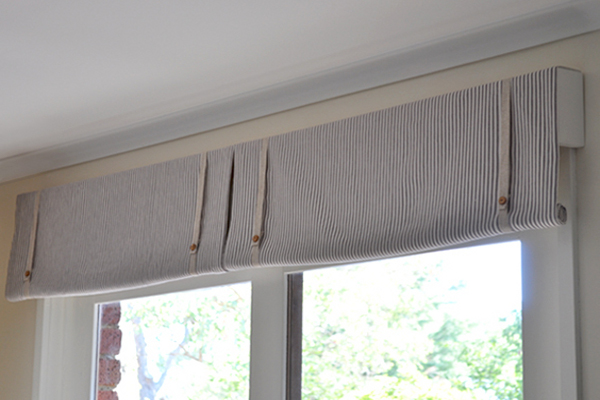
- Now it remains only to fix the fabric with pick-ups and sewing the roller blinds with your own hands is completed.
- You can use this design as an independent curtain and take lighter transparent fabrics, or you can decorate ready-made roll curtains and pick up heavy textured materials.
Now it's time to fix the roller blinds with your hands to the base. For this you can use any convenient means: a pistol with staples, a special glue composition, nails. If the curtain you have a light shade, for ease of removal and care for it, you can fix the fabric to the base with Velcro