The task is to make a stove for a sauna in-house without the help of a professional, without step-by-step instructions it will be difficult. Yes, and without the help of a person who is familiar with the technology of laying bricks, is also somewhat more complicated. You can argue for hours on what kind of oven for a bath is better, because each type has its own advantages, but the heater is still the most popular option today. Let's try to figure out how the stove for a sauna works with the hands of a non-professional, and we will do it on our own.
Stove heater for the bath with your own hands
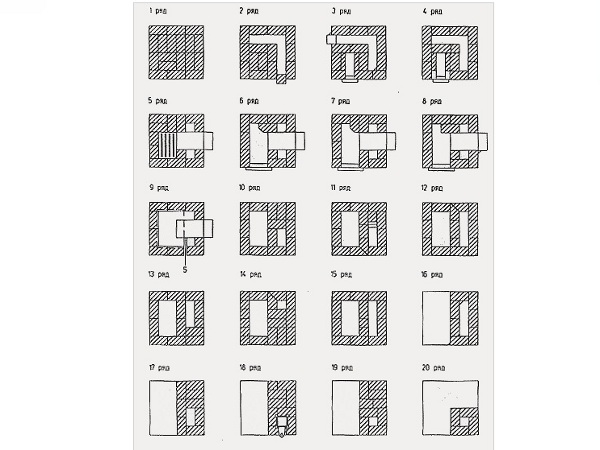
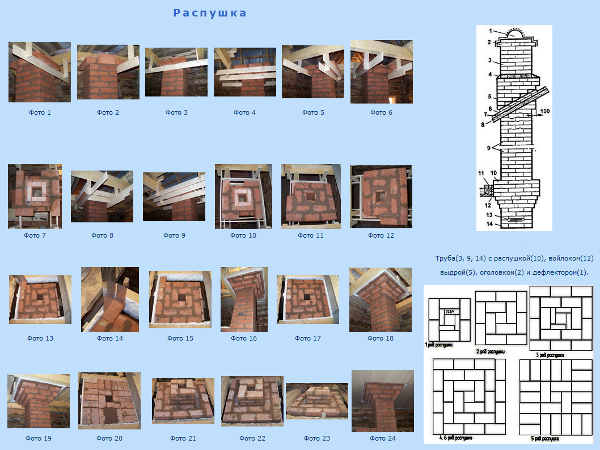
- We will implement this version of the furnace. Here the order and the general scheme are indicated.
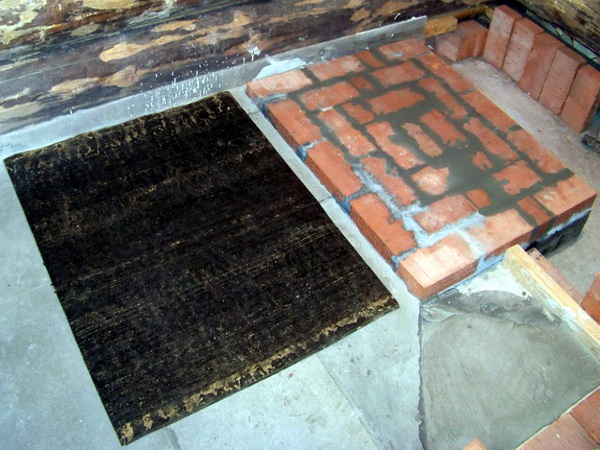
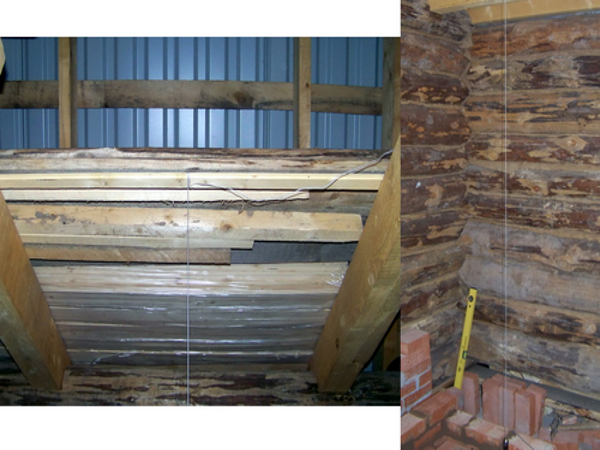
- The first thing that must be done is a foundation, or rather, to isolate the furnace from the foundation of the house. First, these are two layers of ruberoid between the foundation and the masonry, then another layer between the bricks.
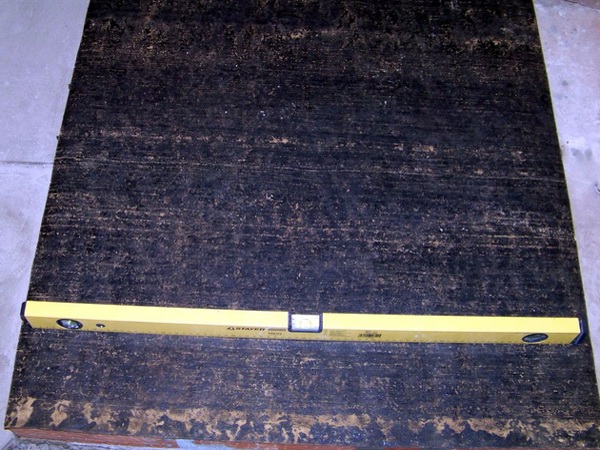
- Do not forget to follow the horizontal nature of the masonry.
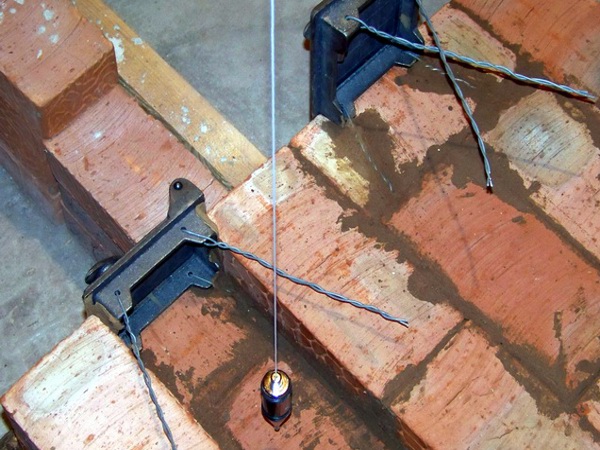
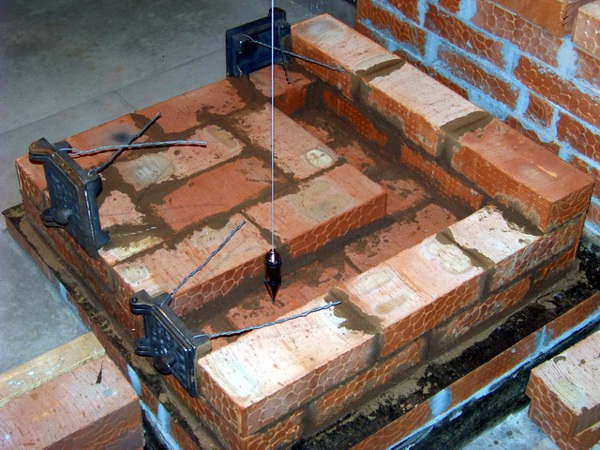
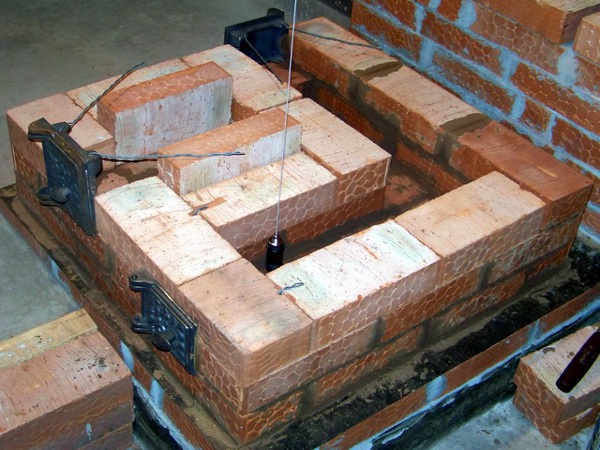
- To determine the first brick of the chosen order, we need a plumb bob. It is attached to a meter-long reecho, located directly above the outlet under the pipe.
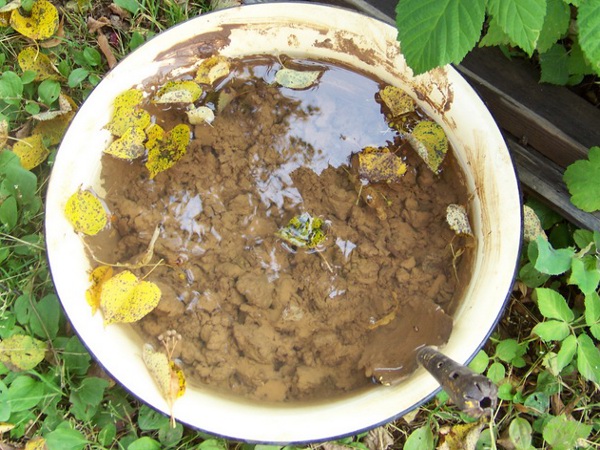
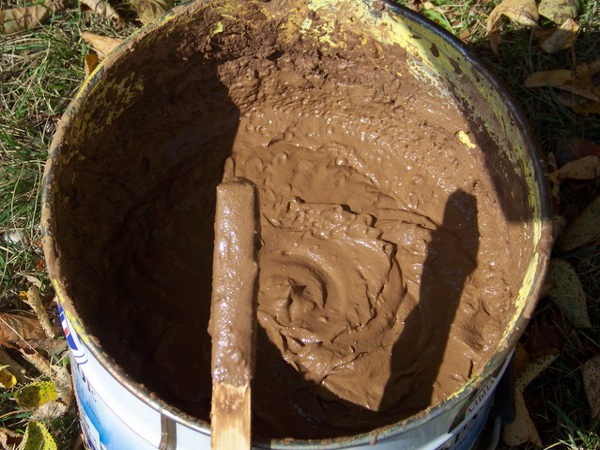
- We mix clay with sand and water. In consistence, it resembles sour cream. Check the quality of the mixture simply: you dip a stick into it and look at the layer of the adhered mixture. Ideally, it's about a couple of millimeters.
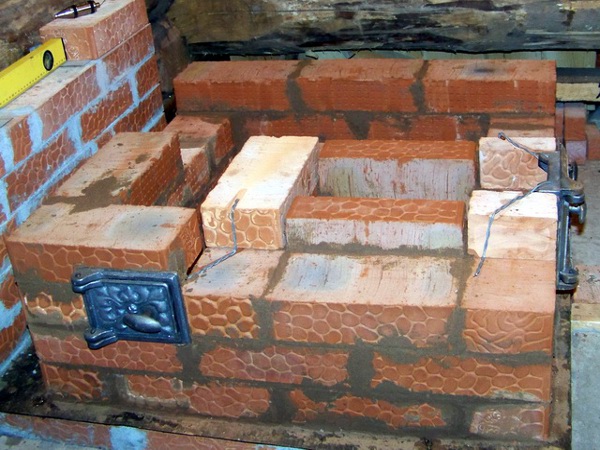
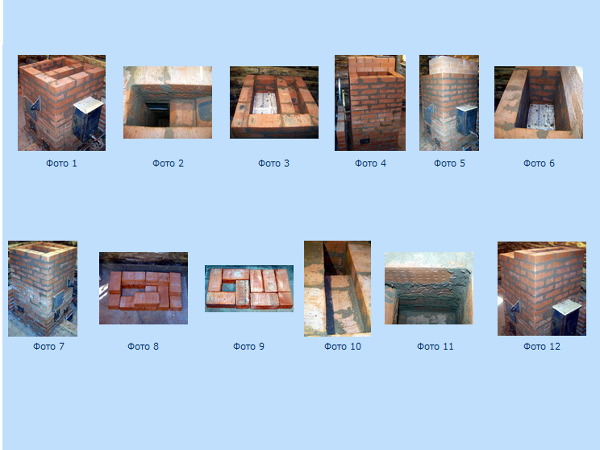
- Install the front doors on the front row.
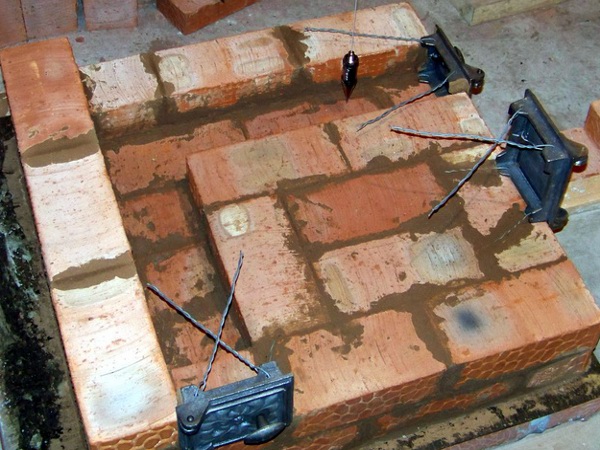
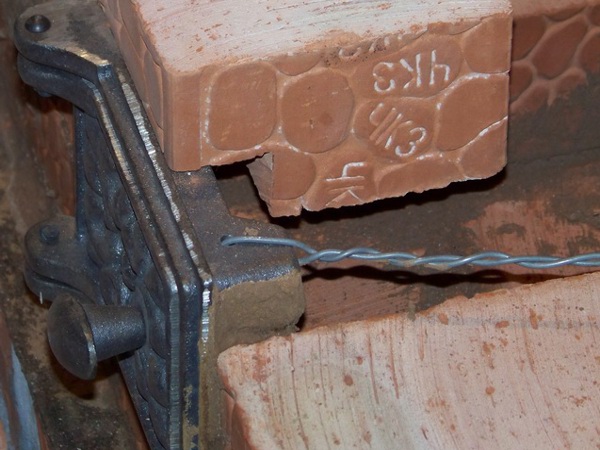
- Then we'll fix the fasteners under the first row. In the brick we make grooves under the fasteners.
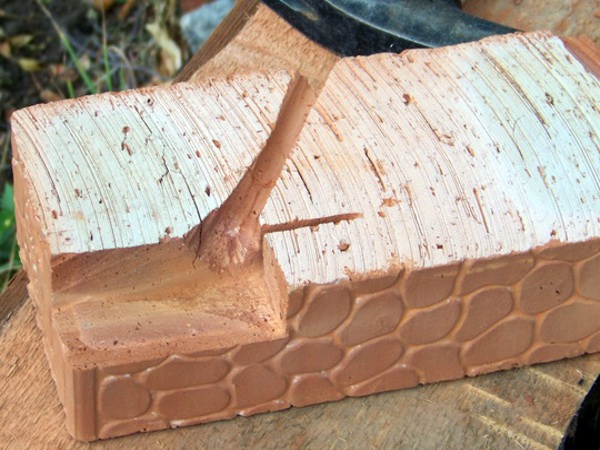
- It is important to understand that when decorating a stove in a bath you will have to use the Bulgarian more than once and cut the brick. In advance consult, what exactly will approach for these purposes, at the expert.
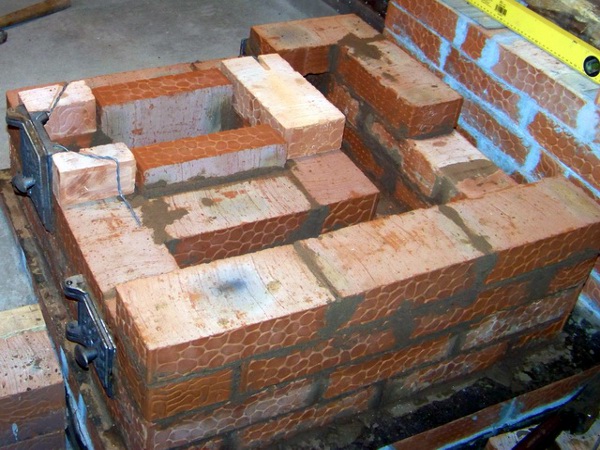
- The first steps are made. Working with an amateur's hands above a stove for a bath is never easy, but with your own eyes you observe how quickly it looms.
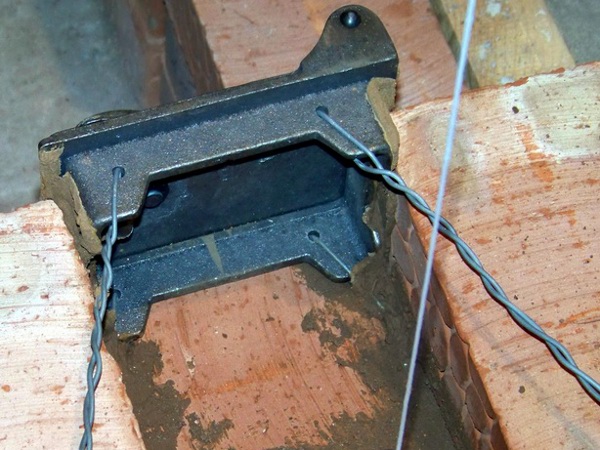
- In the photo you can see how the wires under the door fastenings are curved.
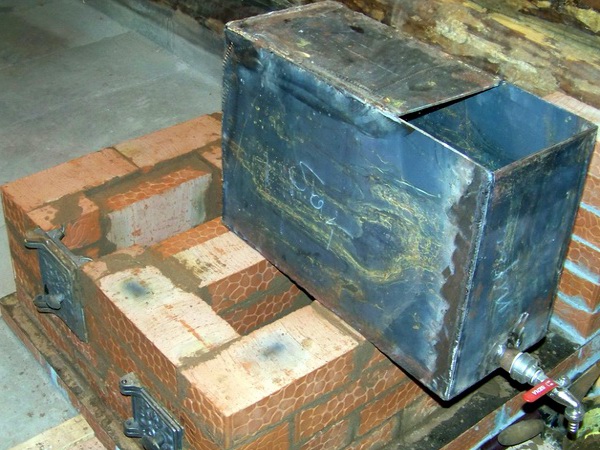
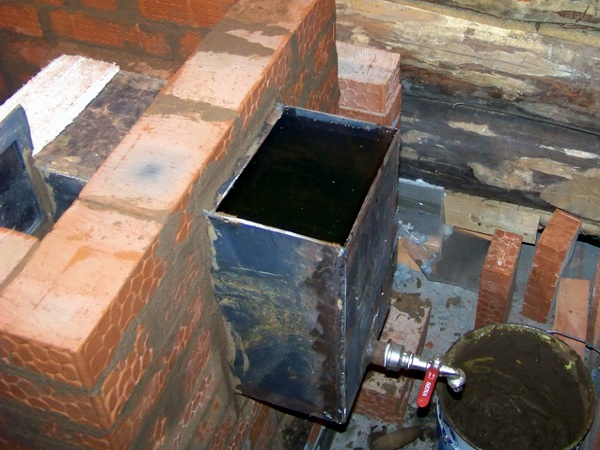
- We try the position of the water tank.
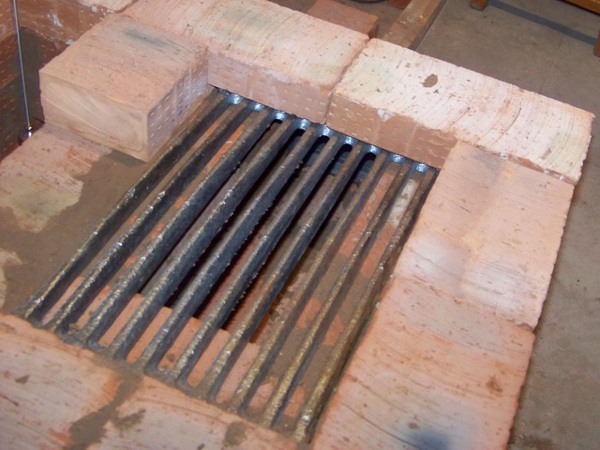
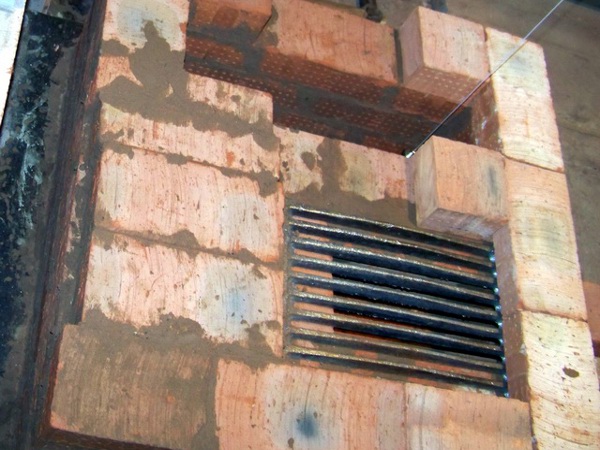
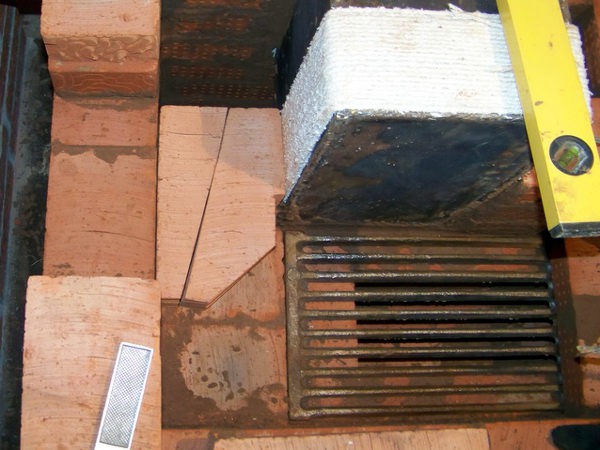
- We fix the grid of the grate. It is important to make sure that it does not rest against the wall of the furnace.
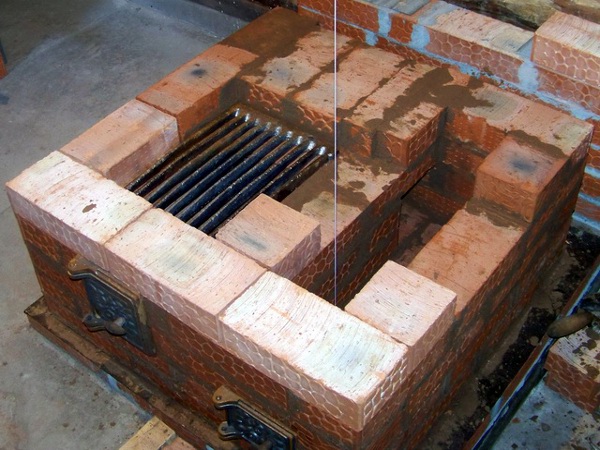
- We installed a grate. Continue the installation according to the selected scheme.
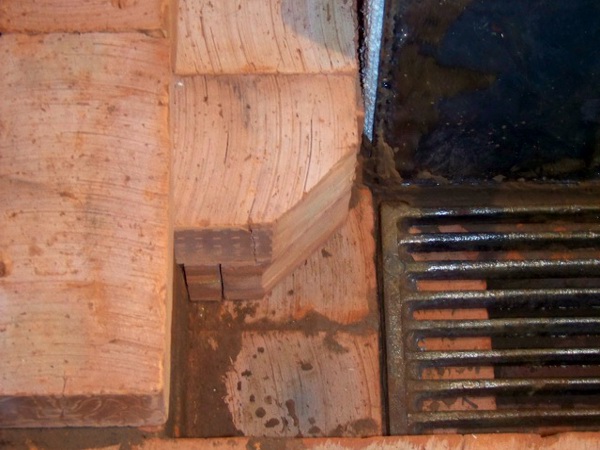
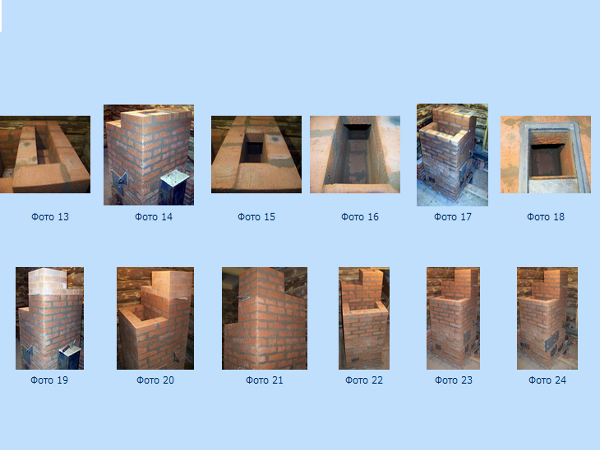
- Most likely when decorating a stove in a bath you will have to resort to pruning bricks to fit all of its elements. When the halves and quarters are built into the masonry, it is important to position them so that the next whole brick has to be shortened to the minimum.
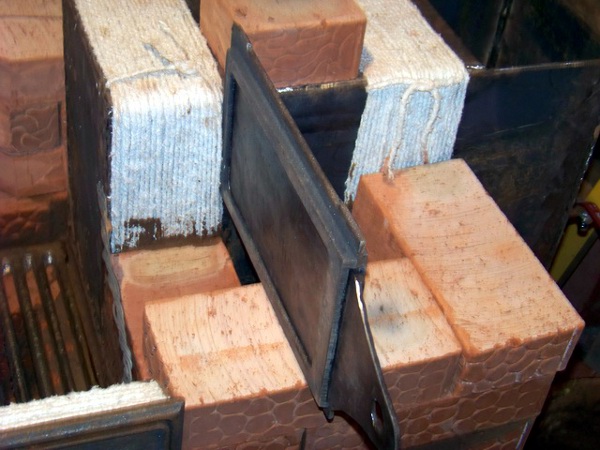
- Before installing the oven door and the water tank, they are first wrapped with an asbestos cord. This is necessary for safety reasons, if suddenly the stove starts heating without water inside.
- And again you have to sweat fairly over the brick before installing it in the area of the tank with water.
- The tank is in its place. Moving on.
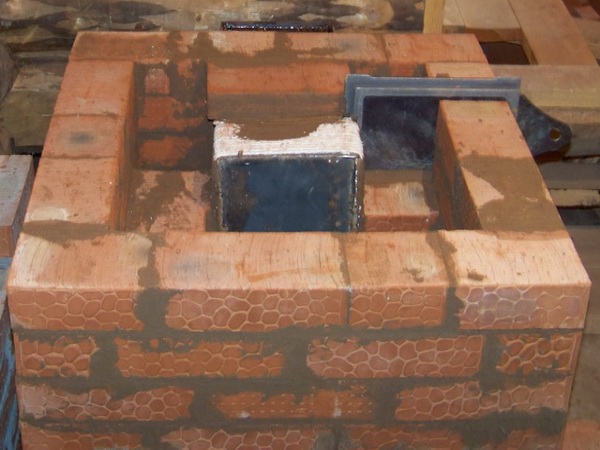
- Then you should install the view.
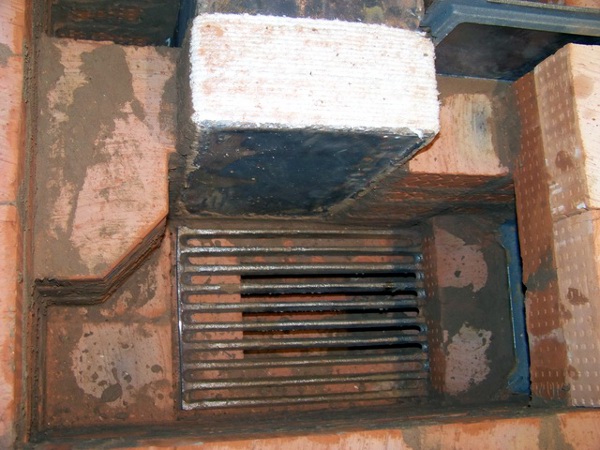
- Gradually begin to lay a row on top of our tank. A plate is mounted on top, all parts of the masonry have been leveled to one level.
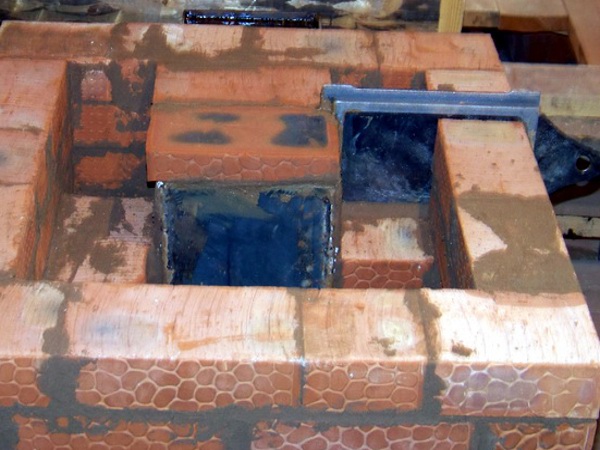
- The slab should be covered by the next row. To do this, again cut the brick, so that it entered exactly and the row was in the same plane. It is important that there is a gap of about a centimeter between the edge of the slab and the brick itself.
- When we lay this row, we can not allow the gaps between the slab and the brick to fill with the solution. It makes sense to remove the plate first, then lay the bricks on the sides and behind, and then remove the excess solution from the grooves and push the plate.
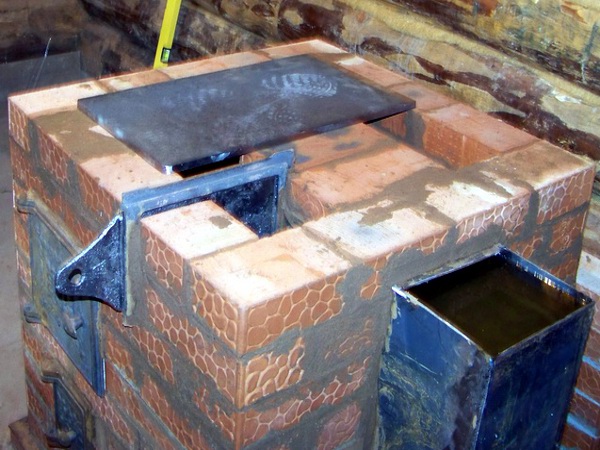
- This is the most difficult part of the construction of the oven for the bath with its own forces is completed, as further by the hands of the amateurs follows the laying without any cuts or bricks.
- Below, the photos show the stages of forcing in the furnace height according to the chosen scheme. Each successive series is in order. After forcing the stove, we make a raspushku and the work is completed.
| | |
| | |
| | | |
| | |
| | |
| | | |
| | | |
| | |
| | |
| | |
| | | |