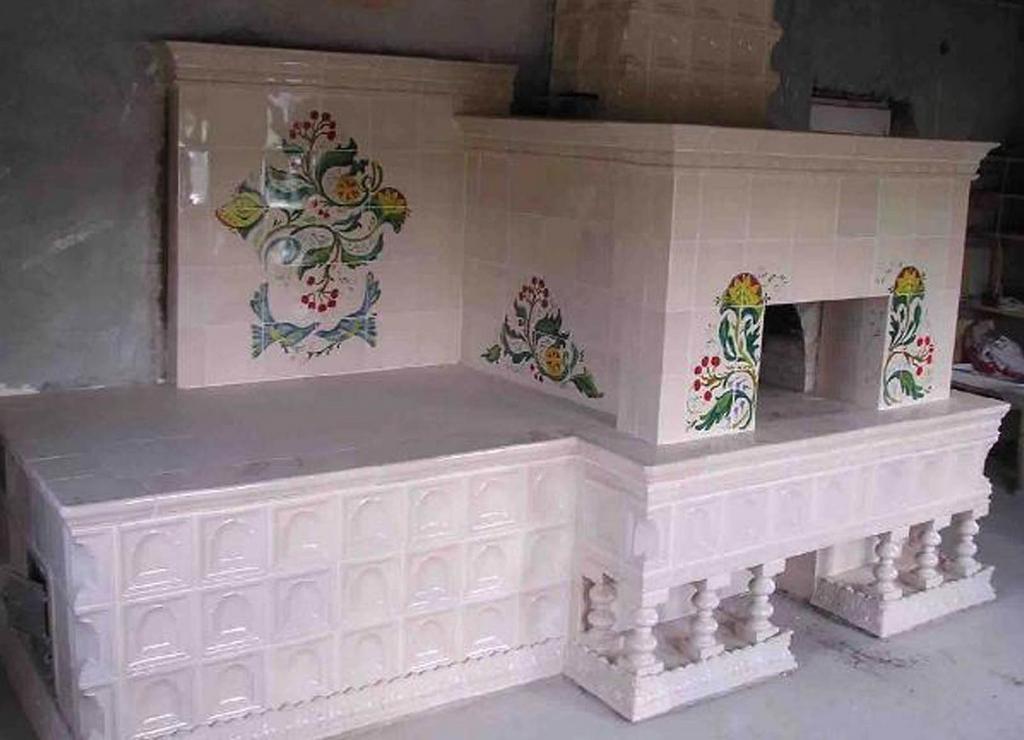
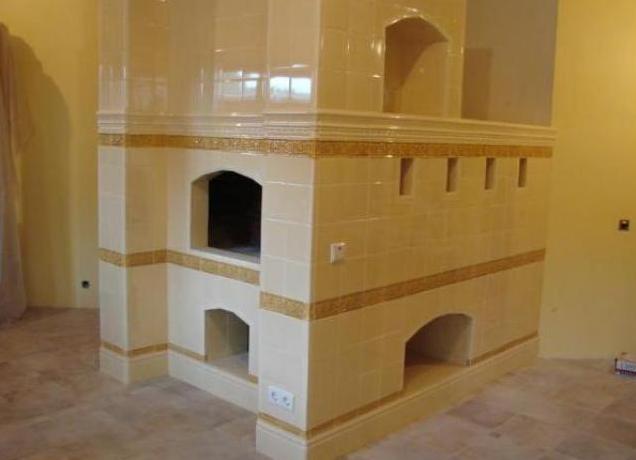
One of the types of ennobling the furnace was tile . This creates a more attractive appearance for it, it does not show cracks or sand. Another big plus is the increase in its heat transfer, hence - the time for heating the room decreases. It is very easy to take care of such a stove - it is enough to wipe with a damp rag. You can impose a tile on the tile either independently or refer to professionals.
Laying the tile on the stove with your own hands
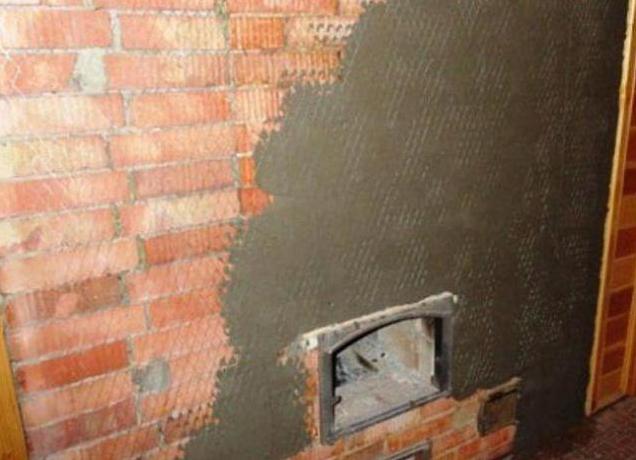
A very important point is the preparatory stage before laying the tile on the stove. To do this, you need to clean the walls of clay, soot, residues of the old paint, especially pass qualitatively. The surface must be dry and smooth.
When everything is ready to proceed with the installation.
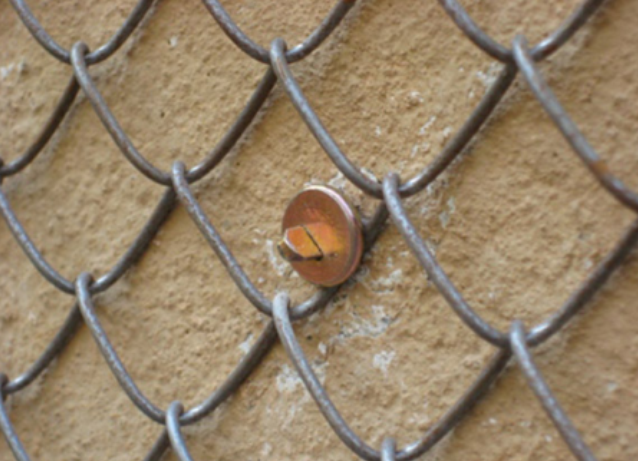
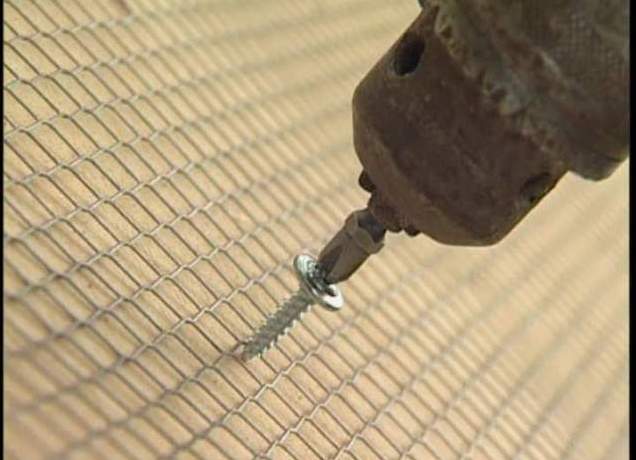
- We fasten the mesh-netting to the stove using metal anchors, you can also use self-tapping screws or pieces of wire. Fixation is performed at an interval of 15 cm.
- Plaster the surface of the furnace with a special hot melt. It can add salt, this will help retain water in the solution.
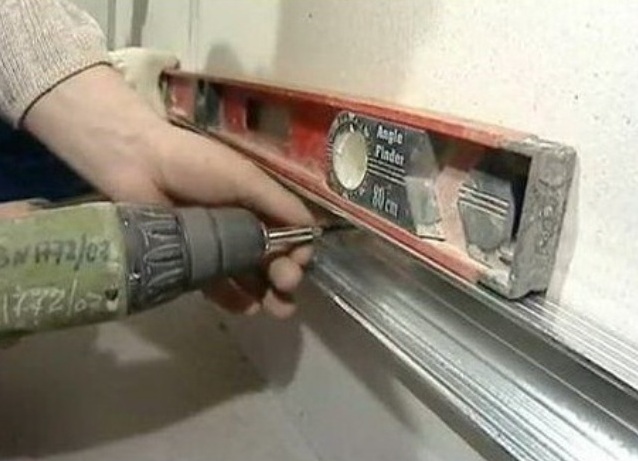
- We fix the rake to the wall. It is fixed above the floor, at a distance equal to the width of the tile, it is necessary for the tile to be laid out in even rows.
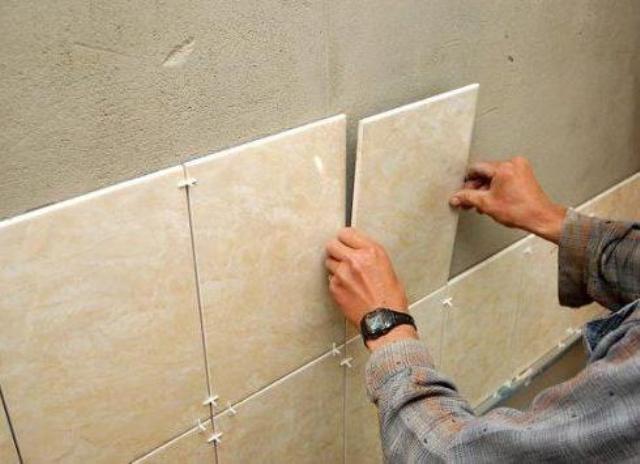
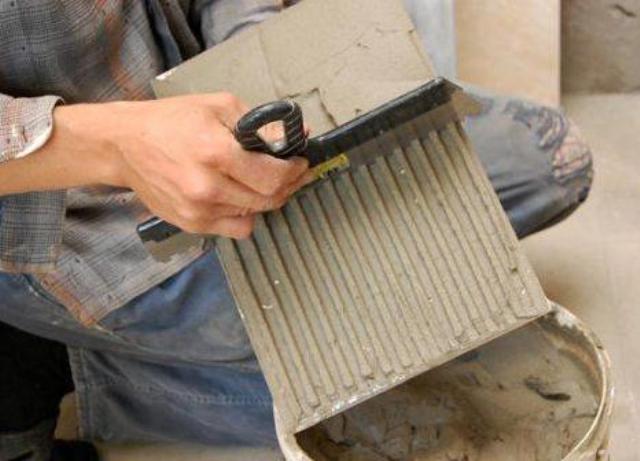
- We start to put the tile from the second row. Masonry is done to the side and up. Adhesive is applied with a flat spatula, and leveled with dentate.
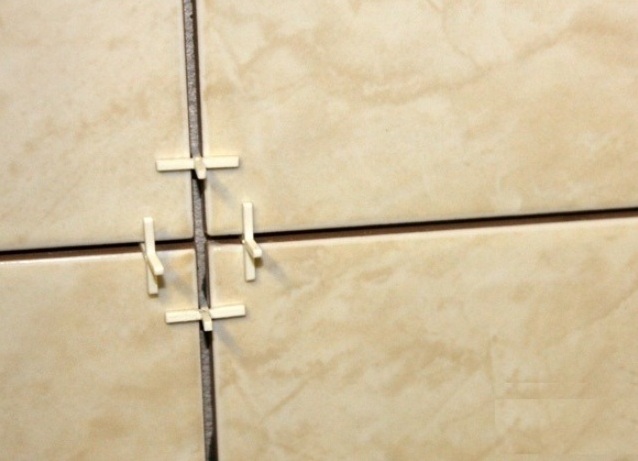
- Between the tiles we insert crosses, for uniform gaps. They are removed before the trowel.
- When all the tiles are laid out - remove the rail. Now you can put the tiles on the first row, if necessary, cutting it.
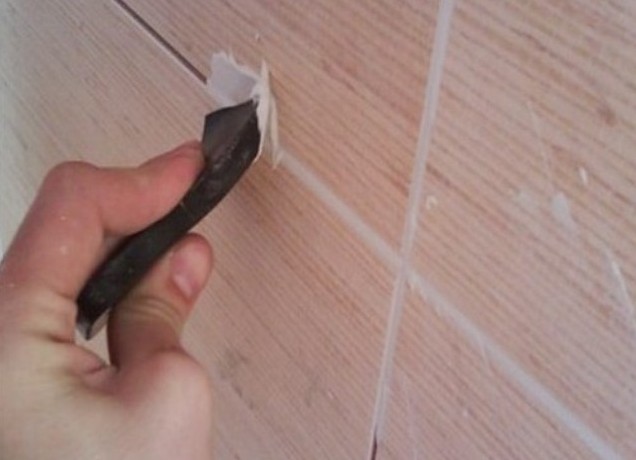
- The final stage - grouting joints , it is done after the glue is completely dry. To do this, use a rubber spatula.
Now you know how to properly tile the oven with tiles that will keep you warm and will last for many more years!