No matter how many new materials for the decoration of walls and floors did not appear, but in the bathroom and the kitchen most often use tiles. This is the most practical and time-tested method of design. At what to do all work independently under force to the nonprofessional. In this article, we will touch grouting between tiles. The process is relatively simple, but there are a few nuances and important points to be aware of.
How to seal seams between tiles?
We offer a small step-by-step master class of grouting ceramic tiles with our own hands, where the main stages of work and some subtleties will be examined.
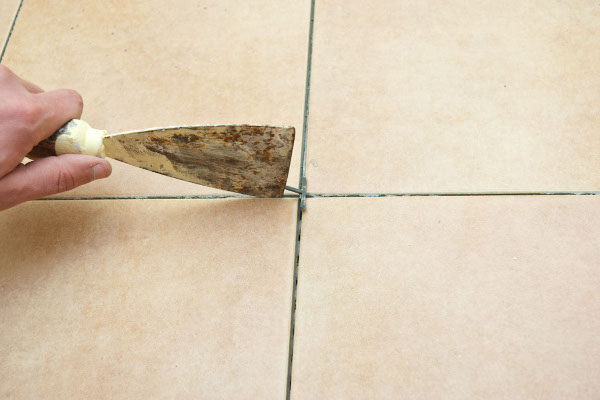
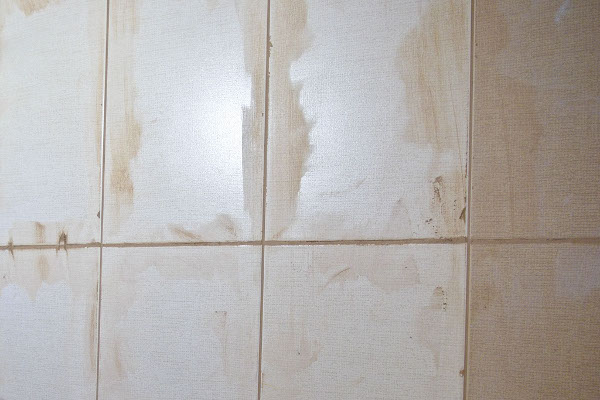
- Every time before we seal the seams between the tiles, we carefully inspect the work and look for all sorts of flaws. If there are no problems, we proceed to prepare the surface.
- Using a spatula, gently remove the remnants of the glue mixture from the edges of the tile and in the gaps. If you leave it as it is, after grouting the glue can get through and the work will look messy.
- After work with a spatula, wipe it with a dry sponge.
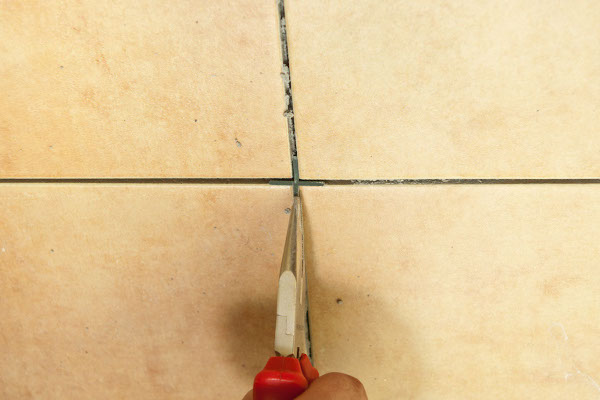
- Before you erase the seams on the tile, you need to remove the plastic crosses. These beacons are only needed to level the distance between the tiles. Before grouting the seams, they are removed. This can be done with the same spatula. If the distance allows, we pick up the forceps and carefully take the crosses. Here to whom as it is more convenient.
- When all these preparatory works are completed, we start cleaning. All on the floor thoroughly vacuumed, a little rubbed with a damp cloth. The fact is that the dust will necessarily settle on the raw putty.
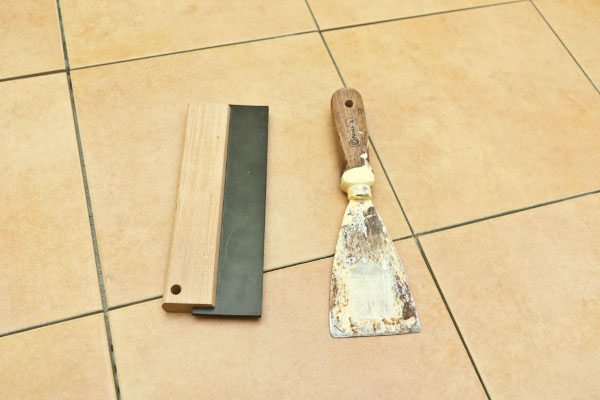
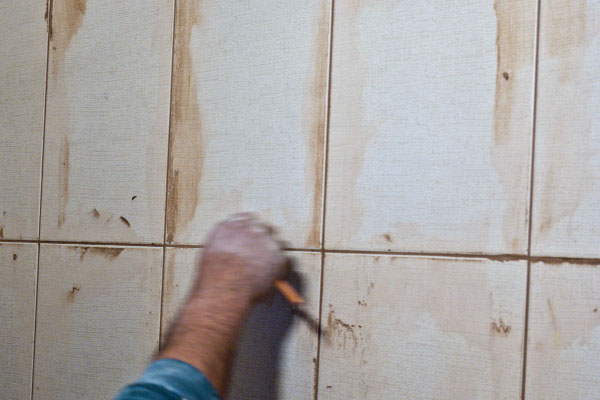
- So, everything is prepared and you can safely proceed to the main part. Consider how and what to properly clean the seams of the tile. In construction shops you will find an ordinary spatula, a special rubber spatula for working with seams and of course a small capacity. With a metal spatula we will dilute the mixture for grouting and apply it to the walls, and rubber seams.
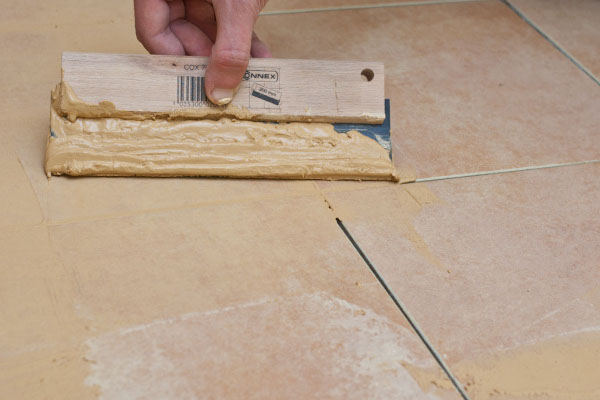
- It is important not only to wipe the seams correctly on the tile, but also to prepare the mixture, as its quality and the correctness of the preparation directly affect the final result. In a bucket of water, we gradually plant a dry mixture: introduce it in small portions and slowly, while carefully kneading.
- To check the readiness of the mixture, just put a little on the spatula: if it does not drain and at the same time distribute it on the wall is not a problem, then the consistency is ideal. Why is it important to prepare the mixture correctly? If it is too thick, you simply can not work and distribute it at the seams evenly. If, on the contrary, it is too liquid, after drying it will become similar in texture to the sand and quickly fall asleep.
- We begin to move from the ceiling to the floor. Specialists recommend holding the rubber spatula at an angle of approximately 30-45 ° to the wall. We work each seam two or three times, so that the mixture completely fills the space between the tiles.
- When the mixture is evenly distributed, its excess is removed with a spatula, keeping it at an angle of 90 °. Never apply the mixture abundantly and at a time: you can not evenly distribute it, it dries quickly and the work gets dirty.
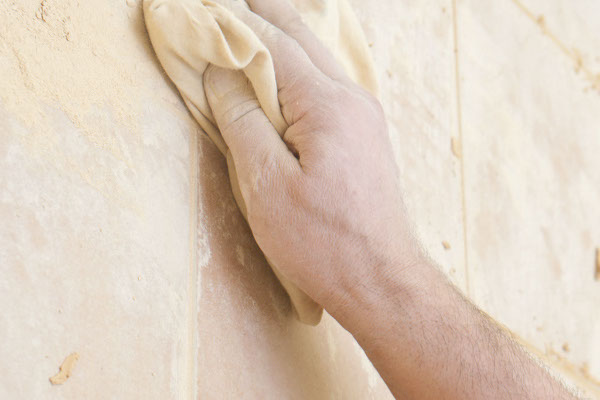
- When the whole mixture is evenly distributed along the wall, we mark 20 minutes. At the end of this time, we remove the dirty stains on the walls with a dry clean cloth.
- After working with a dry cloth, take a slightly damp and finally wipe the wall. Take care not to damage the seams, because the mixture has not dried up and you can easily ruin the work.
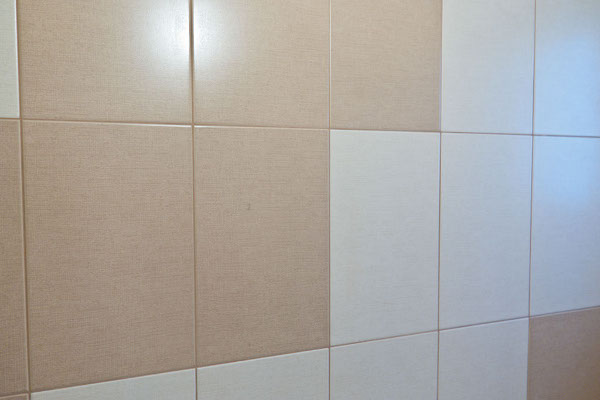
- At this master class on trowelling of tile joints with their own hands is completed. In a day you can safely wash the tile if necessary and it will shine.