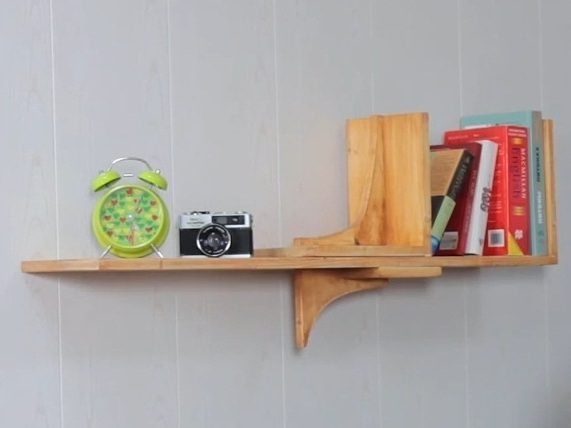
Beautifully executed shelves are able to transform the interior of your room. Very often I want it to have an original design, but in our stores there are usually standard simple products. If you know how to handle an electric tool, you can try to make it yourself. This is quite a simple task and it does not require special skills from the master.
How to make a shelf for books?
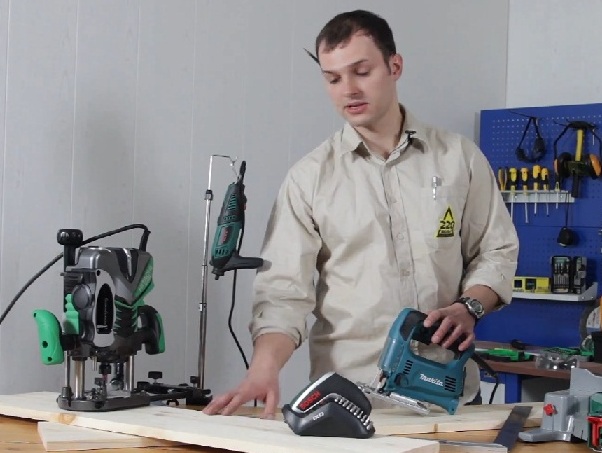
- For work we need two boards, screws, a brush, carpentry glue, paint and varnish materials and a set of power tools. It is best if it will consist of a router, a screwdriver, an electric mini drill, a miter saw, a grinder and a jigsaw.
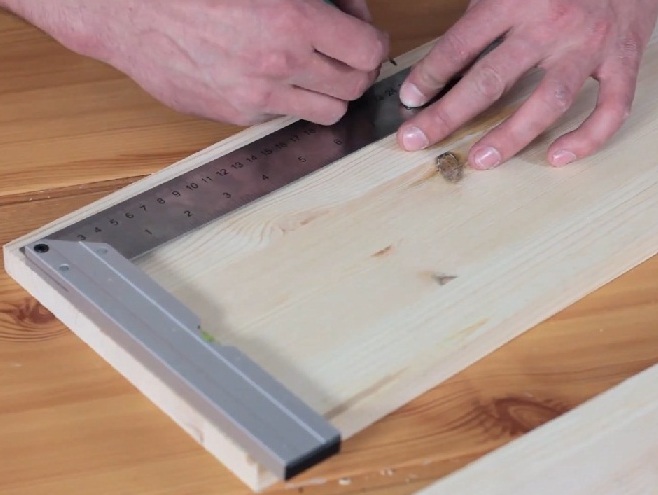
- We begin to mark the elements of the shelf. The boards are 20 cm wide, 18 mm thick and 1 meter long.
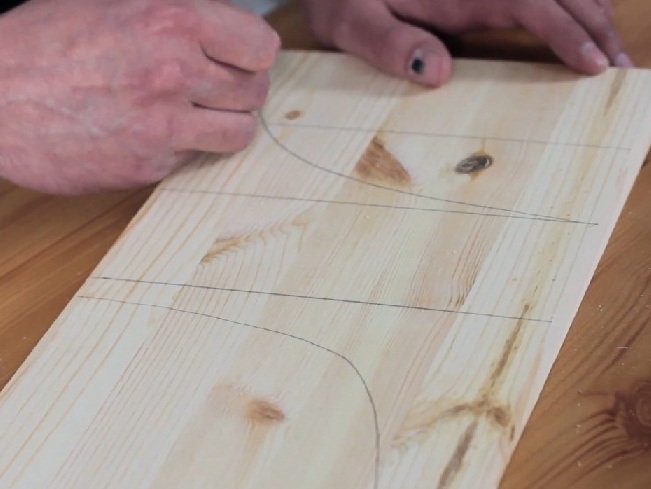
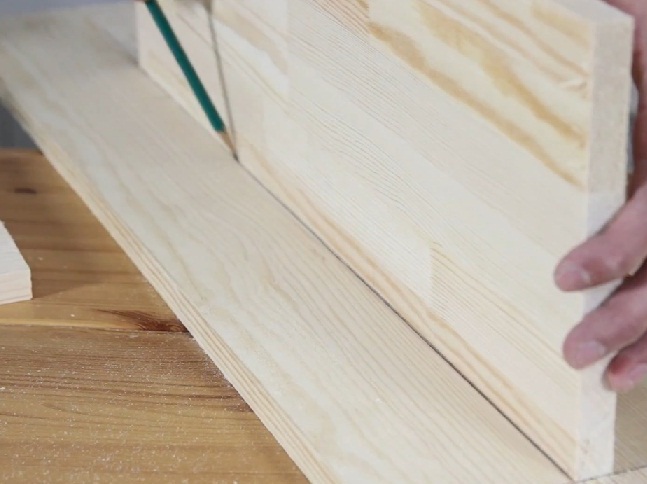
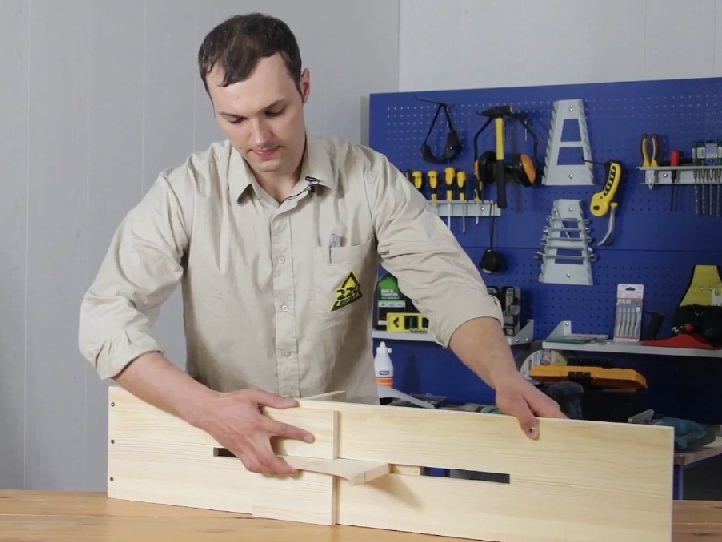
- We choose the shelves for books at our discretion. In our version, the product will have a convenient adjustable stop. Draw according to the drawing markings on the main board.
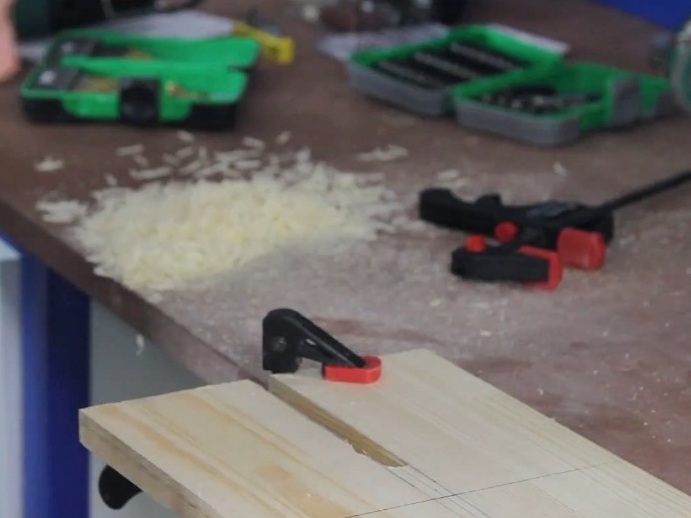
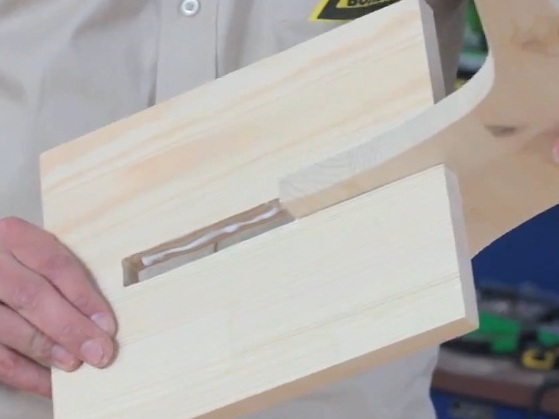
- In the middle of the main board, mark the slot. It should be slightly larger than the thickness of the furniture shield.
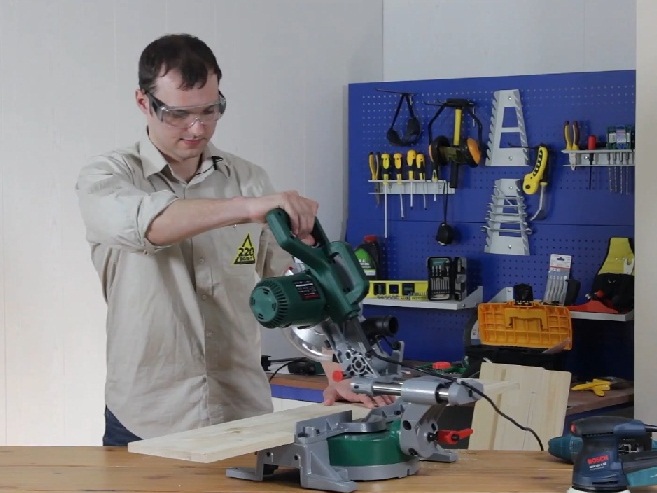
- After marking, we cut the board onto the elements.
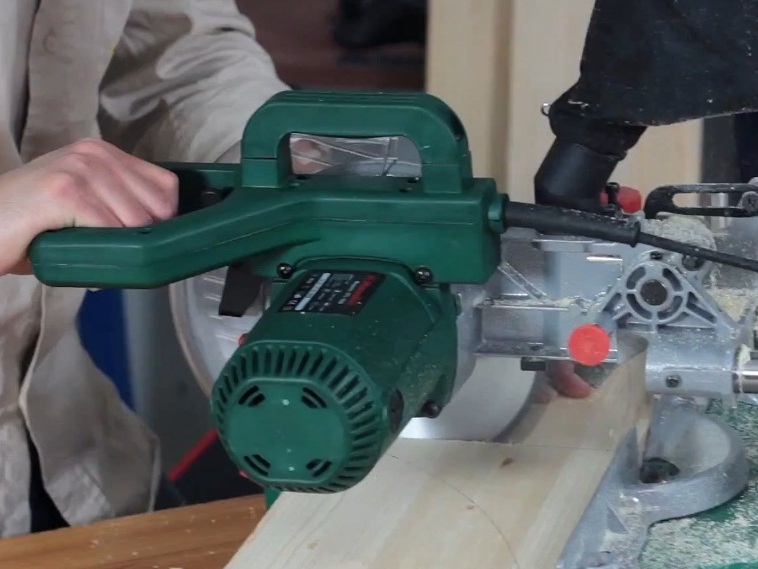
- It is best to use a miter saw here. This tool in the work is convenient, but very sharp and you need to use it as carefully as possible.
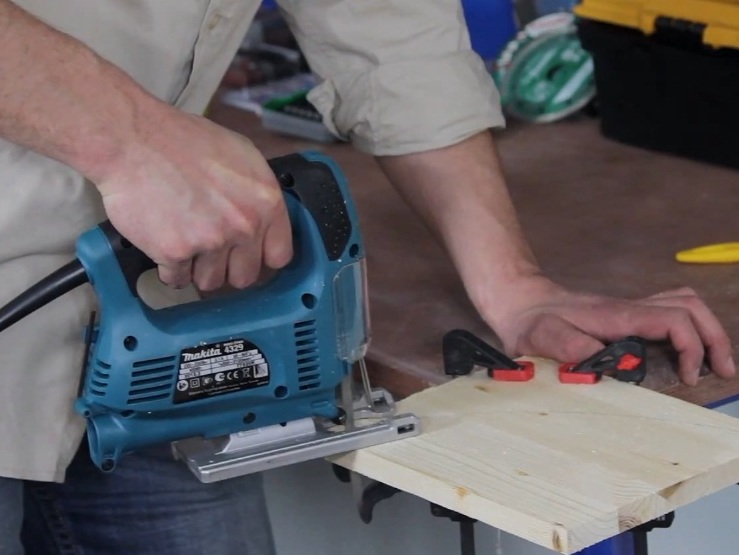
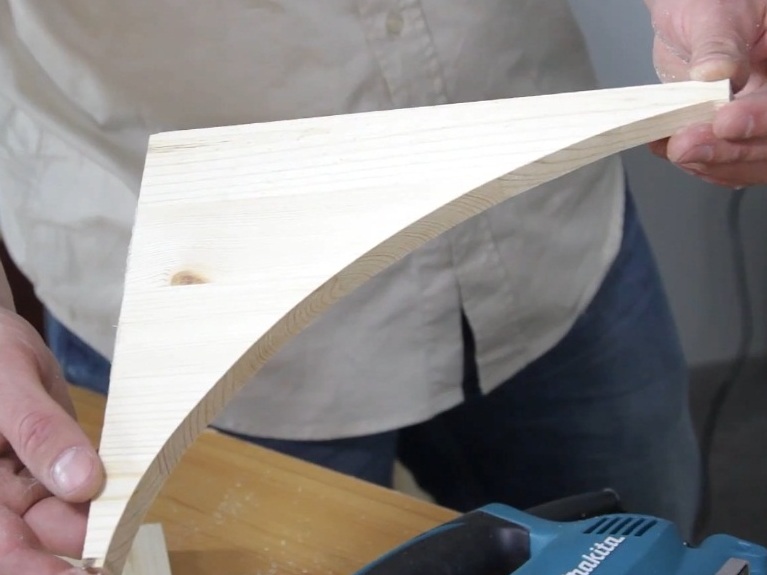
- For sawing the curvilinear elements of the fence, the jigsaw is more suitable.
- Sections should be smooth and smooth on the line you have planned.
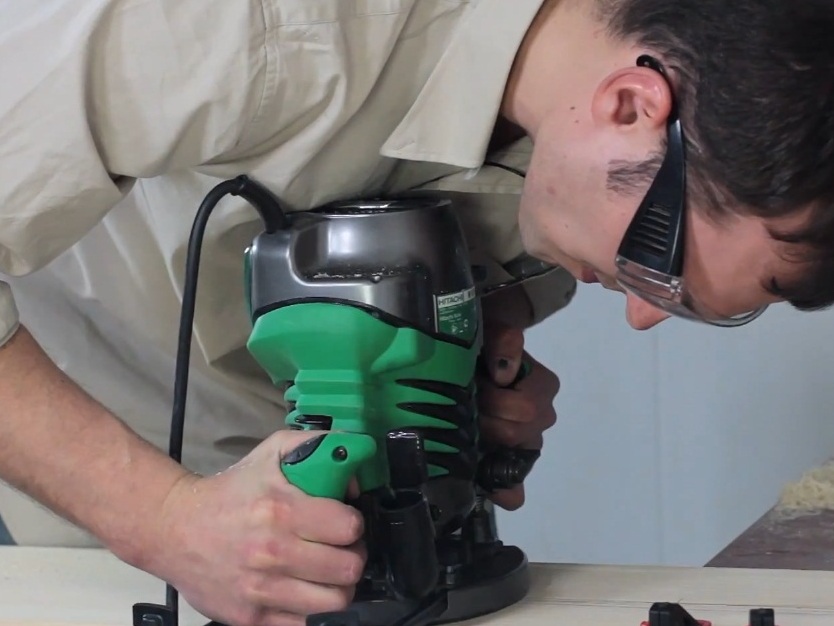
- In the main board and the elements of the stop, you need to make a slot that can be quickly and easily made an electric milling cutter.
- You can be sure that with this tool our slot has turned out beautiful, and cut out according to the marked markings.
- When all the details are cut out, you can start to finish them.
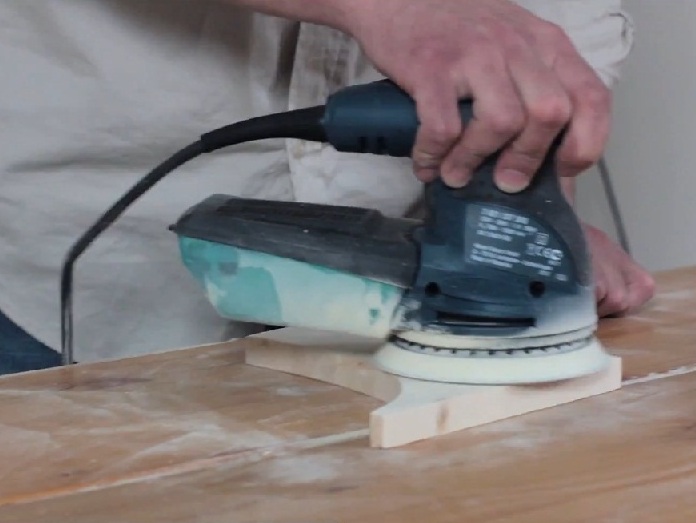
- The surface of the board can be made perfectly smooth using an orbital grinder.
- It will be necessary to thoroughly pass through the grinding wheel all the edges of the elements of our design, because the shelves on the wall for books should be beautiful and neat.
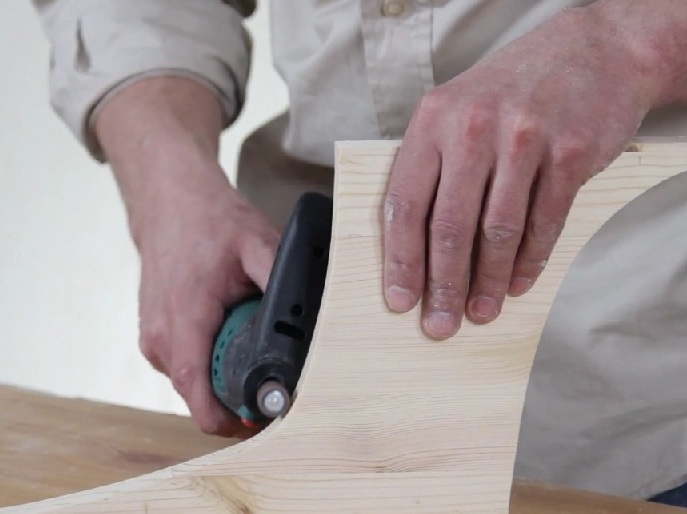
- We clean the curved surfaces with a mini drill with a special nozzle.
- After stripping, you can start assembling our shelf. Here we will need a screwdriver and self-tapping screws.
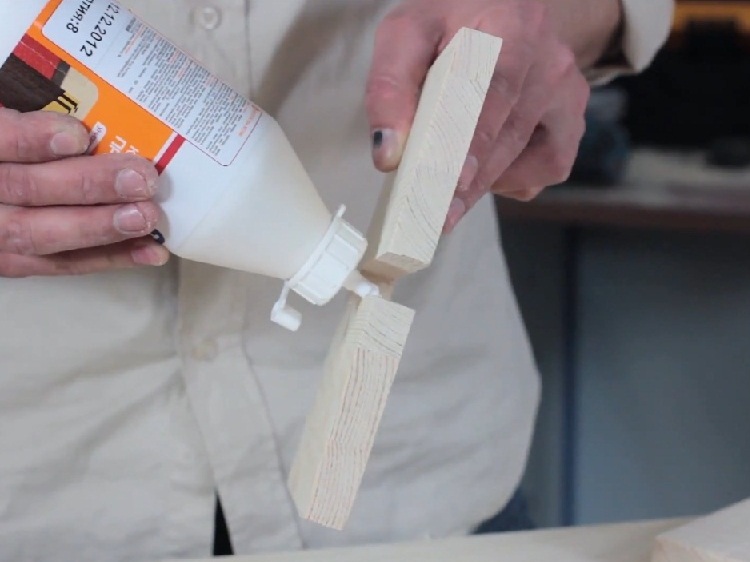
- To increase the strength of the structure, you need to glue all elements with joinery glue.
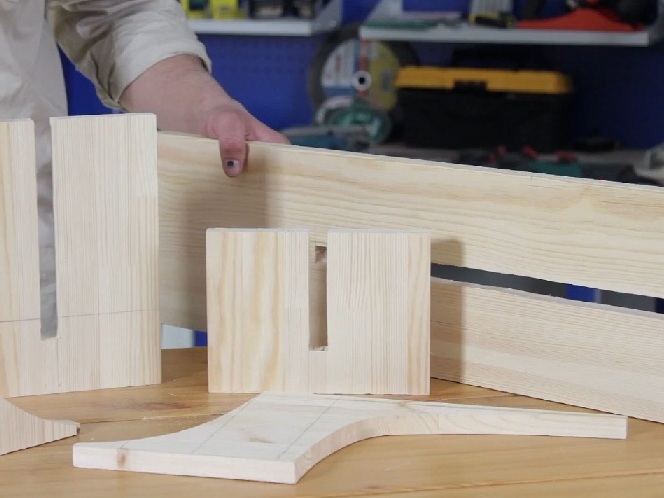
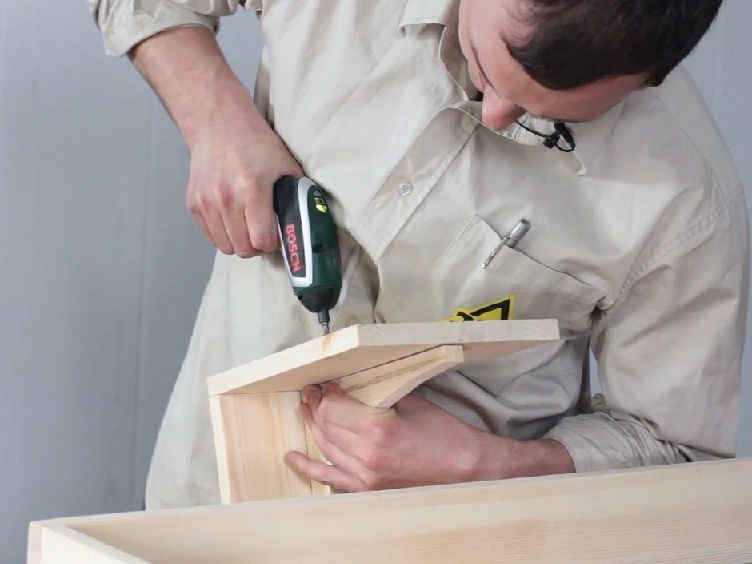
- The thrust consists of three parts. When assembling, we also glue them together.
- But this will not be enough for strength, we additionally fasten all the elements with the help of self-tapping screws.
- When the emphasis is collected, insert it into the shelf and secure it with the bottom bar.
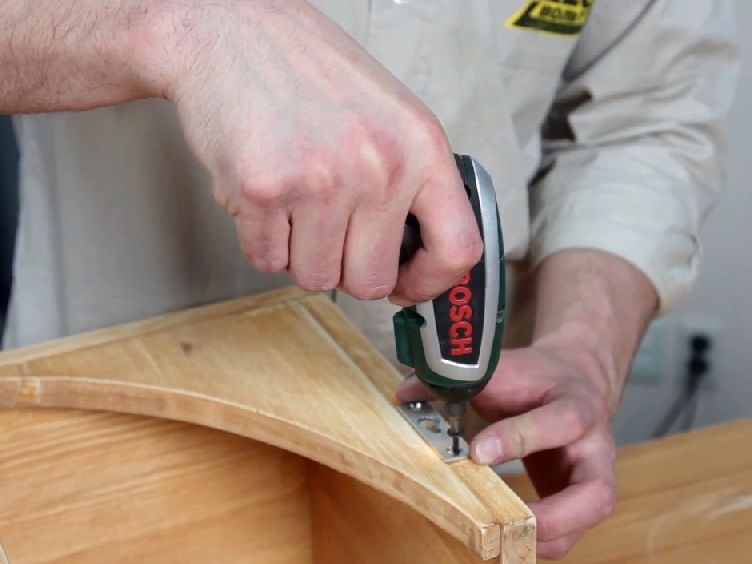
- The bookshelf is almost ready. You just need to paint the surface and fasten the metal fasteners.
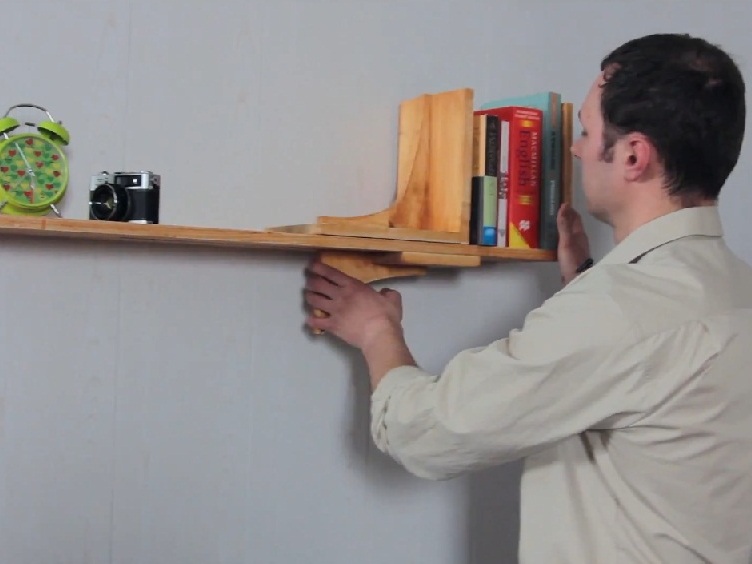
- Install the product in place. The original bookshelves, made with their own hands, look no worse than standard factory products.