Tile - a reliable and durable material, ideal for finishing rooms that are constantly exposed to moisture: kitchen, bathroom, shower. And the presence of a huge selection of color variations, ornaments and textures of tiles allows you to realize your own unique design in the interior. Due to this, we very often prefer ceramic tiles for
wall cladding . But, at the same time, we face high costs for the purchase of the material itself, as well as the expensive work of the tile laying specialist. If you are faced with a similar problem - we suggest that you familiarize yourself with our master class on laying tiles on the wall with your own hands and save your budget.
Technology of laying tiles on the wall
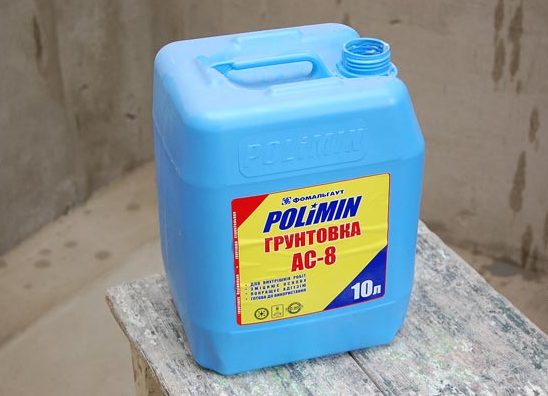
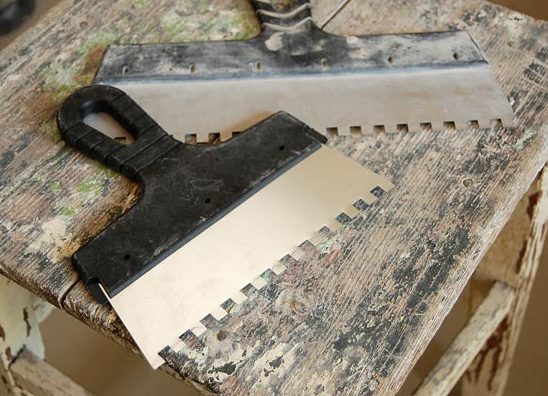
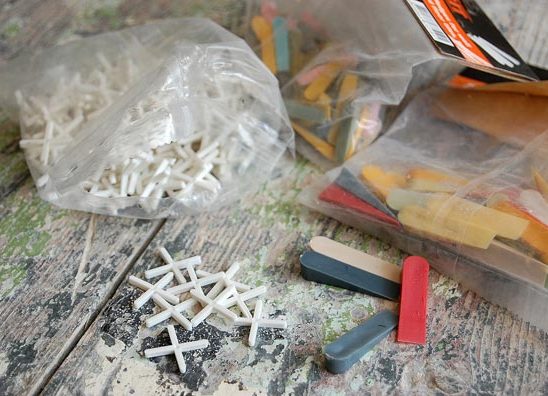
- Preparation of tools and materials . For laying ceramic tiles on the wall we will need: tile, tile adhesive, primer, grout, putty, level, tape measure, aluminum profile, notched trowel, usual spatula, rubber spatula, aluminum rule, plastic crosses, tile cutters.
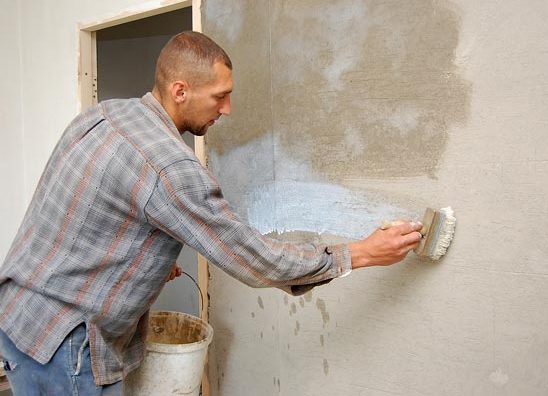
- Wall preparation . Thoroughly clean and level the walls with a putty. Then we put a primer and wait for it to dry.
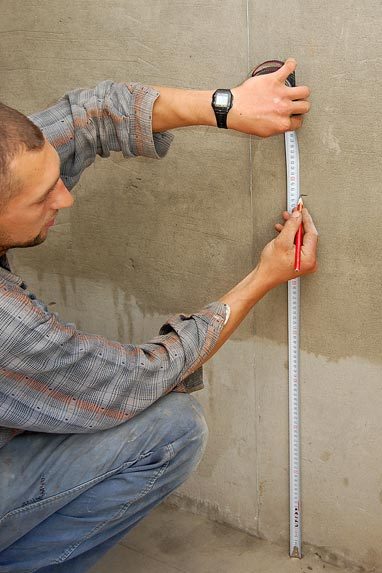
- Marking of walls . The layout is made depending on the height of the tile laying. In this case, we tile the top of the kitchen with a tile (from the work surface to the ceiling). We measure the required height with a tape measure. On the lines we draw a flat horizontal line on the wall.
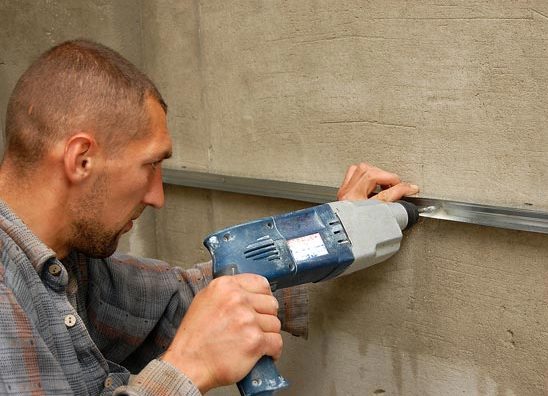
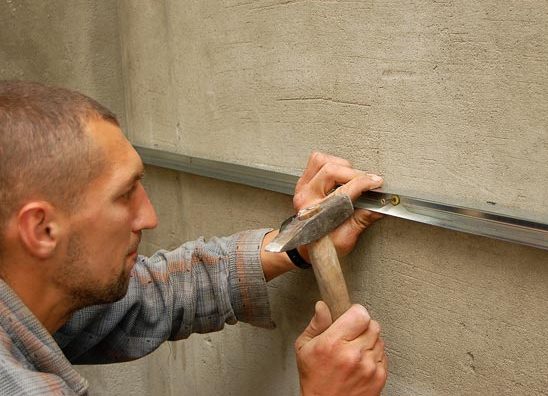
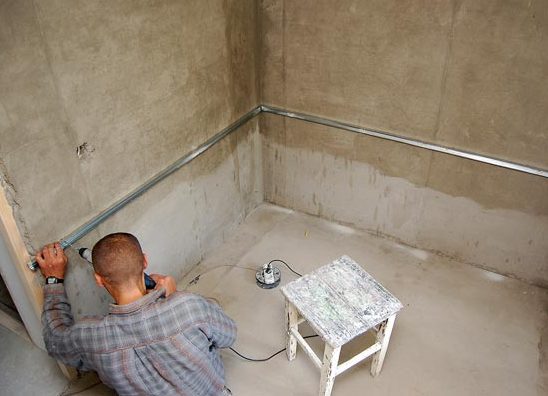
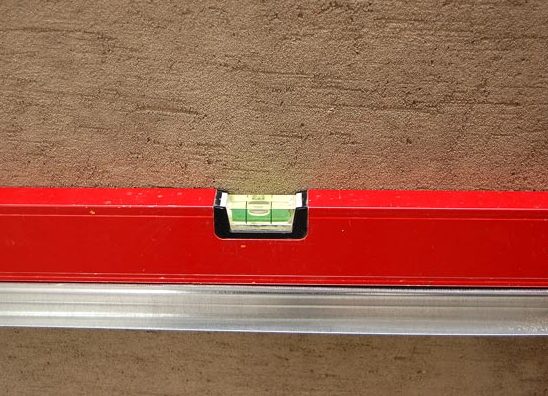
- Profile fixing . Take the aluminum profile and attach it to the wall along our line using dowel-nails. Do not forget the level to check the correct attachment.
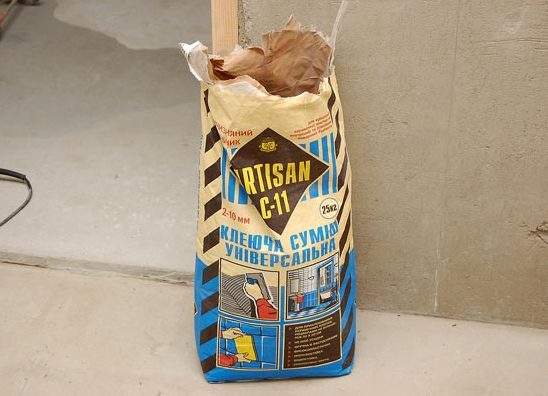
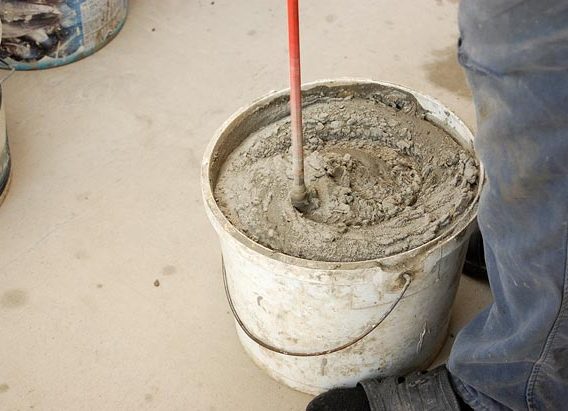
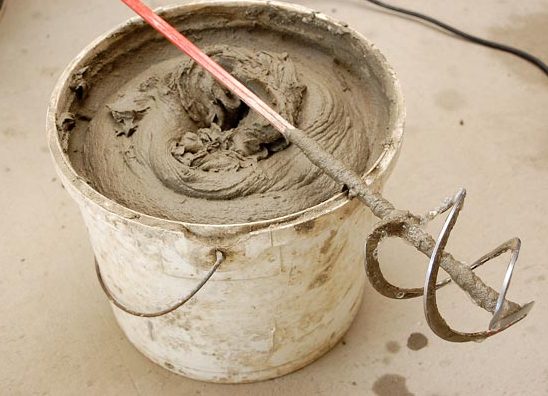
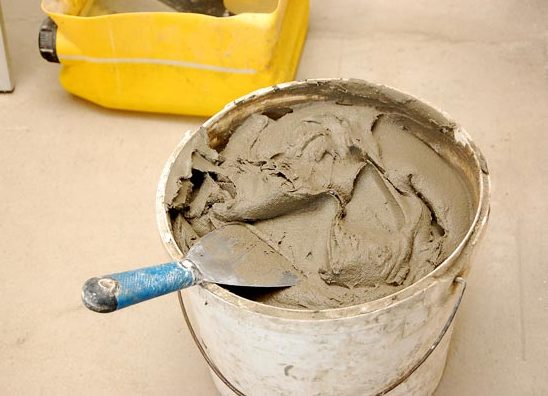
- Mixing of glue . Mix the glue according to the instructions using a drill with a special nozzle. Leave the adhesive to infuse for 5-10 minutes. Re-mix.
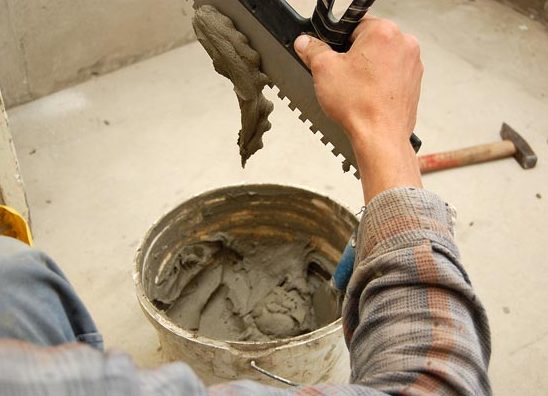
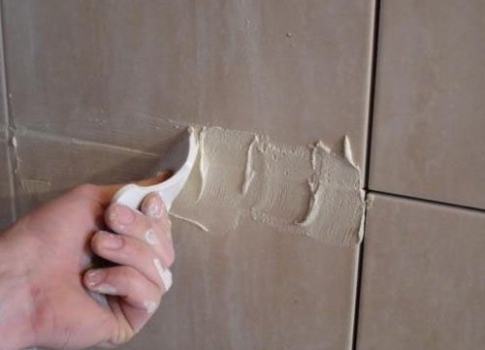
- Application of glue . Apply a layer of glue directly to the tile with a normal flat spatula, and then smooth it with a notched trowel. Remains of glue we send to the bucket.
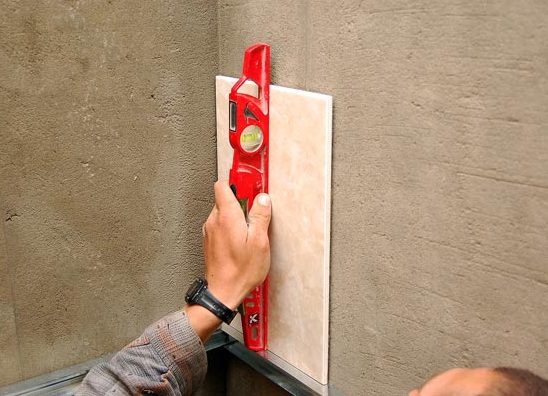
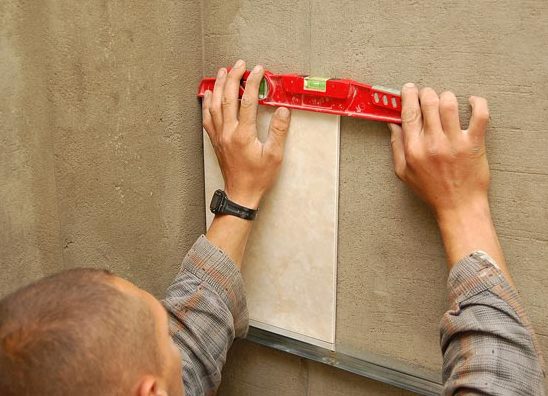
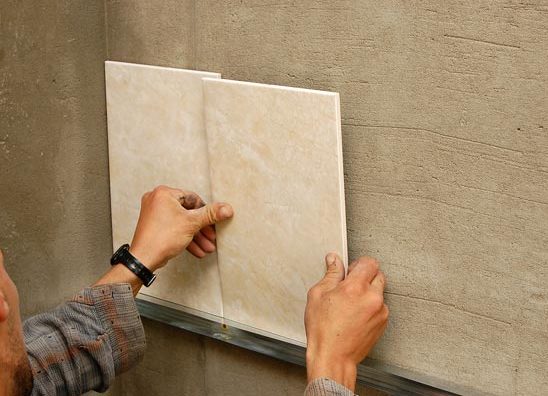
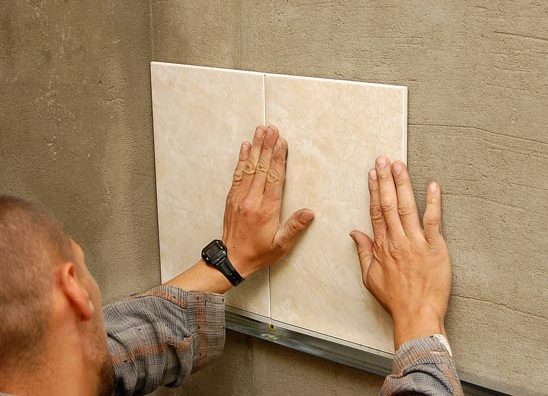
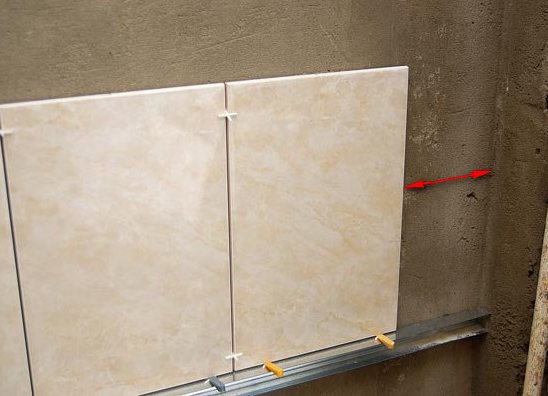
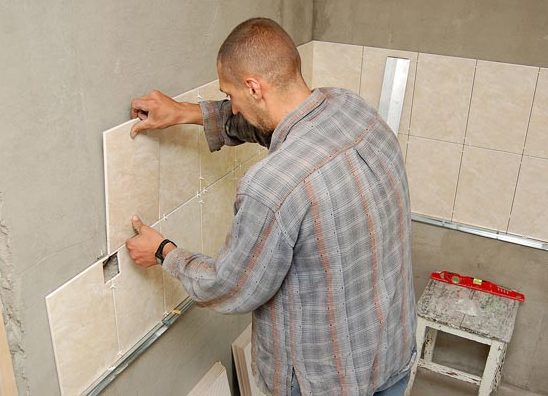
- Laying the first tile on the wall . Starting from the outer corner above the profile, apply the tile to the wall and press it lightly. Align along the wall with a level.
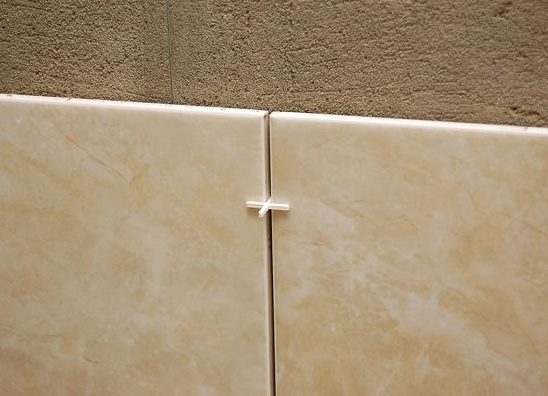
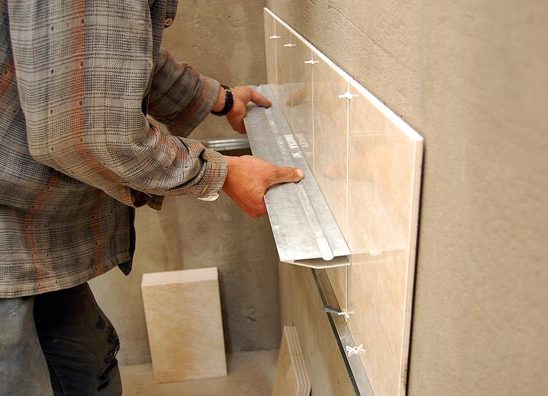
- Further laying tiles . Continue laying ceramic tiles on the wall. Between the tiles we insert plastic crosses for the evenness of the gaps. Do not forget to periodically check the aluminum wall plane rule.
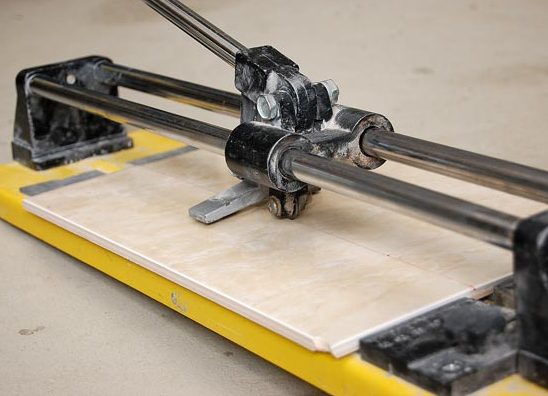
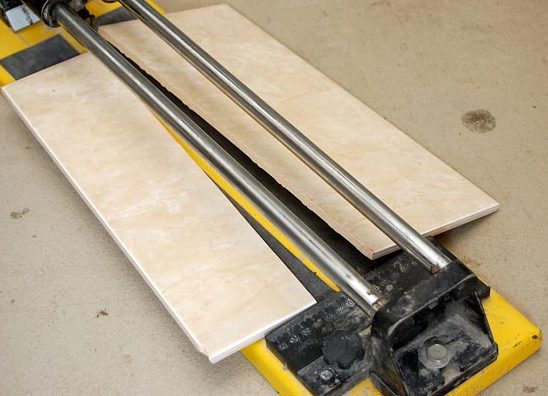
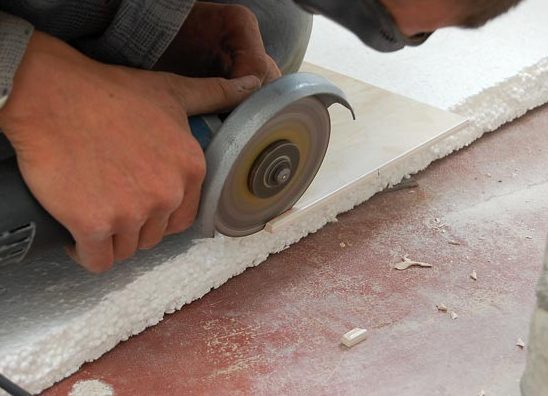
- Cuts the tiles . At the end of the row, if the whole tile does not fit on the wall, cut out a piece of tile with a tile. For round or shaped holes we use a grinder with a diamond disc.
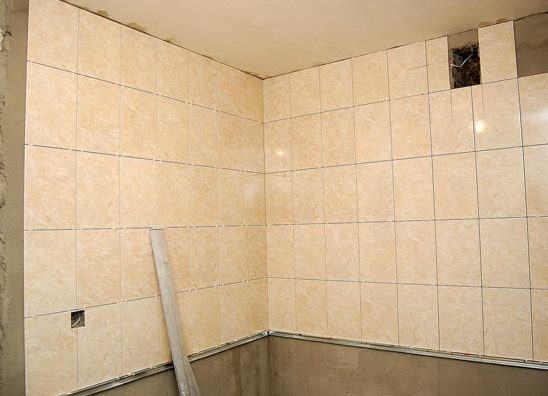
- Completion of the walls . Since we have chosen a simple method of laying the tiles on the wall ("seam in the seam") - the next rows of tiles are placed similarly to the first one up to the ceiling.
- Grout joints . After the glue has completely dried, we dismantle the profile, remove the plastic crosses and dilute the grout. Then put a grout in the gap between the tiles with a rubber spatula. Evenly distributed along the seam, and the rest of the grout immediately wipe the surface of the tiles with a damp rag.