Stained - glass windows are an outstanding work of art, with which you can easily decorate your apartment. Of course, the production of real stained glass is a very difficult, time-consuming and expensive work. But there are small tricks that will tell you how to make stained glass at home and with your own hands. For example, a stained-glass window can be made from a single glass, decorated with its own hands with special colors, and the contours of the figures can be made of wood or lead.
Stained-glass windows with wooden contours
Wooden stained glass windows look in the interior is very advantageous, especially in wooden window and doorways. You can make such a stained-glass window by yourself in the following way. Small curve twigs or parts of the roots of the tree are selected. With the help of such twigs and their bizarre bends, a pattern is formed. With the help of a construction hair dryer and a steam generator, you can twist the twigs yourself. Fasten branches to the glass with a clerical glue (liquid glass) or instant glue based on cyanoacrylate.
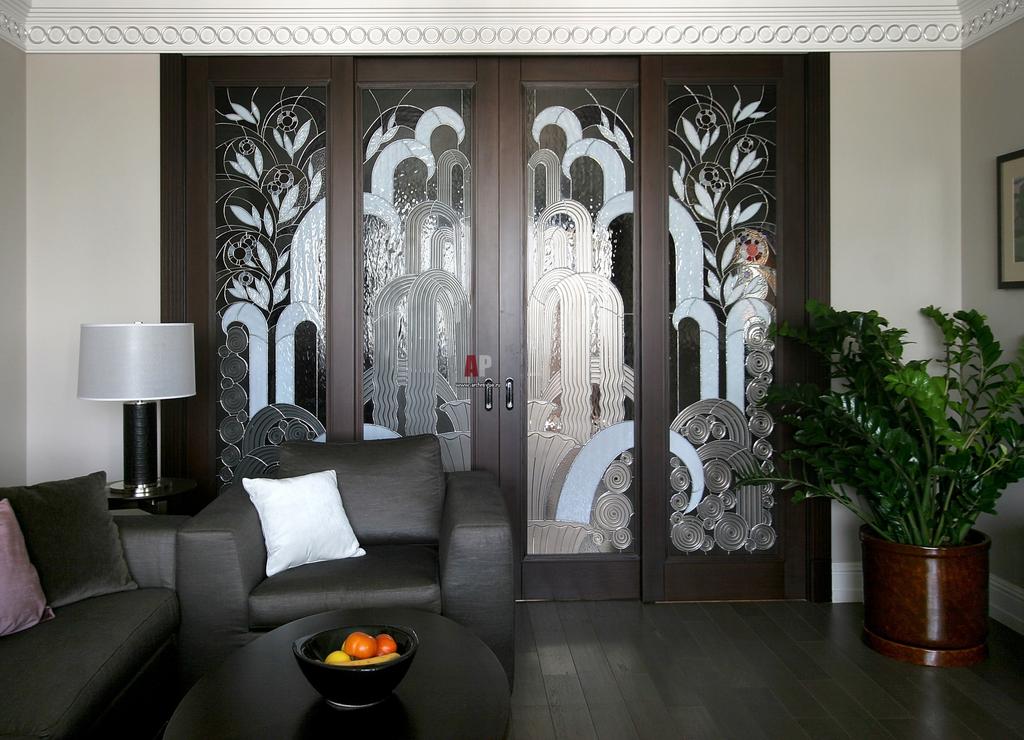
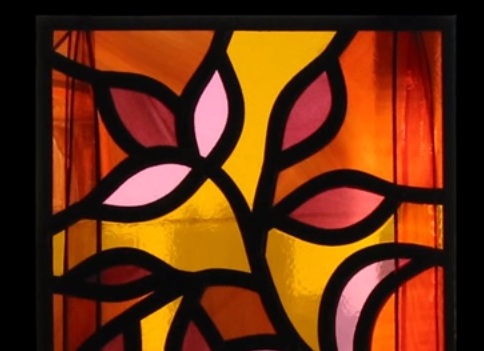
Stained-glass windows with lead contour
In the interior, such stained-glass windows look very believable and natural, almost indistinguishable from the present. After receiving a master class, they can be easily done by yourself. To this end, it is necessary to purchase lead-tin solder for soldering. The solder can be in the form of a rod, having been heated on rollers which can be used for making both a contour and a mold. Attach this form to the glass on both sides with cyanoacrylate adhesive. Such a stained-glass window made by hand from a distance of 1-2 meters looks like a classic.
| | |
Manufacturing process
For the manufacture of a stained-glass window with a lead contour, you will need the following materials: glass , lead tape, blackening liquid, colorful film for stained glass, layout of the picture on paper for glass size, acetone.
So, let's get started.
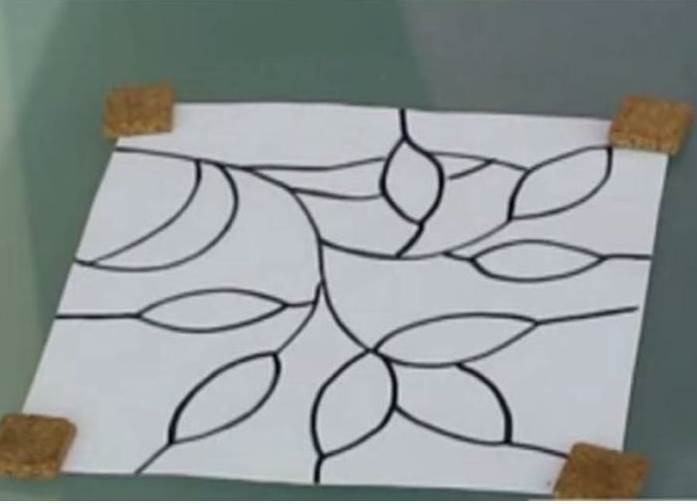
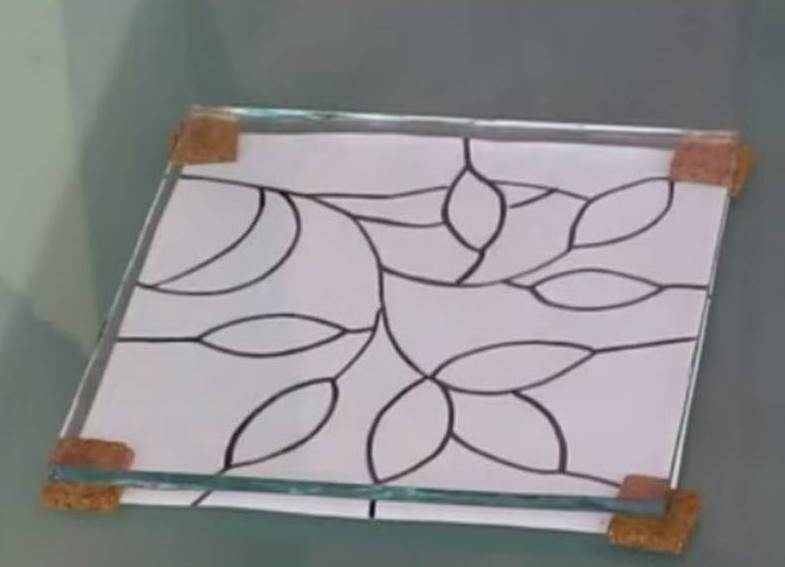
- A sheet with a picture needs to be put on the table.
- You need to make small gaskets from cork, rubber, wood and loosely paste them on the corners of the picture.
- Glass degrease with acetone, wipe dry and put on top of the gaskets.
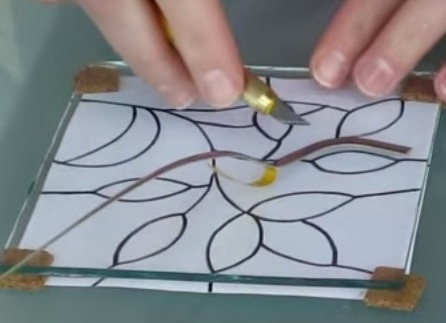
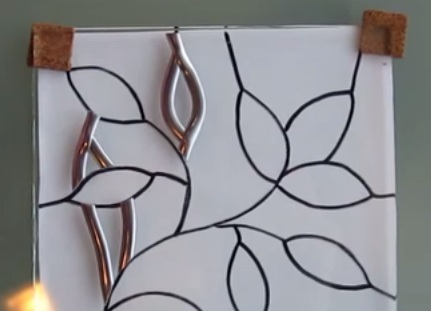
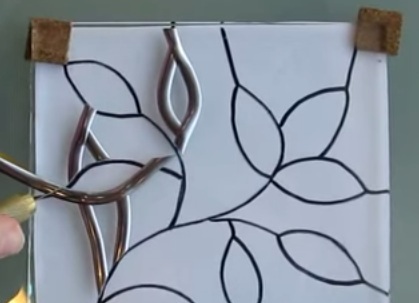
- With lead tape you spread the drawing. Pay attention to the fact that glue the lead tape in such a way that one cut end is glued to the other.
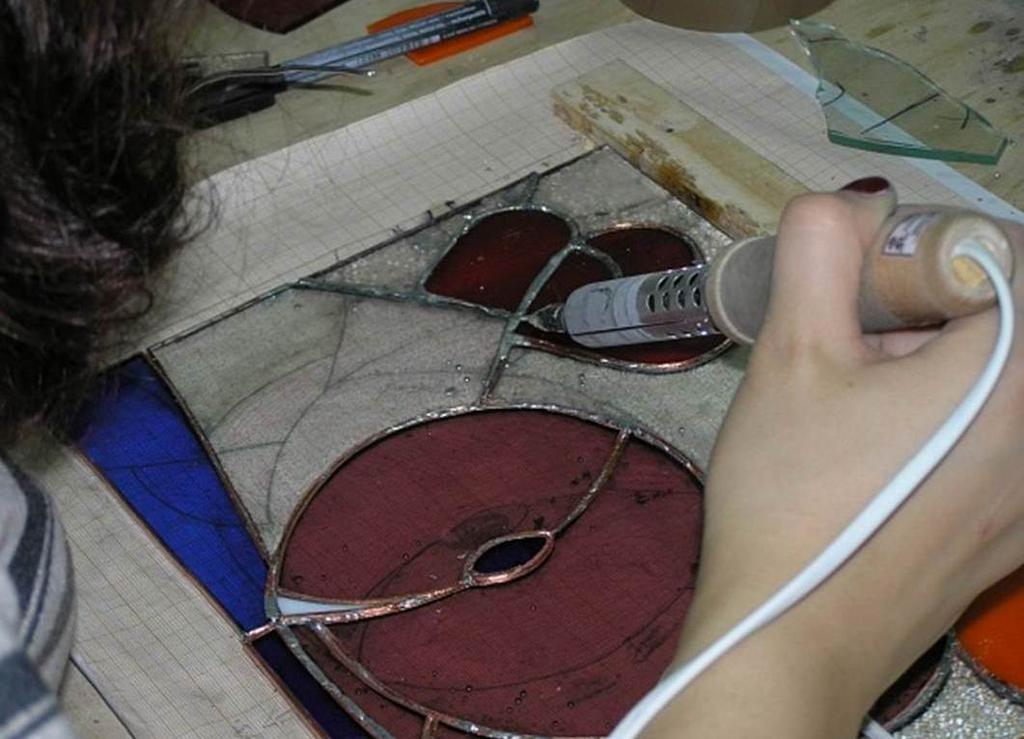
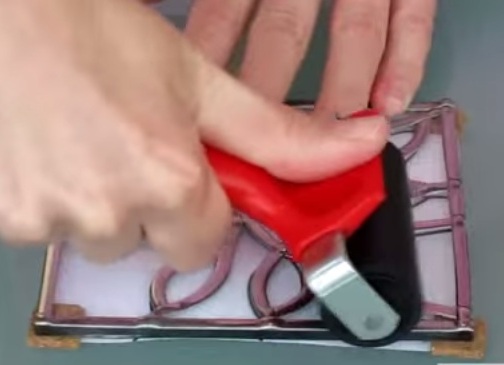
- Once the pattern is ready, use a roller to walk along the top of the ribbon, thus gluing it more closely to the glass.
- The glass needs to be turned over and ideally put on a transparent table with a backlight, if you do not have such conditions, you can do just a white table and a lot of light around.
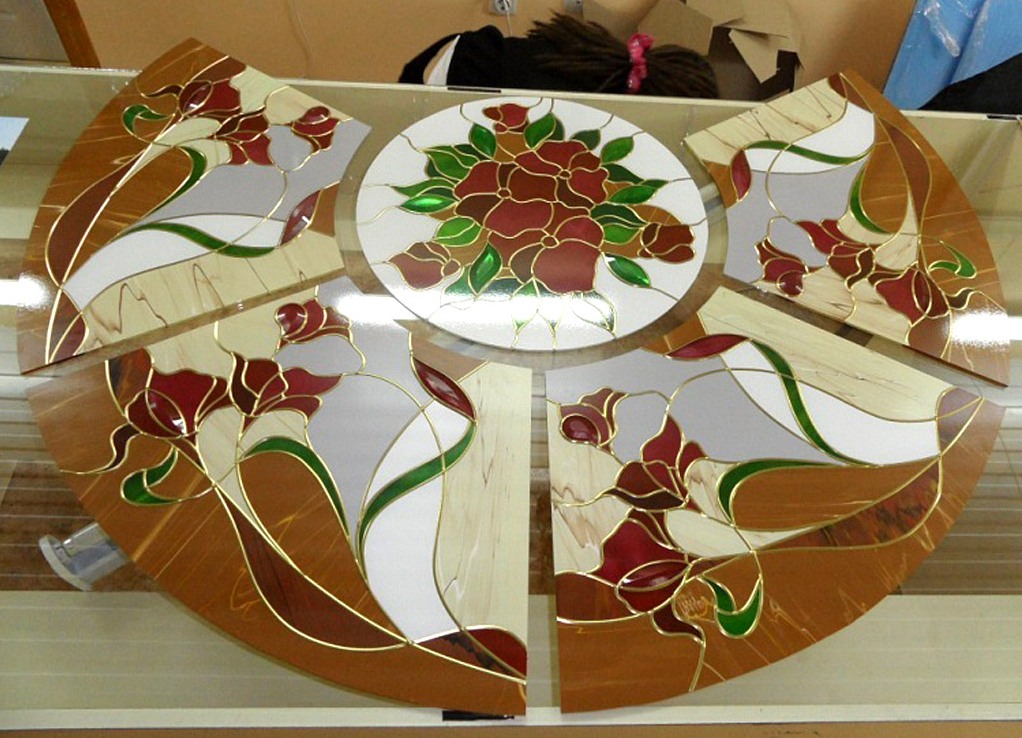
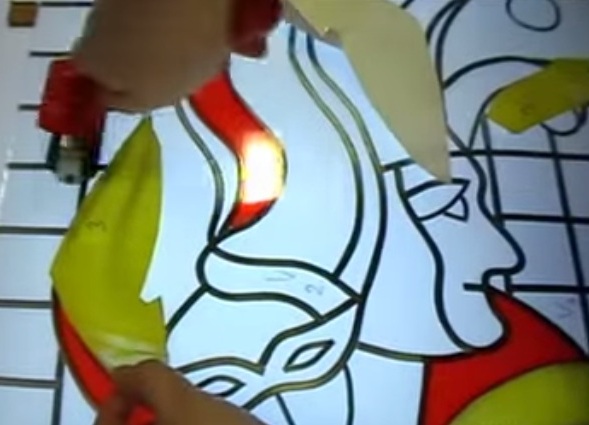
- We paste the film in this way: apply a film to the desired area, leave the allowances, in the form of gaps between the tapes, glue the film to the desired area, then, to avoid the appearance of bubbles, iron the roller.
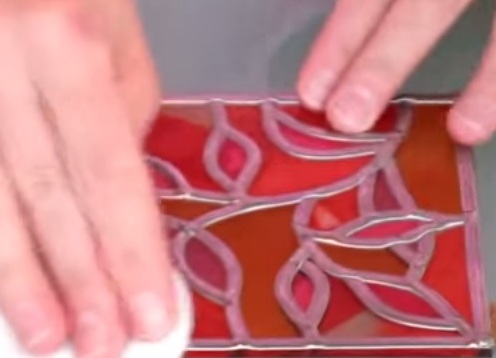
- When the film is already glued, we turn the glass and use a cotton swab to cover the tapes with blackening liquid, remove the stains from the glass.
- The result is a stained-glass window with a lead contour.
| | | |