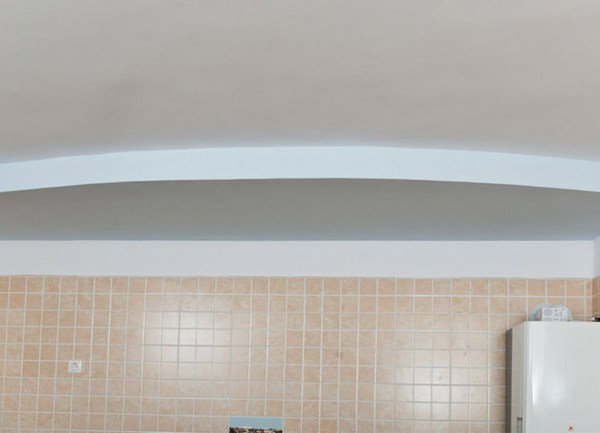
The construction of a two-level ceiling for beginners can seem an easy task. However, simple designs are quite possible to master. About how to mount a two-level ceiling from gypsum cardboard with your own hands, our article will tell.
What you need to know about two-level ceilings?
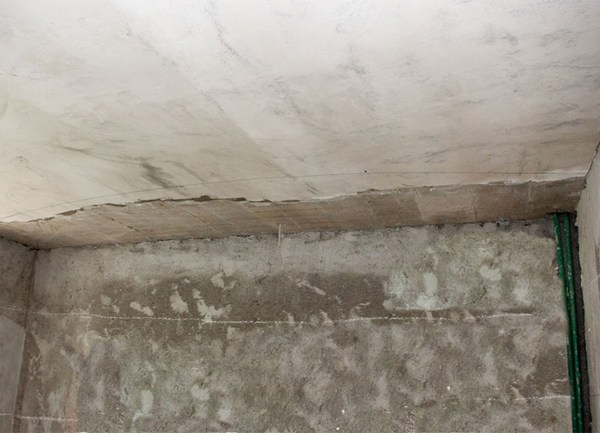
First of all, you need to determine the place of fixing the ceiling from plasterboard. If this is a premise with high humidity, then immediately buy a moisture-resistant material.
Preliminary draw the contours of your future ceiling, transfer its projection to the ceiling. And choose the type of skeleton - it can be both wooden bars, and a metal profile. The second option is preferable, because it is easy and it can be given any form.
Installation of a simple two-level ceiling from gypsum board with own hands
Materials and tools that we will need:
- profile and guides;
- drywall;
- self-tapping screws for plasterboard;
- screwdriver;
- gon;
- roulette, knife, pencil;
- level;
- ladder;
- scissors for metal;
- gloves and goggles.
So, we proceed to fabricate a frame from gypsum board. First draw on the ceiling contours of the conceived design. Draw the line until you get the result you expected.
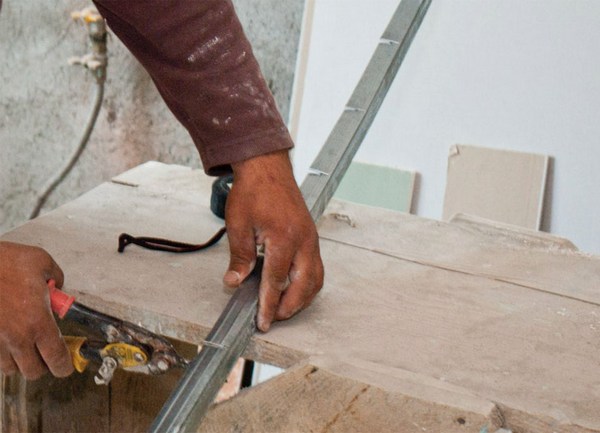
Take the guide profile and cut its wall every 10-15 centimeters. For this we use metal scissors. This is necessary so that you can give it a rounded one. For safety, wear gloves.
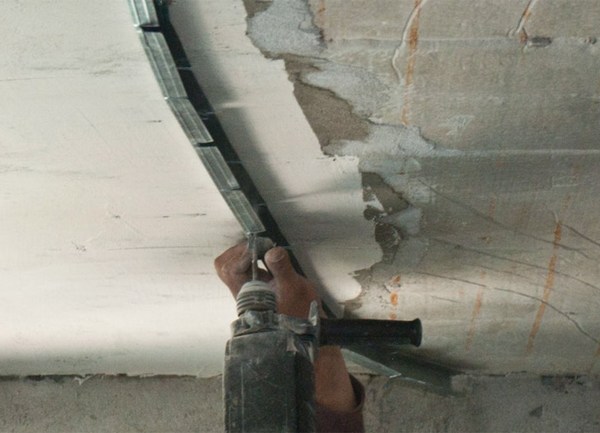
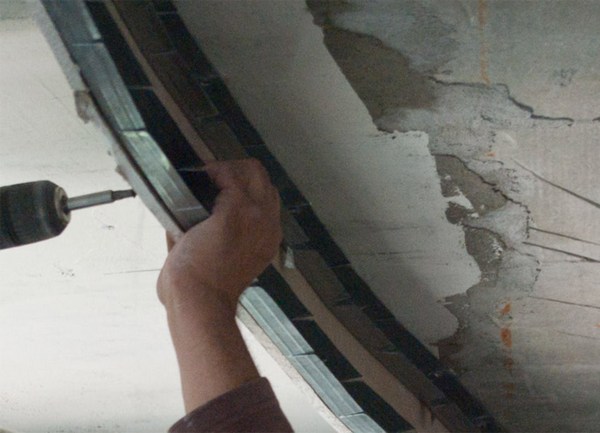
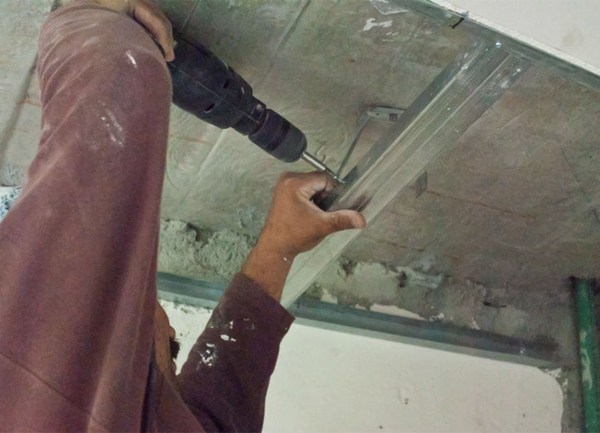
Using self-tapping screws, fix the profile clearly according to the previously planned line on the ceiling. If the ceiling is concrete, you need to drill holes in it, insert dowels and only then fix the profile. In wooden floors, however, the guides can be fixed at once.
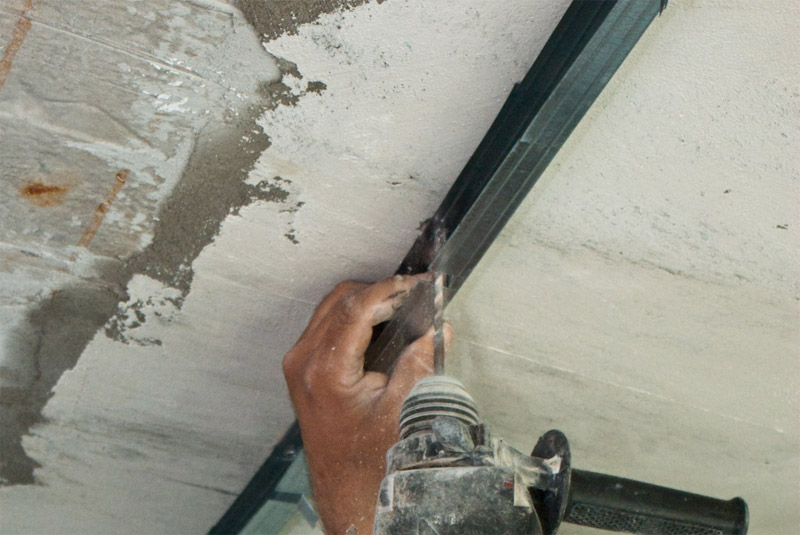
To ensure that the side wall of the profile does not interfere with the work, it is necessary to make rectangular cutouts of 2 cm in width every 15 cm, providing access to the tool.
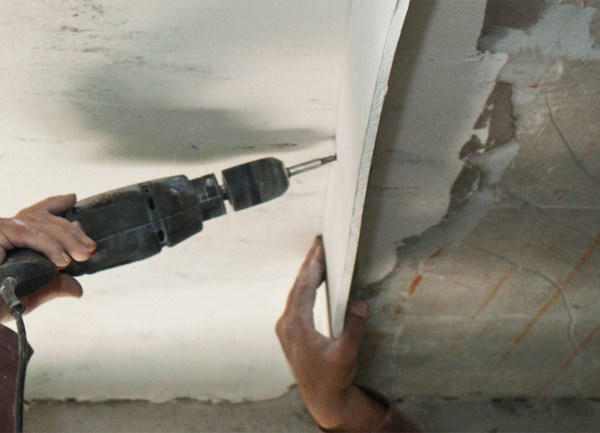
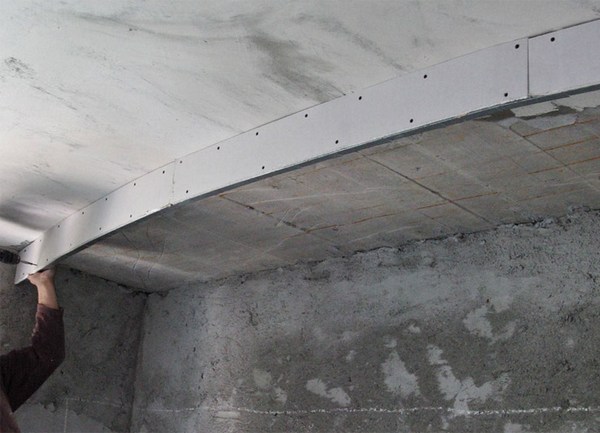
Now, when the guide is fixed to the ceiling, we proceed to the direct installation of a narrow strip of drywall that will play the role of a side wall of the future two-level ceiling. In our case, the strips are 15 cm wide, but you can choose a different size depending on the height of the ceiling and your personal preferences.
You need to fix the plasterboard with screws using a screwdriver. If the thickness of gypsum board is 9.5 mm, then enough length of self-cutters is 25 mm. Screw them in at a distance of 15 cm from each other.
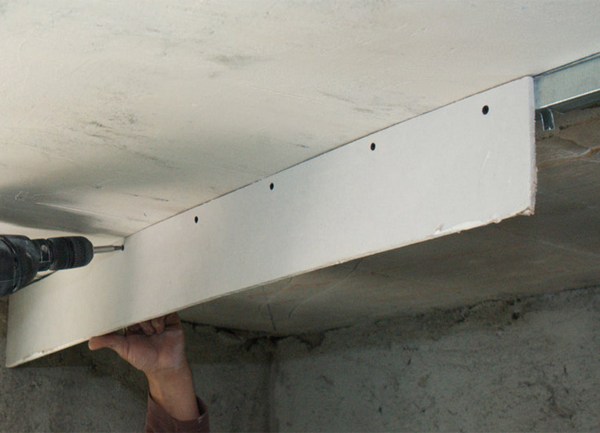
Before you start installing each subsequent strip, be sure to make sure that they are aligned and fit tightly to each other. Between the stripes there should be no cracks, and the screws must fully enter the drywall, that is, their caps should not rise above the surface. Also, try to trim the edges of the drywall qualitatively. Otherwise, you will spend a lot of time at the finish of the ceiling.
| | |
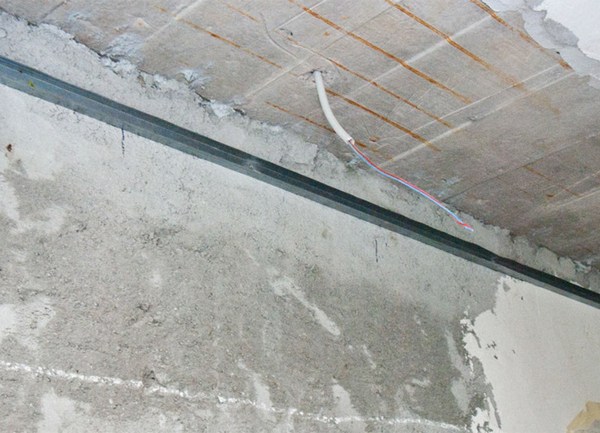
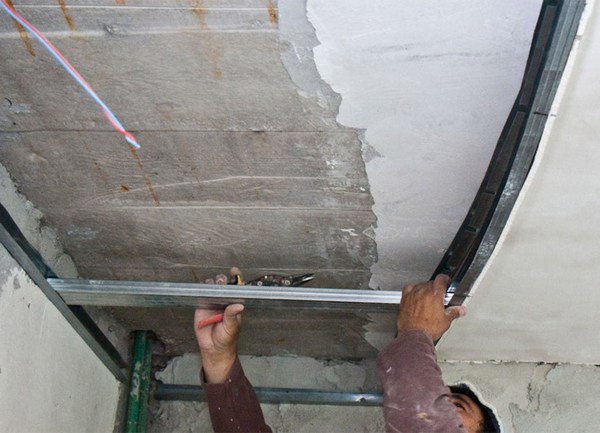
It's time to establish the 2nd guiding profile on the previously fixed strip of drywall. Again, first make incisions and cutouts on the walls of the metal profile, and only after that start to screw it, gradually giving it a curved shape.
Screw the screws with a screwdriver every 15 cm - then the design will turn out to be tough and reliable.
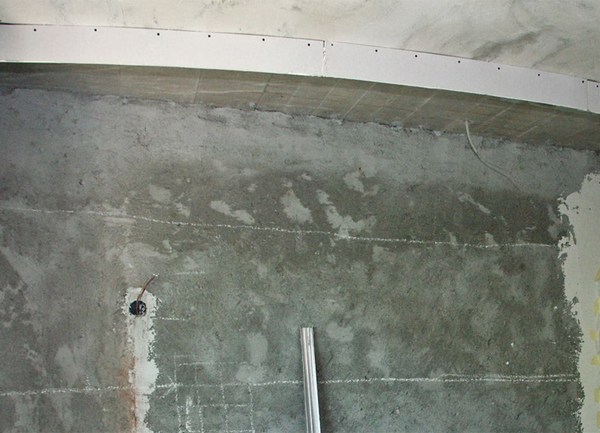
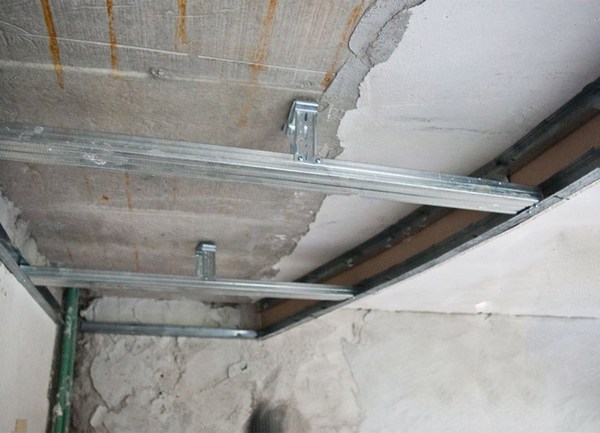
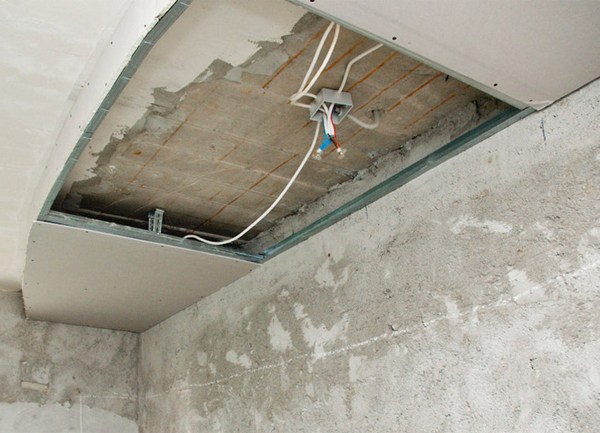
Build a frame of gypsum cardboard further, fixing the metal profile on the opposite wall. Note that it must be strictly parallel to the previously installed profile. To do this, use a laser or alcohol level.
The frame is strengthened with the help of support profiles, which connect the two guides. The distance between the crossbeams should be about half a meter. Focus on the width of the gypsum board: the crosspiece must be at the junction of the two sheets, so that both of them are attached to it from both sides.
Also, to increase the stability of the entire structure, metal hangers are mounted to the ceiling, which are then fastened to the jumpers.
| | |
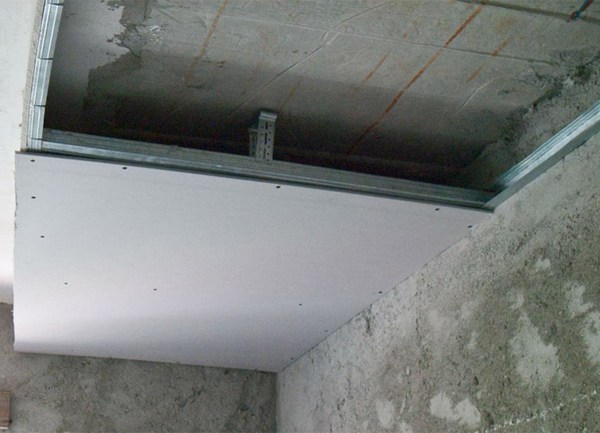
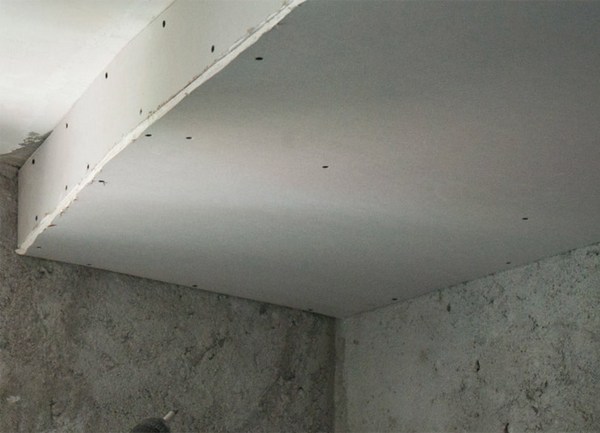
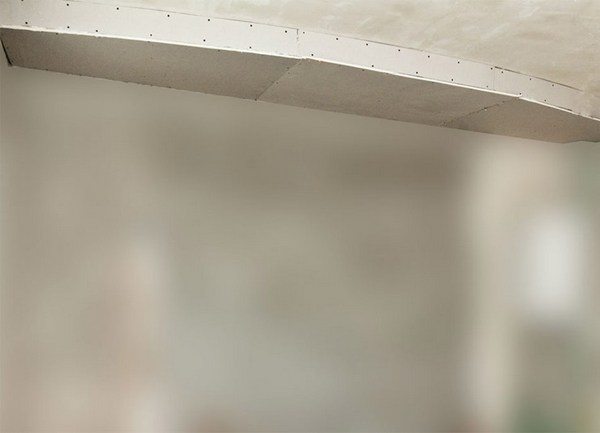
It remains to cover the frame with plasterboard. And on this our two-level suspended ceiling made of gypsum board , made by own hands, is ready for further processing.
| | |
| | |