Interior doors , like all other wooden products, lose their original appearance after a certain time. We use them daily, so their surface eventually wears out, the outer covering can crack, and if you have small children, the doors can easily serve as an easel.
The service life of the door depends on the quality of the materials from which it is made, and ranges from 5 to 20 years. If you are not set up to update the doors in your house too often, choose only expensive and high-quality models. Another way to return the wooden interior doors of its presentable appearance is repair and restoration.
Restoration of interior doors with their own hands - a master class
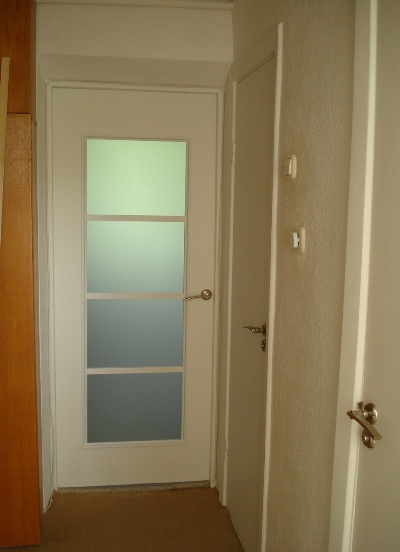
In this master class, we'll look at how you can transform a door between a living room and a corridor. Thanks to this restoration, your hallway will become lighter and visually a bit larger. Let's find out how to achieve this.
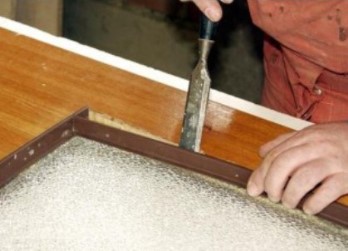
- The door, which we will restore, was originally glazed. Starting the process of restoring the doors with our own hands, we will remove the glass from the box to replace it with a new one. With a metal spatula, carefully ply the laminated strips and remove the glass. Be careful not to cut your hands!
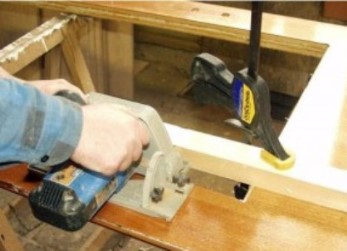
- Since the door was of standard dimensions and the glass itself is narrow enough, let's increase its area so that more natural light penetrates into the hallway. And for a more original design, we use not one whole glass cloth, but three parts. To do this, we need to enlarge the hole in the door with a circular saw.
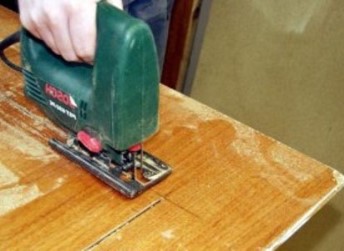
- If you work with a circular electric saw, then you will not be able to cut out the right angles - here it is better to use an electric jigsaw.
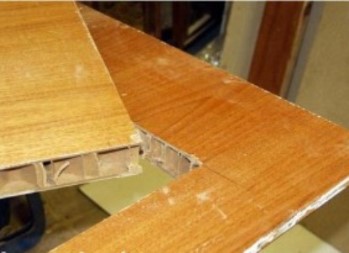
- Cutting the door leaf, we see that the inside of the door has a so-called honeycomb filling - partitions of dense cardboard, reminiscent of honeycomb.
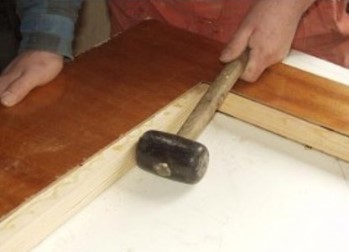
- We need to fill these voids with wooden bars of the appropriate size. In order that the cardboard does not interfere with your work, slide it inward with a hammer.
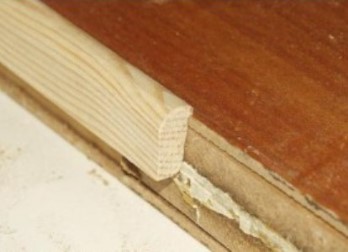
- Choose brusochki suitable thickness, cut them to the desired length and fix in the holes with glue. For the restoration of wooden doors with their own hands is best to take a reliable polyurethane or universal dispersive adhesive. Make sure that the edges of the door and bar are at the same level.
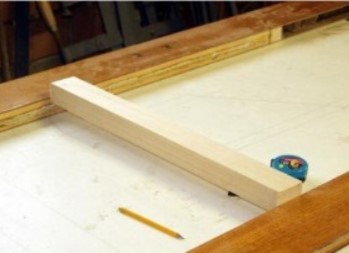
- Now you need to make partitions that will separate the glass from each other. We also make them of wood. Use bars of minimum width, because your goal is to increase the area of the glass coating. The thickness of each bar should be equal to the thickness of the door leaf itself. Arrange the wooden blocks in such a way that they divide the hole in the door into three or four equal parts in height (for this, always use the tape measure).
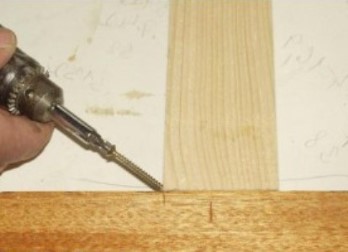
- Secure the partitions by screwing them with screws. The bars should sit between the sides of the door leaf as denser and more securely as there will be glass between them.
- To the inner ends, glue the wooden glazing beads, which will fix the glass. Remember that when restoring doors from veneer, accuracy and accuracy are very important, otherwise the result of your work will look gross.
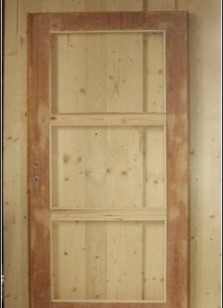
- This will look like the interior door of the veneer after the restoration of their own hands. You only need to cover it with paint, then insert the glass and return the door to the place in the door frame. Use a paint of light shades - it suits best for interior doors. You should also keep in mind the color matching of the door and the interior of your apartment as a whole.
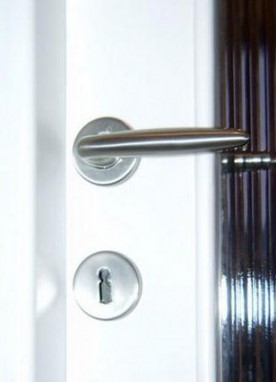
- The final, finishing touch is the installation of new hardware.