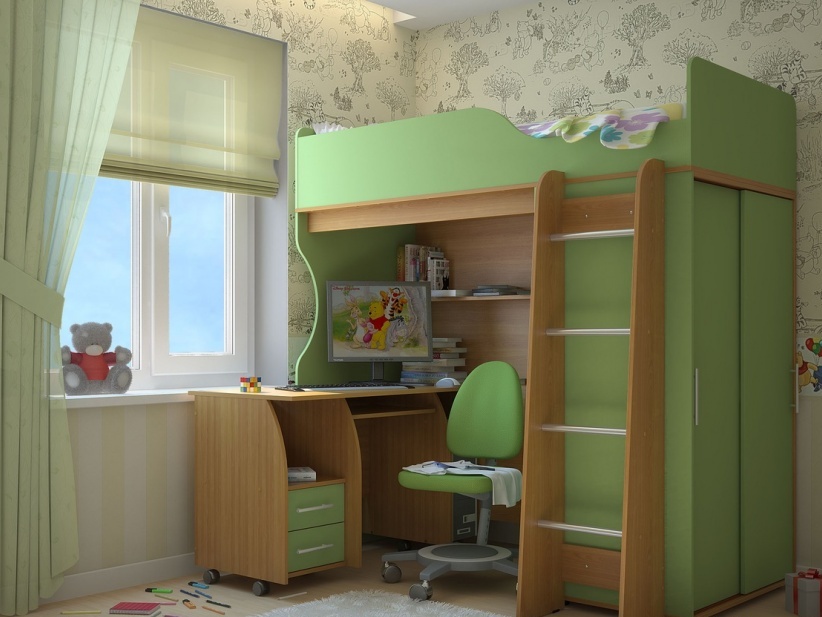
The need to save living space forces people to come up with various adaptations and new types of furniture - sofas- transformers , wardrobes-beds that are conveniently built into the wall, bunk beds . The loft bed is also becoming popular, this multifunctional furniture is increasingly found in our apartments. Do not confuse it with an ordinary bunk bed, which provides children with only sleeping places located at different altitude levels. The bed-loft is designed for only one child, but it provides its maximum comfort with maximum space savings.
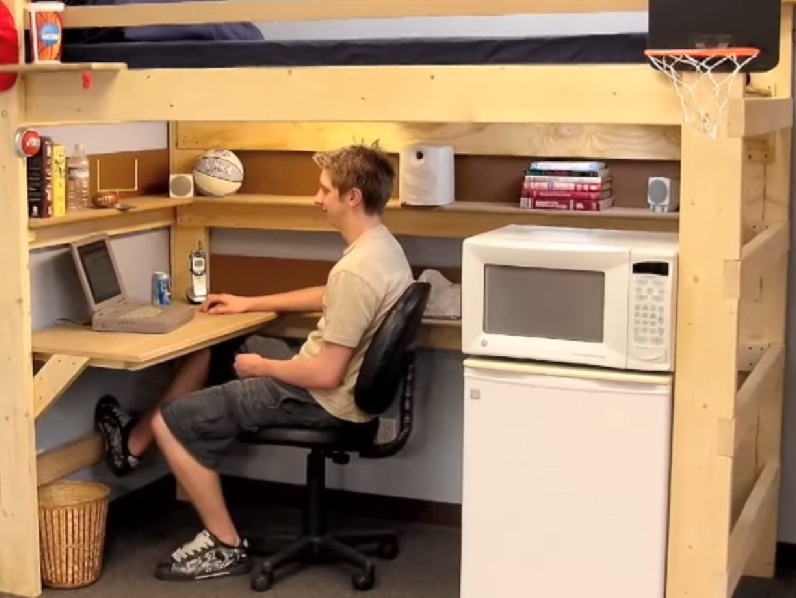
If the second tier is traditionally a place to sleep. The first tier can be equipped in different ways. At the bottom you can install a desk, a computer, a bookshelf, a place to play. It all depends on the preferences of the child and his age. If a child is under five years old, this design seems dangerous (children sometimes sleep restlessly and are afraid of heights), then for a teenager it can be a godsend. Especially helping out is made by own hands a children's bed-loft of those parents who have a small apartment.
How to make a loft bed yourself?
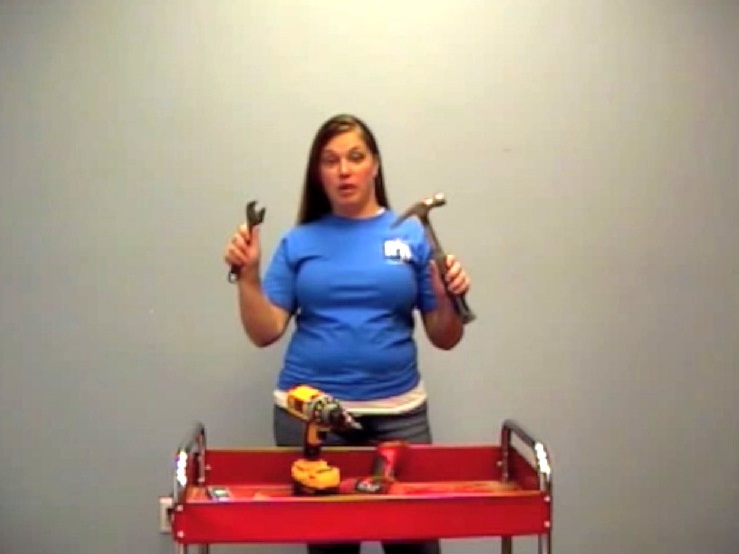
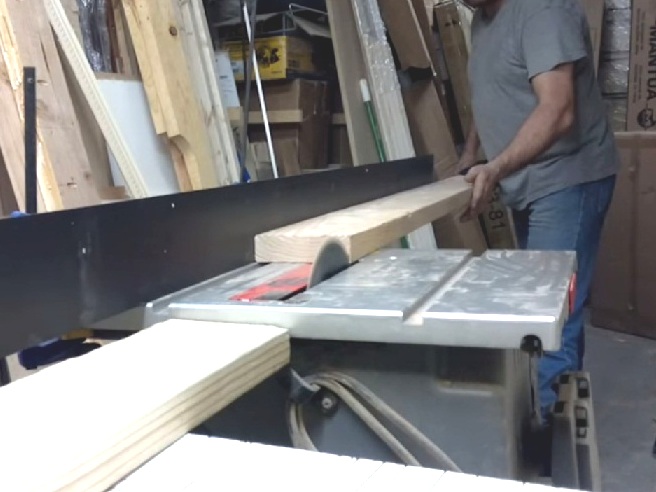
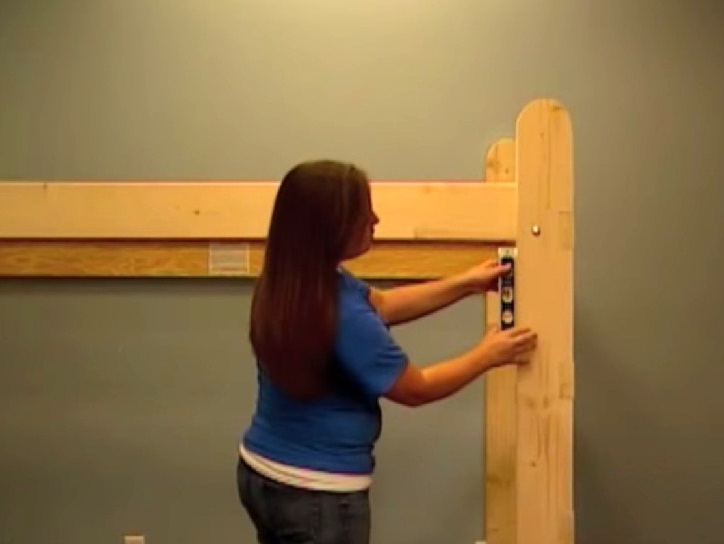
- First of all, buy or lend the simplest carpenter's kit - a hammer, a screwdriver, a set of wrenches, a level, a tape measure, a square, carpentry glue, various fasteners, hardware and other simple devices.
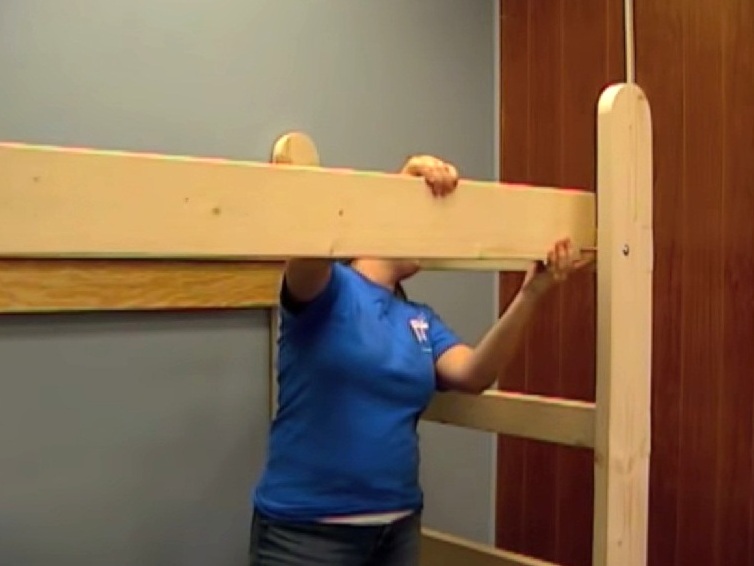
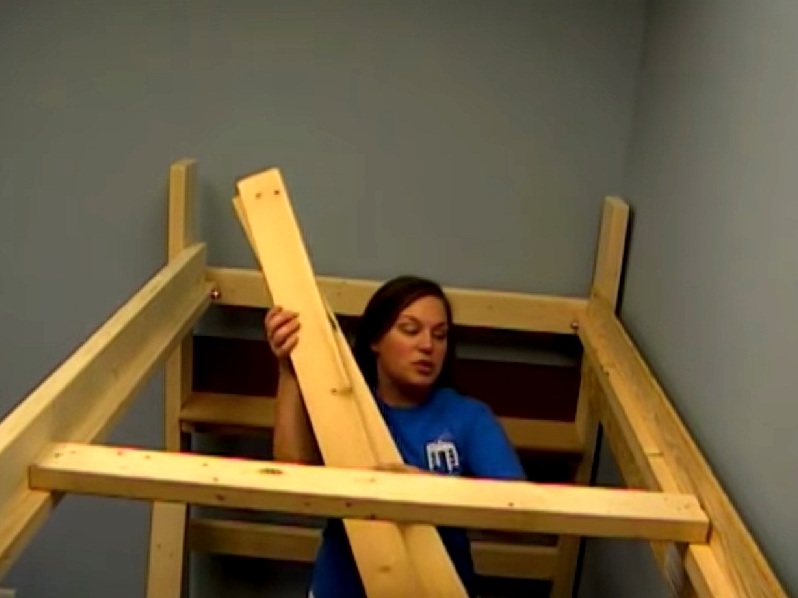
- As a material for the bed frame it is better to use a thick wooden beam. Also, dry boards will be needed, which will be used for sheeting of the rack, on the rail and for making a sturdy staircase.
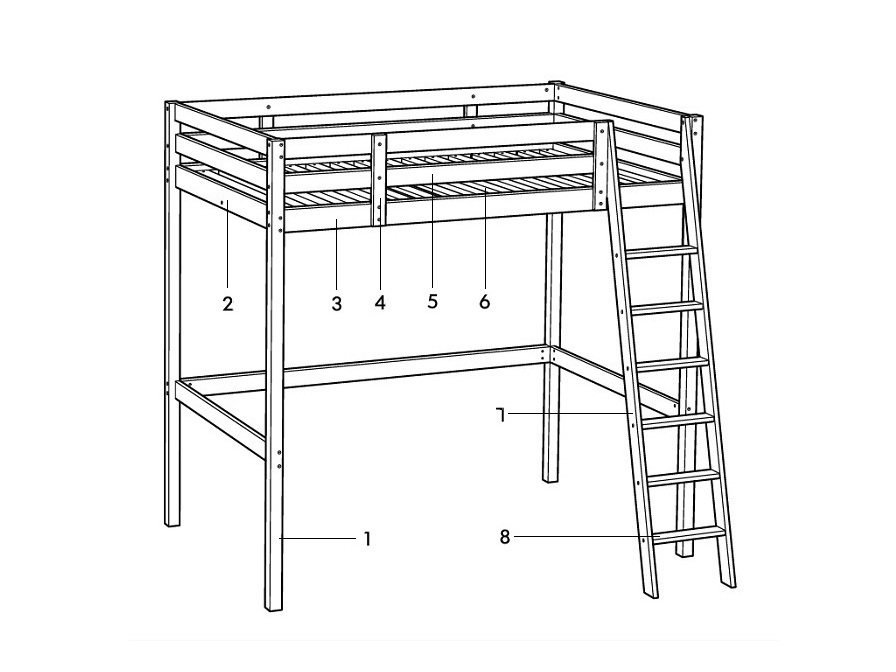
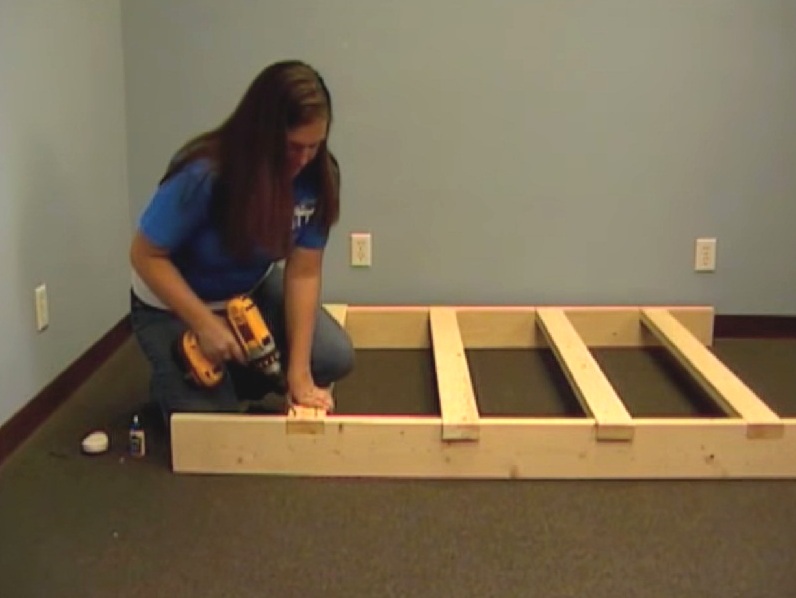
- To make a loft bed with your own hands, you need to decide on its design and develop a blueprint. It turns out that you have several options:
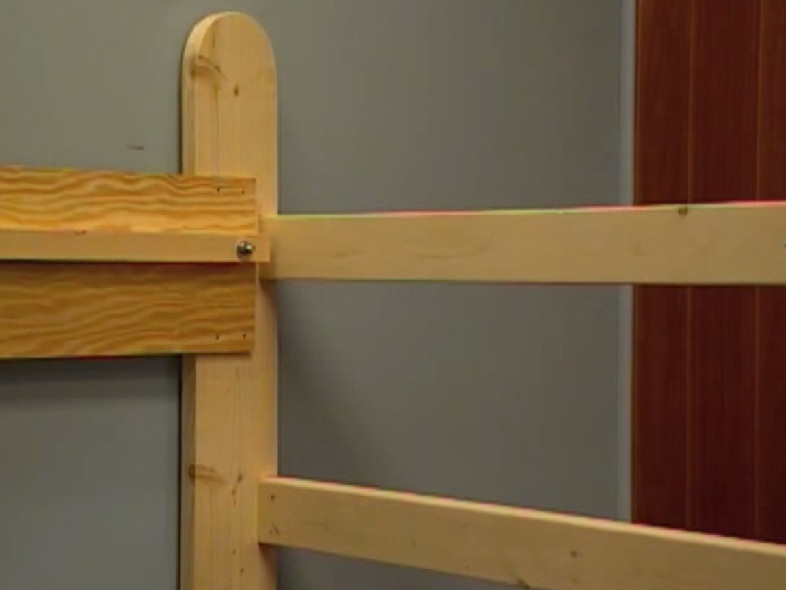
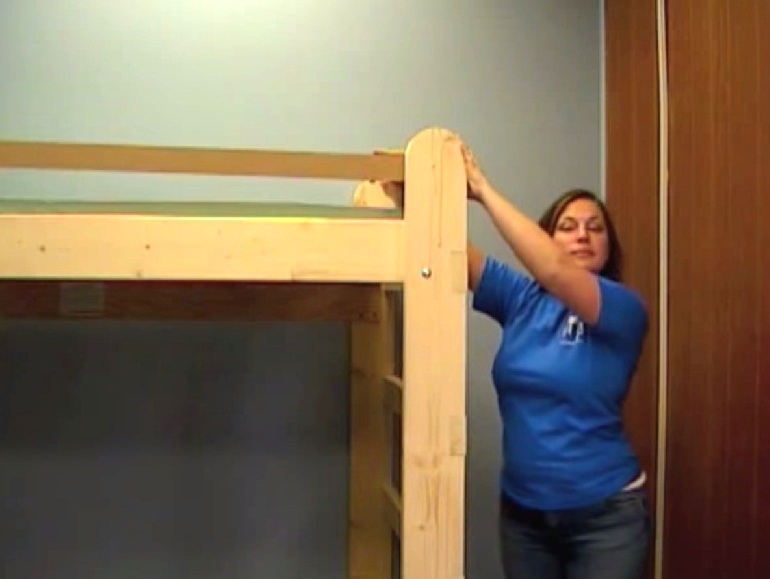
- bed with four pillars;
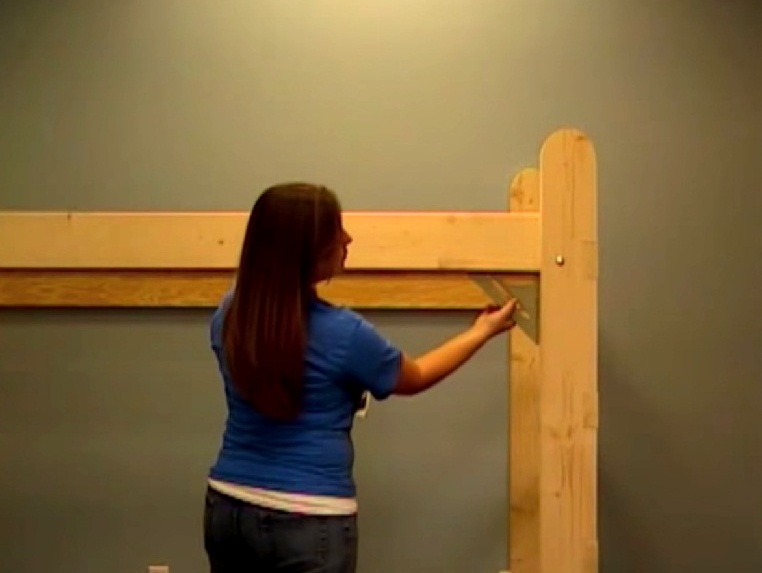
- the bed rests on two supports, which is fastened to the wall by the second side;
- the bed is completely without racks, equipped with a ceiling mount.
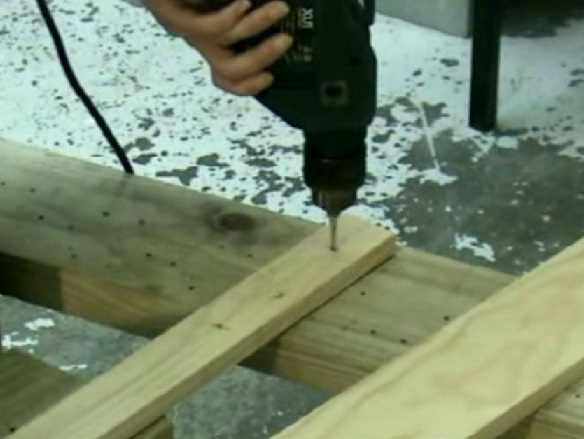
Proceeding from this, draw a drawing and make a detail.
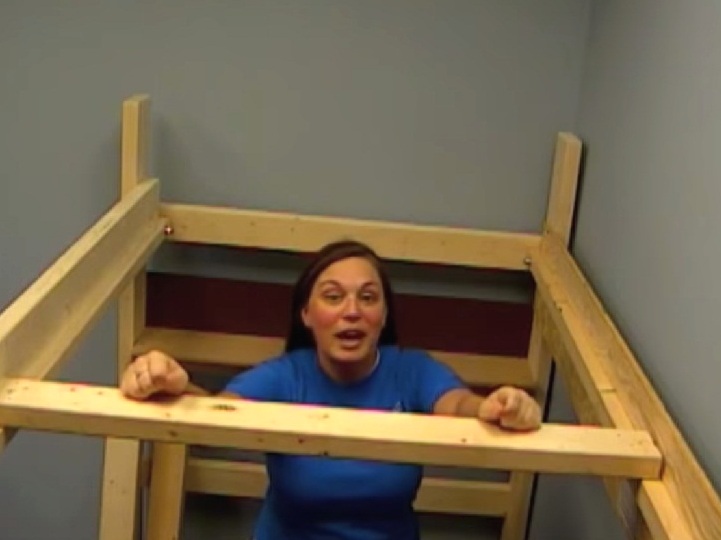
In the master class we showed how to make a loft bed to make the life of your child more comfortable even in a small apartment. You can make such furniture yourself, you just have to be patient, buy some building materials and tools. But you will get as a result an exclusive device that meets your requirements, which fits perfectly into your interior.