A floor lamp is a kind of table or floor lamp, the hallmarks of which are a high stand (foot) and a lamp shade, due to which the light dissipates and becomes soft. If you are not afraid of experimentation, you can make a floor lamp with your own hands.
How to make a lamp with your own hands: a master class
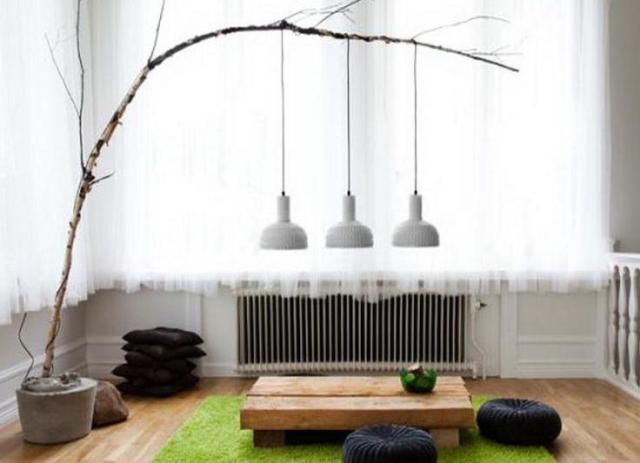
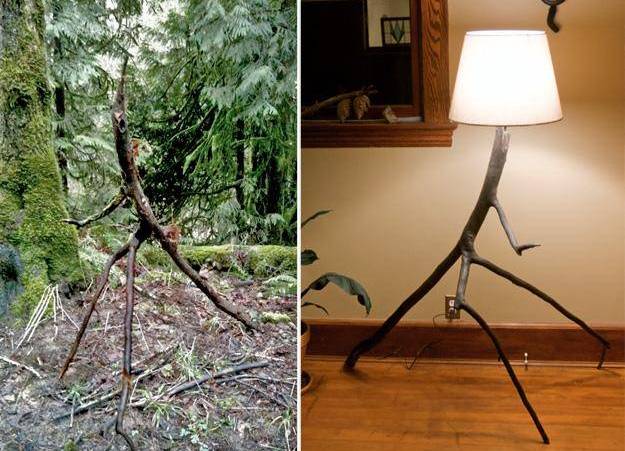
The design of a floor lamp made by oneself can be very diverse, it all depends on the capabilities and imagination of the artist. For example, you can make it based on the usual tree branches.
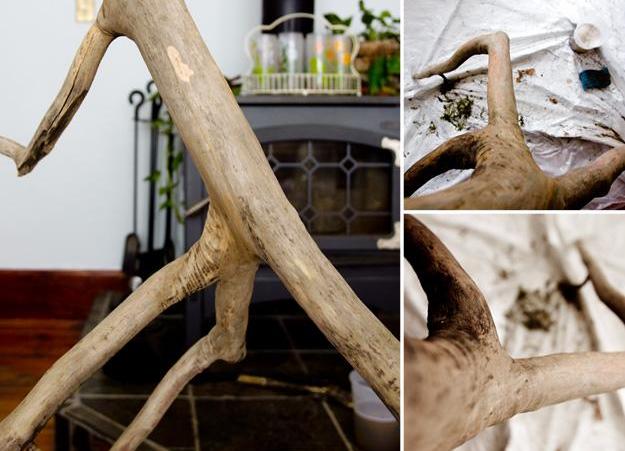
- We are looking for a piece of wood on the street, interesting in shape and appearance. If such a branch was found, you should prepare it by cleaning it from the knots with sandpaper. That's what should happen.
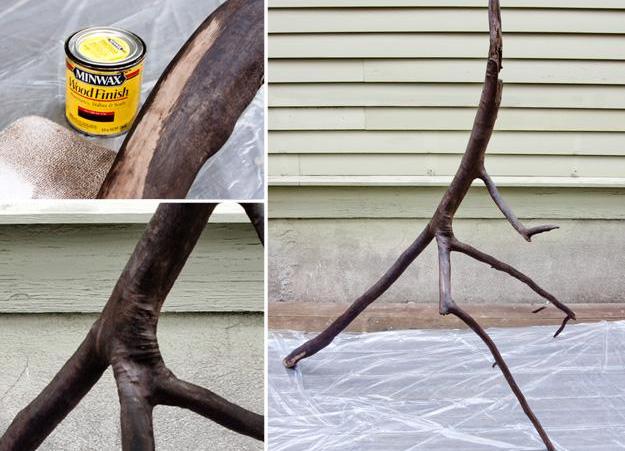
- The next step is to cover the branch with a special agent that impregnates the wood. You can also use varnish for this purpose. After this, let the tree dry out.
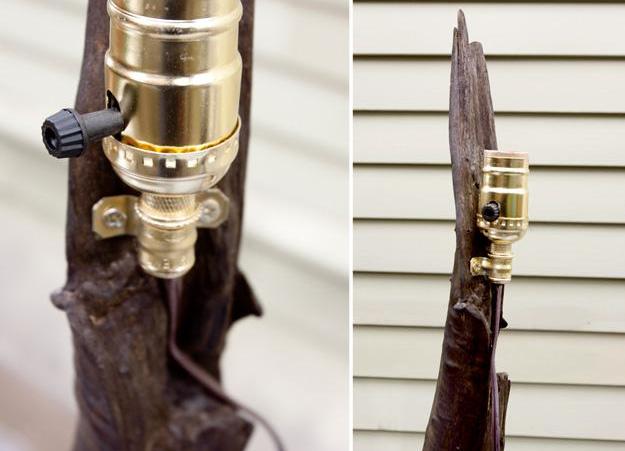
- Next, you need to stock up the power cord with a plug, switch, lampshade and other decor elements.
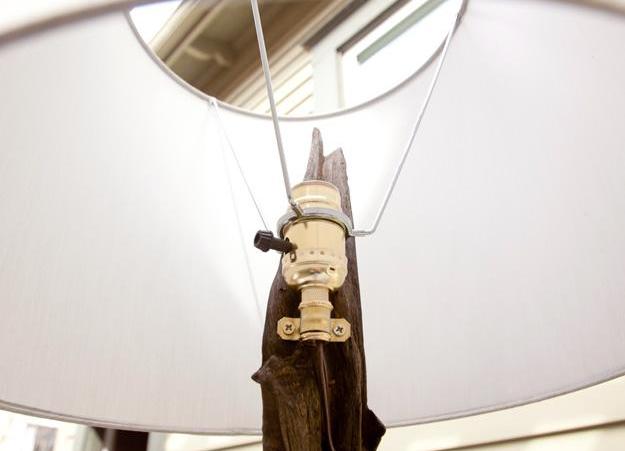
- An important step is fixing the electricians on the branch. To do this, pull the wire down the tree , attaching it with the wire clips.
- The lampshade mounts the work.
That's what can happen from a normal branch.
In general, the decor of a floor lamp made by oneself is a strictly individual matter and depends on the room in which it will be in the future.
How to make a creative floor lamp from improvised tools?
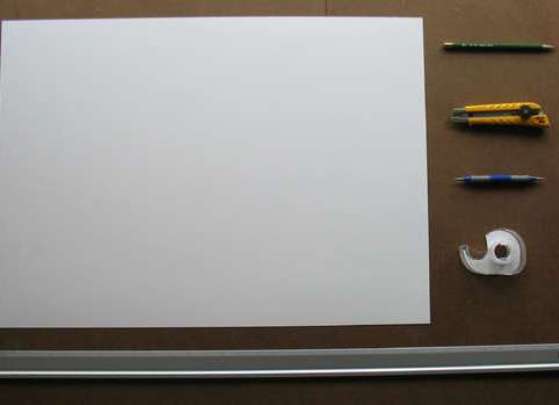
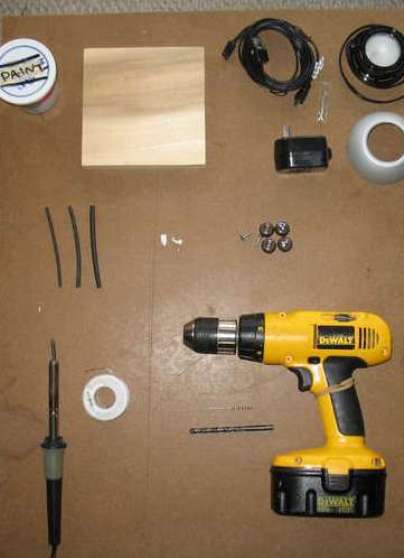
Take a thick paper format A2 or plastic, a long metal ruler, quality double-sided adhesive tape, a blade, a simple pencil. Also, you can not do without a tool for carving, soldering iron, a square piece of wood as a base, white paint, a soldering iron, liquid insulating tape or 3 heat-shrink tubes, light bulbs, screws and a drill with 3/32 inch drill bits. In order for the floor lamp to function, you need a cord, a plug, clamps for the wire and a switch.
| | |
Let's start the installation:
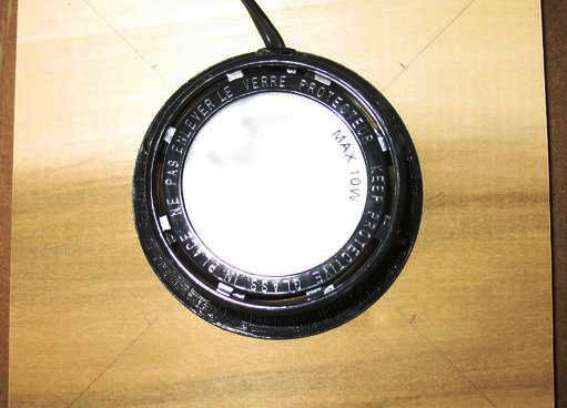
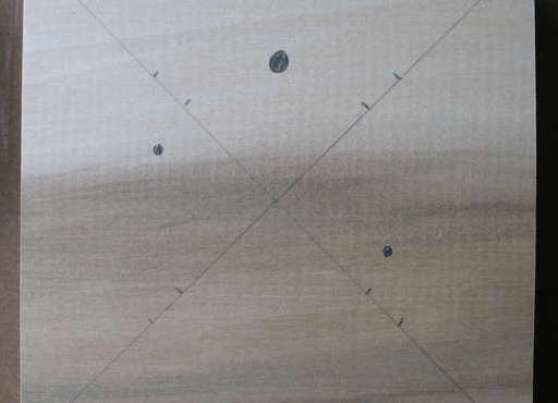
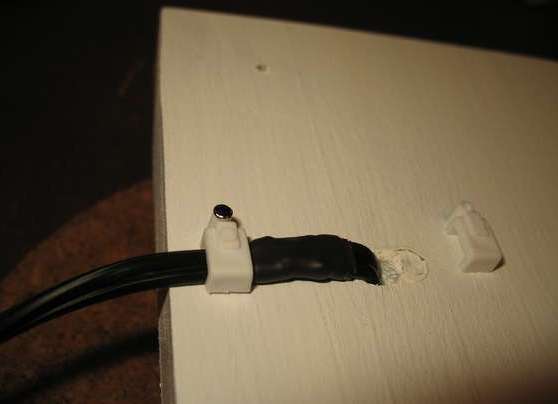
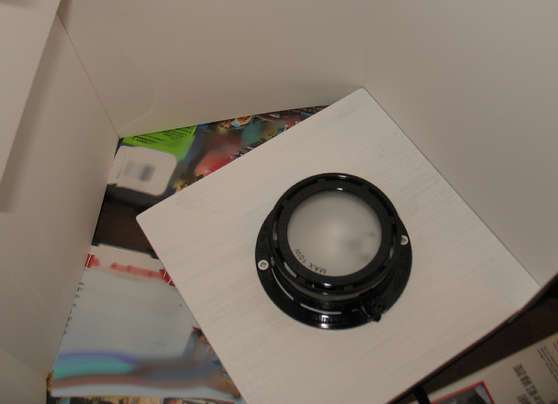
- In the center of the wooden base we place a light bulb (soffit), we make markings, including for the exit of the cord.
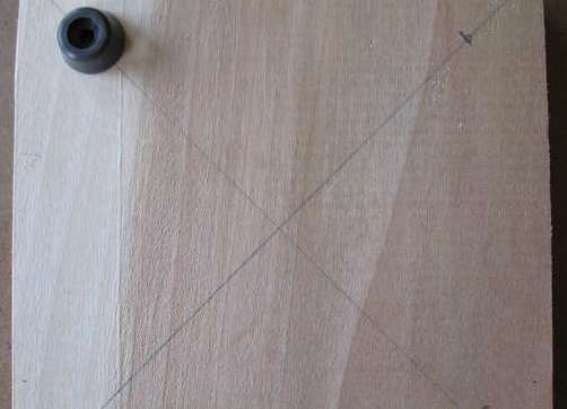
- We collect the base - the tree is covered with white paint, extend the wires through the planned holes, fix them with electrical tape, then fasten them with clamps.
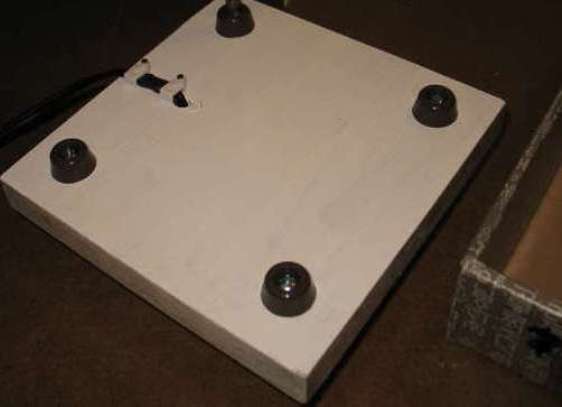
- The next step is fixing the legs.
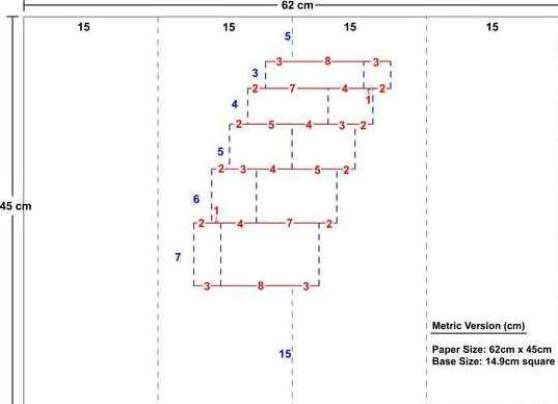
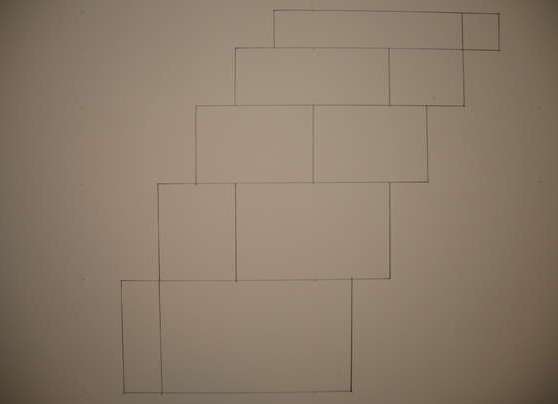
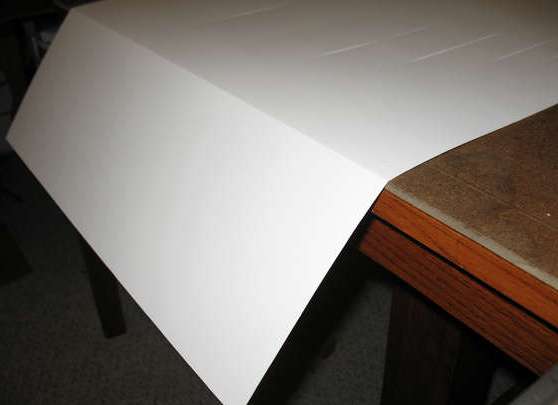
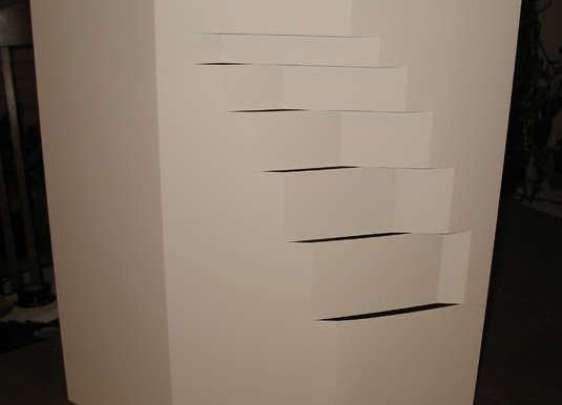
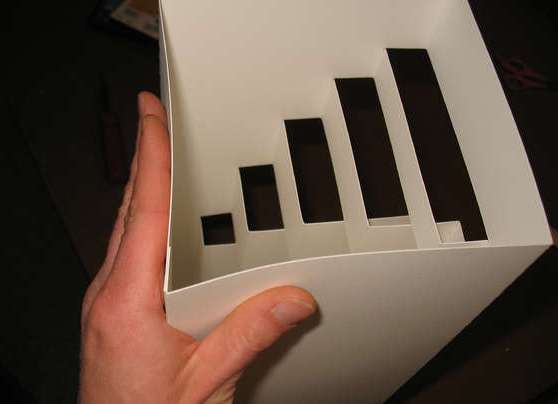
- Let's start decorating the product: on the plastic or thick paper, make the markings according to the template, where the red lines are cut, in blue - the fold.
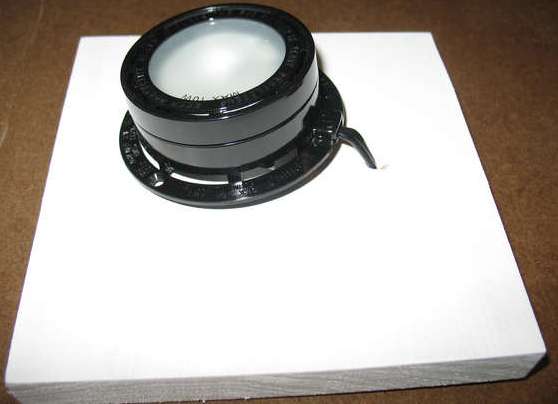
- At the final stage, you need to attach the shade of the shade to a wooden base. (Photo 20)
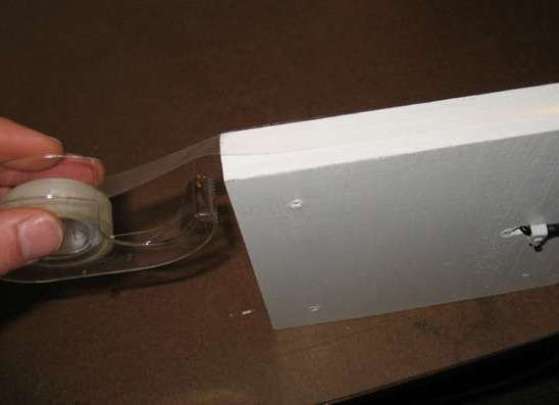
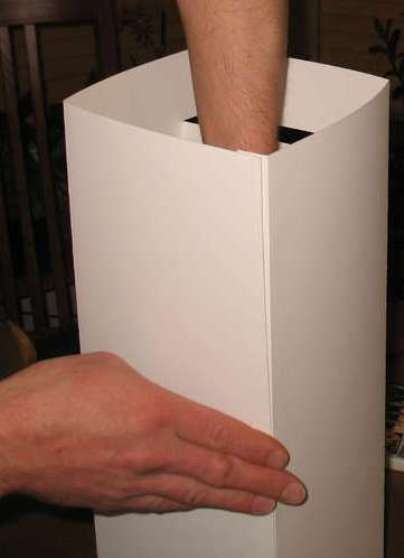
- To the edge of the base we "apply" a wide double-sided adhesive tape, where we then attach the lampshade. (Photo 21.22)
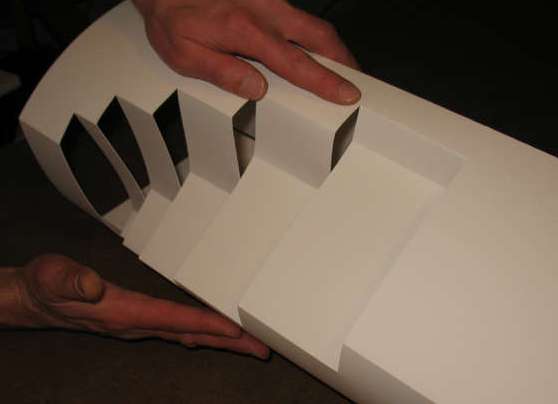
- Adhesive tape connect the last vertical seam, adjust all the folds. (Photo 23, 24)
| | | |
| | |
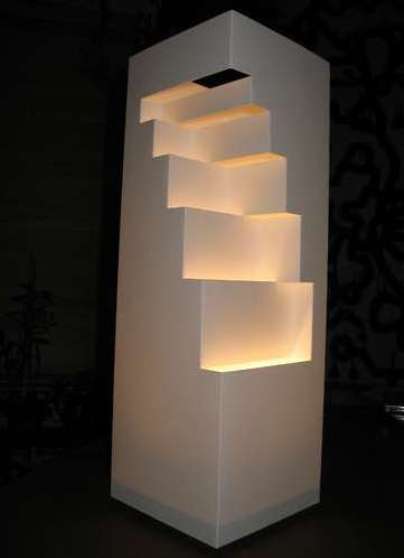
In practice, we get:
| | |
| | |
| | |
| | |
All is ready!