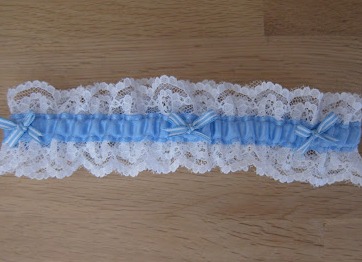
Currently popular in our country is the custom to dress the bride's garter . After the painting, at the banquet the groom is supposed to take it off the feet of his newly-made wife and throw into the crowd of unmarried guys gathered. This custom, of course, does not refer to the traditional Russian traditions and came to us from Western rituals, as well as throwing a bouquet. But he so quickly won his love among our brides, that almost every newlywed woman considers this wedding attribute obligatory. Of course, the easiest way to buy a garter in any wedding salon: good, their range is quite large, and even the most demanding bride will choose the model you like. This will save time, which, as a rule, is so lacking in pre-wedding fuss. But, you must agree, how touching it is to make a wedding garter with your own hands and know that it is the only one of its kind. By the way, this is not so difficult, as it may seem at first glance. It is enough to have the very trivial sewing skills. Well, do not forget about the good mood! So, we'll tell you how to make a garter with your own hands.
How to sew a garter with your own hands: materials are needed
To make the necessary attribute of the dress of the beautiful bride, garter, you should prepare:
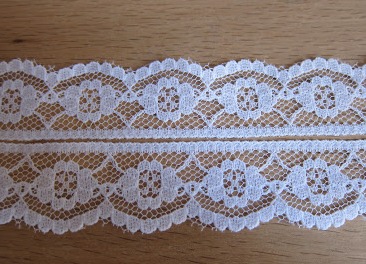
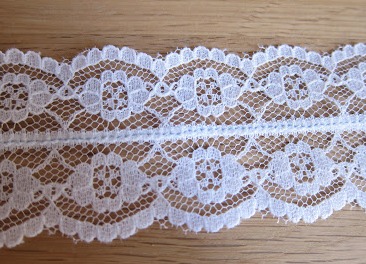
- A piece of white lace. We recommend to buy a lace in which one edge is straight. Then we will simply connect the pieces of lace with each other to get a wide canvas. If you manage to find a piece of wide lace, you will have less work.
- A piece of tape or ribbon of blue color with a width of 1.5-2 cm.
- The elastic band that will be needed for the future garter to stay on your leg. Its width should be less than the width of the tape.
- Thin ribbon in a white-blue stripe for the manufacture of decorative nodules.
- A thread that matches the shade of the blue ribbon.
Wedding garter: master class
So, we turn to sewing the garter of the bride with our own hands.
- First you need to measure the length of the future garter. To do this, measure by the centimeter the width of that part of your leg, located just above the knee. Add to this measurement another 30 cm.
- Cut two lengths of lace of necessary length (leg width + 30 cm). If you have one wide lace, you only need one piece.
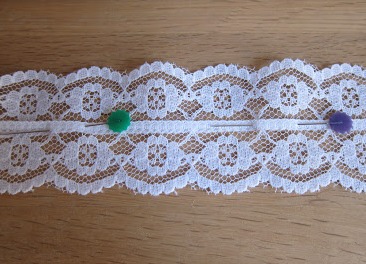
- Carefully overlap the pieces of fabric one on top of the other so that the lace edges are on the outside.
- Securing the joints with safety pins, lace the pieces of lace one by one with a machine stitch so that they barely touch each other.
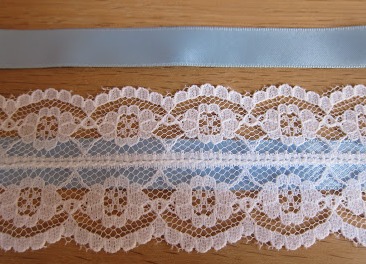
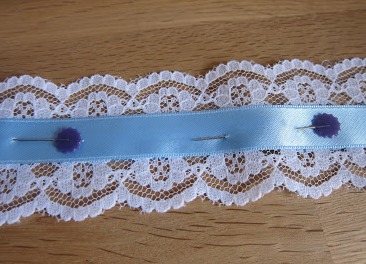
- Now you need to make two pieces of blue ribbon with the same length as the lace.
- One of the pieces of ribbon is placed under the lace exactly in the middle. And now just the same, that is, in the center, but already on top of the lace arrange the second segment. Both ribbons should be absolutely compatible. Where necessary, prick English pins.
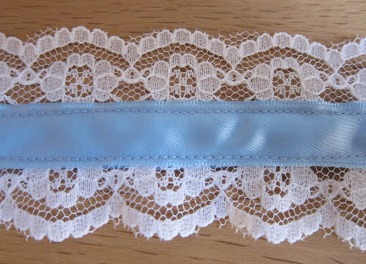
- But now comes the time of the most painstaking work. Using a sewing machine, you need to attach the straps to the garter on top and bottom. Note that from the edge of the tape you need to retreat no more than 1-2 mm. Do everything slowly, and carefully. When the tapes are stitched, they form a channel where you can put the rubber band.
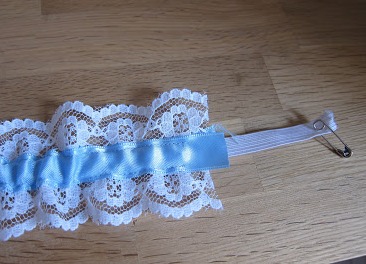
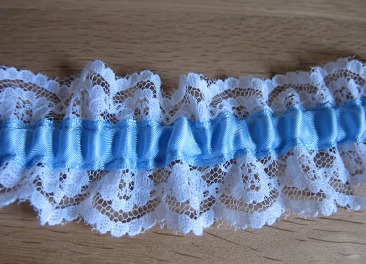
- By the way, the length of the rubber band is calculated as follows: to the width of the legs of the bride, you need to add a few cm. Gather a pin on the edge of the rubber band and insert it into the cuff, formed by blue ribbons. Push the pin through the channel, thereby pushing the elastic band to the opposite edge of the workpiece. Connect the two edges of the rubber band together, as well as the edges of the lace and ribbons with the machine seam. Evenly distribute the elastic band around the garter of the garter.
- From a white-blue tape tie them in 5 bow, the edges of which can be cut off in the form of a tick.
- Sew the ribbons on the blue ribbon by hand. Your garter is ready!
| | |
| | |
| | |
Now you know how to make a garter for the bride, and making this attribute will not be a problem for you.