Once our parents glued wallpaper with flour or glue PVA. No one particularly wrapped about the alignment of walls or selection of wallpaper. Today we glue modern flizeline wallpaper with our own hands. And now there are whole recommendations on how to properly glue non-woven wallpaper. We will consider them in this article.
Adhesive flizeline wallpaper by own hands
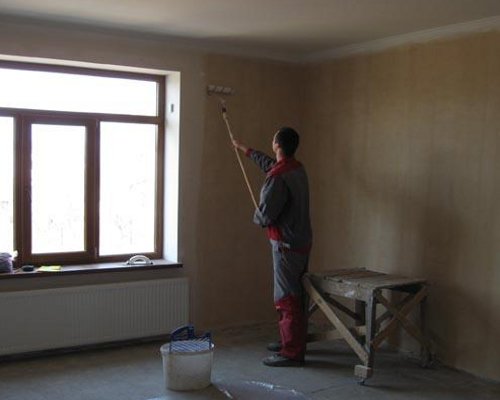
- First it is necessary to pass through the walls with a weak glue solution. Here amateur performance is not welcome. The expense of glue for nonwoven wallpaper is clearly marked on the glue pack and it is not worthwhile to buy it with a stock or dilute it thicker.
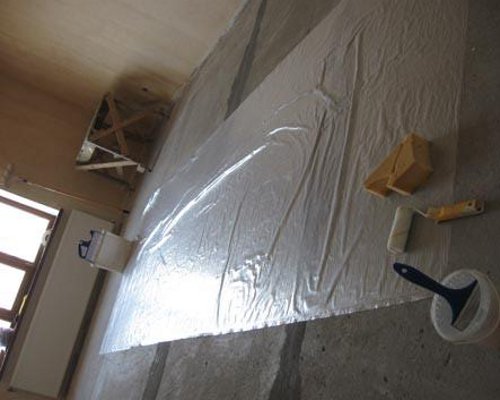
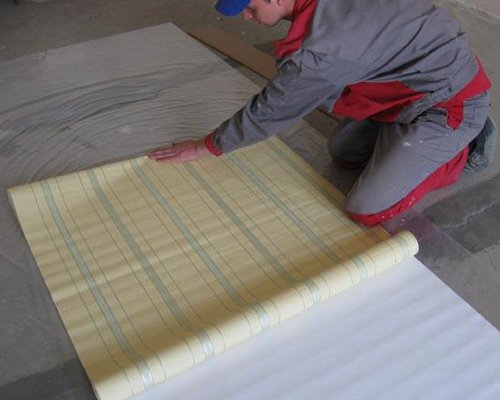
- The work surface is pure polyethylene on the floor.
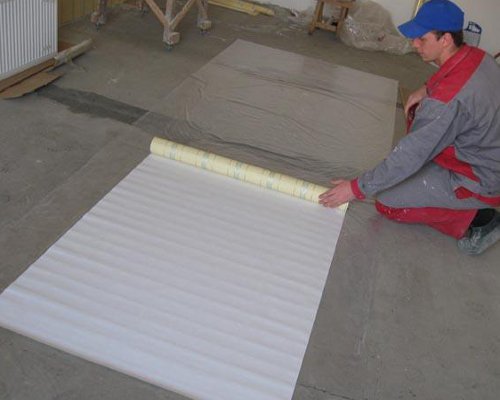
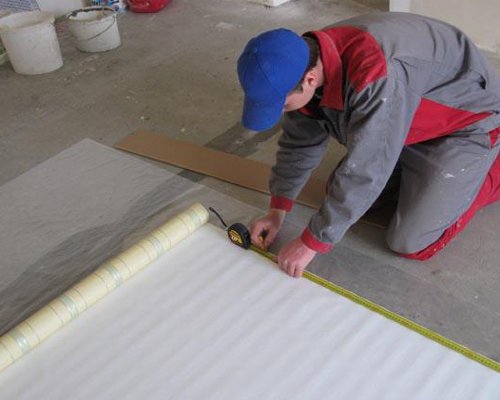
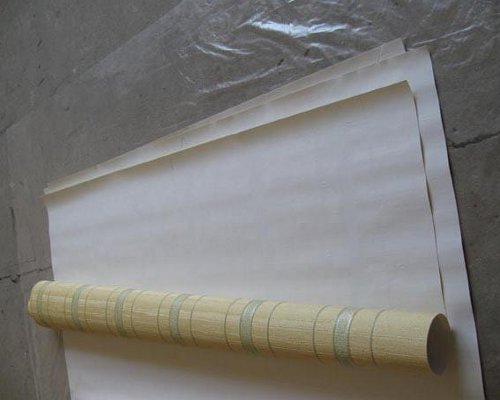
- Then measure the required length. The important point of the work is how to glue joints of non-woven wallpaper: whether it is necessary to select a pattern or simply cut the strips of the same length.
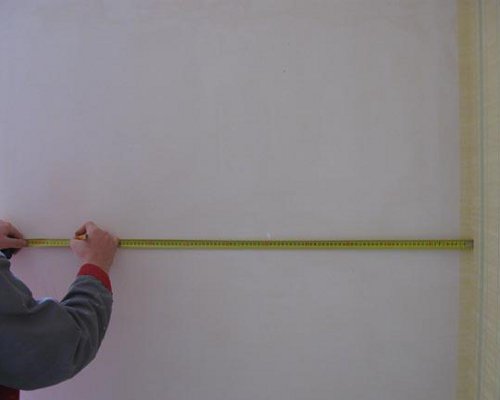
- When buying, it's important to consider the expense of wallpaper. First, you measure the so-called clean height (measuring from the wall) and add a couple of centimeters to adjust. As a rule, in a roll about 10 meters, we will start from them when calculating the number of rolls. In this regard, it is convenient to glue wide non-woven wallpaper, as there will be fewer joints, it will be easier and faster to work.
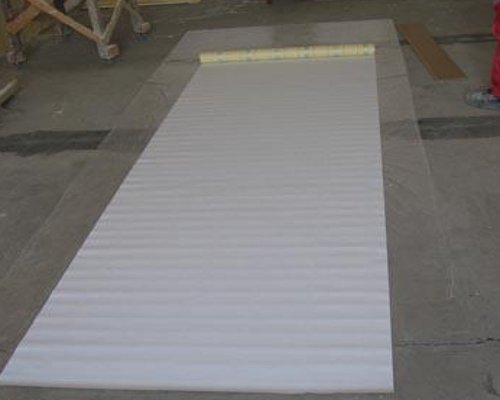
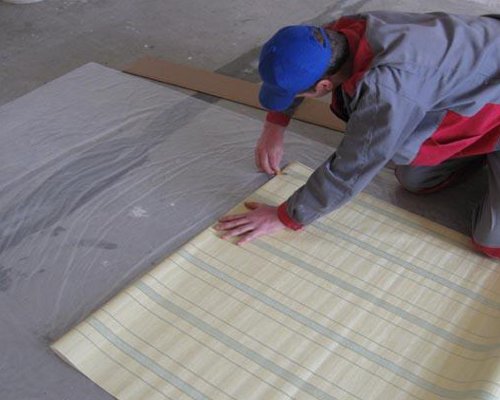
- We measure several cuts of the required length.
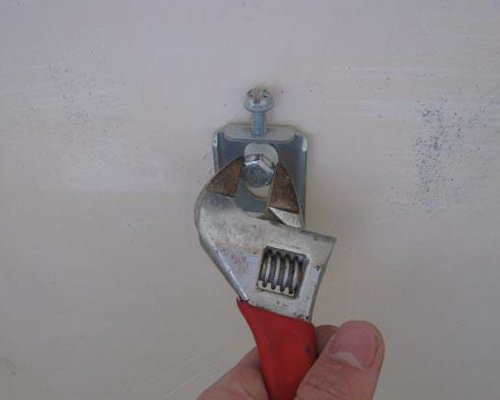
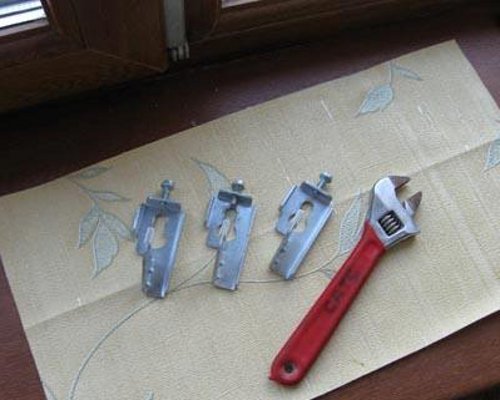
- If there are any obstacles on the wall, they must be dismantled.
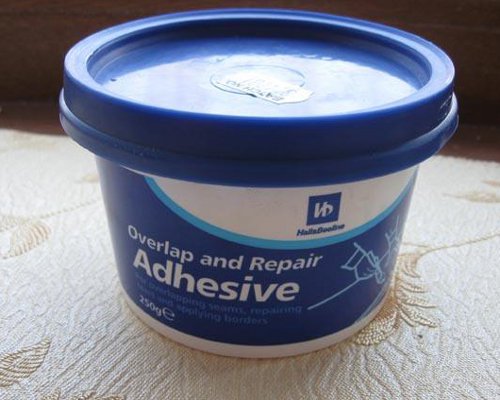
- It is also important how glue to glue non-woven wallpaper. In the network of building hypermarkets there is a wide choice and different price categories. The most reliable way to not lose, consult with experienced builders or take the brand that the wallpaper maker itself offers.
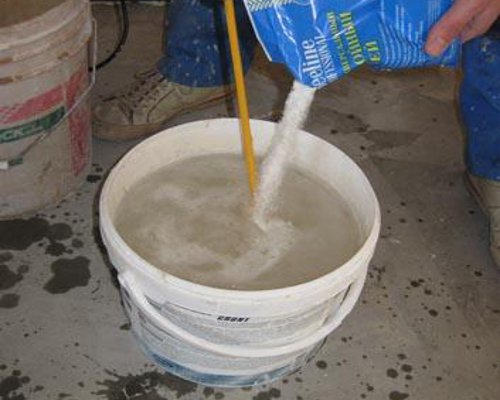
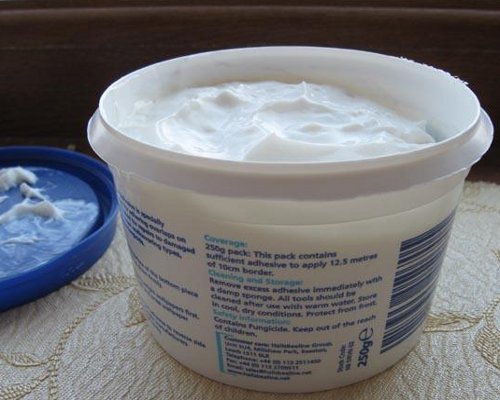
- Before you glue non-woven ceiling and any other wallpaper, you need to properly prepare the solution. Do it better with the help of a drill, then there will not be lumps that will soak for a very long time.
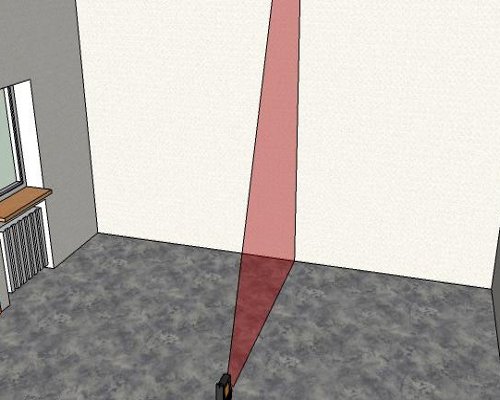
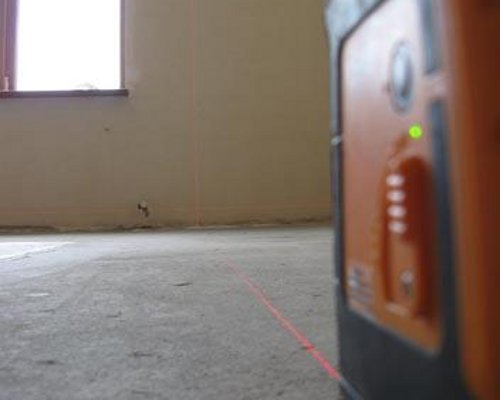
- Now let's look at where we should start to glue the non-woven wallpaper. Here it is necessary to take into account the drawing, the preparation of walls and the location of the window. It is better if there is no additional thin strip near it. Be sure to use a special device to beat the line and control the process to the end. The fact is that the wallpaper has some margin of elasticity, because there is always a possibility that everything will "slide" to the side.
- In our case, we will glue from the middle, according to the idea of the designer.
- It remains controversial to answer the question of how to glue corners with non-woven wallpaper. Today, almost all masters try to join two canvases in the corner. But if you carefully prepared the wall and are confident in it, it is allowed to glue the corners with non-woven wallpaper with a visit to another wall, since they will be completely vertical.
- If you decide to glue this way, then the next strip will not glue the non-woven wallpaper to the back, because you need to make an amendment to the ran-in error.
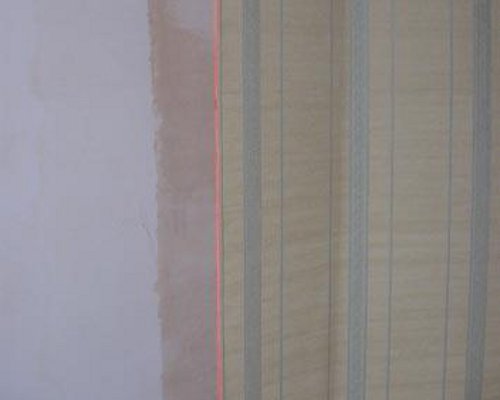
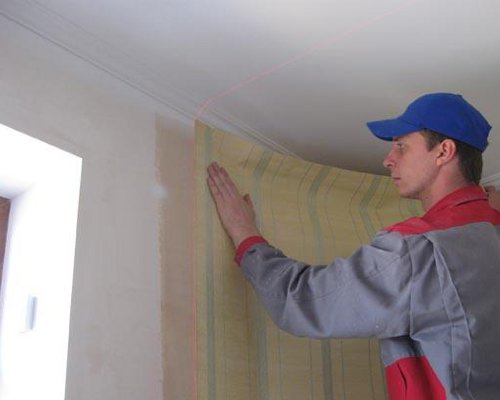
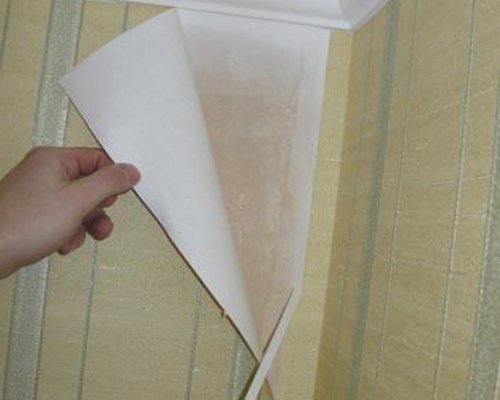
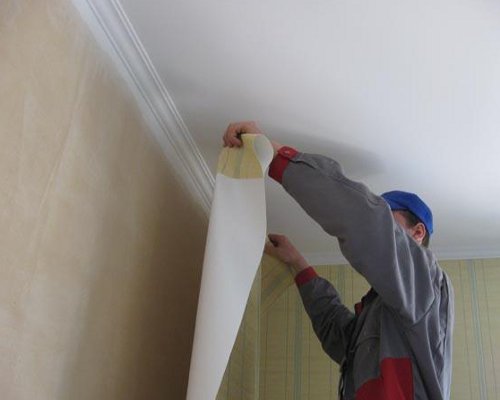
- We beat off the line on the wall, apply the glue and apply a strip of wallpaper.
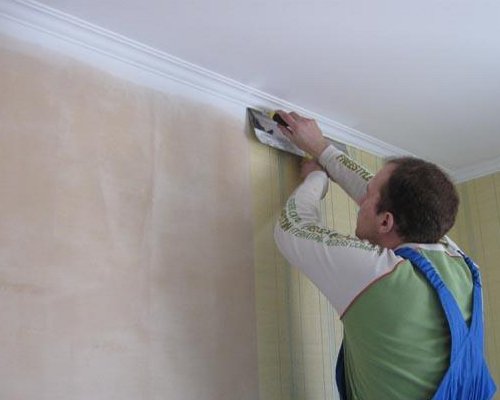
- Next, gently smooth the canvas in the direction of the corner.
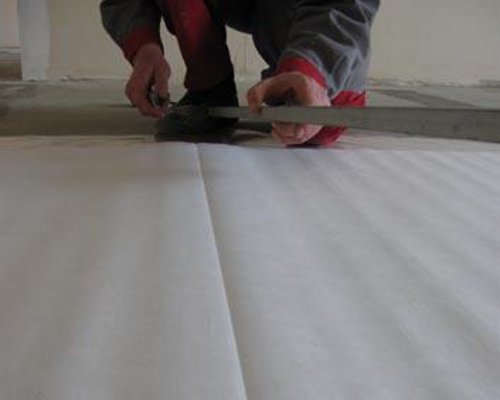
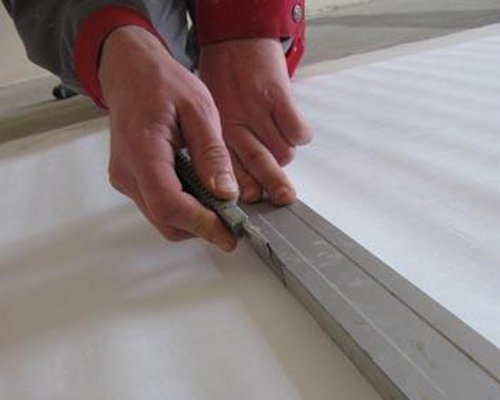
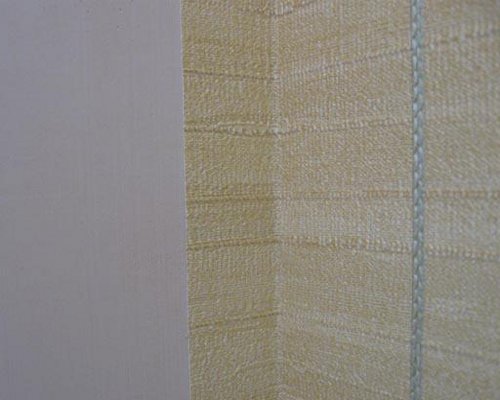
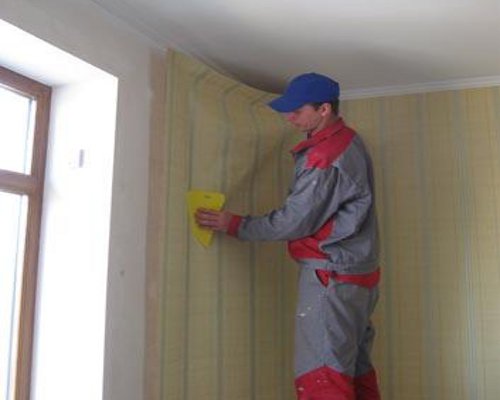
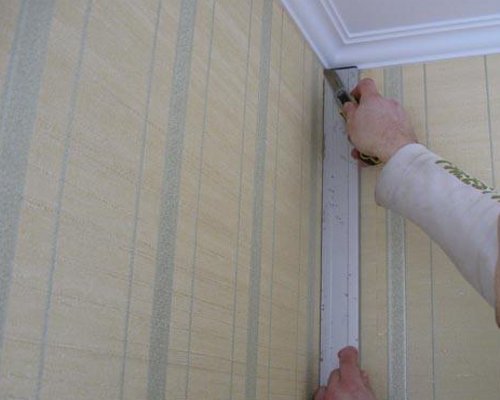
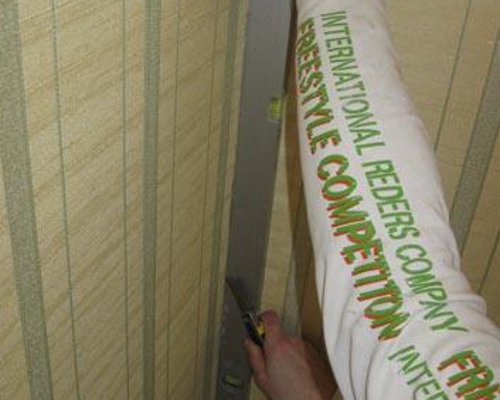
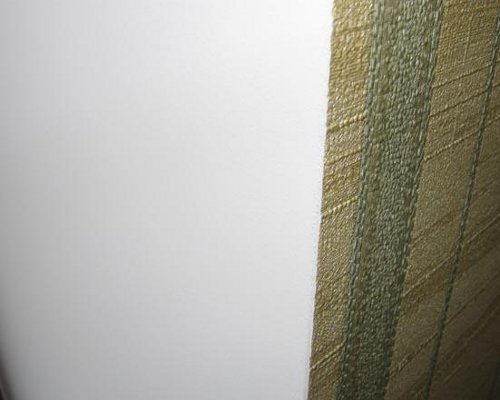
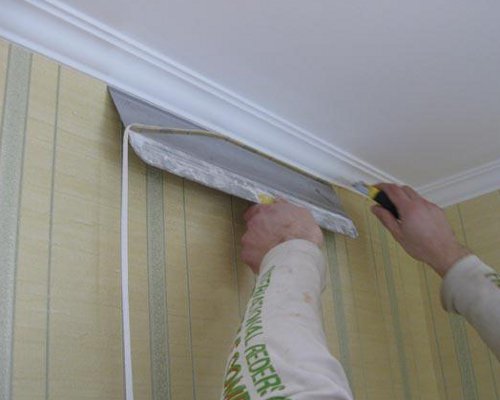
- Now we will resort to a little trick, how easy it is to glue the joints of non-woven wallpaper. Apply the level and cut through the blade with both knives.
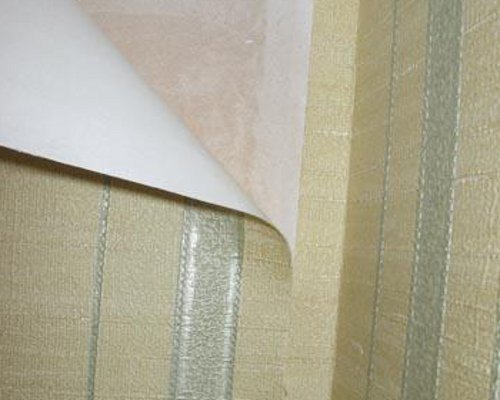
- Remove the extra and get a smooth joint.
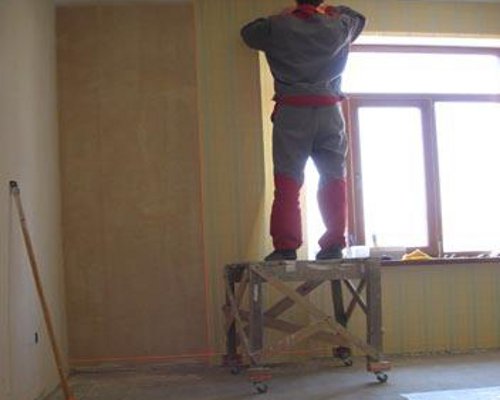
- Near the window protrude about a couple of centimeters and leave to dry.
- Then just cut the extra.
- After the window, we again beat off the line and check whether we are going smoothly.
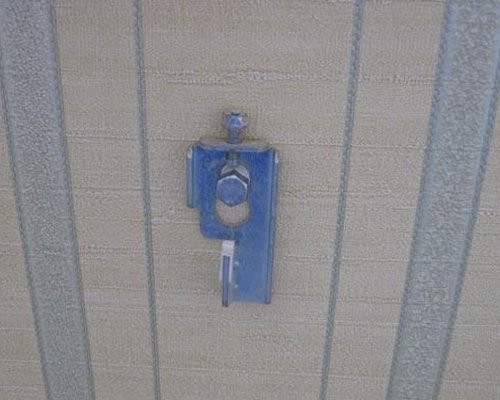
- We return the hooks to the place.
- The next angle is worked out in a similar way.
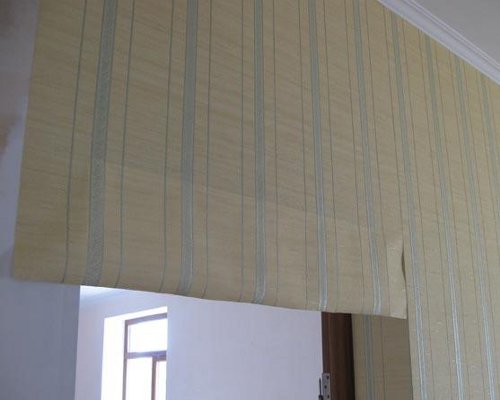
- Glue non-woven wallpaper is necessary with a margin, because they are necessarily slightly deformed. The upper edge is pressed with a spatula and a knife cut off excess.
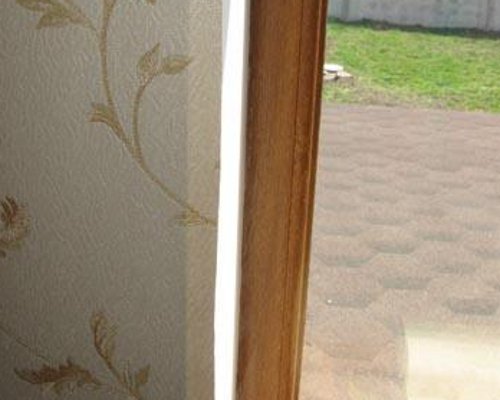
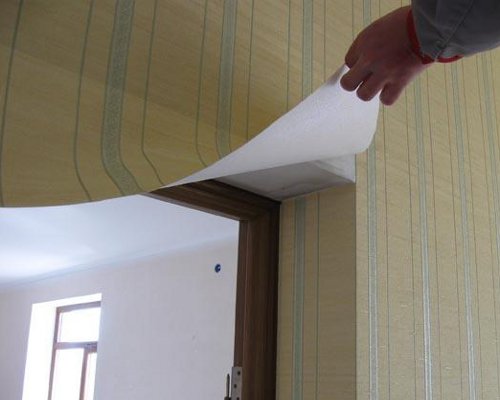
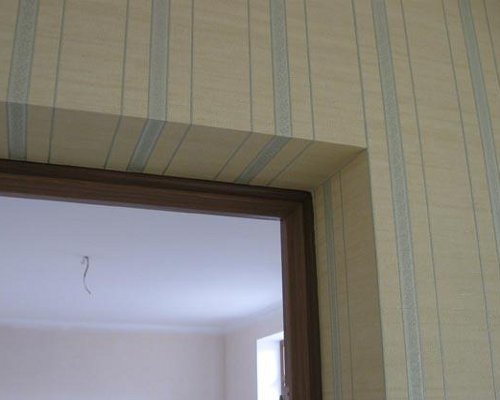
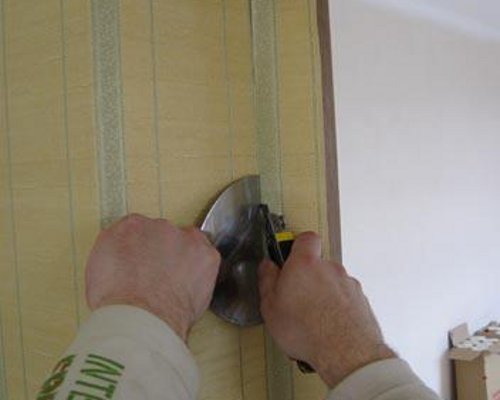
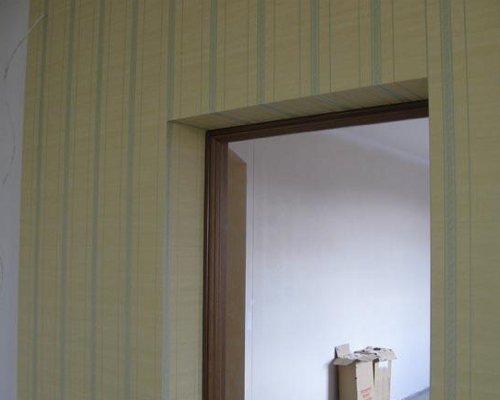
- The doorway is worked out in the following way. Glue tight and cut off excess, wrapping the part on a slope. Then we glue another strip with a margin on the escarpment.
- For complex angles, there is a special paste in the form of a paste. Again, apply a spatula and cut the excess. Done!