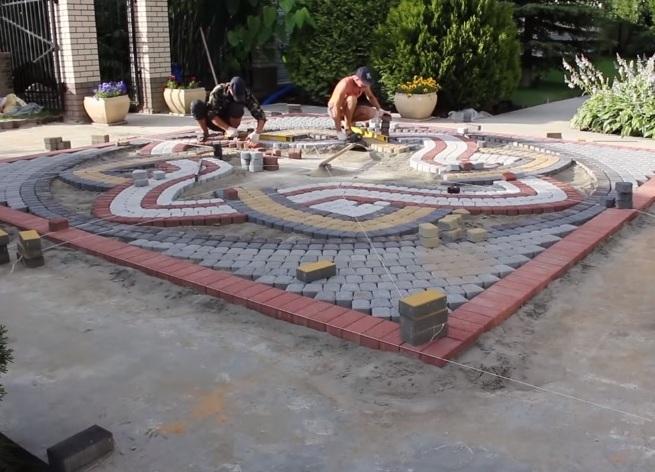
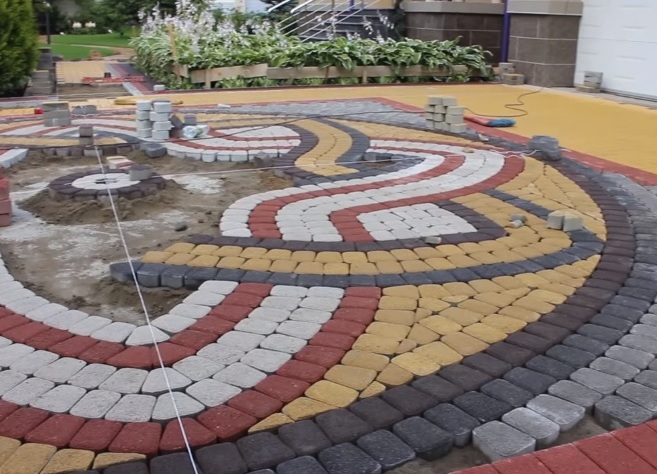
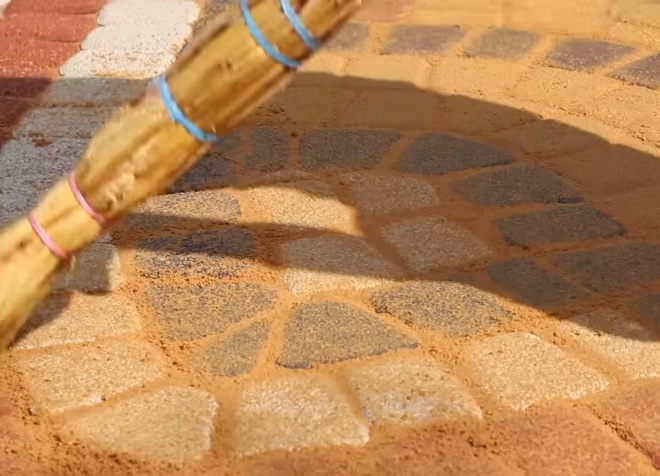
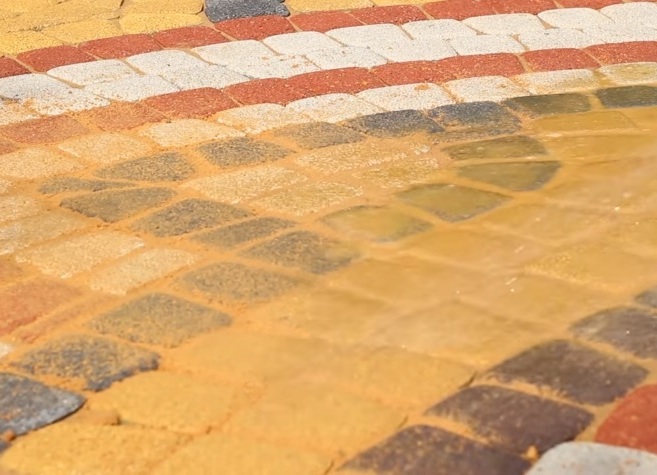
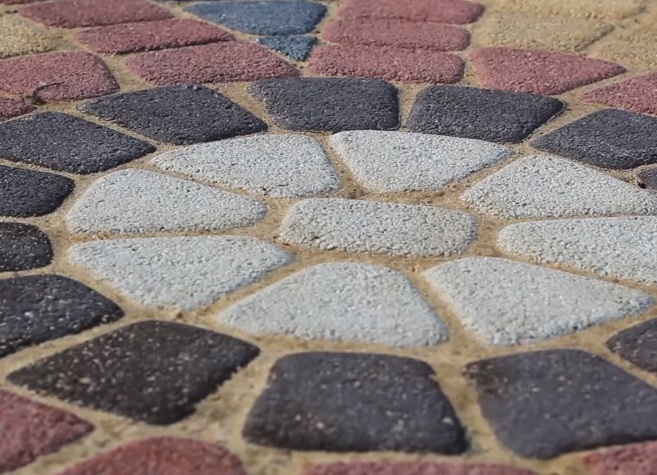
With the help of paving slabs, you can diversify the landscape of the homestead territory, organize paths in the garden and beautify the yard. There are varieties of tiles with a beautiful curly shape or designed for the laying of original patterns. The coloring of the stone blocks varies from gray to brightly burgundy, yellow, and green. Combining parts of the site with cobbled paths into one ensemble, you can design a harmonious design.
As a rule, laying the paving slab with your own hands is easy, you just need to stock up on the right tool and building materials.
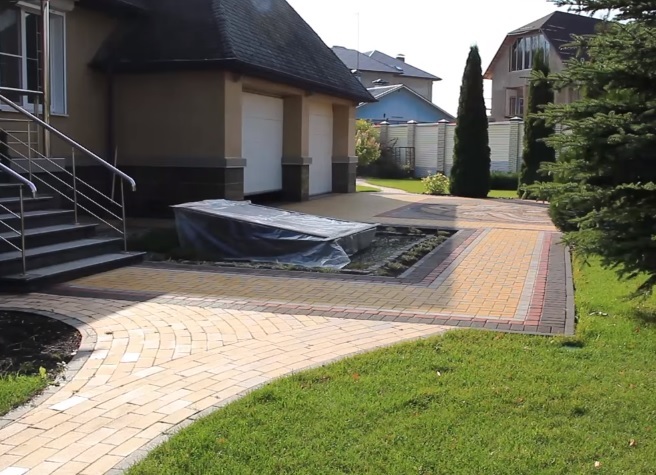
A set of tools and materials for work
The process will need:
- sand;
- manual tamping or plate compactor;
- cement;
- rope;
- paving slab;
- curbs;
- rubber mallet;
- level;
- Master OK;
- broom;
- hose for irrigation with a sprayer.
How to lay the paving slab yourself?
In the beginning of upgrading the site, it is necessary to compose a drawing of the cover and future tracks on paper, then mark the territory.
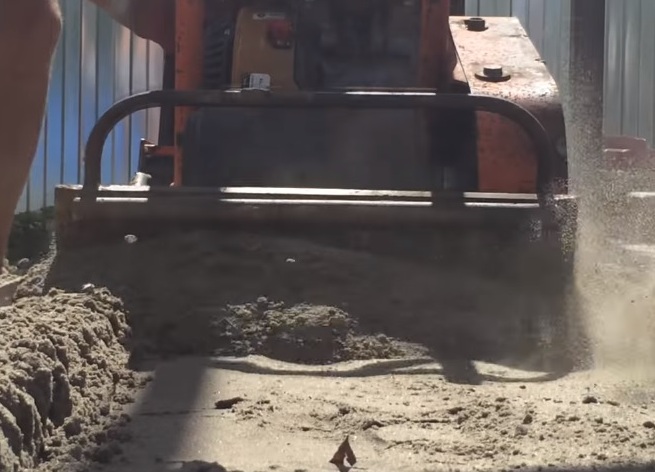
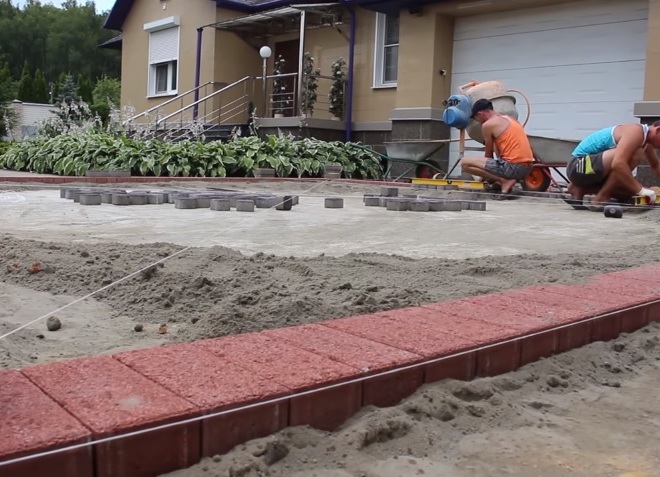
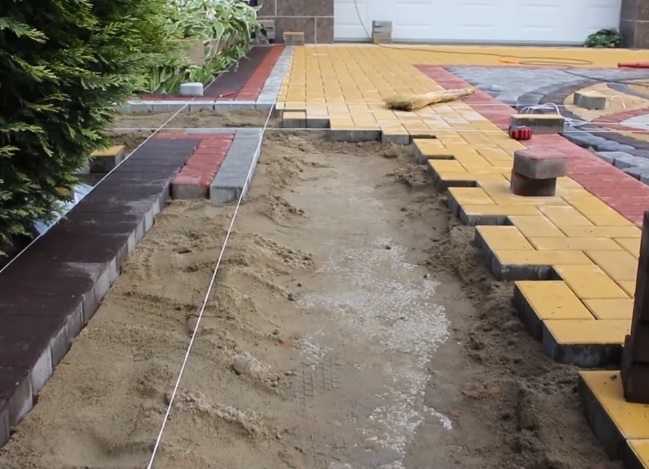
- First, the base for laying is prepared - the top layer of the soil is removed from the grass, filled with sand, abundantly filled with water, leveled and compacted with a vibratory plate. The sand should be poured with water until puddles are formed on its surface. Good preparation of the foundation pad largely determines the quality of the coating obtained.
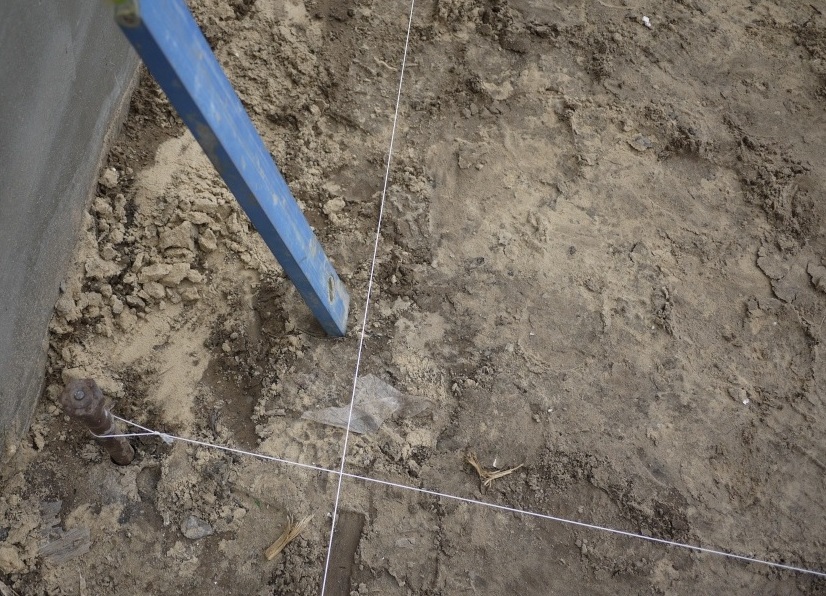
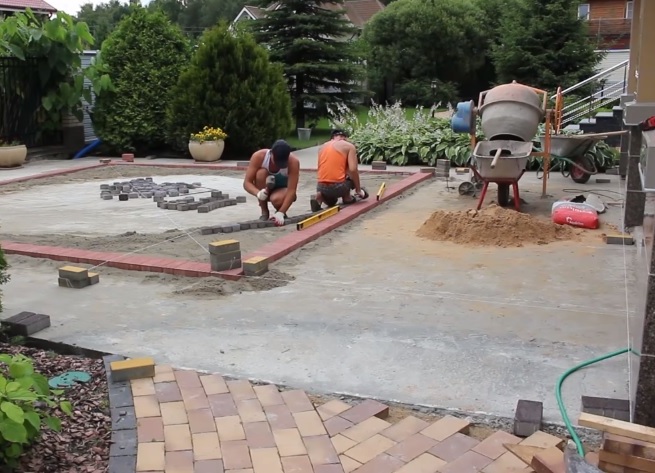
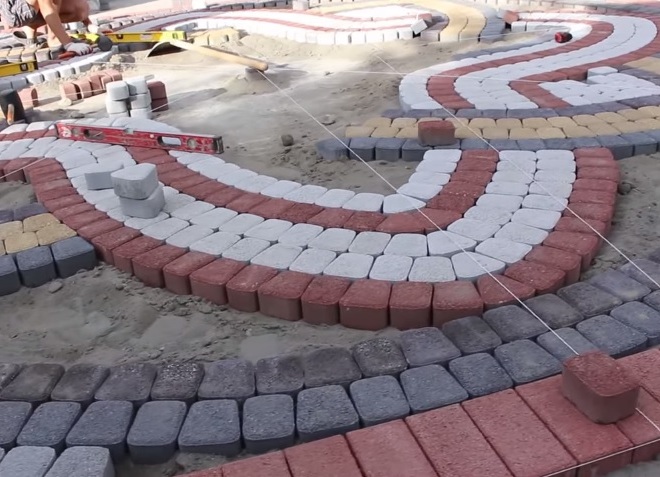
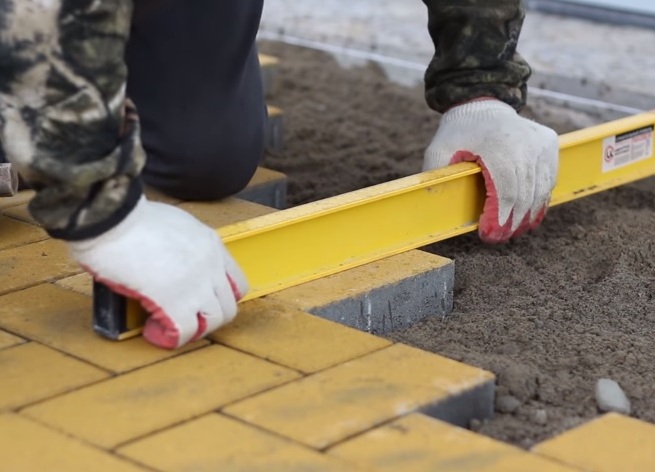
- Stretch the laces diagonally and on the sides to ensure the smoothness of all sides and angles with pegs or metal rods. For symmetrical patterns, stretching the threads is very important. Cords stretch over all contours of the future section and fix the height of the future coating.
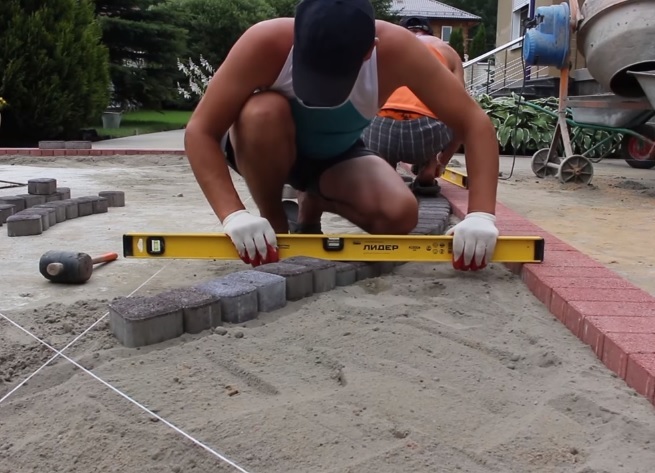
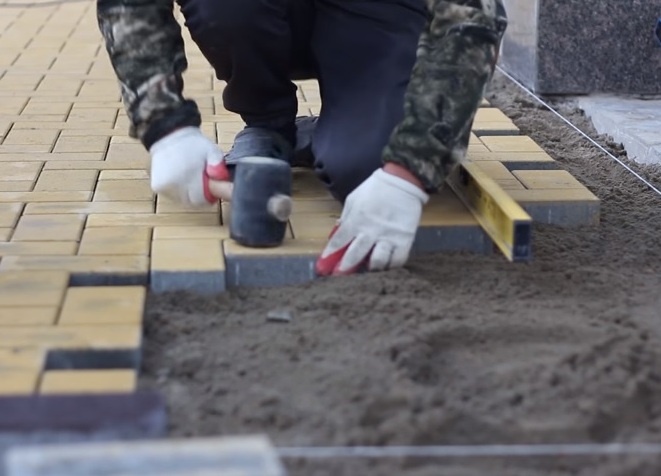
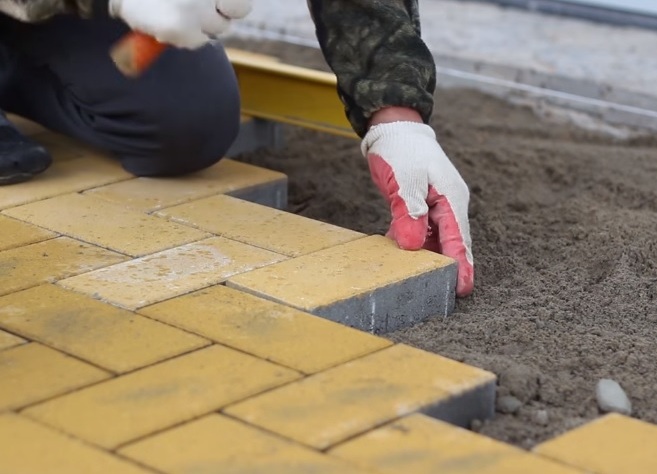
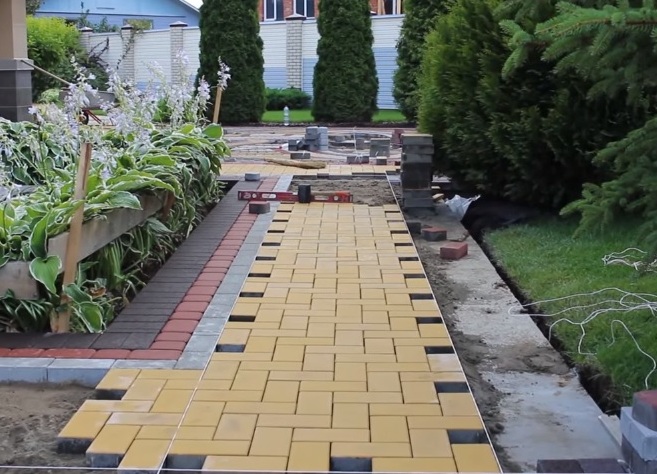
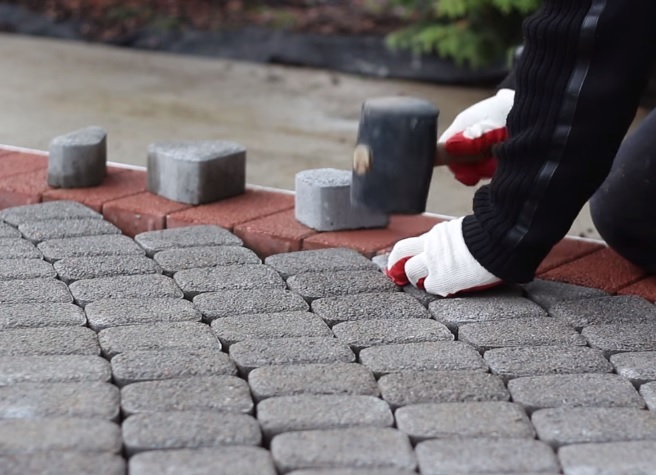
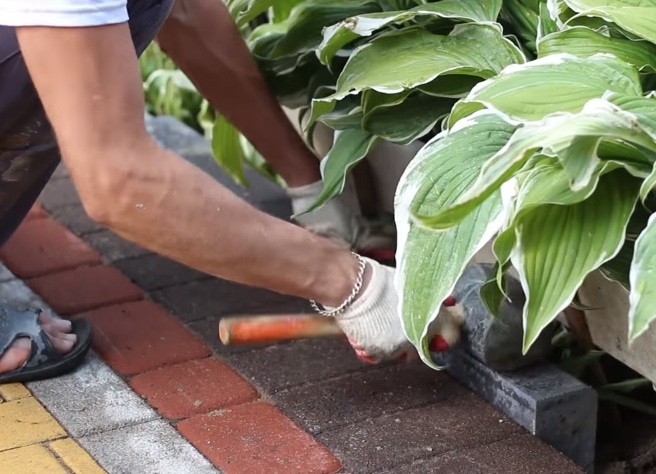
- As a rule, lay the paving slab with a slope of 1 cm per meter towards the street or lawns. This is done to ensure the flow of water during the passage of rain. Laying tiles begins with the design of the perimeter. The paving stones begin to be laid from the corner. It is equalized with the help of a kayak and a level. The better the tiles are compacted into the sand, the more reliable the surface of the coating is obtained. The paving stones are laid out strictly according to the height of the cord. Also, the thread helps to stick to flat lines on the plane.
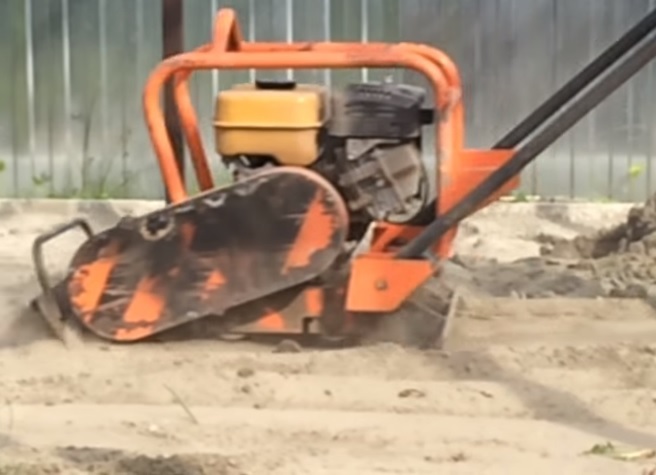
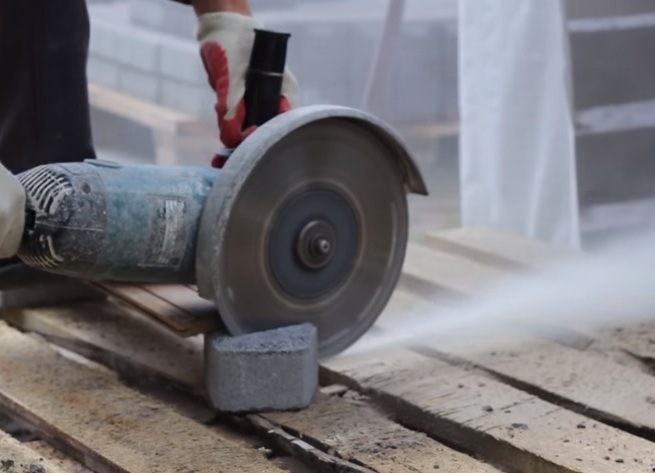
- If the pavement falls unevenly, the trowel pours up the sand and tampers or the superfluous layer is removed. A complex drawing begins to spread from straight lines. Trimming the tiles is done with the help of a Bulgarian.
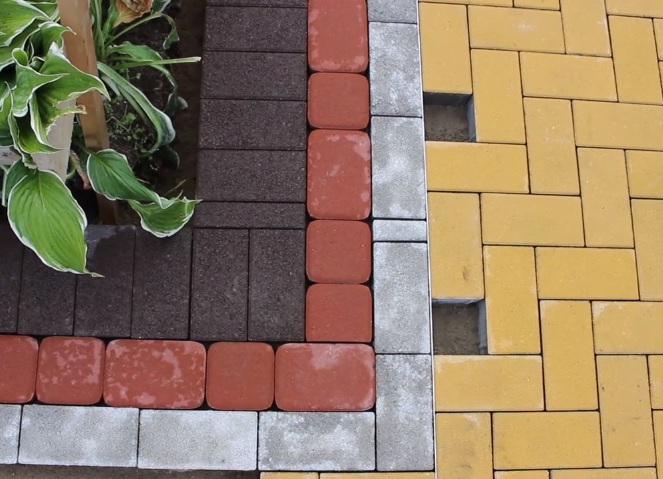
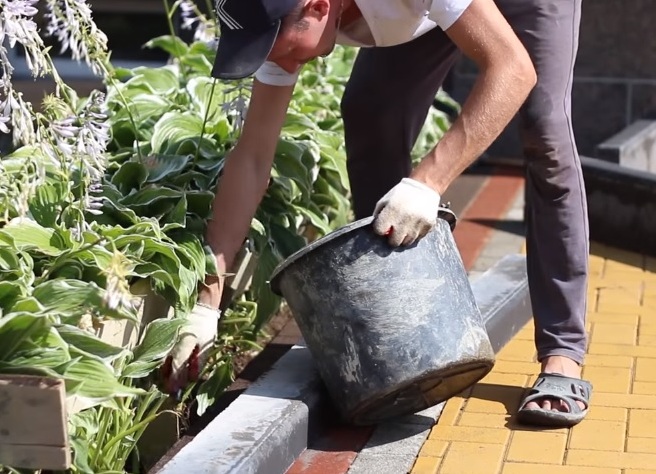
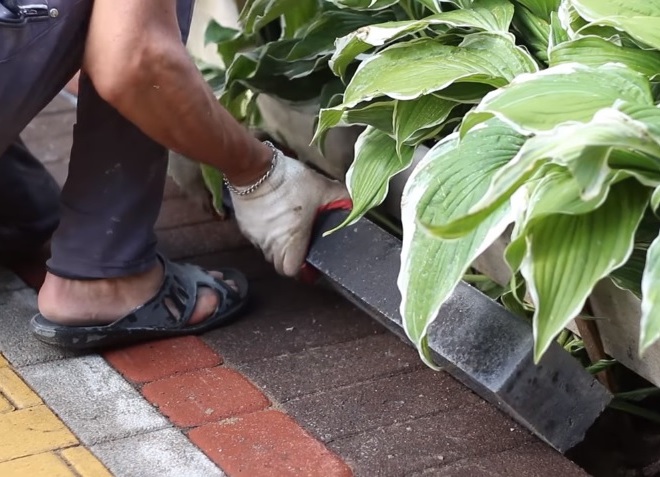
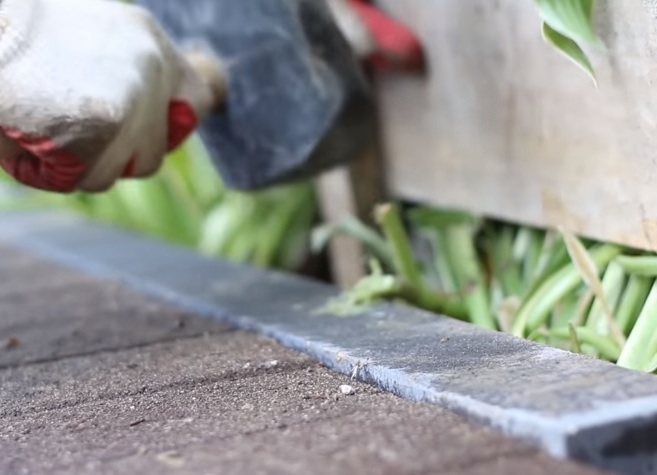
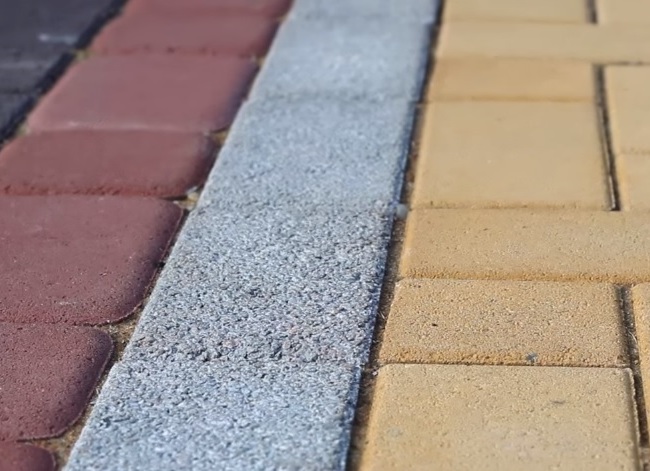
- The borders are laid on the cement-sand mortar for greater strength. The installation of curbs on cement mortar helps to prevent tilting of tiles and the sprawling of tracks.
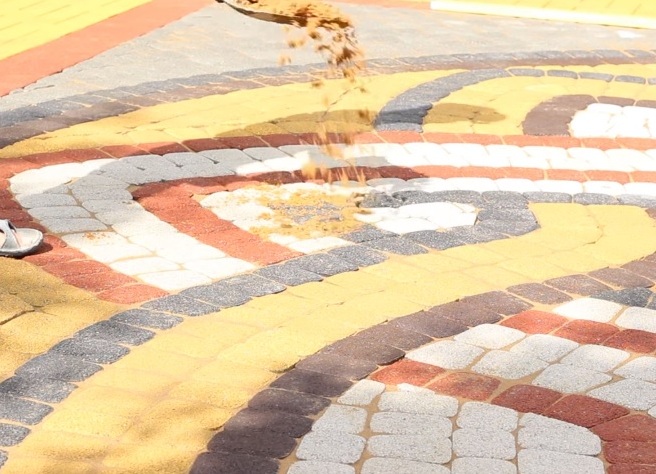
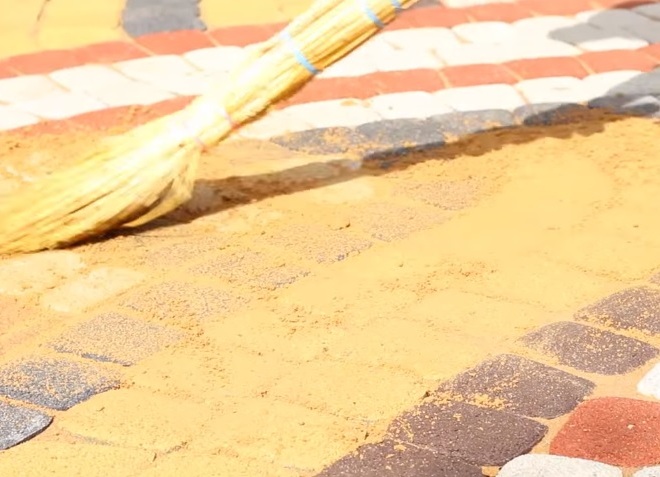
- For joint grouting, a mixture of 1 part cement and 3 sand is prepared. It is swept into the seams with the help of a broom.
- The grout is washed off with water. Irrigation promotes better penetration of sand into the seams and its ramming. Filling of seams guarantees reliable fixation of pavers and protects the material from loosening.
- The new coating is ready. The result should be an absolutely flat uniform and beautiful surface.
Having considered how beautiful it is to lay the paving slab at home on its own, it is possible to carry out many design projects and get a practical and original cover for the infield. Sidewalk tile - an impeccable coating for outdoor conditions, it tolerates the winter well, has good strength and low abrasion. In addition, the paving stones will be an excellent decoration of the site.