In the construction of a residential house, single- roof types of roofs are rare. As a rule, this type is typical for economic buildings, small verandas and similar structures. In fact, it is not so difficult to make a single-deck roof.
How to properly make a single roof?
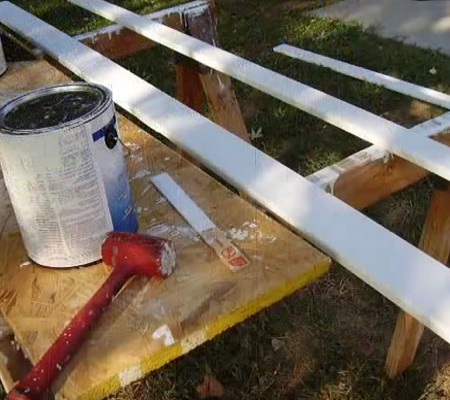
Before you make a roof with your own hands, you need to stock up the timber and boards, as well as work out the blueprints of the building.
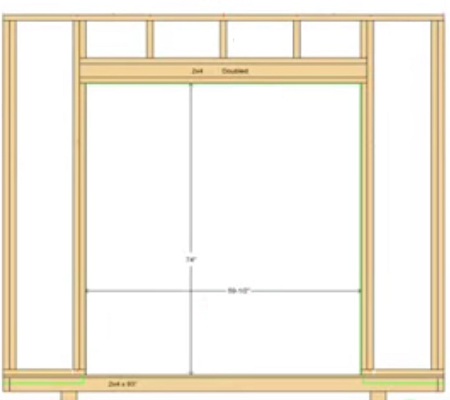
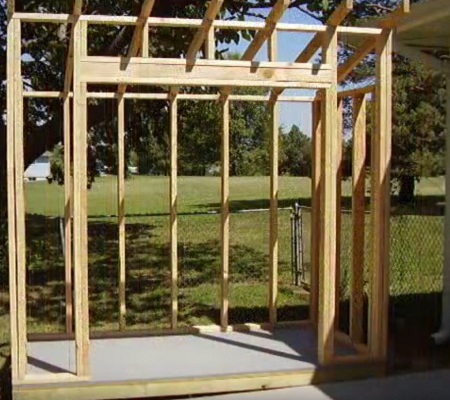
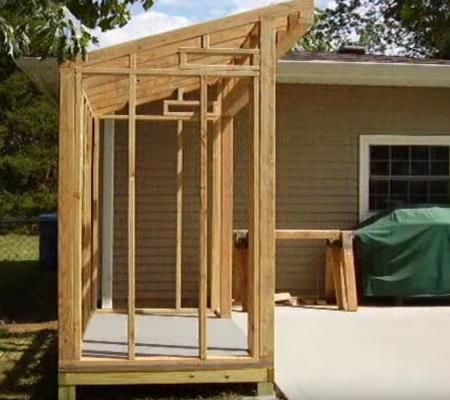
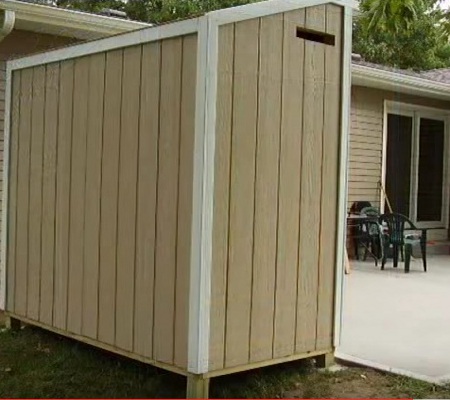
- To obtain the desired angle of inclination, and it should be at least ten degrees, the walls of the structure have different heights. The photo shows that the side wall has an internal frame, where there is a small detail in the form of a rectangle. In the future, we sew up the skin of the frame and together with this part we get a vent.
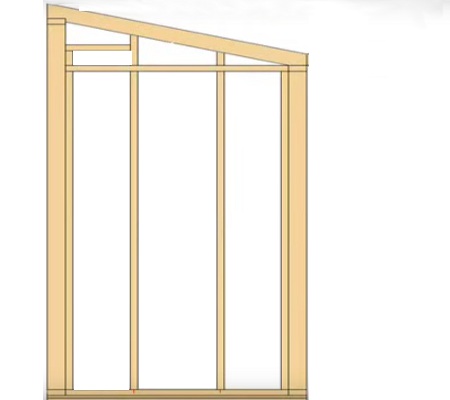
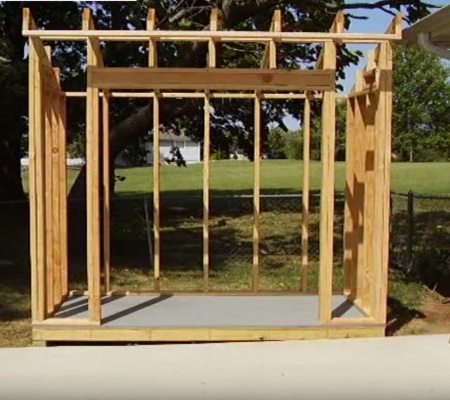
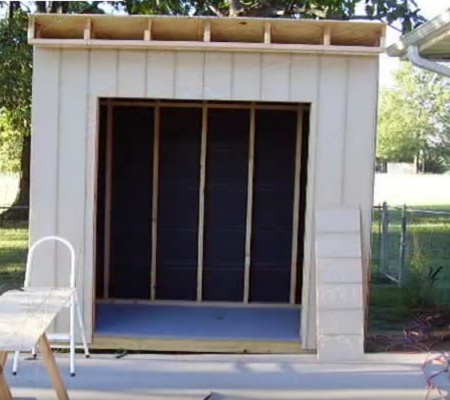
- We build the frame. In fact, these are two rectangles for the front and rear walls, as well as two pentagons for the side parts. Between the beams of the frame there are stiffeners.
- The photo shows the side part of the structure: the front wall is higher than the rear, each plane is strengthened additionally with stiffeners so that the weight of the roof can be maintained.
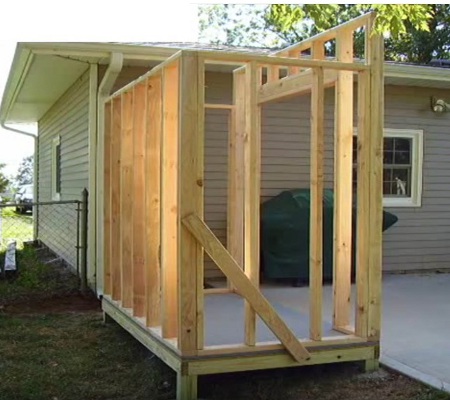
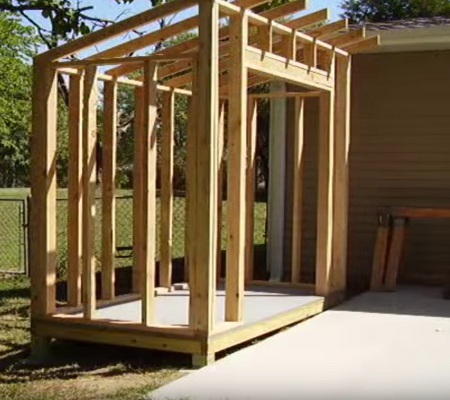
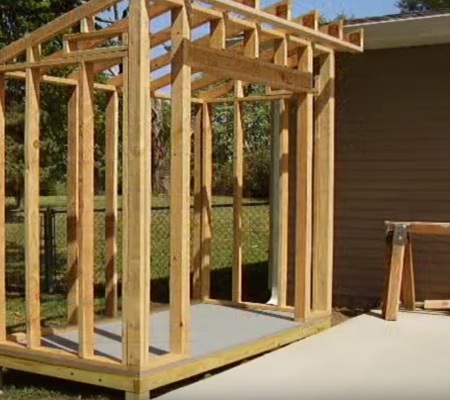
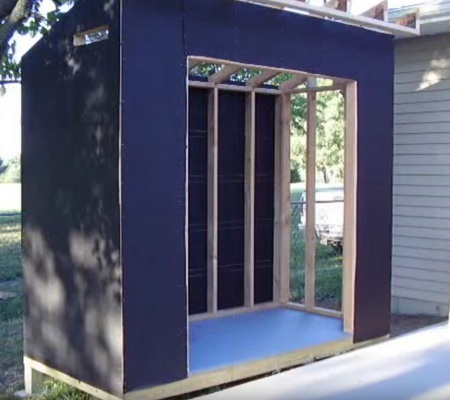
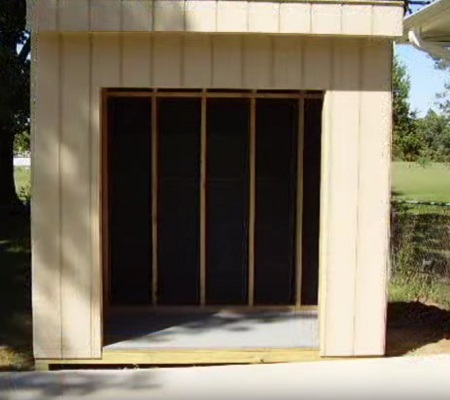
- The next stage of the master class, how to properly make a saddle roof, is to install the base under the roof. We lay the boards vertically with ribs. One part rests on the rear wall, the second end is located on the supporting part of the front wall frame. With the back wall of the ribs are flush, on the front we got a small visor.
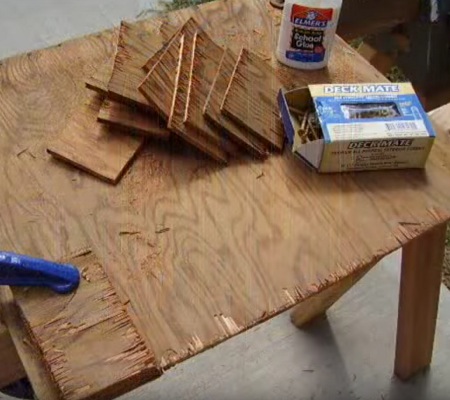
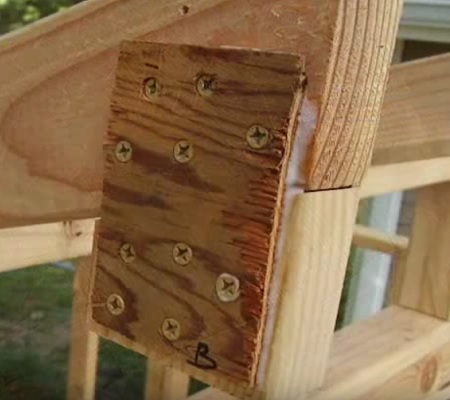
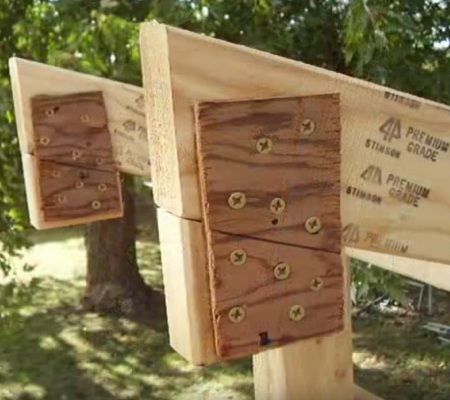
- We cut out small plywood parts from plywood, with their help we will strengthen the joints of the supporting beams of the roof and the base of the frame. First, lubricate the details with building glue, then fix it thoroughly with screws. We strengthen this strengthening on each side.
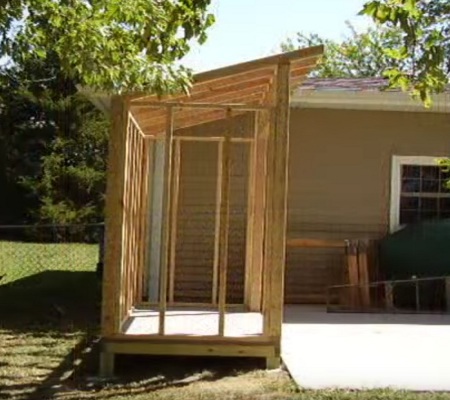
- Begin to sheathe the roof. First, close the reinforcement of the opening. As a sewing was chosen the usual lining. Also, from the inside, we sew the beams of the roof overlap.
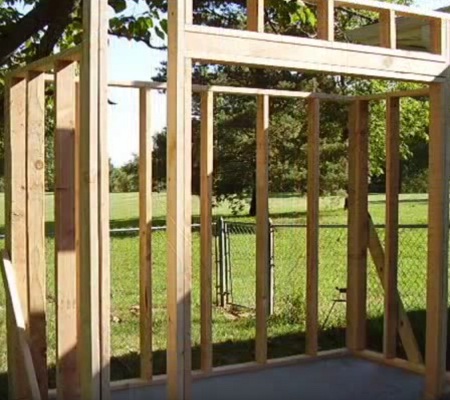
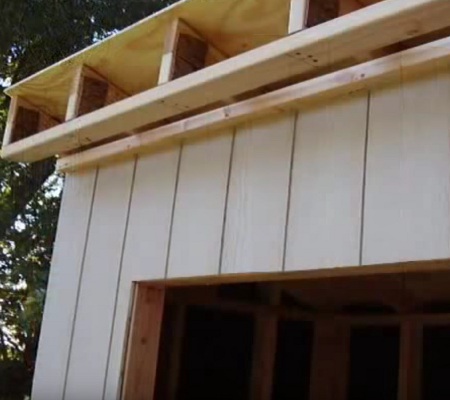
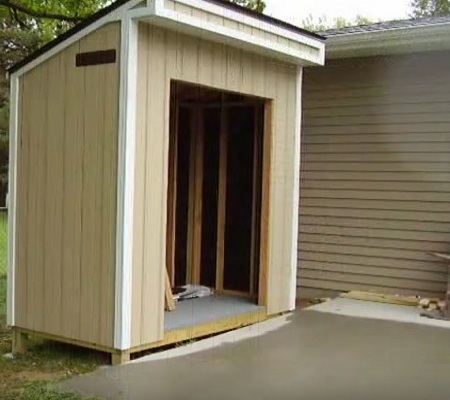
- It's time to make a ventilating aperture of the saddle roof, as it is provided in the drawings.
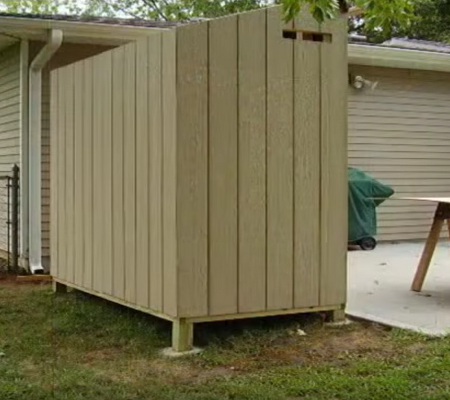
- Sew up first the frame of the building itself. To the beams overlapping the roof in front of the board, in other words, we begin to form a visor.
- Now after sewing the side parts you can see where the ventilation will be located.
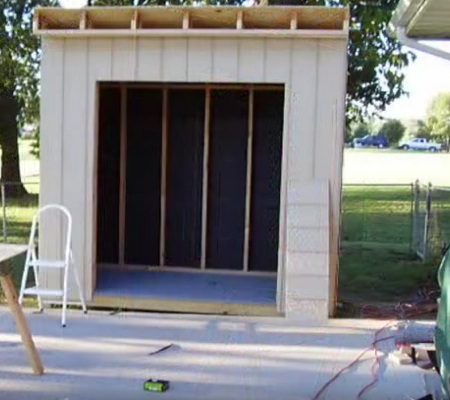
- We pass to the last stage of the master class, how to make a roof at home, namely, the formation of the firmware. First we cover the edges with sheets of plywood and nail them.
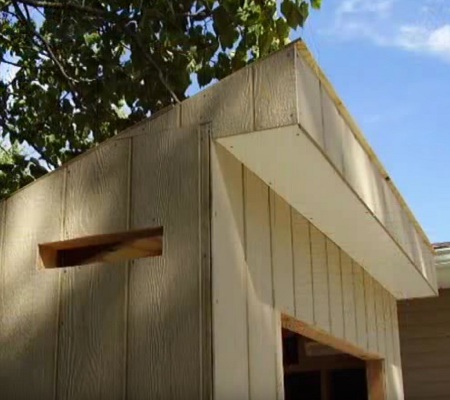
- Next, sew up the front part of the visor, the end is shaped by lining. First we cover the front part, then we sew the cornice from the bottom side.
- To close all butt sections and give the construction a completed presentable appearance, we will additionally add decorative white contrast boards.
- The boards will be located along the perimeter in the places of joining the lining, where two walls of the structure are connected. Also we will decorate the top part of the roof and the visor with boards.
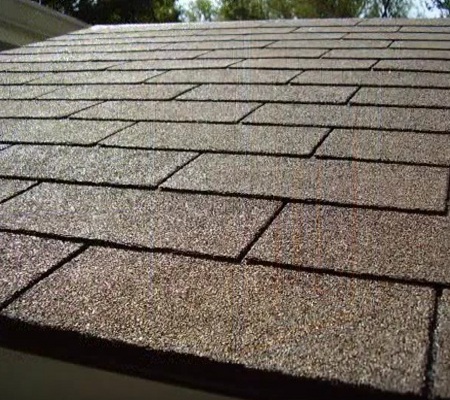
- After all the work with the frame is completed, proceed to the last part. The final stage of this lesson is how to make a roof with your own hands, is the insulation of the roof. Here you can use any available materials and methods. In our case, a soft covering was chosen as the roofing. Pay attention to an important point: the roofing material slightly protrudes from the roof so that the water flows freely and does not collect, and also does not enter the gap between the sewing.
- As you can see, it is quite possible to make a roof with one's own hand. Of the tools nothing special will have to be bought, and the lining with the bar is not currently deficit.
| | |
| | | |
| | | |
| | |
| | |
| | |
| | | |
| | |