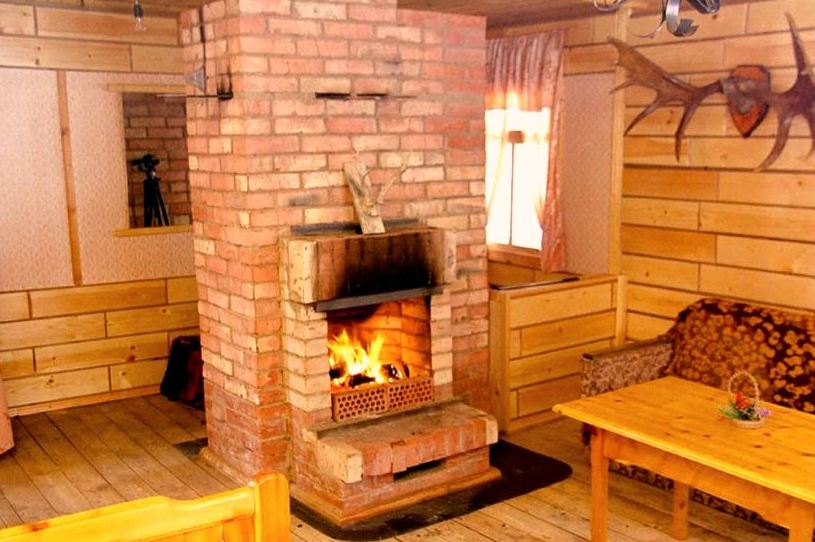
Although private houses are mostly now equipped with gas or electric heating systems, many owners are not averse to having a simple but reliable oven on the farm, which will always help out in cold weather and relieve the dwelling of humidity. In addition, such a device, tiled or high-quality brick, looks great in the interior of the cottage and country house. Types of furnaces are different - only for heating, for heating and cooking, universal with an oven and a device for drying fruits. In this example, we did not begin to show how complex structures with a vault are constructed, but limited ourselves to the example where the simulation of the construction of a small stove with a heating shield occurs.
A small brick oven with your own hands
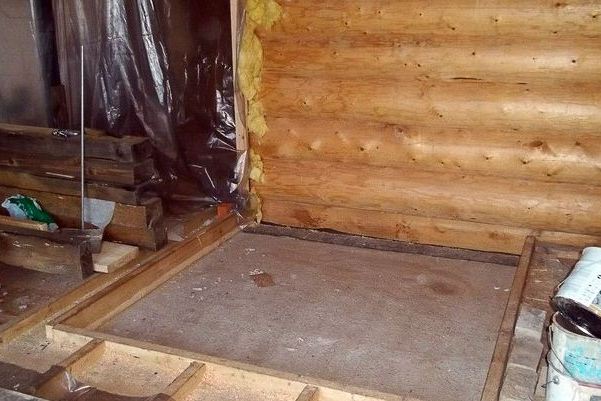
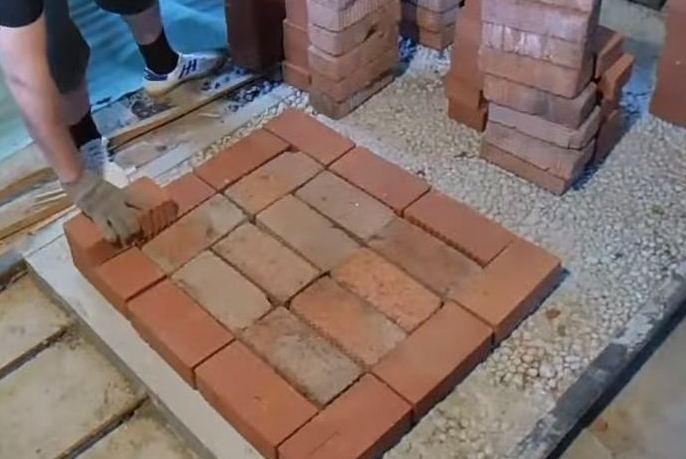
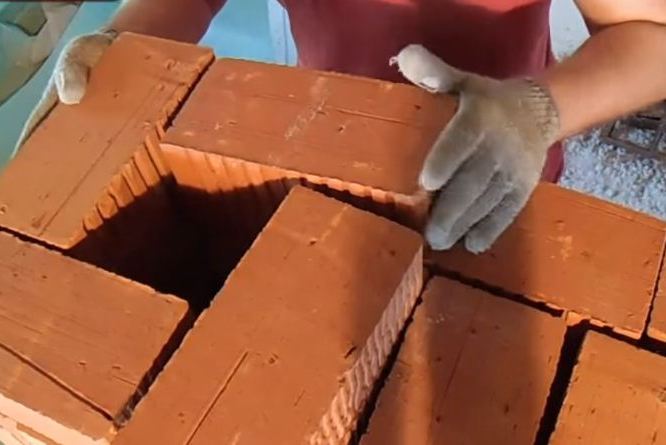
- For work we need 250 bricks as much, 6 pieces cut into ¾, 43 halves, 20 pieces cut off by ¼. In total we will have 22 rows of bricks laid out. Also, you need to buy 3 latches, furnace and anteroom doors, cast iron cooktop. You will see that inside you can lay bricks with small chips and cracks (poor quality), and outside we lay the oven facing material. But first you need to lay the foundation under the furnace foundation, because the mass of such a structure is several tons, which is quite a solid load on the base. It is best to pour a reinforced cushion of concrete, which has an area of 15% more than the area of the socle .
- In our case, a simple brick oven will be built by our own hands, which is suitable for heating the room and for cooking. We spread the first continuous series of material according to your chosen scheme. It should be as flat as possible, because the reliability and beauty of our construction depend on it. In this example, we will not use the solution, making only a training dry masonry for speed and clarity.
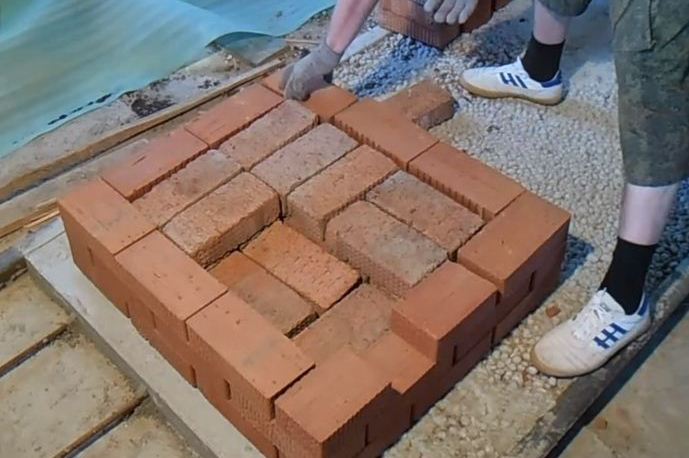
- When laying the second or third row, you need to lay out the ash pan.
- The doors of the blowing chamber and the cleaning compartments are installed immediately. In standard products there are fastening tabs, through which wire is passed, which is inserted into the seam. While the solution does not dry, the doors are fixed with temporary stops (bricks or other material).
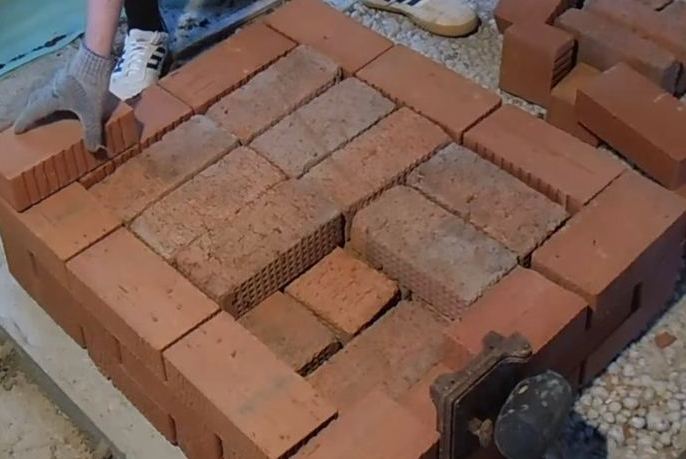
- On the fourth row, there are places for cast iron cleaning doors (we have bricks placed on the edge there).
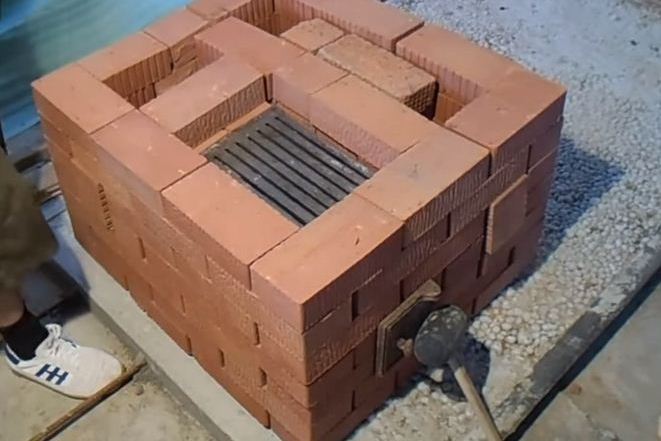
- The sixth row is laid out. The beginning of the 2 vertical channels is formed. Samples were made in the place of installation of the fire bars on the brick.
- We install grates.
- The 7th row was laid. We have free-standing grids (installation takes place without a solution), and they should be removed easily. Formed voids should be covered with sand.
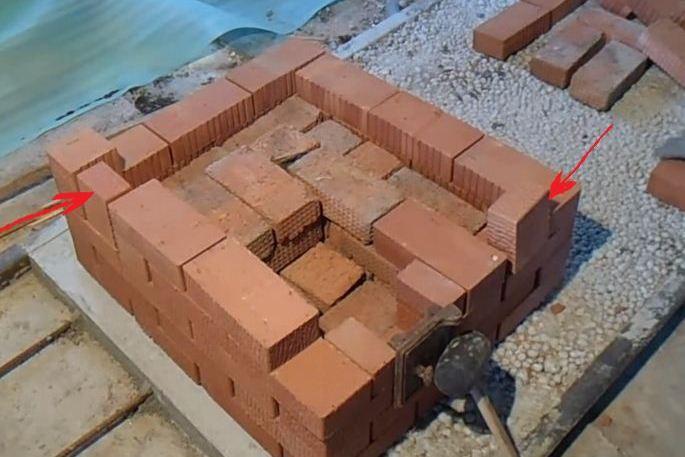
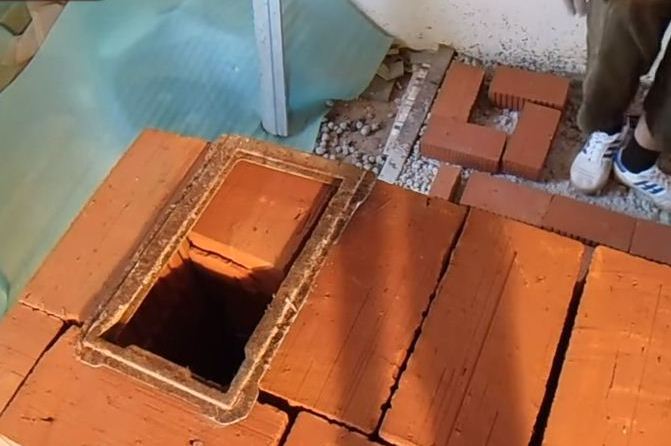
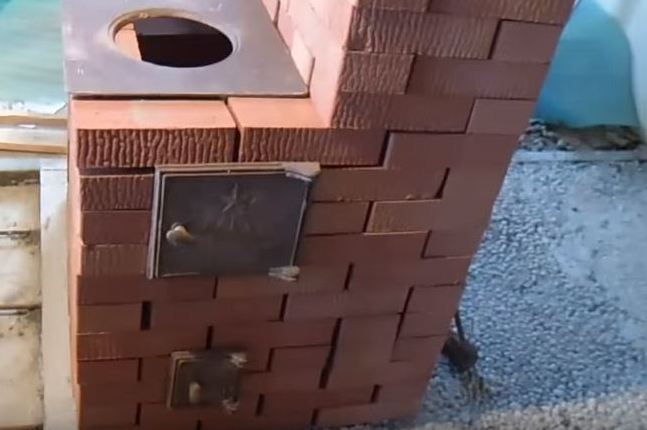
- Put the smoke flap on the back of the stove.
- In our question, how to make a brick oven with our own hands, we came to an important stage. Install the fire door. This can be done on a corner or on a wire with nails.
- On the eighth row we have a connection of the vertical channels of the heating plate.
- In the place of installation of the cleaning door again put temporarily half of the brick on the edge.
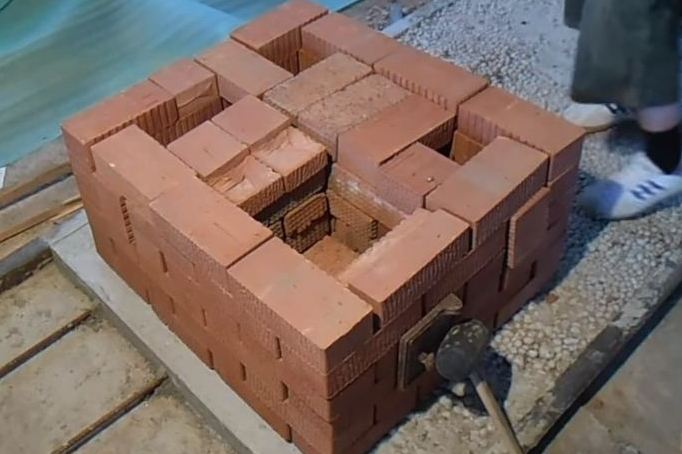
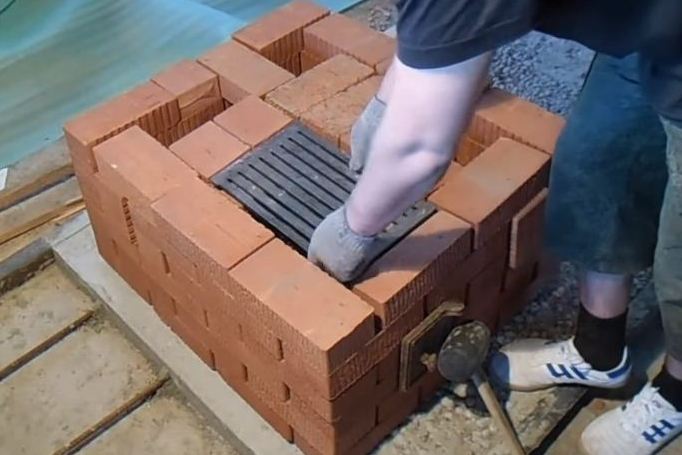
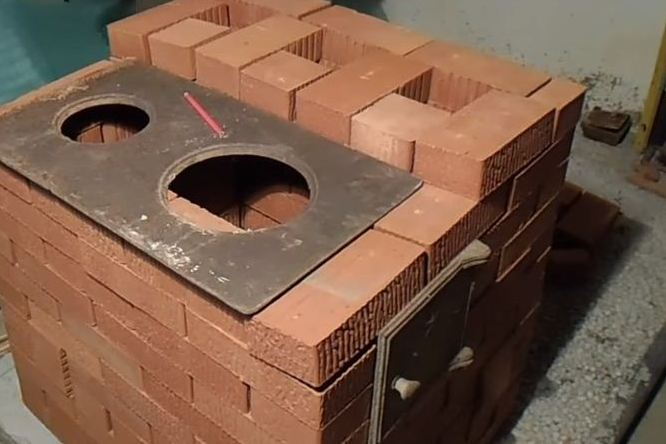
- Put in place a cast-iron stove. It is desirable to cut a niche with a thermal gap under it, which is then filled with sand to allow the metal to expand.
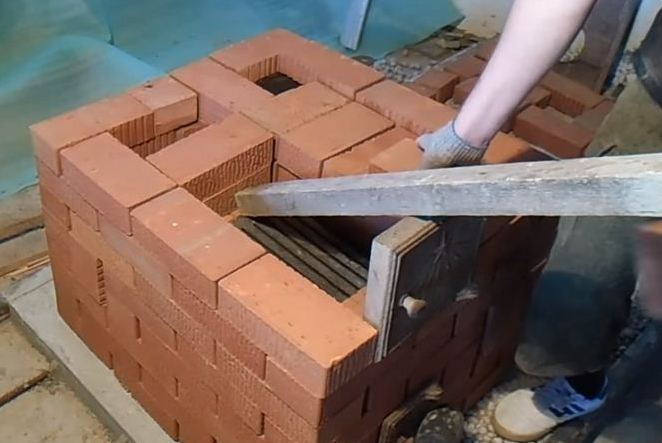
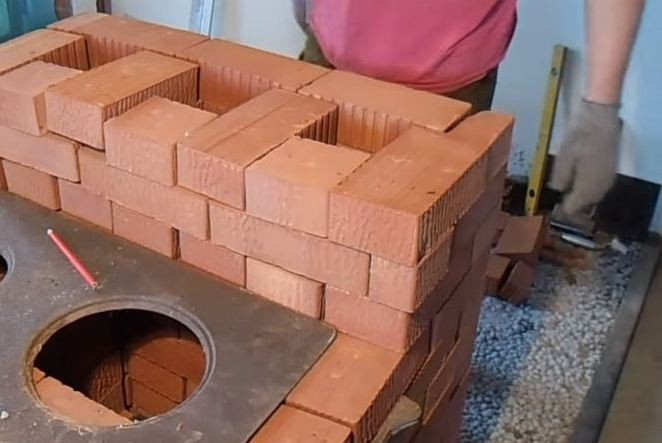
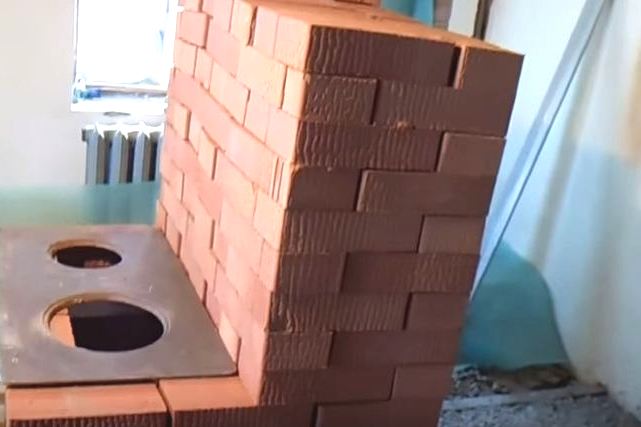
- 22 rows will be enough to make a well-made good wood-fired oven for your house with excellent heat dissipation. We start laying a three-channel heating flap with vertical chimneys. In the future, our ranks (even and odd) are copied.
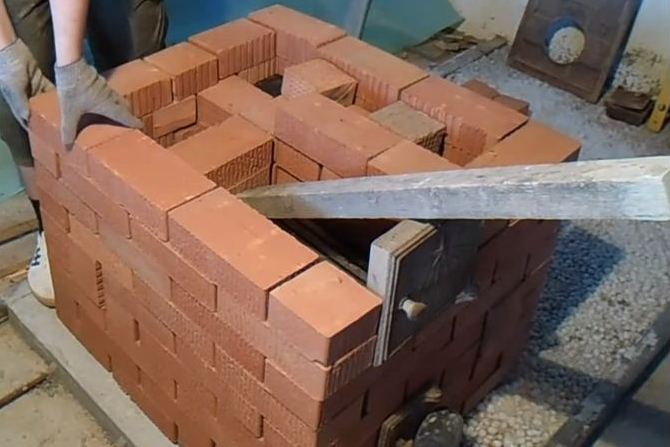
- We connect the 2 nd and 3 rd vertical channels.
- We put up another bolt at the top.
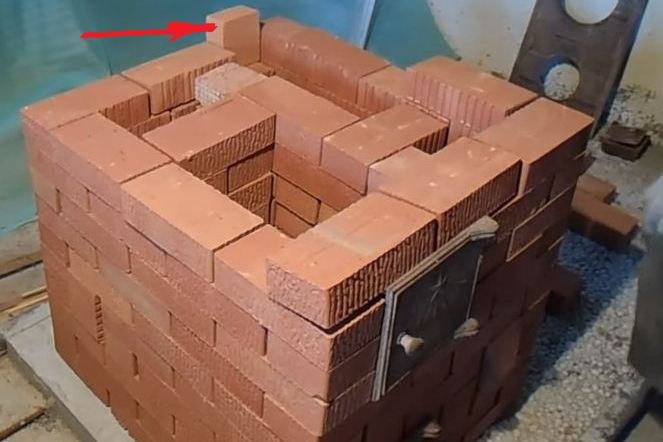
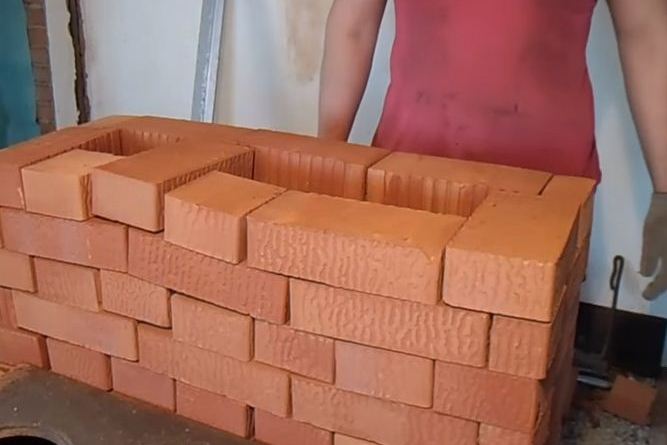
- Finish the construction of the masonry of the chimney.
- The work is finished, we managed to make by ourselves a simple but effective oven made of brick for the house.
| | |