Making an LED lamp for an aquarium for a craftsman - it's not at all complicated. The main thing is to stock up all the necessary components and tools.
What will it take to make an LED lamp for an aquarium?
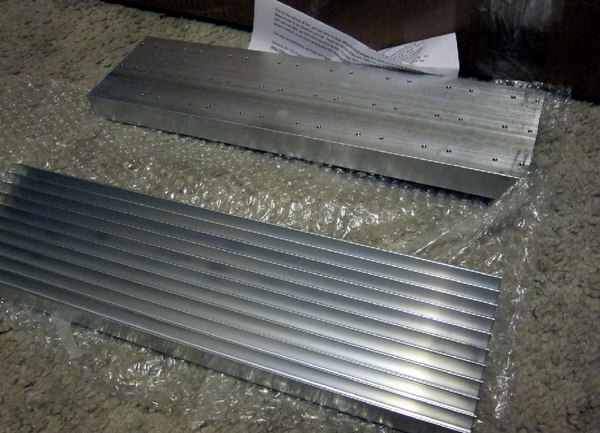
- aluminum radiators ("skis") 107x420 mm for installing LEDs on them, at the same time they act as a lamp body;
- LED-star, the calculation of which is made depending on the volume of the aquarium. For example, for an aquarium of 120-200 liters you need about 30-40 LEDs for 3V of different shades of white, you can add a few night blue LEDs for a beautiful night illumination of the aquarium;
- adjustable drivers;
- 2 aluminum corners 50x20 for the frame, corner 12x12;
- screws, drills, sealant and other consumables;
- glass size 920x107 mm, because we are in the proximity of water need a waterproof LED lamp for the aquarium.
| | |
Getting Started
So, the first stage of creating an LED lamp for an aquarium with your own hands will be preparing the corners: we cut out the "ears" on the edges, for which the lamp will be kept in the lid of the aquarium.
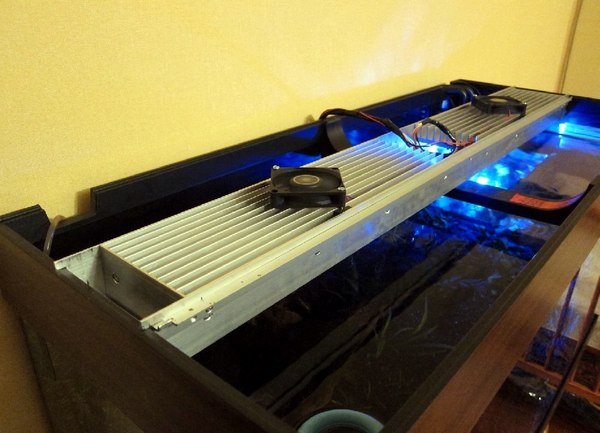
At the ends of radiators we drill holes with thread for fastening, we attach LEDs with wires and do the first fitting on the aquarium.
| | | |
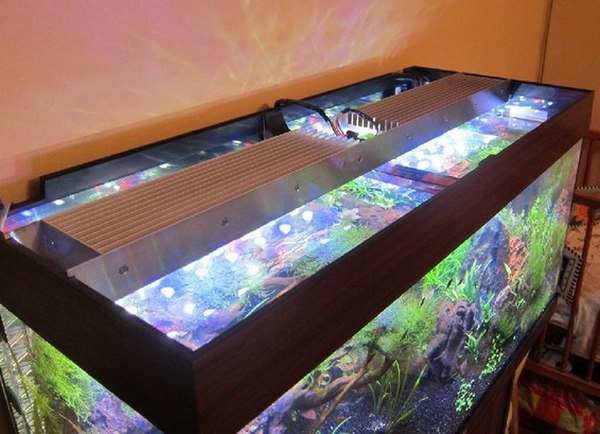
Insert the glass and install the end plates. To the lamp lay on the cover of the aquarium, we attach two corners along the lamp. If desired, you can pour a sealant along the glass.
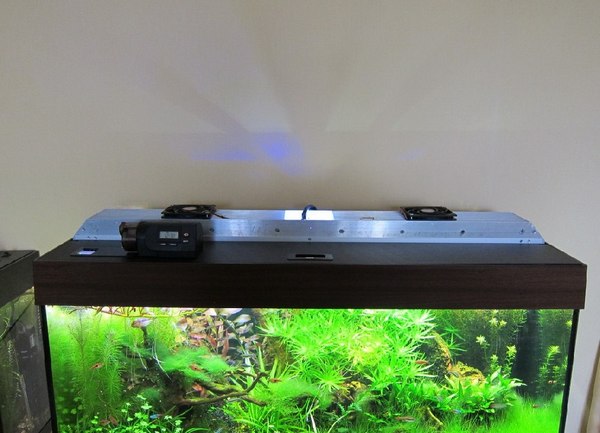
Adjustment of lighting and on-time is done using variable resistors and mechanical timers. To cool the luminaire, constantly at minimum revs, fans work. All the drivers and controllers are best hidden in the pedestal under the aquarium, bringing them from the wires to the luminaire.
Here is a self-assembled LED lamp for a marine aquarium .