Patchwork is not just a skill from shreds to create real masterpieces. This is the ability to see the whole and at the same time to keep in hand only a handful of blanks. Craftsmen make blankets, paintings, clothes and much more. But the technique of knitting patchwork is really original. It seems like ordinary knitting needles, but the product looks intricate and you just can not understand how it was made at all.
Master class knitting in patchwork technique
Consider knitting with knitting needles in the technique of patchwork using the example of mittens. It is best to start with small and simple things. In this case for patchwork knitting patchwork we use the following:
- yarn, already painted with sections in a special technique;
- spokes number 2 or 2.5 in the number of five pieces.
Now, step by step, let's consider the process of knitting in the patchwork technique using the example of gloves:
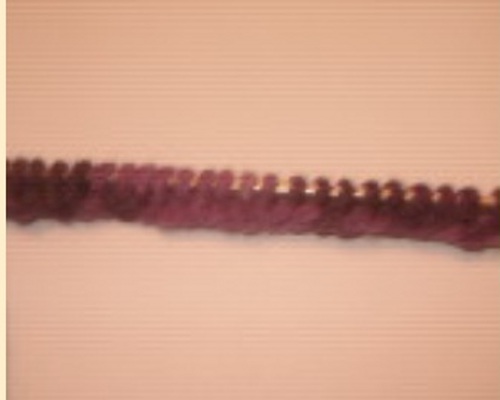
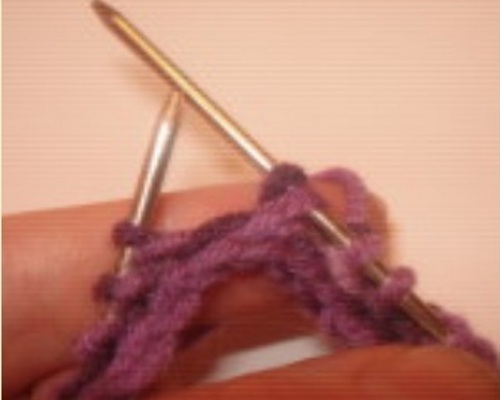
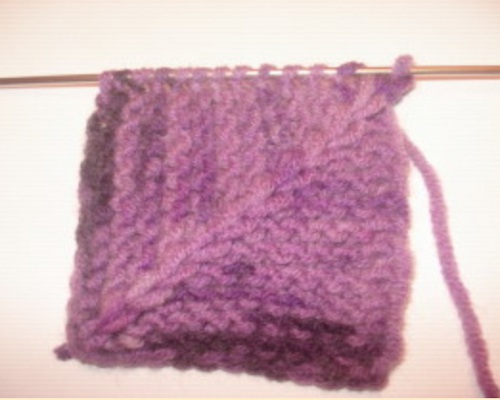
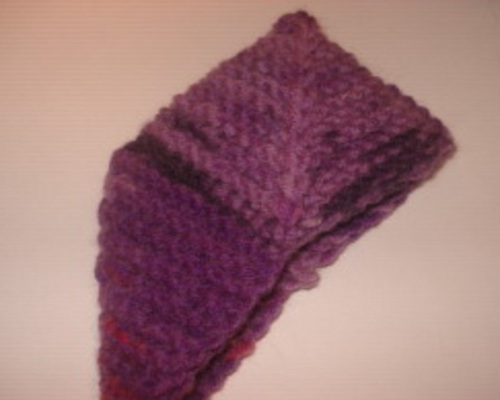
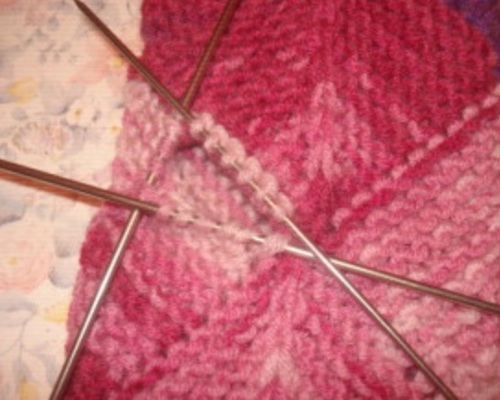
- The first step is to untying the very square. We type loops. Their number must be necessarily odd. In our case this is 25 loops. The first row consists of facial (l).
- The second row we sew according to the scheme: 12 liters, one we remove not bound, 12 liters.
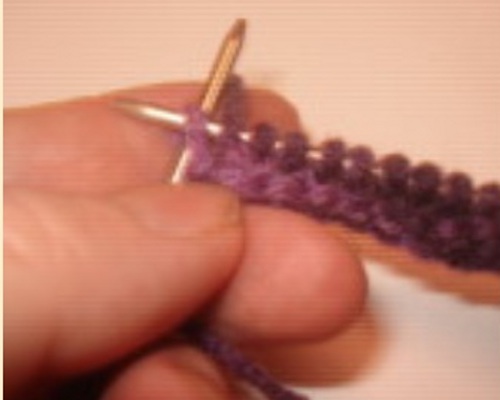
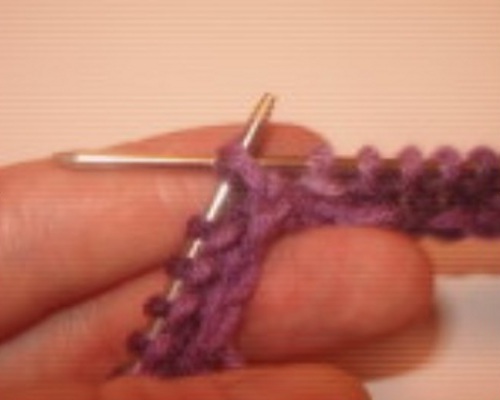
- The third row: 11 liters + three hinges together face to the back wall.
- In this order, we move further. Then you will get something like a spit in the middle.
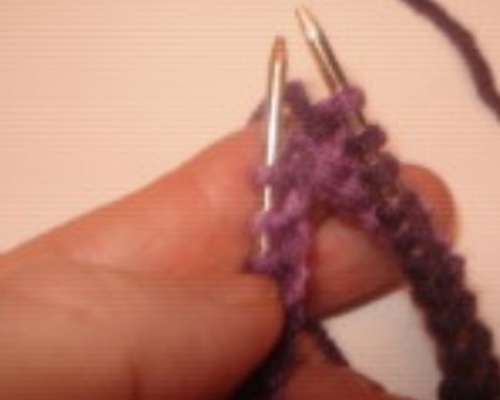
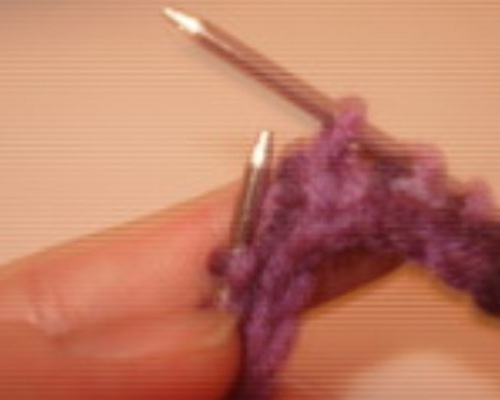
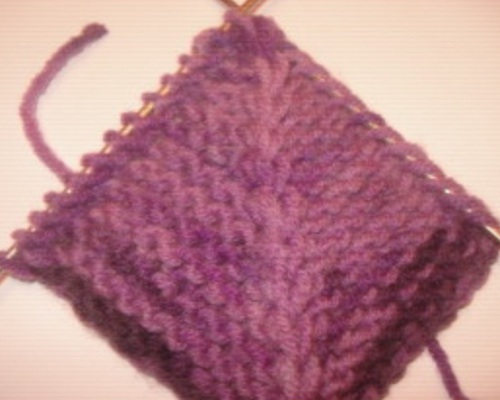
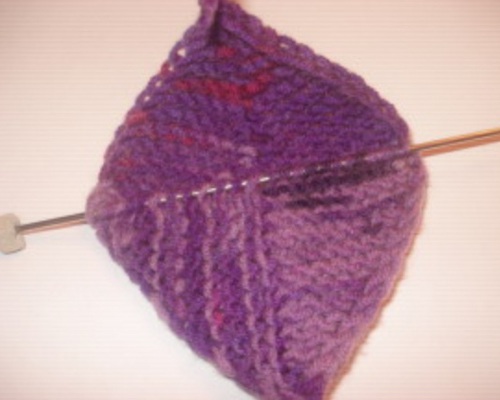
- Then follows the second stage of patchwork patchwork knitting. It is necessary to dial 13 loops along the edge, including one from the spit. And now we sew the loops all the loops first in one direction, then 12 more in the other. At the same time, the 13th is simply removed and the working thread is constantly held in front.
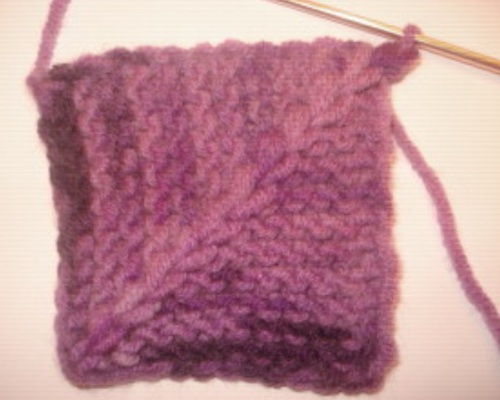
- Similarly we do on the other side of the square. Further on these new loops we untangle one more same square to get the envelope for the beginning of the mitten.
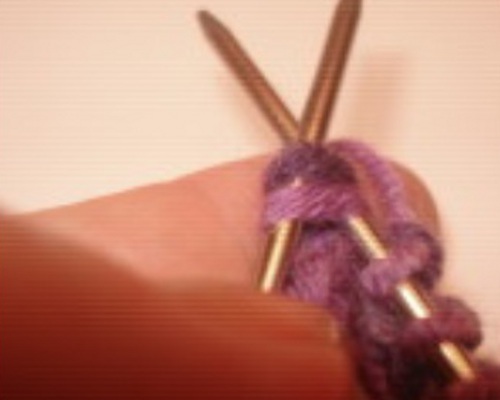
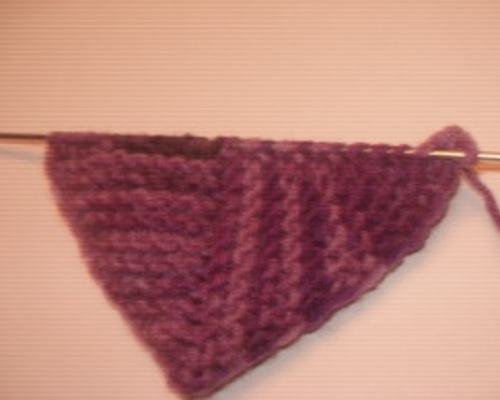
- We continue to work in the technique of knitting patchwork with knitting needles and on two edges of squares we type loops for the third.
- Knit it will be according to the already familiar pattern.
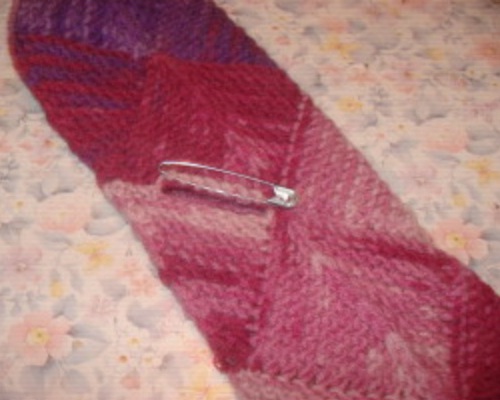
- Cut the thread. We collect 25 more loops along the other two sides of the first squares.
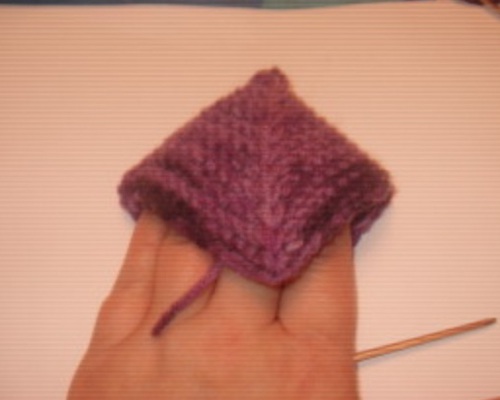
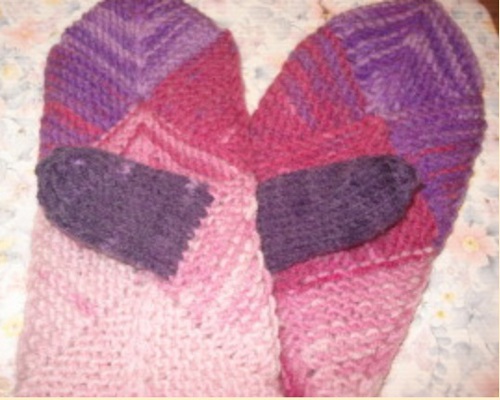
- The picture shows the layout of all the elements.
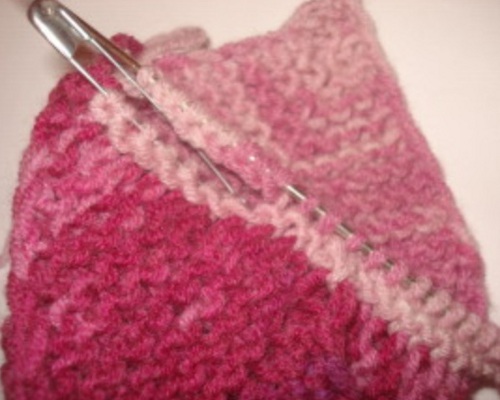
- To make a finger, we fix seven loops on the pin. The finger is knit by the usual method, as for any other techniques.
- For this we take the remaining three knitting needles. It turns out two on seven loops, on the third four. So we move 16 rows, after we start decreasing one loop. As soon as there are three loops left, it is possible to pull together the working thread.
- As a result, we got colorful mittens in the technique of knitting patchwork with knitting needles. Due to the use of the colored thread, the pattern turned out by itself.
| | |
| | |
| | |
| | |
| | |
| | |
| | |