Today, a fashion trend among teenage schoolchildren is the maintenance of a personal diary - a notebook or notebook, in which one usually writes his own thoughts on this or that occasion. Often, adults also resort to similar records, trying to understand themselves or fix in memory some events and their attitude towards them. By the way, the tradition of keeping a diary is far from new, it was widely spread among the higher layers of society hundreds of years ago.
If you want the diary to be not just a notebook with handwritten text, but a real work of art, try to decorate it using scrapbooking techniques. For this, various small elements will help, which can decorate each page of the notebook and, of course, its cover.
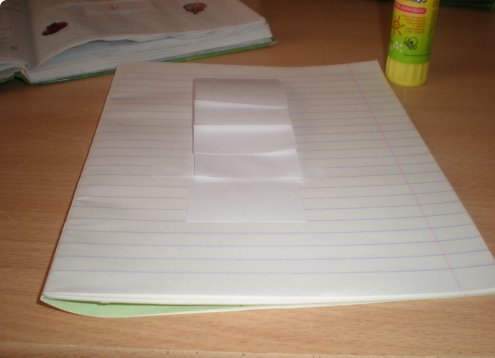
One of the ideas for decorating a personal diary, which has a practical benefit, is a paper waterfall. How it looks and what it is used for, you will now find out.
How to make a paper waterfall for a personal diary (in stages)?
Armed with the necessary materials and get to work:
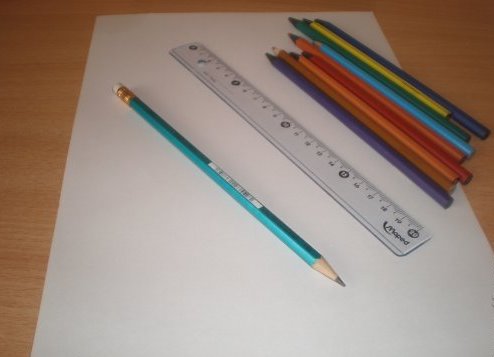
- You will need a blank sheet of paper, a ruler and a simple pencil. Note that the denser the paper, the more beautiful and strong your product will be. And for the subsequent creation of a decor it is possible to use color pencils, gel pens, felt-tip pens.
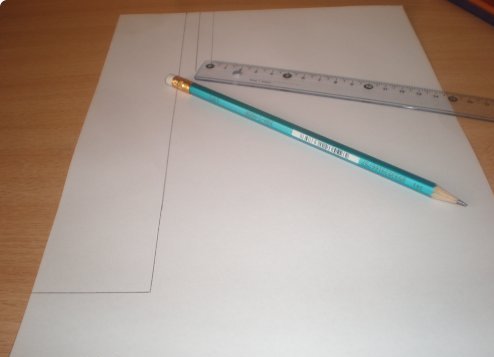
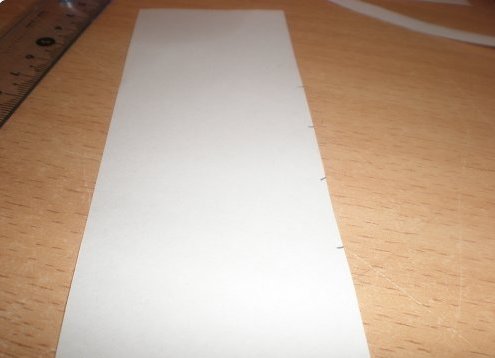
- Draw a rectangle with sides of 5 and 25 cm on the sheet of paper. Of course, it is best to place it in one of the corners of the sheet to make the figure smooth, or use a measuring ruler for this.
- Next draw another rectangle, smaller. Its dimensions are 1x8 cm, and it is more like a paper strip.
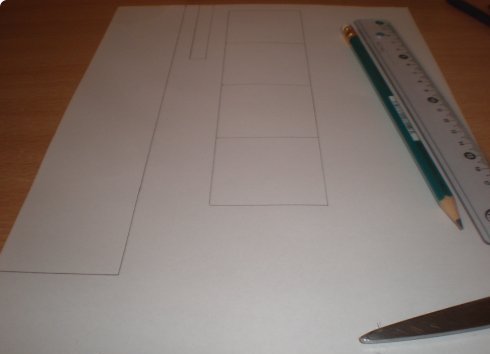
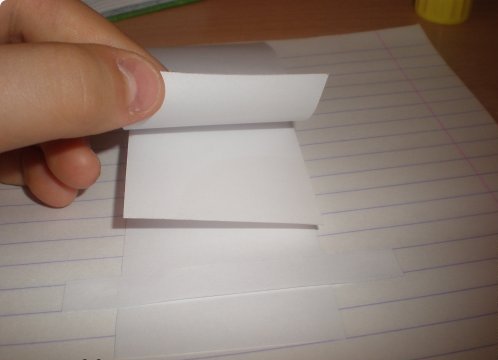
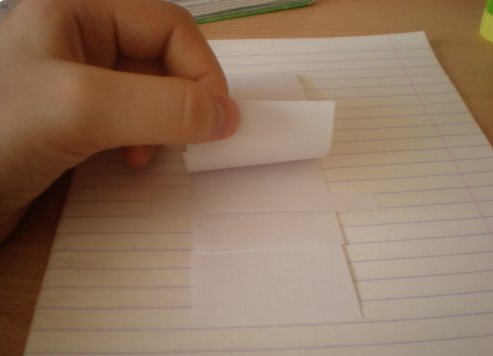
- On the remainder of the paper, draw 4 squares with a side of 5 cm. If desired, you can not execute this item by using square sheets of stickers of different bright colors.
- Cut out all the elements listed in the previous paragraphs.
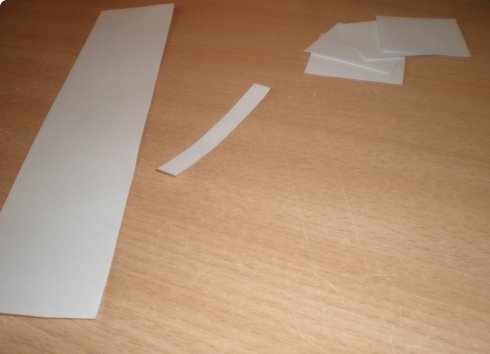
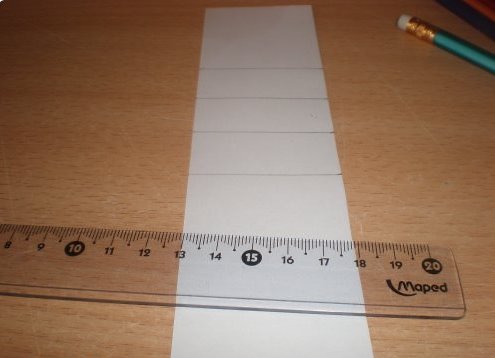
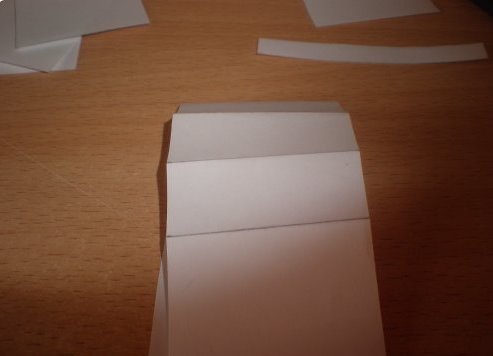
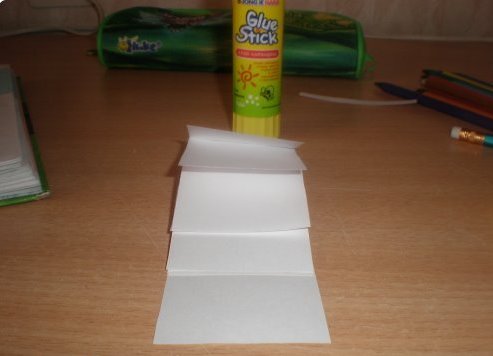
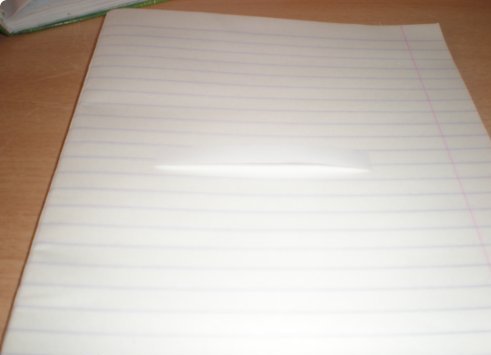
- The main element for work, the frame of the entire design of the waterfall from paper for a personal diary is an element No. 1, which measures 5x25 cm. At the edges of this strip, we place pencils on the edges, measuring from the top:
- 5 cm;
- 7 cm;
- 9 cm;
- 11 cm.
By the way, the number of squares of the waterfall does not have to be 4 and be the size of 5x5. They can be a little less - so you can increase the number of stickers for entries. And if you are going to use a large format notebook as a diary, use your own layout.