Recently, people began to feel the need to increase space. This is extremely fashionable today. Compared with the 70's and 80's, when the rooms were tightly packed with different furniture and attributes, the style of modern housing is more likely to be minimalistic . And in order to increase space, cleaning the interior walls, people began to mount sliding partitions, including those made by themselves. Many cope with such work independently not only because they want to reduce the cost of the procedure. It is known that a truly exclusive and unique thing can be obtained only by making it yourself.
It is not so difficult to mount sliding partitions with your own hands. For work, we need only a small amount of tools and the ability to handle it.
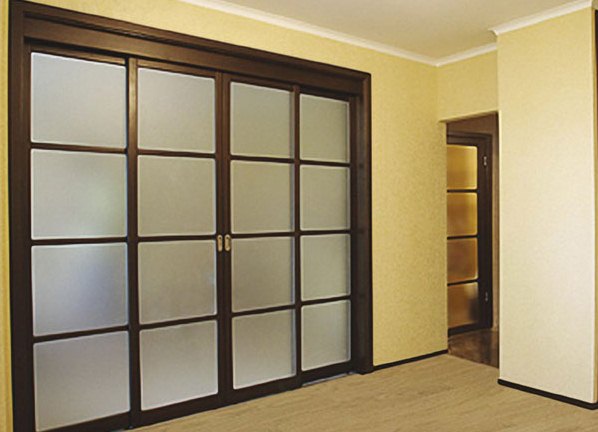
In this article, we'll look at how to step-by-step make a sliding partition yourself. As a sliding partition we will have three doors with the possibility of a shift for each other.
How to make a sliding partition with your own hands?
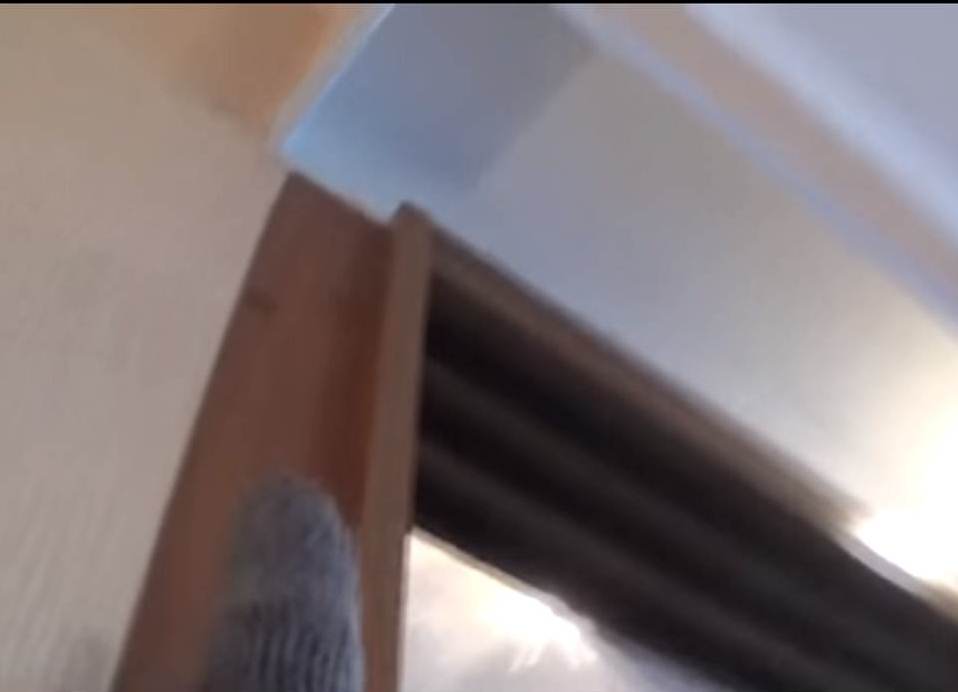
- We mount the box and the rails on which the door wheels will move. This work must be done with prefabricated materials (platbands, rails), roulettes, level, screws and screwdrivers.
- Rails for the movement of interior sliding sliding partitions are fixed with their own hands using screws at a distance that is approximately equal to thirty centimeters. The construction box must correspond to the level.
- The box supports are masked with special caps.
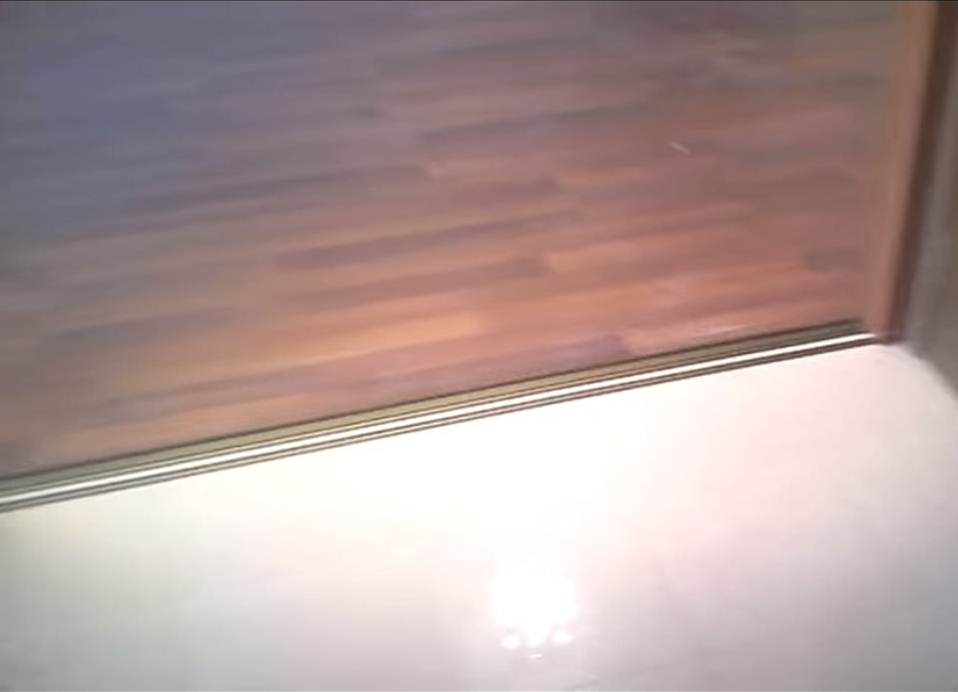
- Then we attach the lower rails.
- We glue the shock absorber on the edge door, which will be in contact with the box.
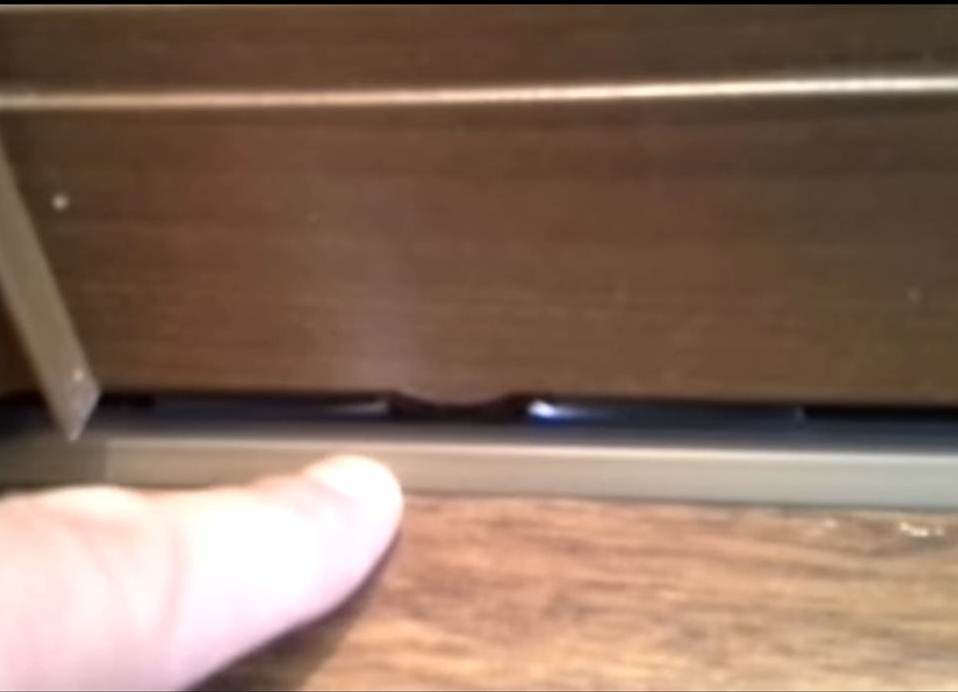
- In the lower rail we install a special stopper, a kind of hole, which fixes the door when closing.
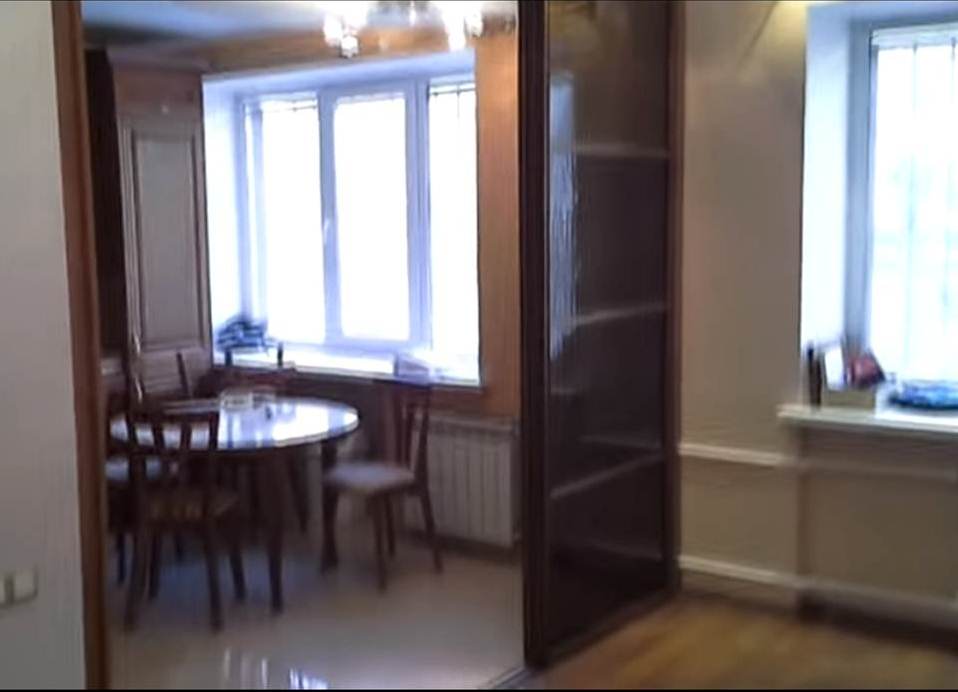
- One by one we assemble the doors. Just hit the wheels in the right rail. In this way we get a pretty pretty sliding inner partition, which was installed by hand in assembled form.
| | |
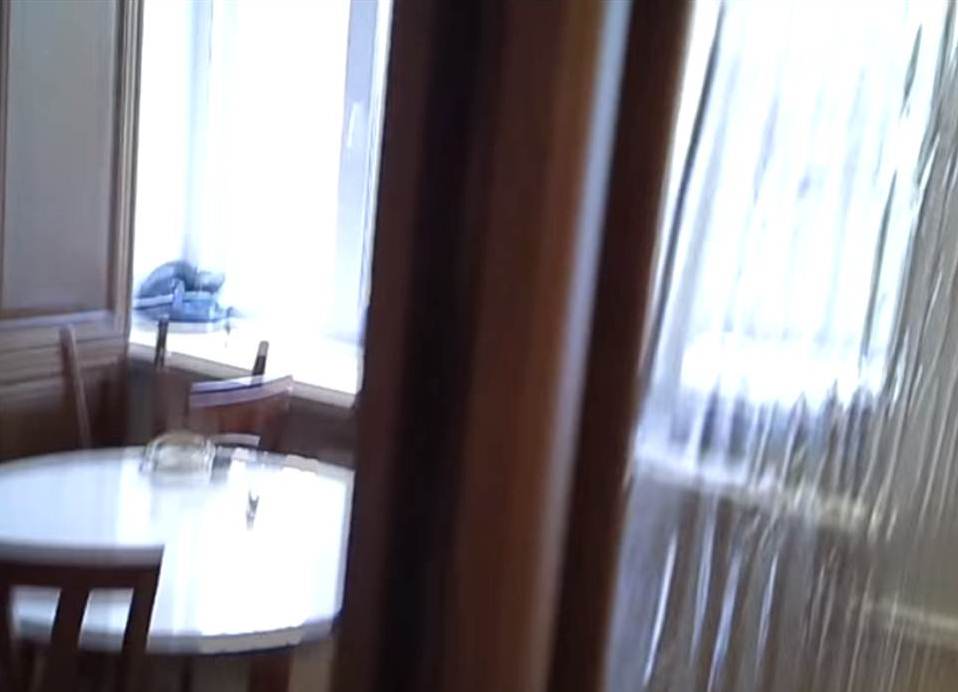
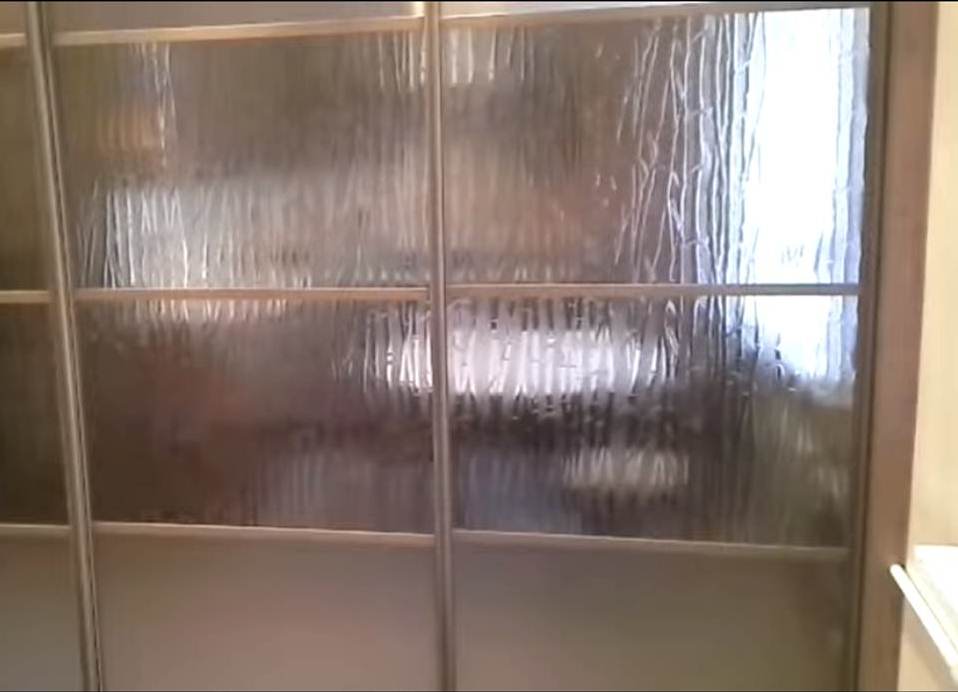
In disassembled form it looks like this: