Recently, in design projects, you can often find bar counters , which are often used to separate zones in the kitchen and organize a small space for eating. Chairs for a similar rack are a necessary addition.
It's not hard to make a bar stool with your own hands, you need to have a tool, materials and a well-designed idea. It is a stool with high legs, equipped with footrests below. The main difference between a bar stool and an ordinary one is a large height and a small seat. Usually the height of such a piece of furniture is 85 cm, but finally it needs to be determined in accordance with the parameters of the rack itself. A person sitting on a bar stool should be able to calmly put elbows on the countertop of the rack.
The easiest way to make such a chair is using wood or chipboard. Wood is a pliable material, from which it is easy to obtain the necessary details, having a minimal set of tools. Consider the technology of how to make a bar stool with your own hands.
Bar stool manufacturing
For work you need:
- wooden shields;
- a jigsaw;
- saw;
- Sander;
- ruler;
- gon;
- glue;
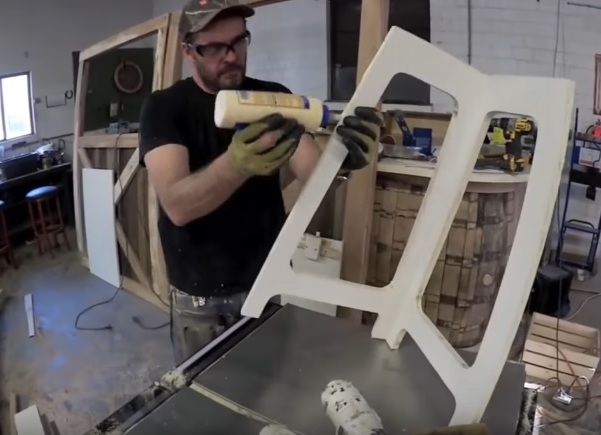
- building gun;
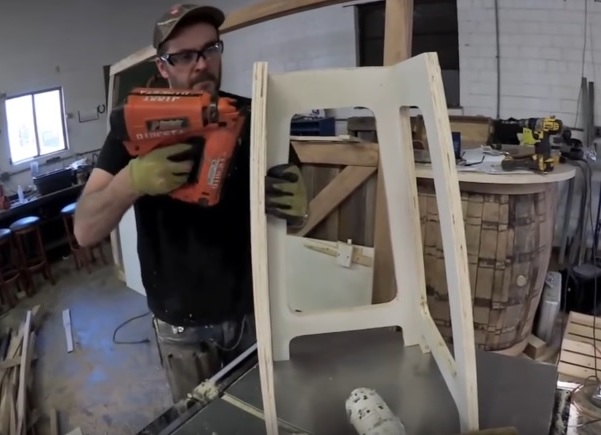
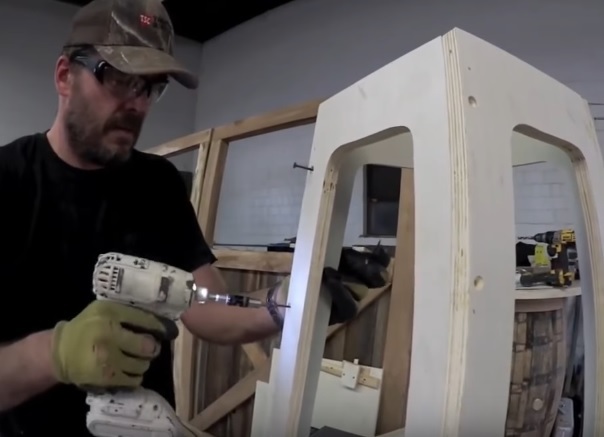
- drill and screws;
- varnish with a spray.
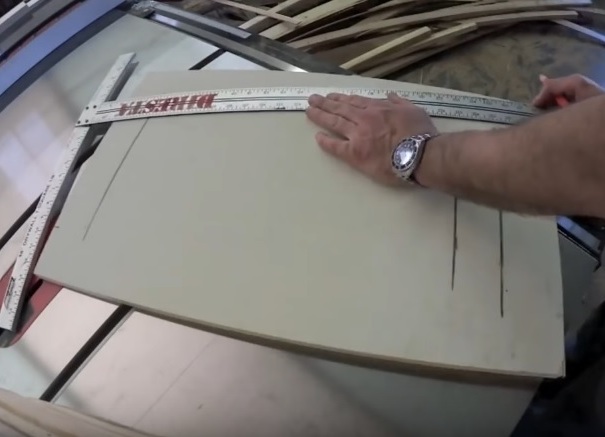
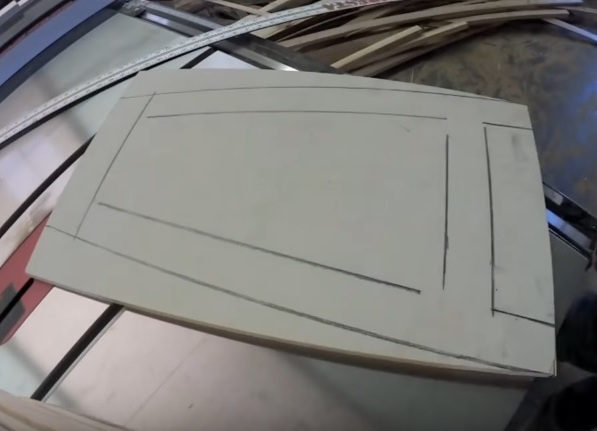
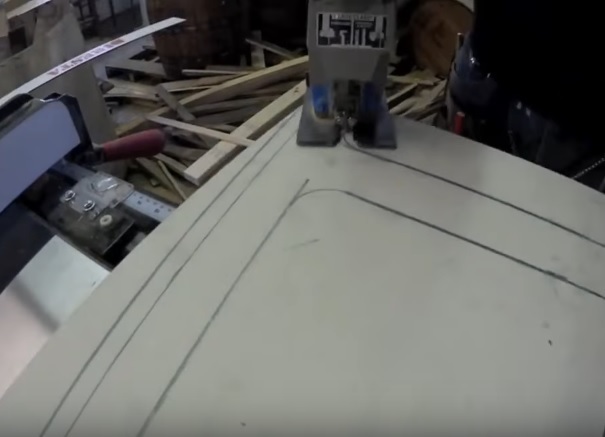
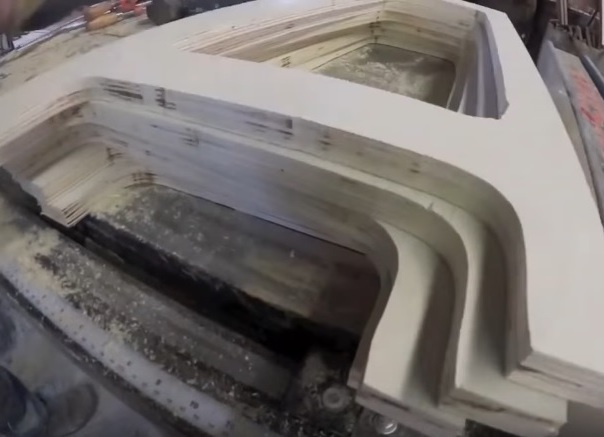
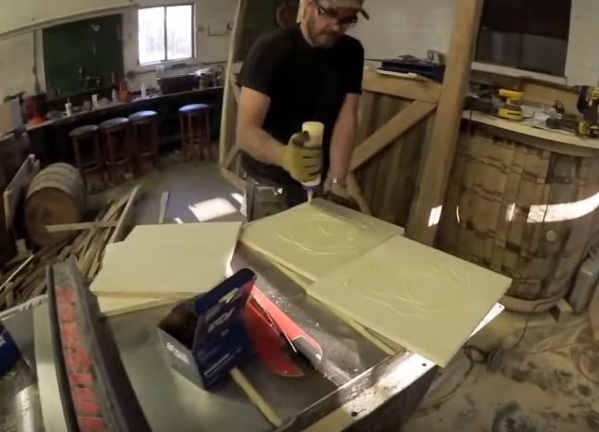
- First you need to cut out the wood parts for the legs. To do this, the wooden material with a pencil and a square is applied with a support drawing in the form of a cropped letter A.
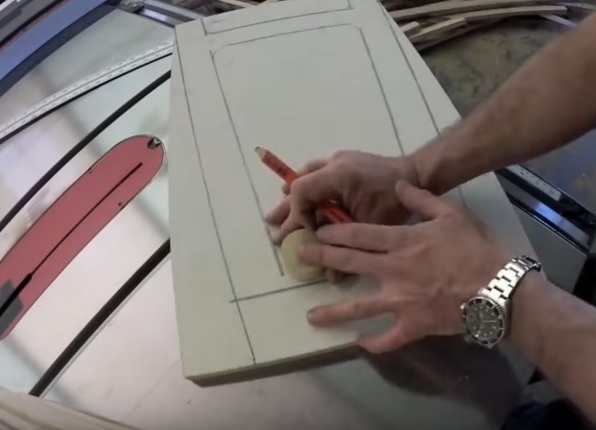
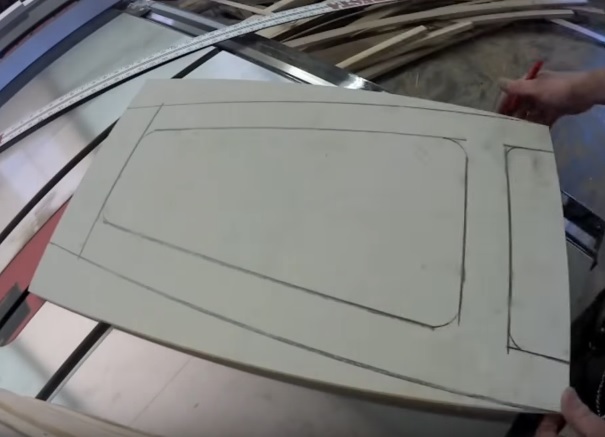
- With the help of a wooden round billet, decorative roundings are made in all the intersections of the lines. Such smooth lines will make the chair design more elegant.
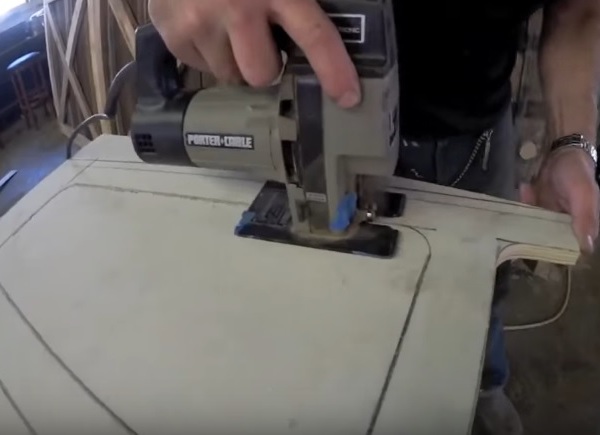
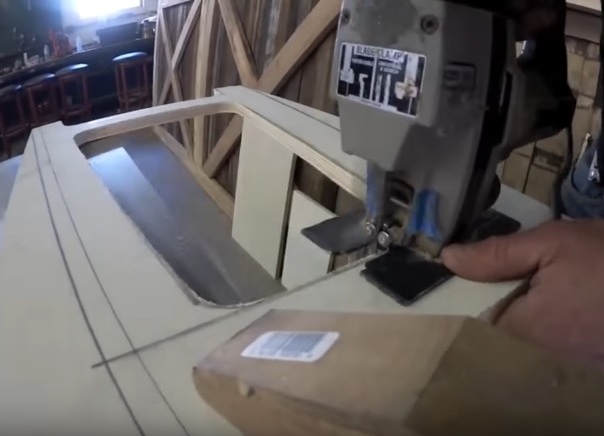
- The details of the legs are cut with a jig saw on the outer and inner lines. It turns out a blank for a high support with a solid crossbar for the legs, which will be at the bottom of the future chair. This design of the legs is very reliable, since it has a minimum of fastening joints, the support parts represent a solid structure from the array. This is important, because the chair after the assembly should be durable.
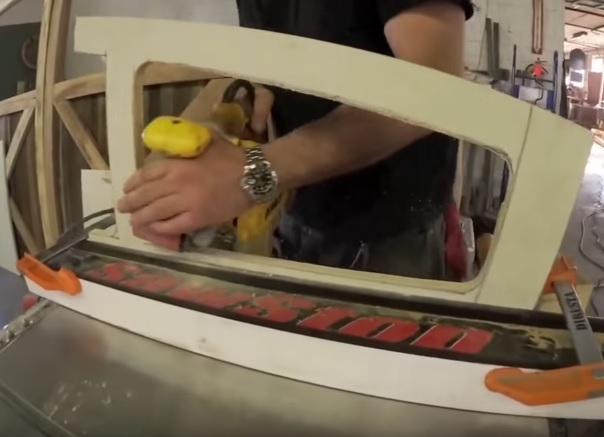
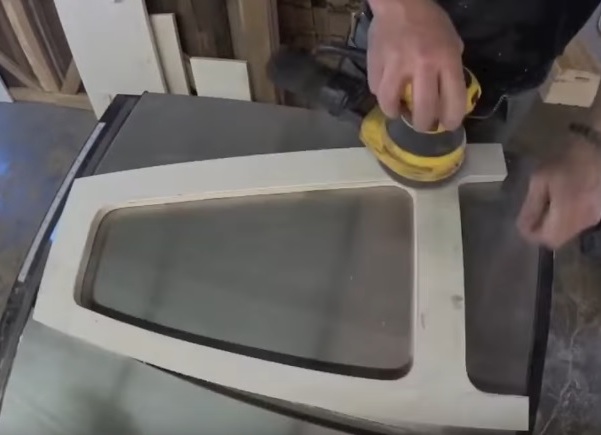
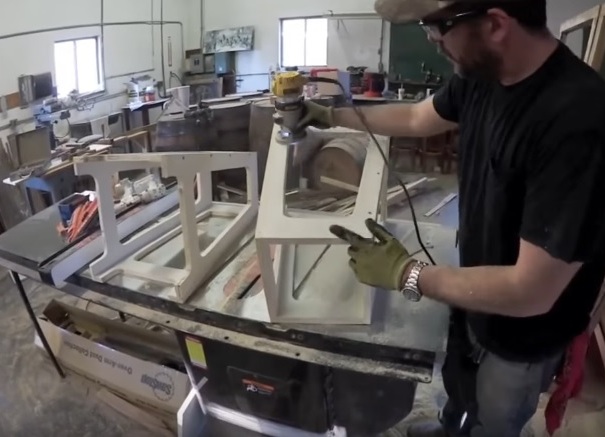
- Slicers are processed by a grinding machine.
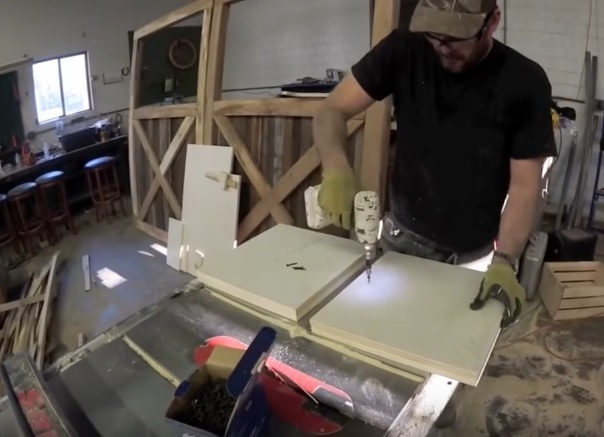
- There are four pieces for one chair per chair. The remaining parts can be measured by the first manufactured.
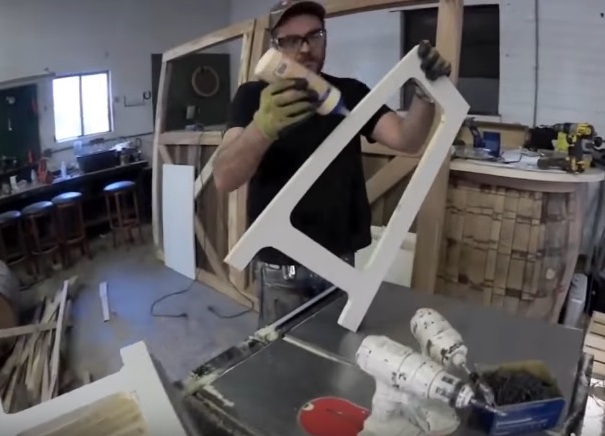
- When all the details of the legs are cut, you can start assembling the support under the chair. The details of the legs are smeared with glue and fasten in turn to one another.
- In addition, the legs at the joints are fixed with self-tapping screws for the strength of the structure.
- Once again, the legs and all joints of the structure are polished to the full smoothness of the material.
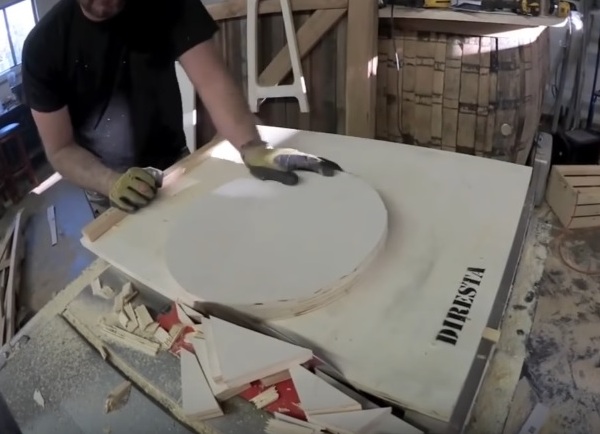
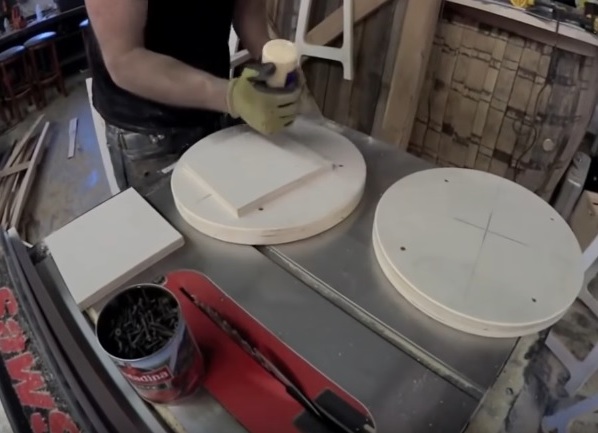
- Now you need to make a seat. Of the wooden shields are cut square billets. To create a seat, two squares are glued together and fastened with screws so that it is thick.
- A circular seat is cut from the resulting square billet with a saw.
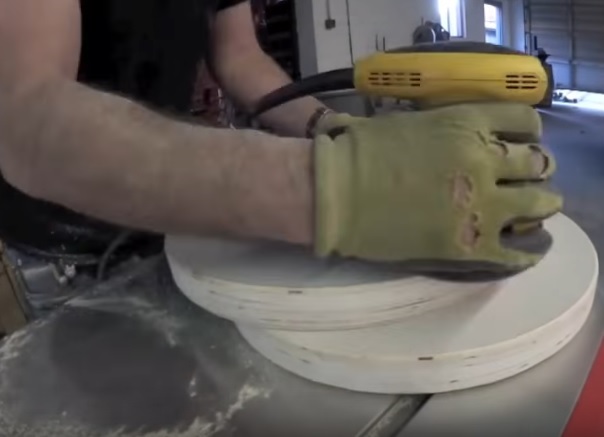
- The edges, top, bottom of the circle are grinded by a machine.
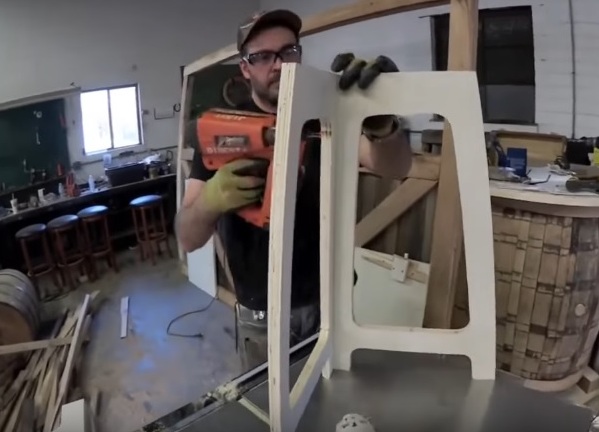
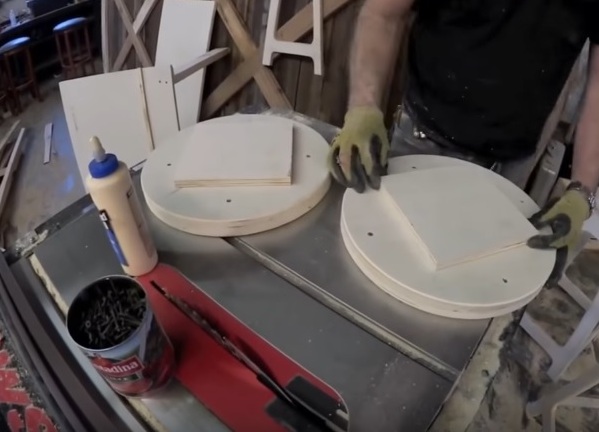
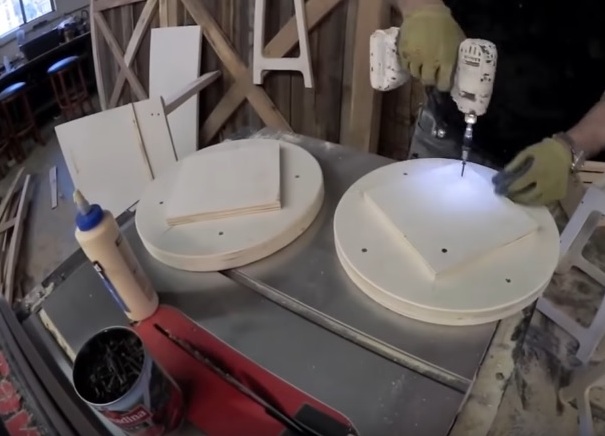
- On a round seat, a square piece is glued to the size of the hole between the prepared legs. It serves as a backing for the seat, to which will be attached the made support in the form of legs. In addition, it must also be fixed with screws.
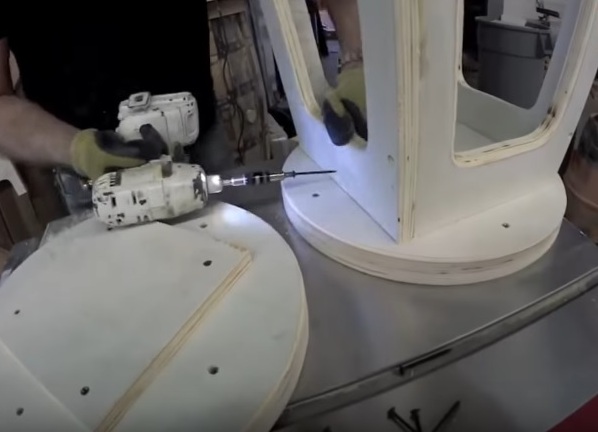
- The legs are mounted on the seat and fastened with screws to the gasket.
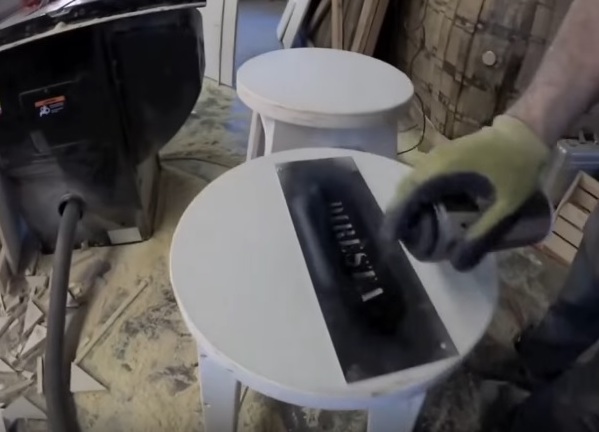
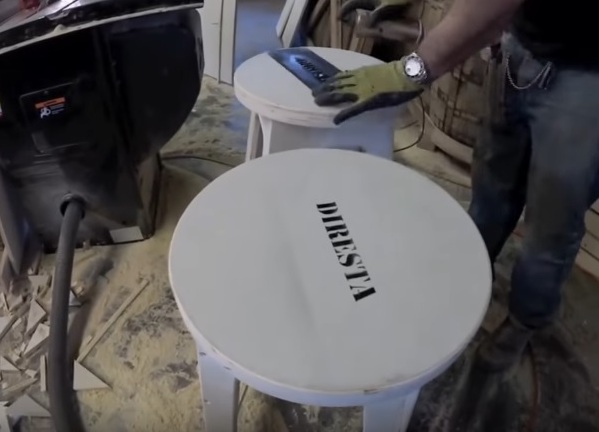
- Now the chair can be covered with varnish, or with a stencil a pattern, an inscription.
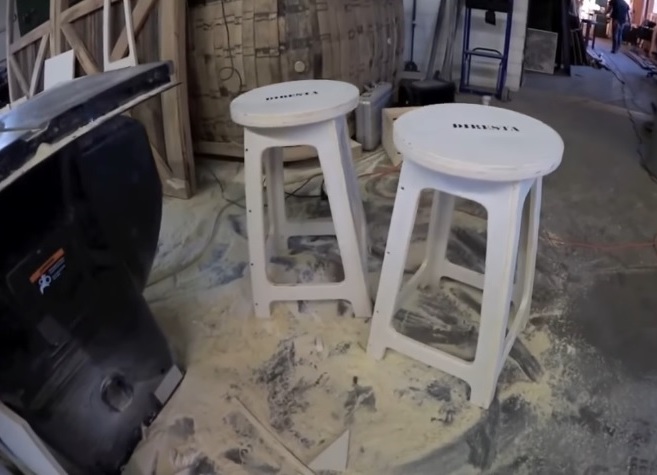
- Chairs in the finished form.
Now the bar has become a fashionable piece of furniture for the kitchen, so wooden high chairs made by themselves will be useful for arranging such a stylish zone. Rack with chairs - a cozy corner for a short meal.