For a long time the sutured weaving was in oblivion, but today this kind of needlework is again popular. The very concept of "sewn embroidery" includes the manufacture of jewelry and decorative elements of clothing made of soutazha, that is, a special cord that is flexible, subtle and strong. Sometimes this technique is used in macrame .
The homeland of this type of needlework is France . In the 14th century, clothes for women were decorated with soutache. A few decades later, the technique of cross-stitch embroidery became popular in the Netherlands. There were new elements, techniques. High decorative resulted in the fact that the southeast turned into a kind of applied art. Since the end of the XVIII century, the technique was practically not used, and at the end of 2000, Israeli designers again drew attention to the beauty and originality of items from the suture cord.
Due to the flexibility and smooth surface, the suture cord can be bent as you like. In this case, the product looks neat, ornate. But for beginners, soutache embroidery is a whole science, because one incorrectly curved element can spoil the impression of the whole product.
Those who are not familiar with this technique, it is worth trying to make a simple decoration with their own hands, and the process will definitely bring pleasure. We suggest that you familiarize yourself with the master class, which describes in detail the process of creating jewelry in the technique of southeast embroidery.
We will need:
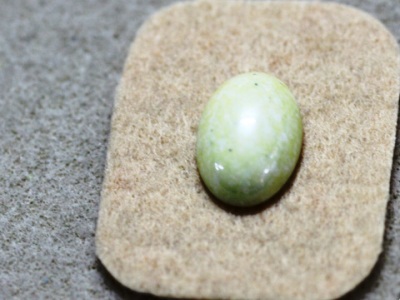
- stone (the reverse side should be flat);
- beads;
- suture cord;
- felt;
- glue;
- needle;
- thread.
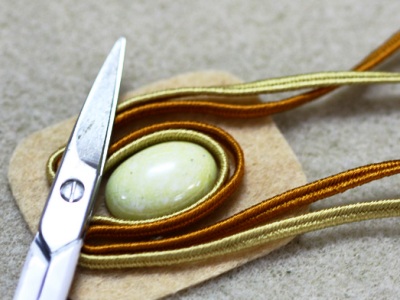
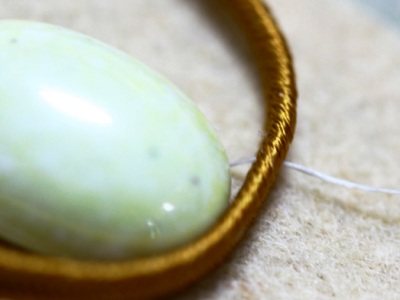
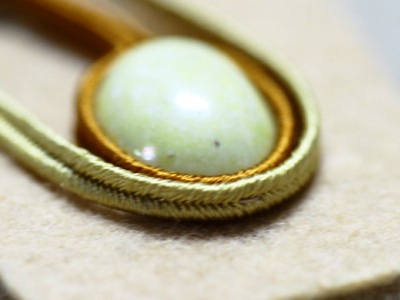
- From felt, cut out a square 5x5 centimeters, and then round it corners. Do not worry if a piece of felt is too big. The excess can then be trimmed. In the center, place a decorative stone. Connect two cords of different colors, and sew them around the stone, leaving the ends free.
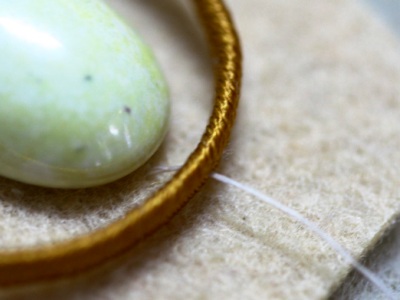
- Make sure that the thread passes exactly in the center of the cord. It is not difficult to do this because there is a groove on it.
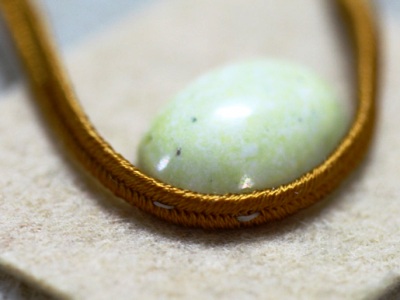
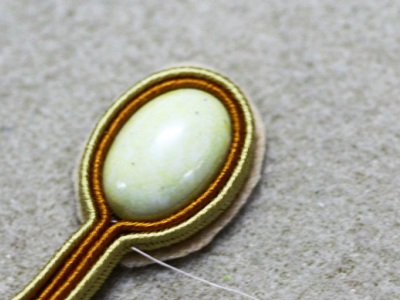
- Stitches should be neat and placed at the same distance from each other (0.3-0.5 centimeters).
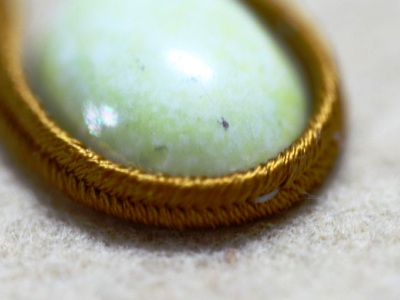
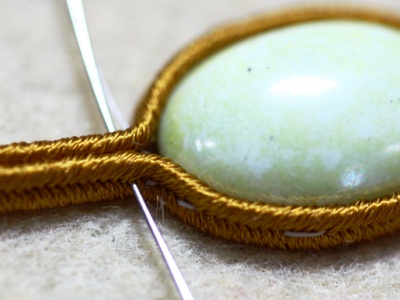
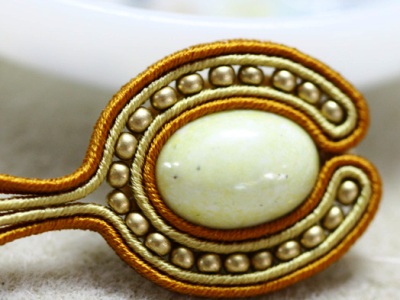
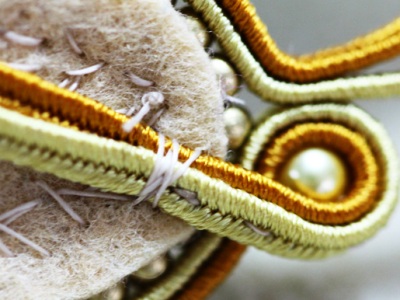
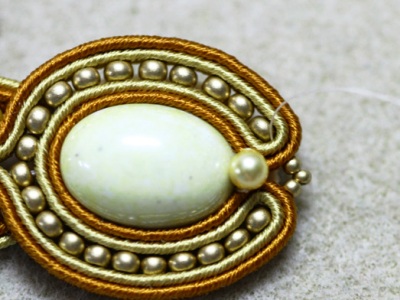
- When the stone is completely sheathed with the suction cord, cover its ends with a metal knitting needle. Then proceed to sheath the stone with a cord of a different color, overlaying it over the one that is already fastened.
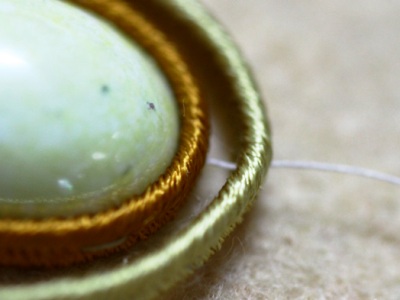
- Fasten the ends of the cord with a thread, taking out the metal spoke. At the end of this stage, your decoration should look like this.
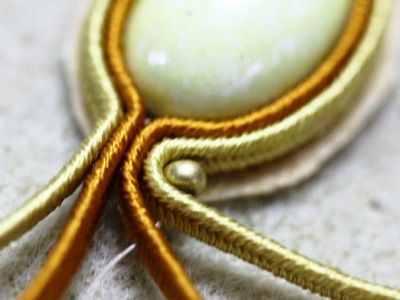
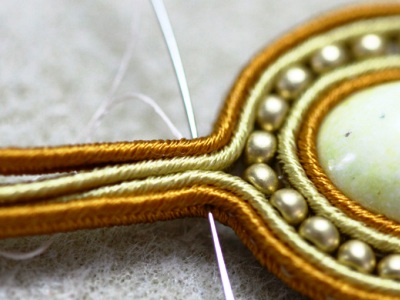
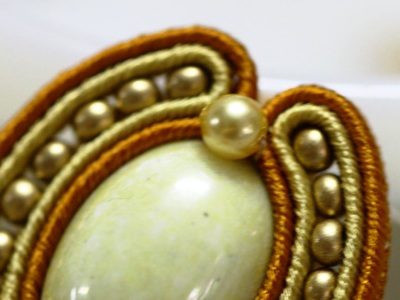
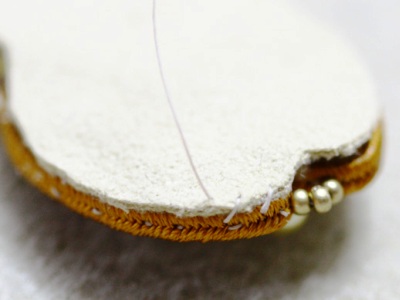
- Unbend the end of the outer cord and place the bead in the curl formed, threading it onto the thread. Then bring it to the end of the golden cord.
- Continue adding beads by sewing both cords together.
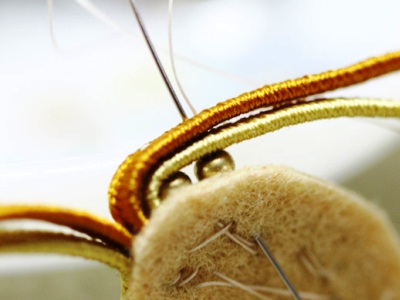
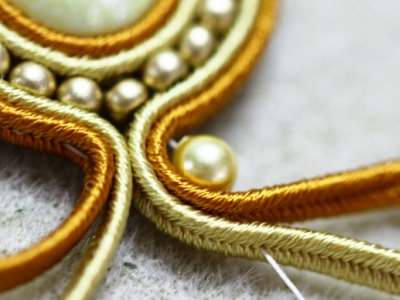
- When the stone is surrounded by beads around the whole circumference, draw the loose ends of the cords (and there are only four) together and secure them by passing the needle in the center.
- Similarly, after making another turn, sew a bead into the ring from the paired cords.
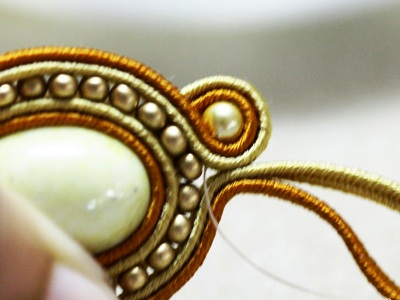
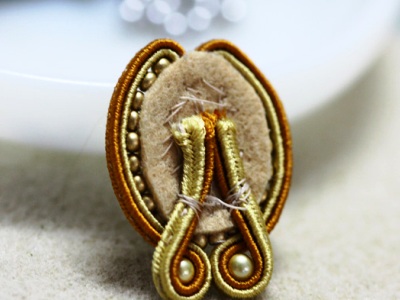
- Take the ends of the cord on the back of the product and firmly sew them with threads to the felt. Similarly, sew a bead on the other side.
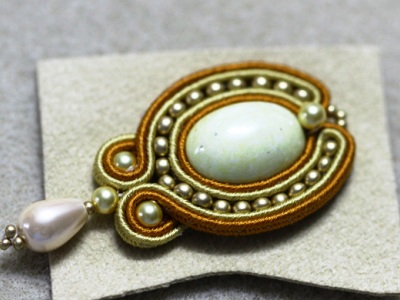
- Having fixed all four free ends of the cords, sew the last bead by placing it on top of the place where the coils are connected.
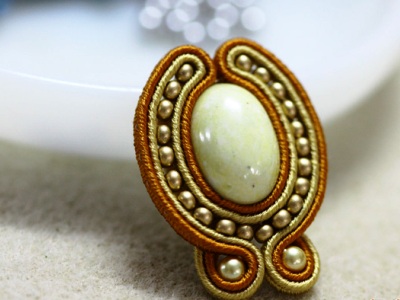
- Decorate the product with three more small beads, and proceed to create a suspension by strung a string of large and small beads.
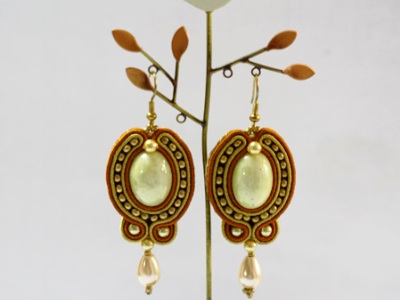
- Cut out a piece of felt that fits the size of the product. Sew it on the back side, hiding all the threads and stitches. In the same way, make the second earring, and the original set is ready!
| | |
| | |
| | |
| | |
| | |
| | |
| | |
| | |
| | |
| | |
| | |
| | |
| | |
| | |