Even the most beautiful painting, dressed in an inappropriate frame, can lose its chic. That is why before the needlewomen who just finished work on creating a small masterpiece (a picture, an embroidery or a photograph), there is an important task - how to make a frame with a passepartout with your own hands. Why not use the finished product? Yes, because it is unlikely that you will see exactly such a passport in the store as you saw it in your imagination.
The role of this decorative element can not be overestimated. Making a passepartout with your own hands allows you to give a photo or embroidery space, leaving as much free space around the perimeter as needed in order to accentuate, place a signature or text inscription. In addition, you do not have to "adjust" the size of the work under the mat, because it, in fact, is universal. We have overpersuaded you? Then we offer a master class, after reading which you will learn how to make your own passports for drawing, photos or embroidery.
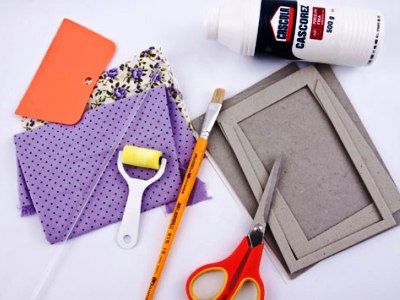
We will need:
- cardboard;
- dense color paper;
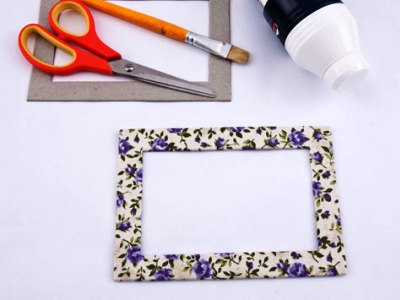
- scissors;
- ruler;
- metal corner;
- glue.
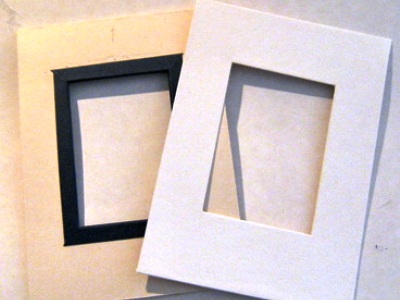
- On a thick cardboard sheet, draw a rectangle that is twice the size of the finished work that you want to place on the passport. Cut out this rectangle and place the work in its center. The distance to the edges of the frame should be the same. Then carefully circle the picture or drawing with a pencil, take the work off and, stepping from the edge literally millimeter-two, cut out the rectangle. You should have a rectangle made of cardboard with a window cut out in the center.
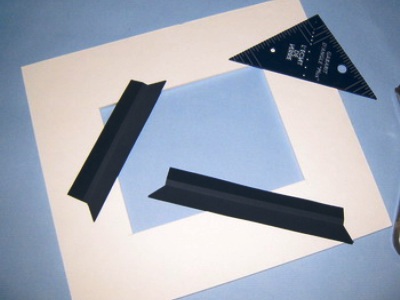
- For a while, put the cut out part aside and start making a contrasting edge. To do this, from the dense colored paper, cut out two pairs of strips. The size of the first two should be equal to the length of the inner window, and the second two - the width of the inner window. The width of all four strips is 3-3.5 centimeters. Each strip is bent in half, leaving a narrow edging about two millimeters wide in the center.
- Be sure to check if the cut strips are suitable. For this you can use a metal corner.
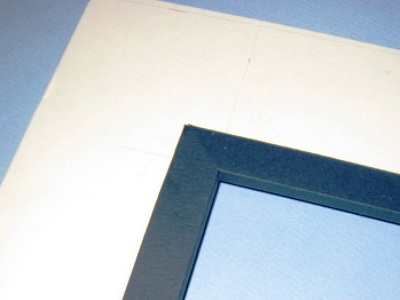
- Now you can proceed to gluing strips to the cardboard frame. Note, glue must be applied only to cardboard, because colored paper can deform, swell and stretch as a result of contact with it. Gently glue the stripes, paying special attention to the joints on the corners.
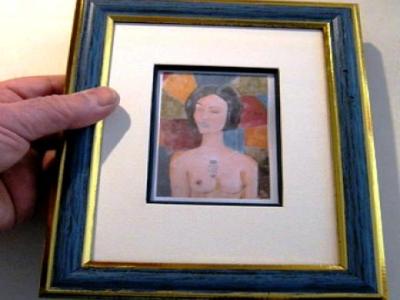
- When the glue dries, you can put a drawing or photo on the back of your passport, and then decorate the finished work with a frame (with or without glass, it's up to you). If you plan to place embroidery on your passport, you must first attach it to a sheet of cardboard, fixing on the back of the fabric with a double-sided adhesive tape or a small stapler.
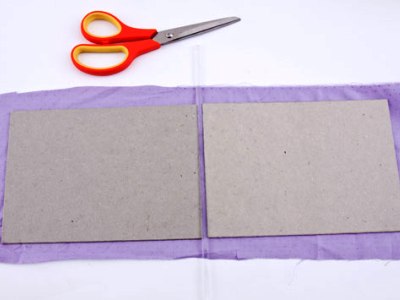
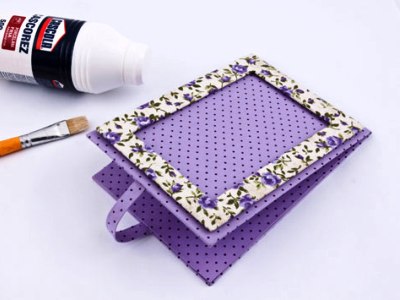
- No less original and homely look passport, made of cloth. To do this, you need to cut out of the cardboard two rectangles, the size of which slightly exceeds the dimensions of the work. Then from the fabric we cut out the same rectangles, not forgetting to leave an allowance of 0.5 centimeters.
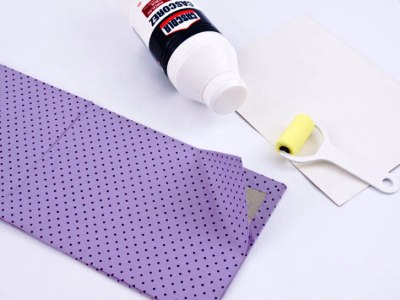
- Lubricate the cardboard with glue, and on top we put the fabric, gently bending the corners and forming the sections.
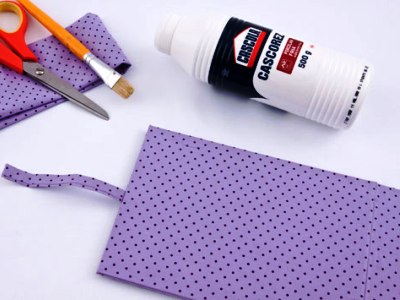
- To the bottom edge of the part we glue a strip of fabric that will serve as a stop for the frame so that it does not move apart.
- In parallel, from the cardboard we cut out a narrow frame, which should be pasted with a cloth of a different color. On the passport we glue the cardboard frame, which will serve to give additional volume to the passport.
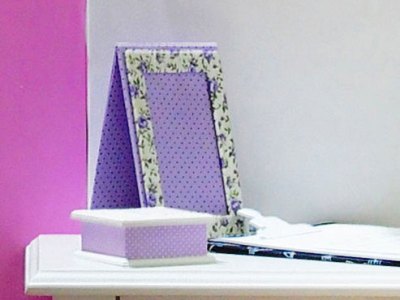
- It remains to collect the passport, pasting a narrow frame and placing in the center of a picture or photo.
Also you can make a picture frame yourself.