Quilling is the technique of creating volumetric patterns with the help of twisting thin strips of paper. In order to master this technique, you should familiarize yourself with the basic forms used in creating the drawing.
In this article for beginners mastering quilling techniques will be step-by-step. You will learn how to perform basic figures, and how to make a simple postcard using them.
Base blanks for quilling
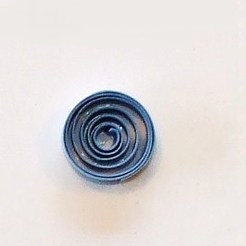
- Tight circle (or roll) - the strip of paper should be screwed tightly onto the stick and seal the end.
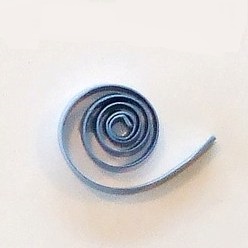
- Loose circle - tight roll after the wrap is given to untwist up to the required size. There are 2 types: open and closed.
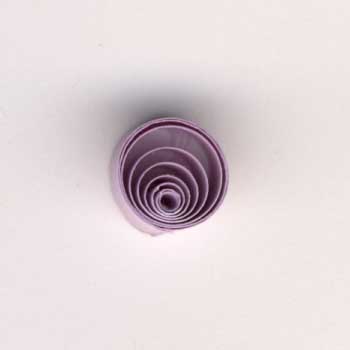
- To move the center, you should insert a pin into the middle and glue the layers of paper on one side with each other.
- Drop - a free closed circle should be pressed on one side, moving away from the middle.
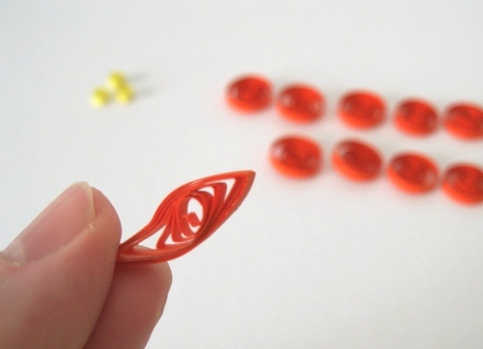
- Eye - a free closed circle is pressed on both sides.
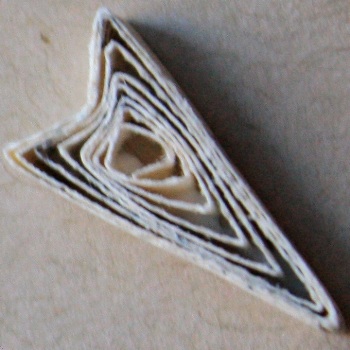
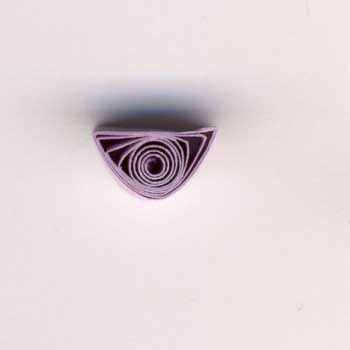
- Arrowhead - make a drop, and then the round part is pressed into the middle and clamped the resulting protrusions.
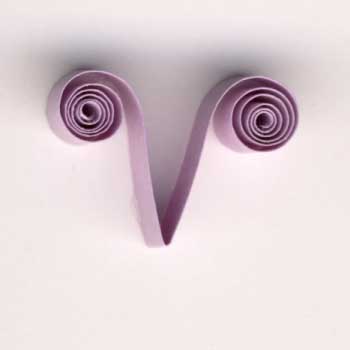
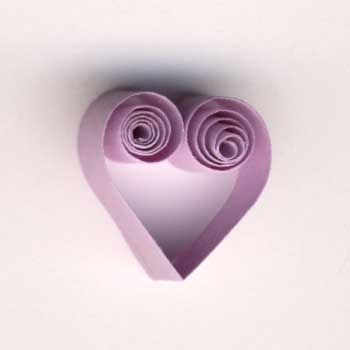
- Spirals - there are several types: V, S, C and heart.
- Cone - a tight circle is performed and the stick is squeezed out a little from one side.
- Crescent - making the figure "eye", the corners lowered down.
| | |
| | |
| | |
Master-class: postcards in the technique of quilling for beginners
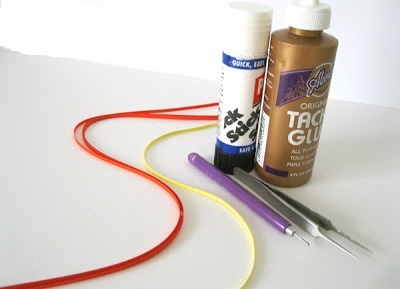
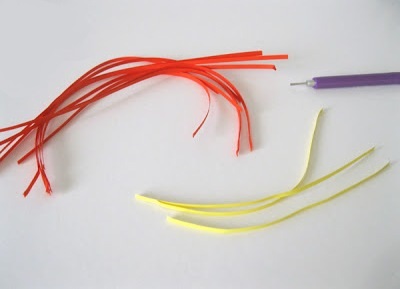
It will take:
- stripes of red and yellow paper;
- a sheet of green paper;
- glue;
- tools: for cheating and tweezers.
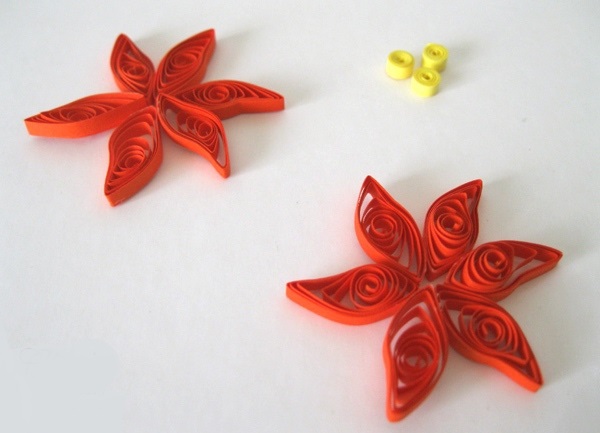
We make 1 flower:
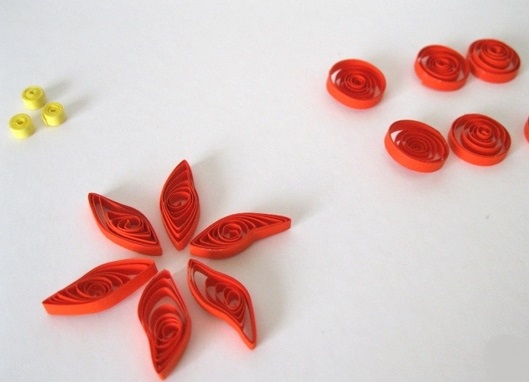
- of yellow paper - 3 tight circles;
- of the red - 12 free.
| | |
We make from the red circles the form of the "eye".
We glue together 6 red parts.
| | |
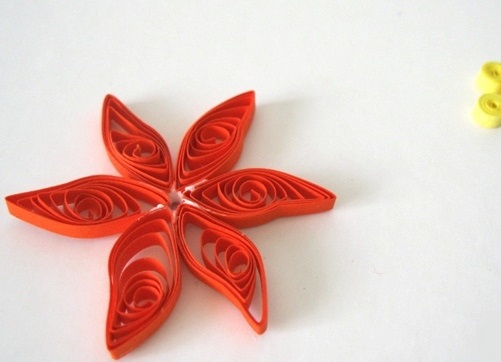
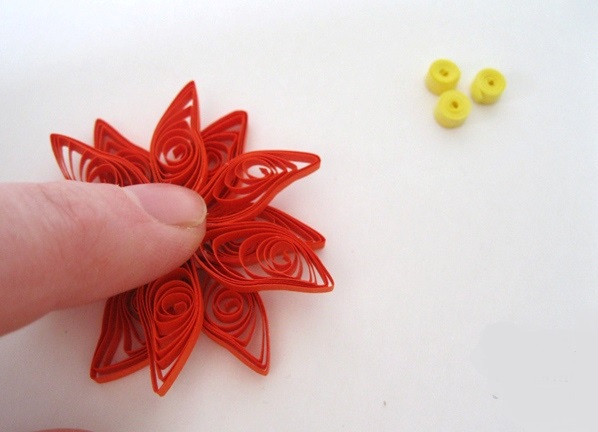
Do the same as the second flower from the red parts. We glue it on top of the first one.
| | |
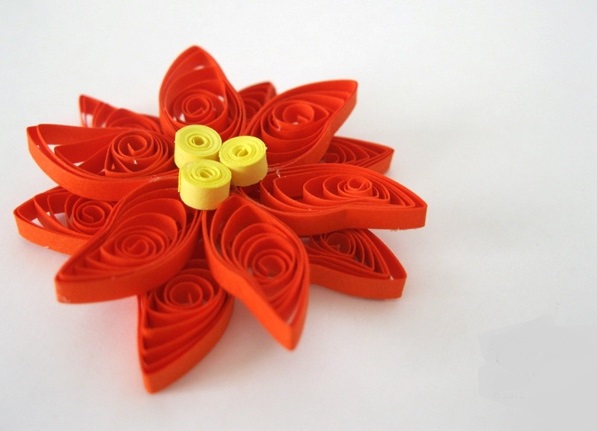
In the center, glue 3 yellow circles.
We decorate the flowers with two green leaves and glue them to the cardboard folded in half.
If you wish, you can proceed to create bulk quilling cards .