Often during the New Year holidays, we have a lot of new videos and photos . It is not always possible to print all the pictures. At the same time I would like to save them not only reliably, but also beautifully.
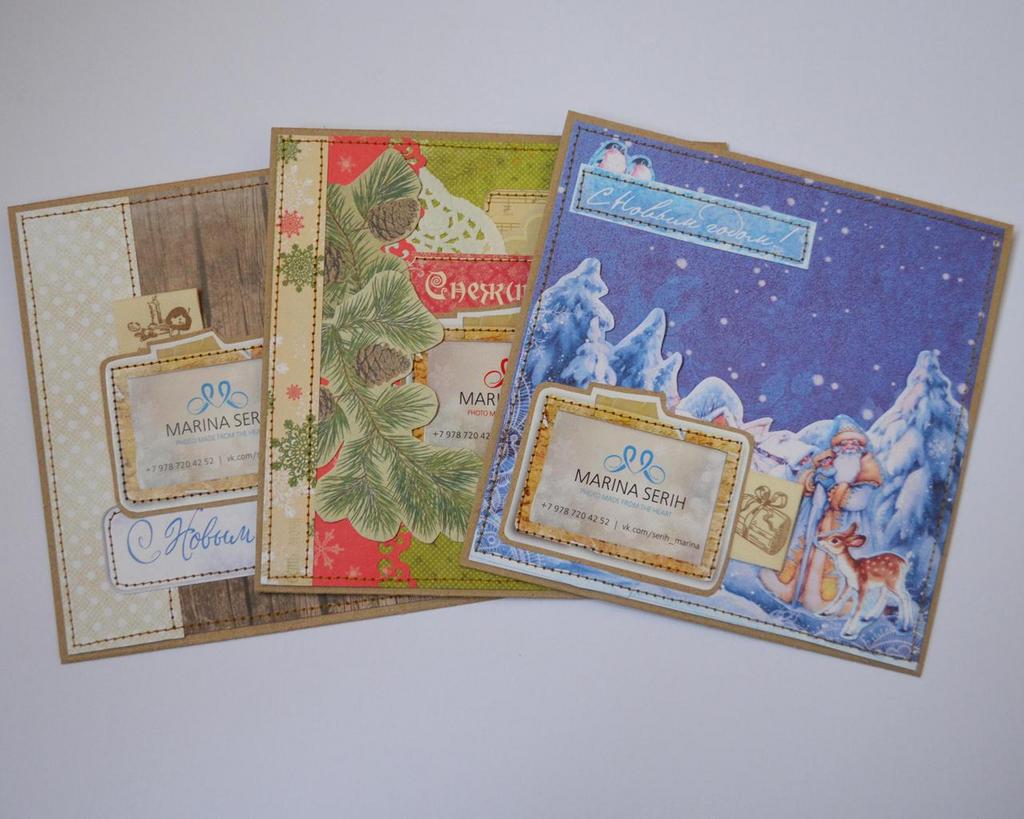
In this case, you can make several beautiful New Year's envelopes - one on the topic, but different in style.
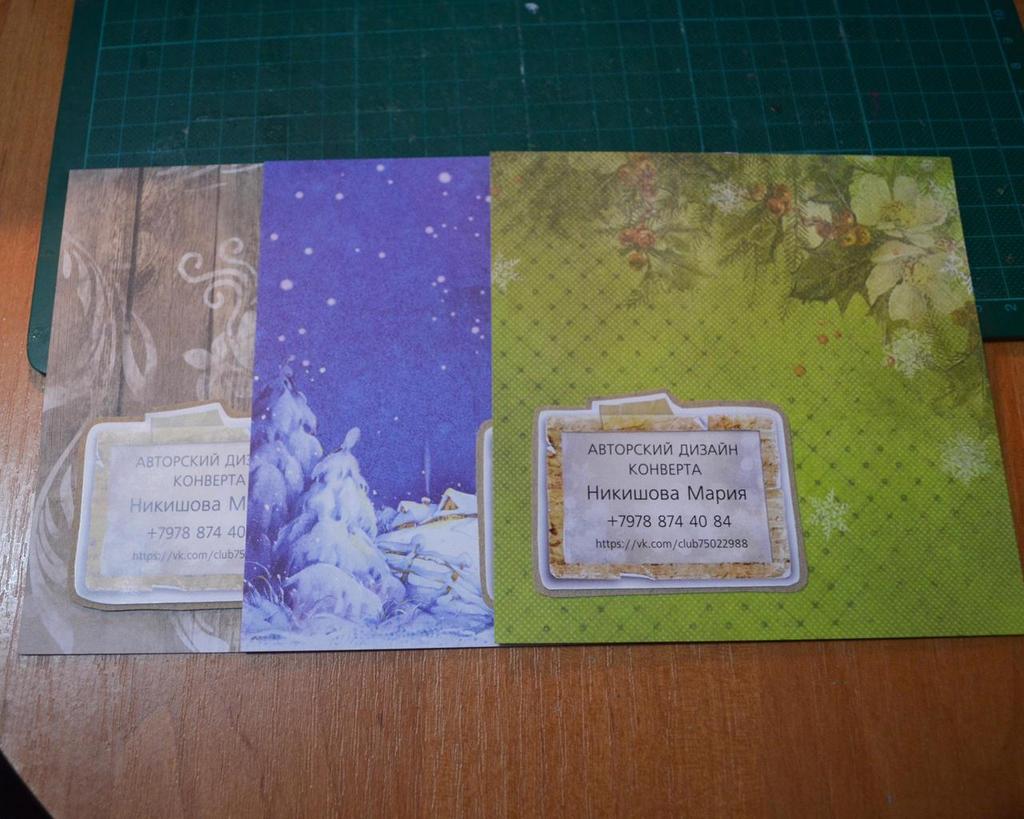
I made these envelopes for a family photographer, so the decor contains information about it, and you, in turn, can place a date or a memorable inscription.
New Year scrapbooking envelope - master class
Necessary tools and materials:
- Kraft cardboard, scrapbooking paper;
- pictures for decoration, ribbon;
- double-sided adhesive tape, glue;
- ruler, scissors, clerical knife;
- sewing machine.
Progress:
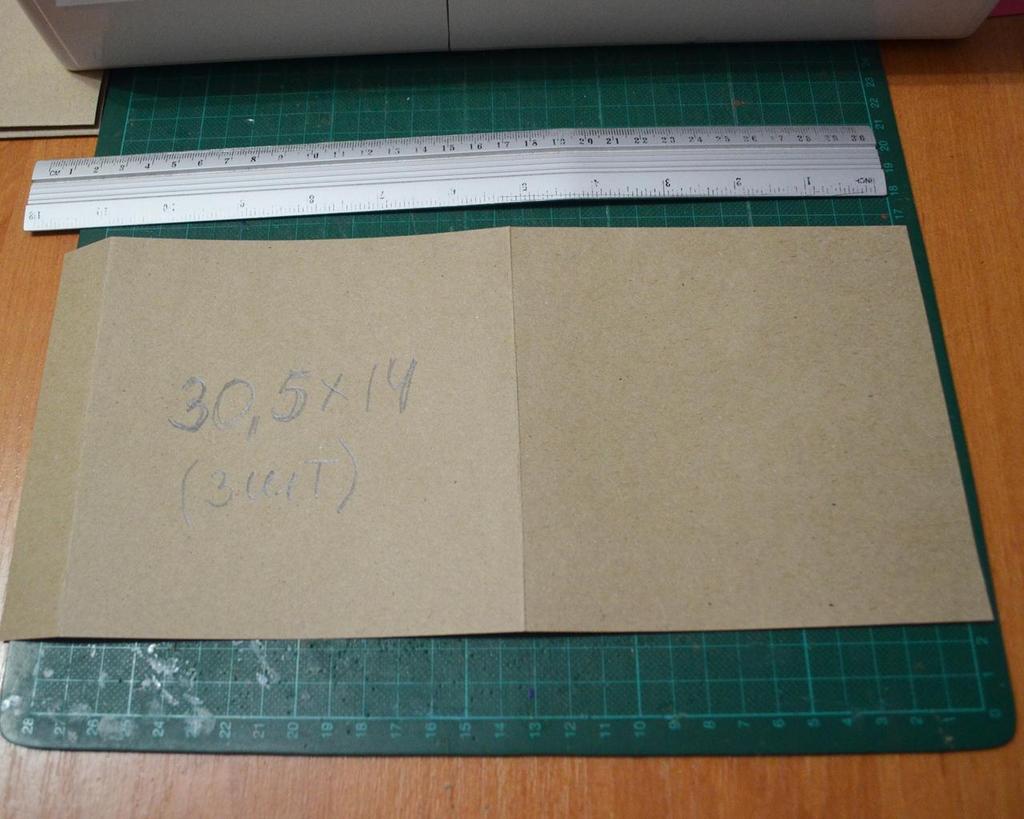
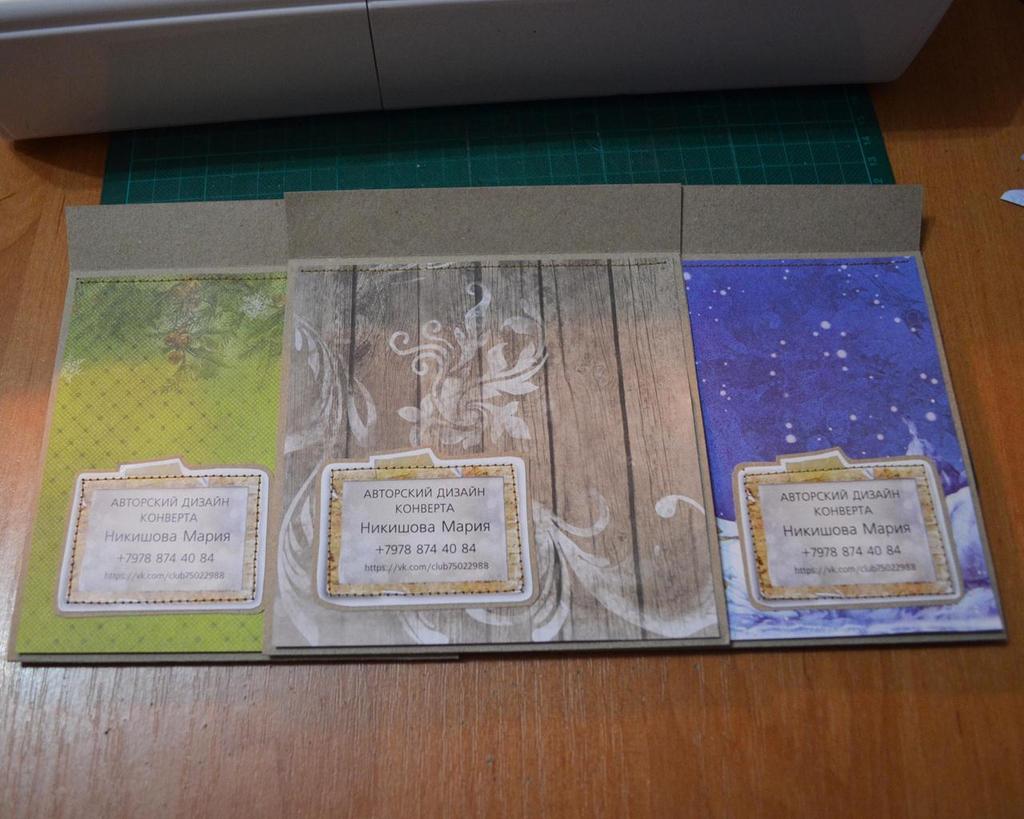
- Cut the cardboard into pieces of the appropriate size (in my case, 3 pieces) and make a creasing (we will sell the folds) so that we have three parts: two 14х14 and one 2.5х14.
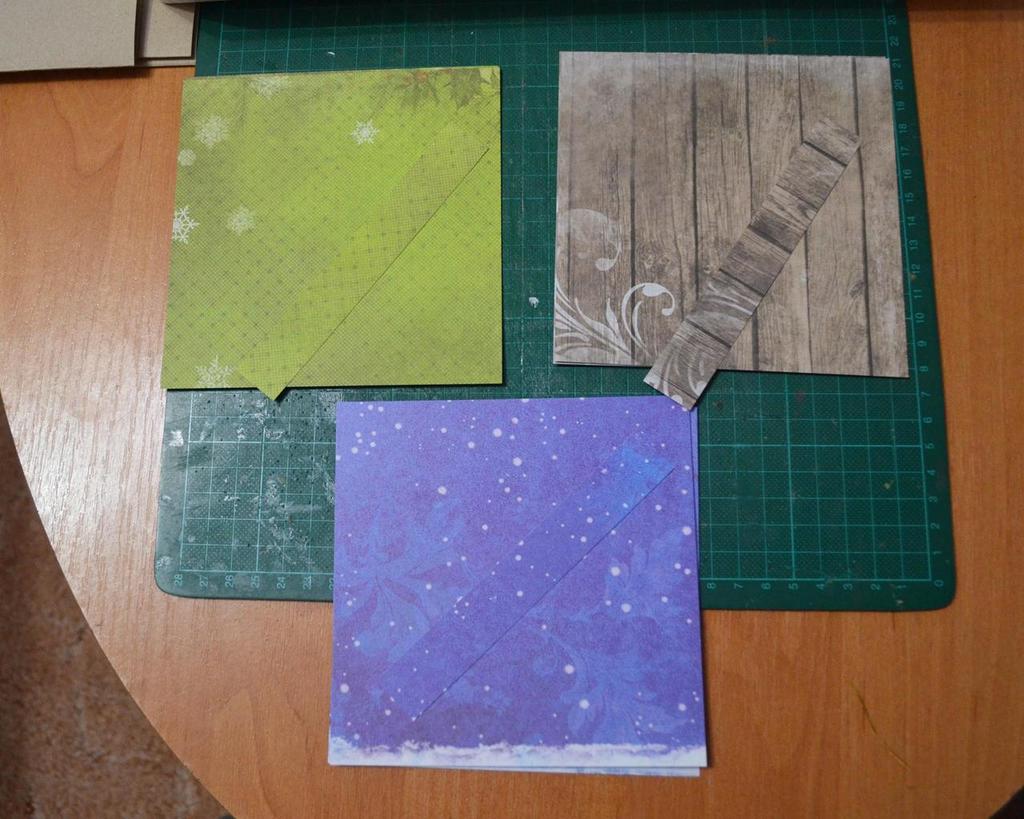
- Also at once we will cut paper - for each envelope 2 details 13,5х13,5 and one 2х13,5 are necessary.
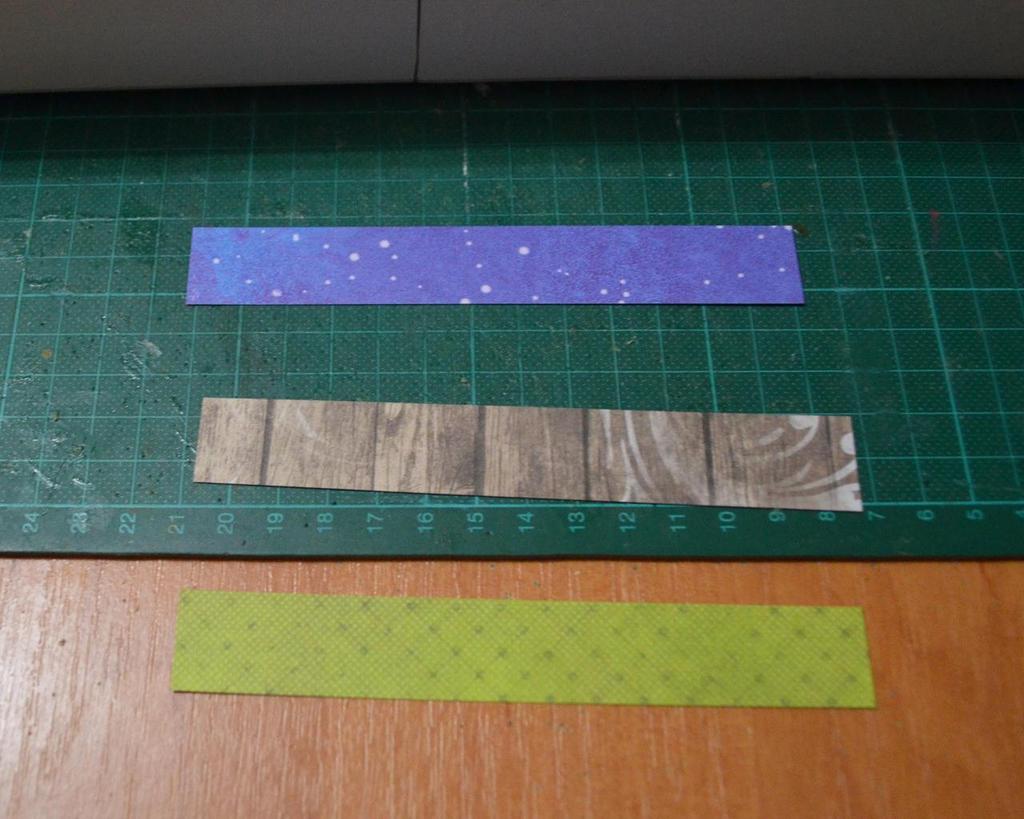
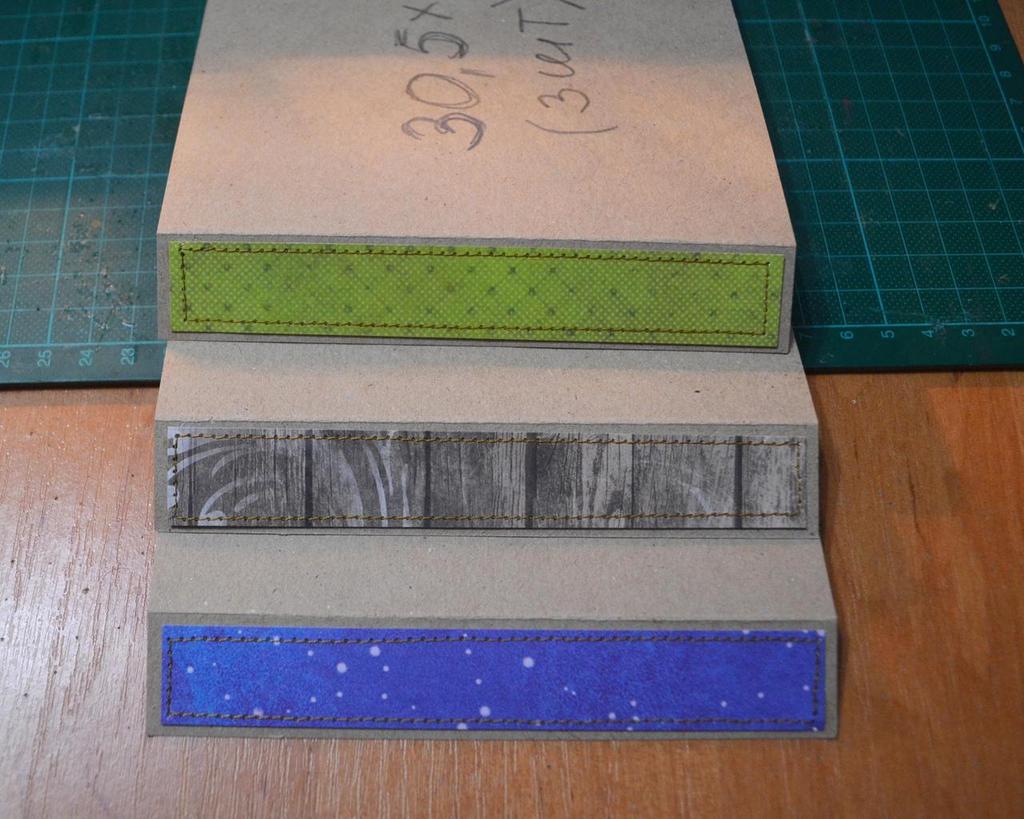
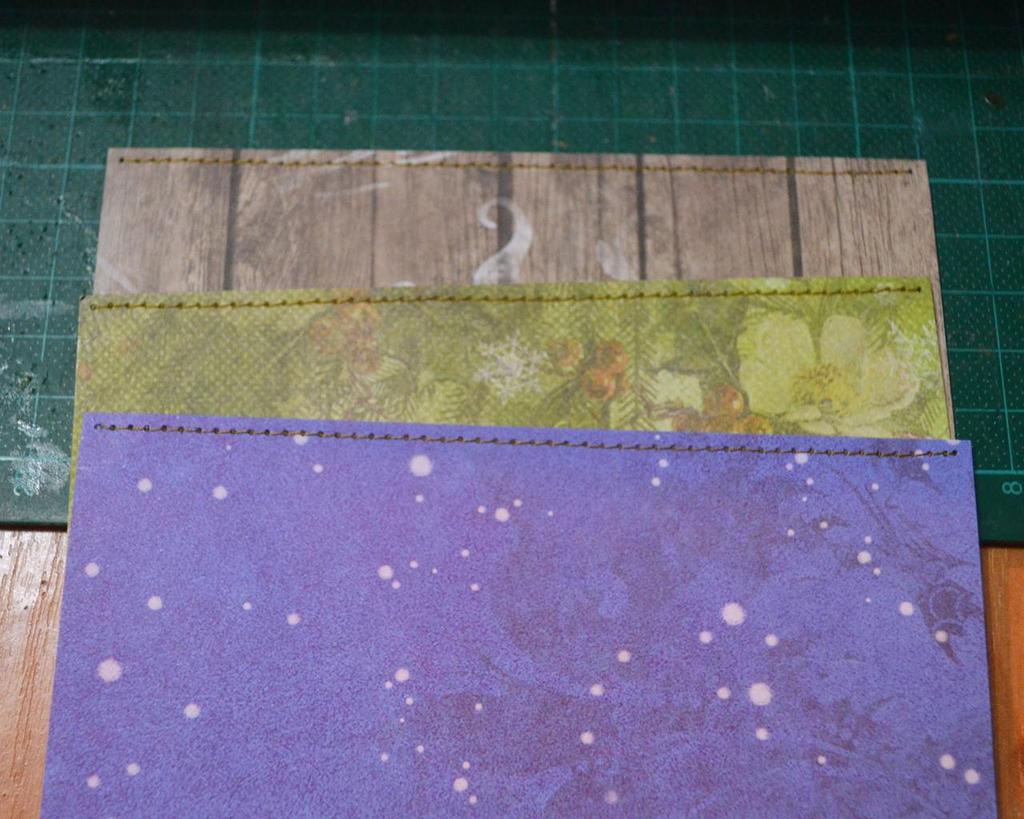
- Narrow strips immediately stitch and paste.
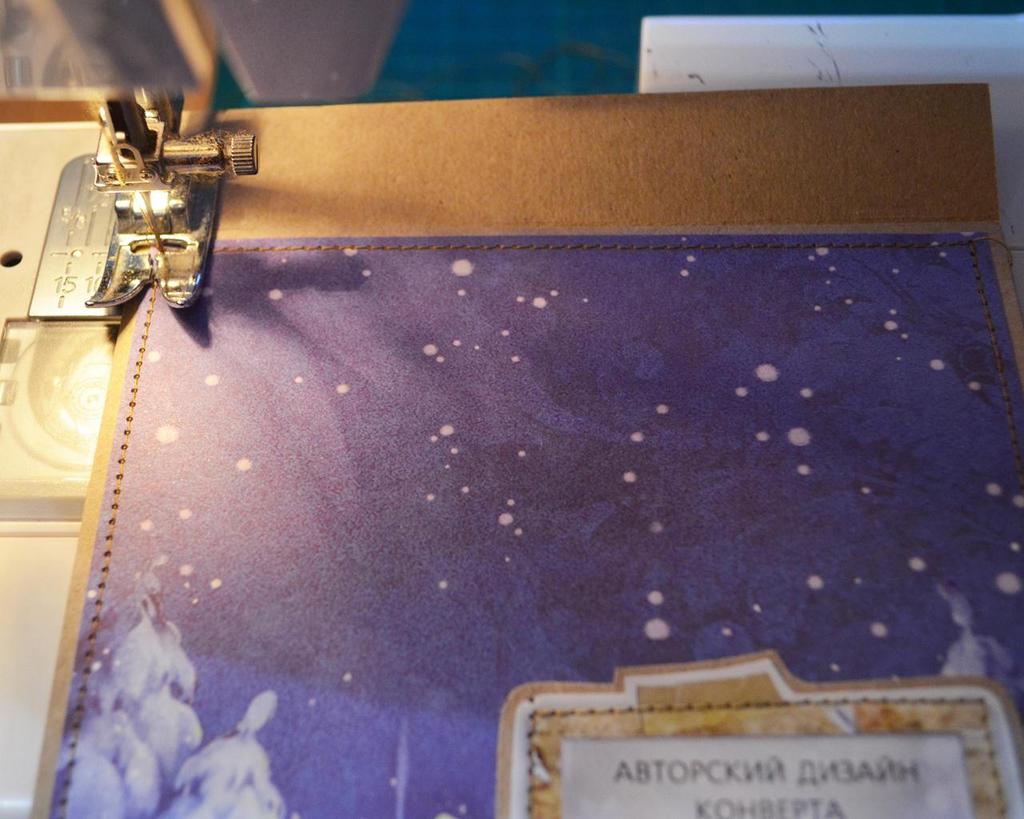
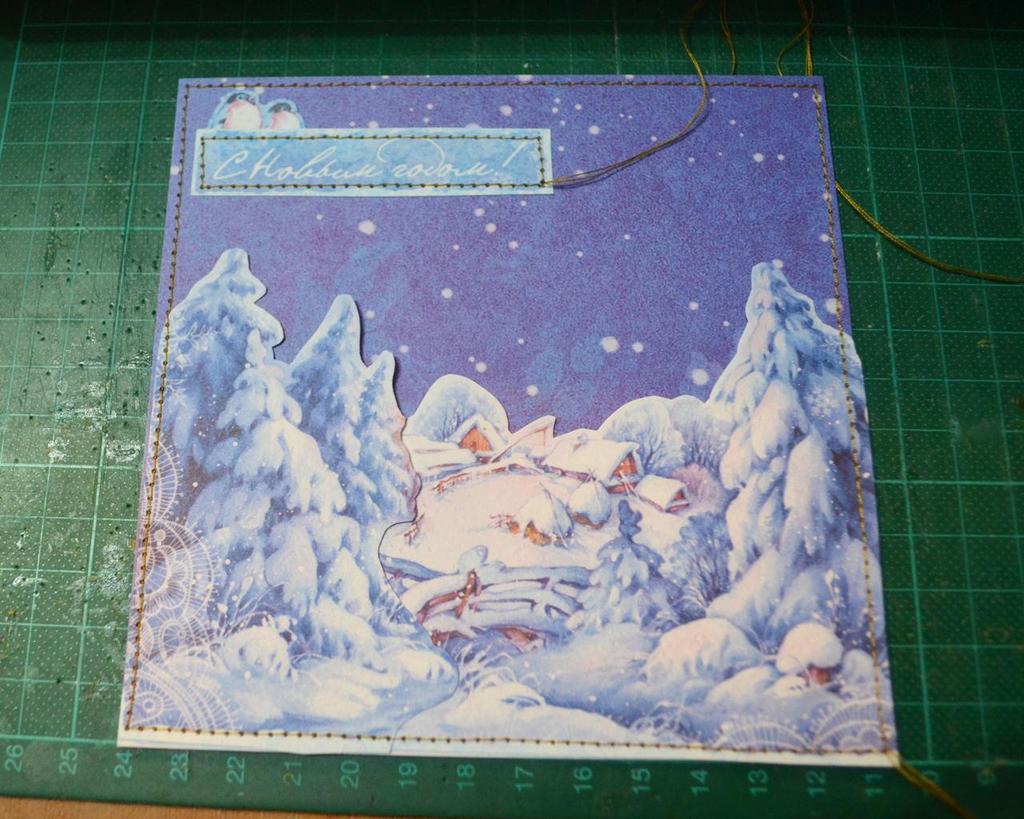
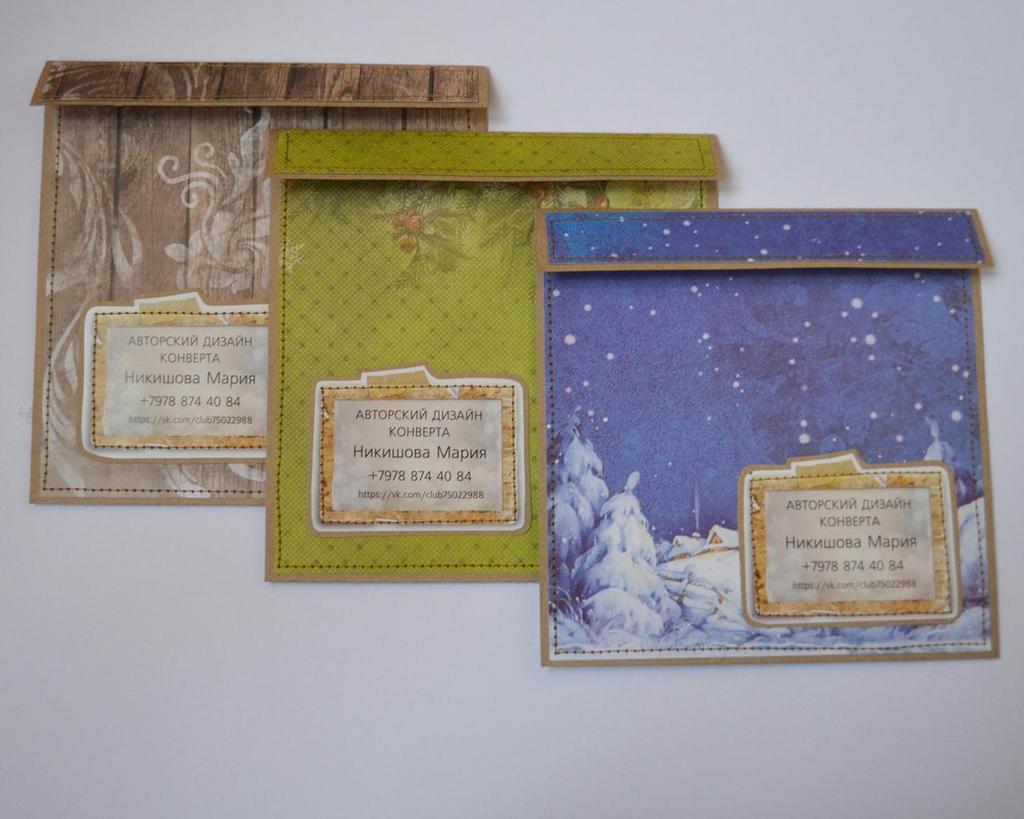
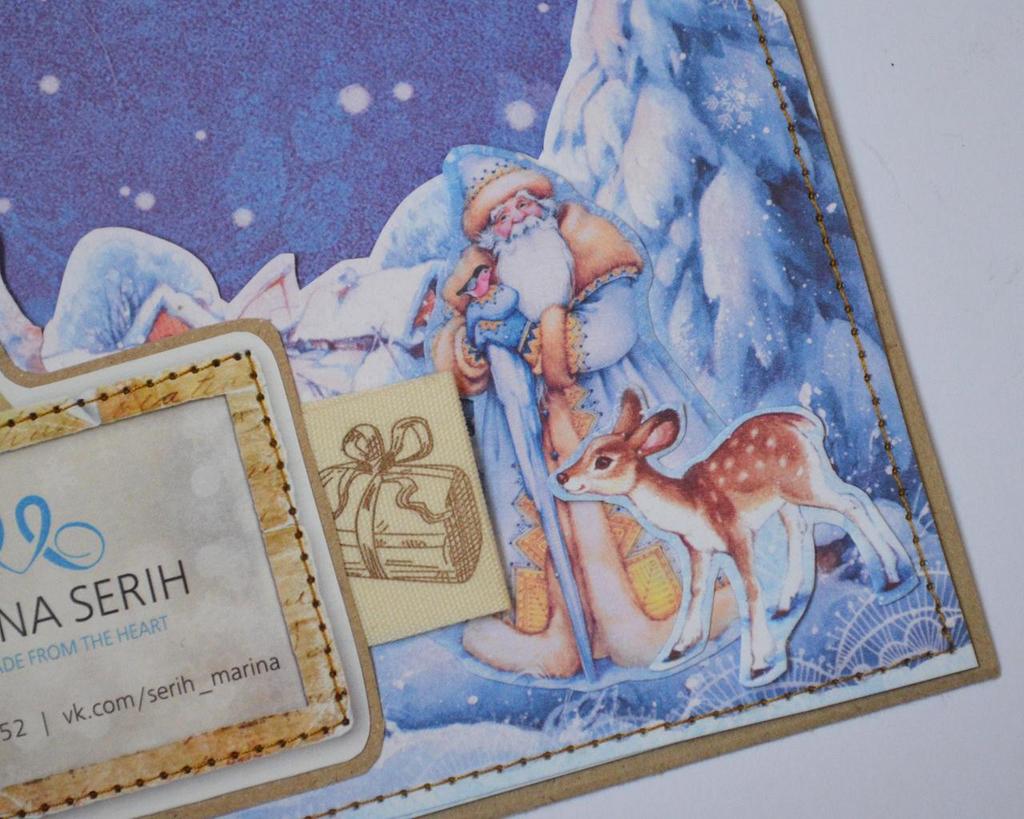
- On the back of the envelopes, I pasted the cards with their data (as the author of the design), and we are stitching the paper along the top edge.
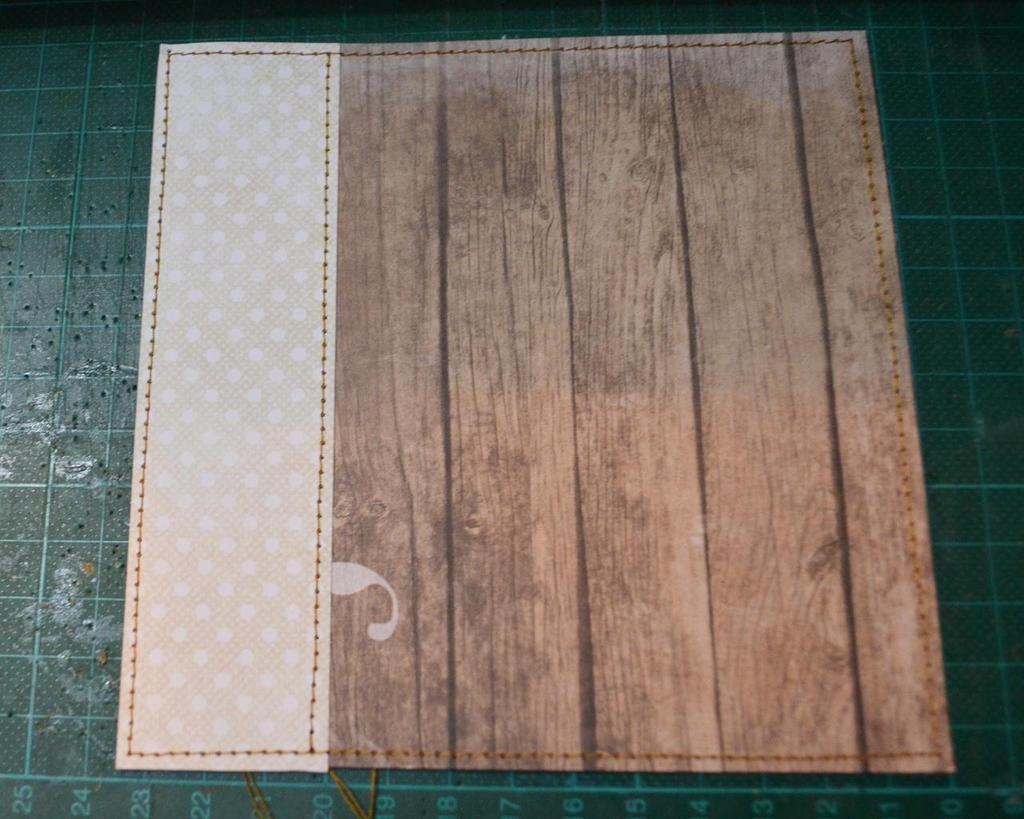
- Then paste the paper on the cardboard base and stitch the remaining three sides, fixing the envelope.
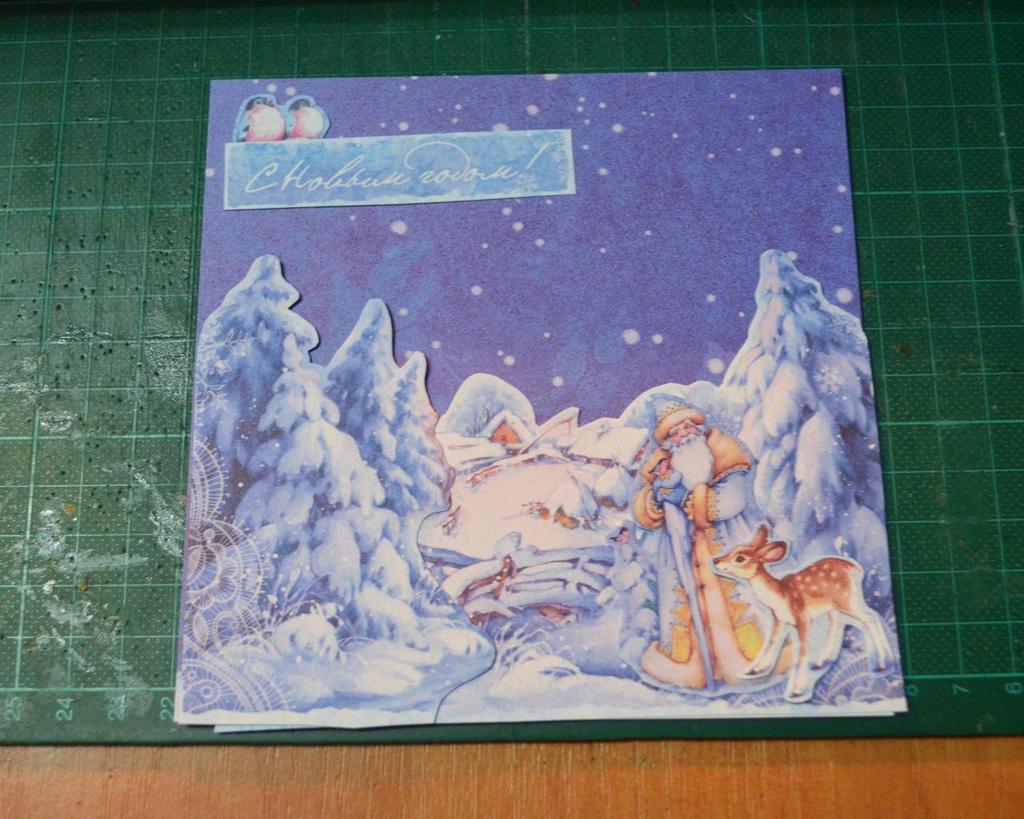
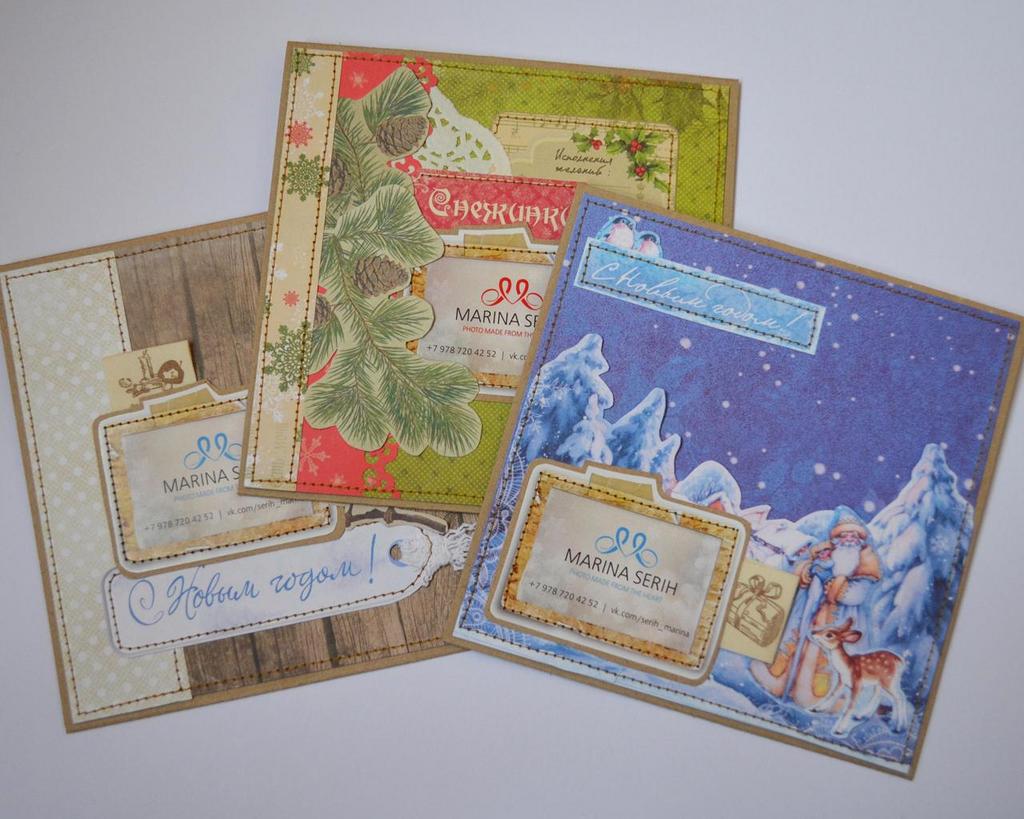
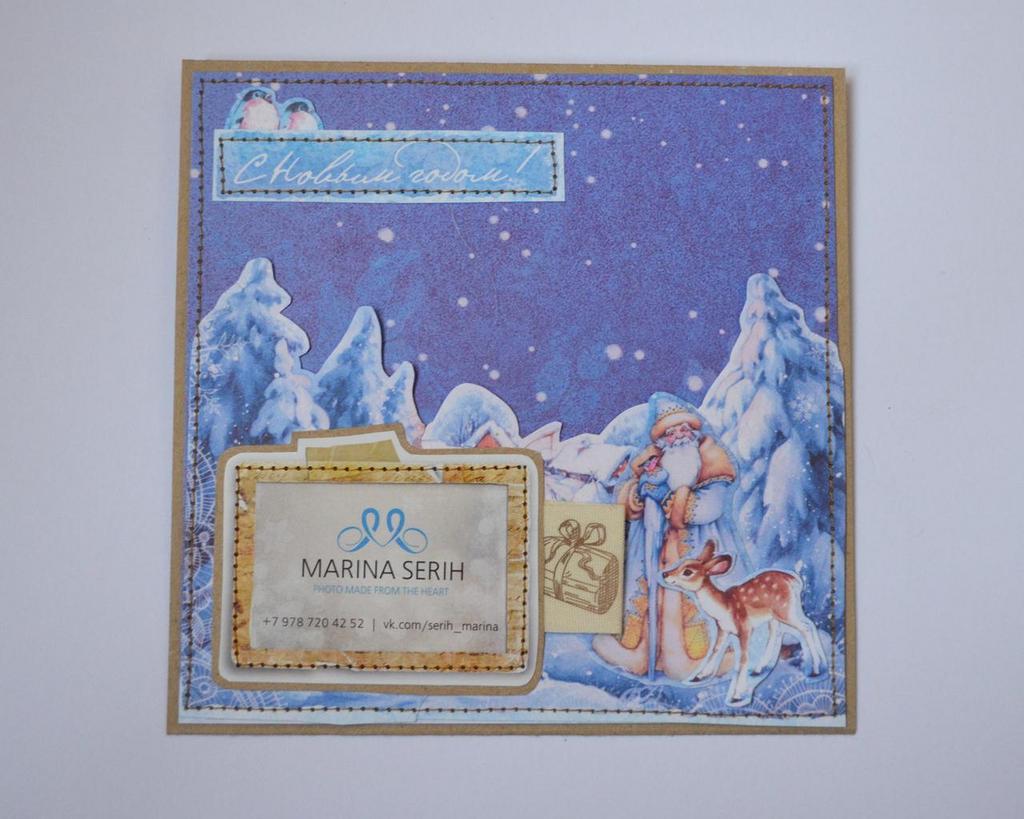
- For the first envelope, I chose the Russian style - a snow-capped village, Santa Claus, bullfinches.
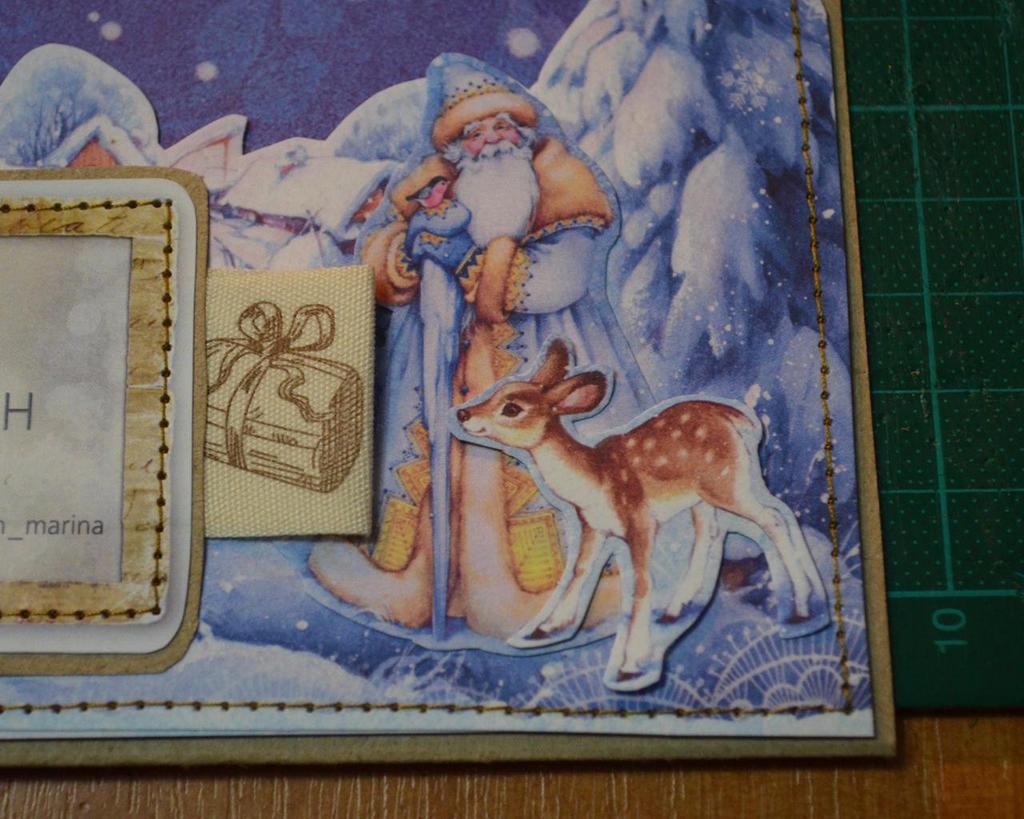
- Images should not be glued completely - we glue only the bottom edge, and then stitch it.
- At the end we fix the finished cover on the base and glue the image of Santa Claus.
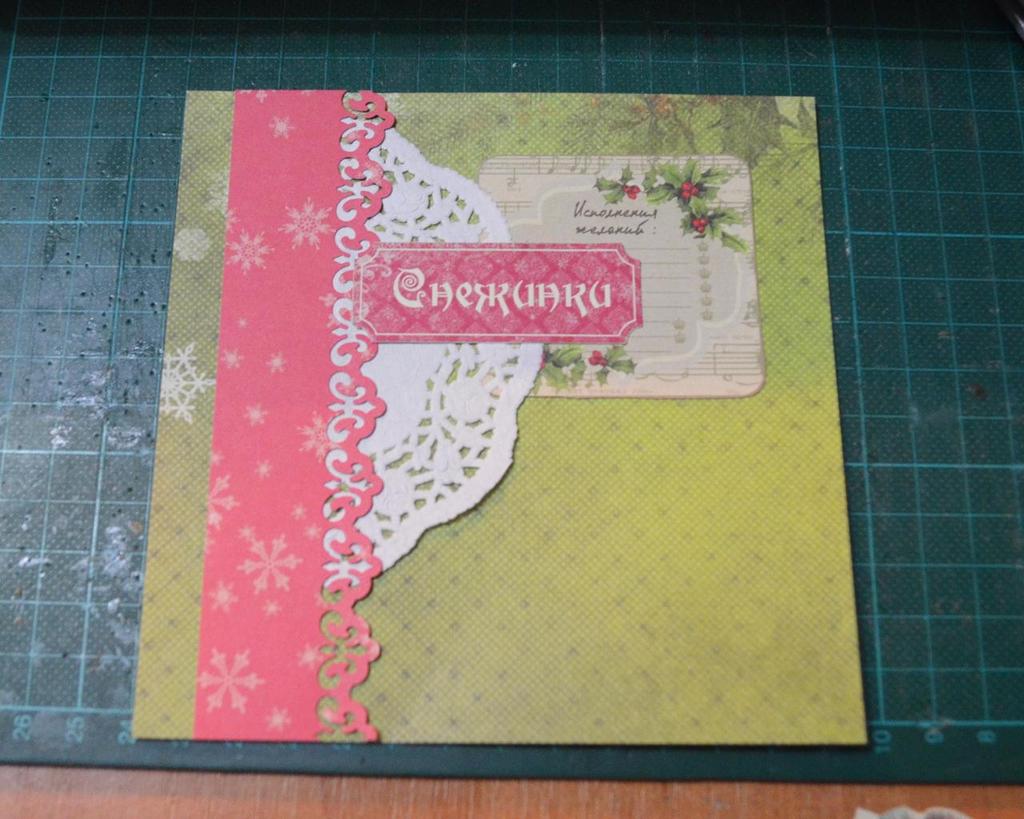
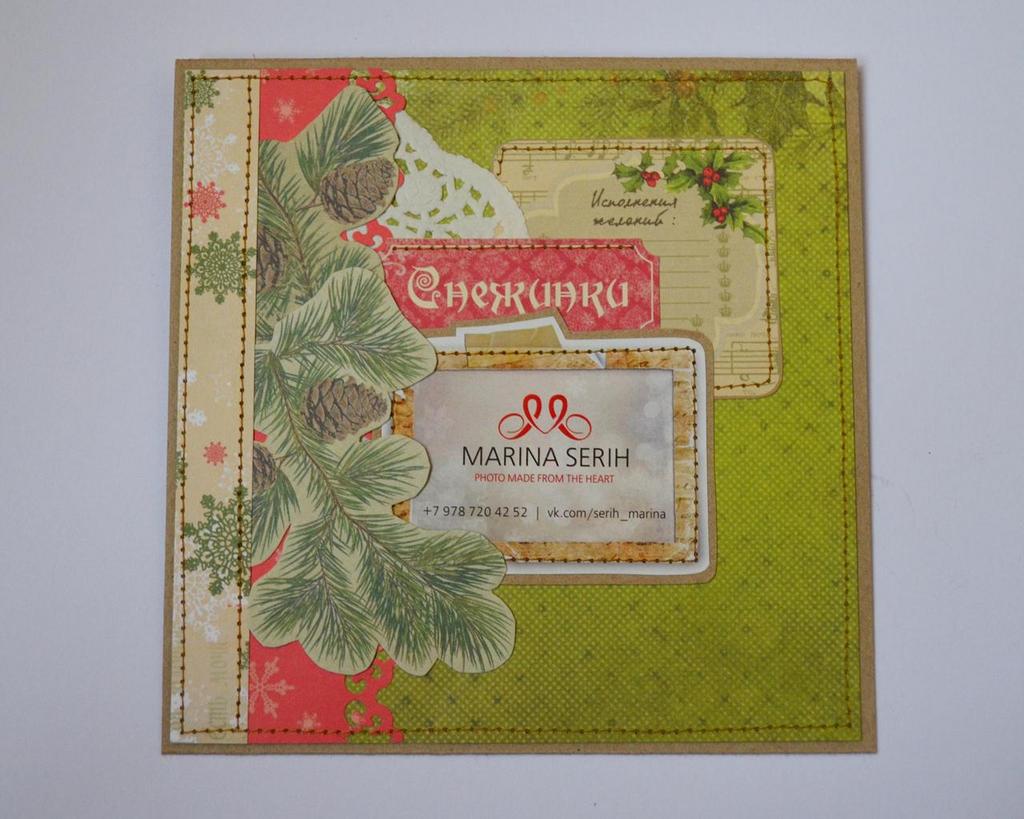
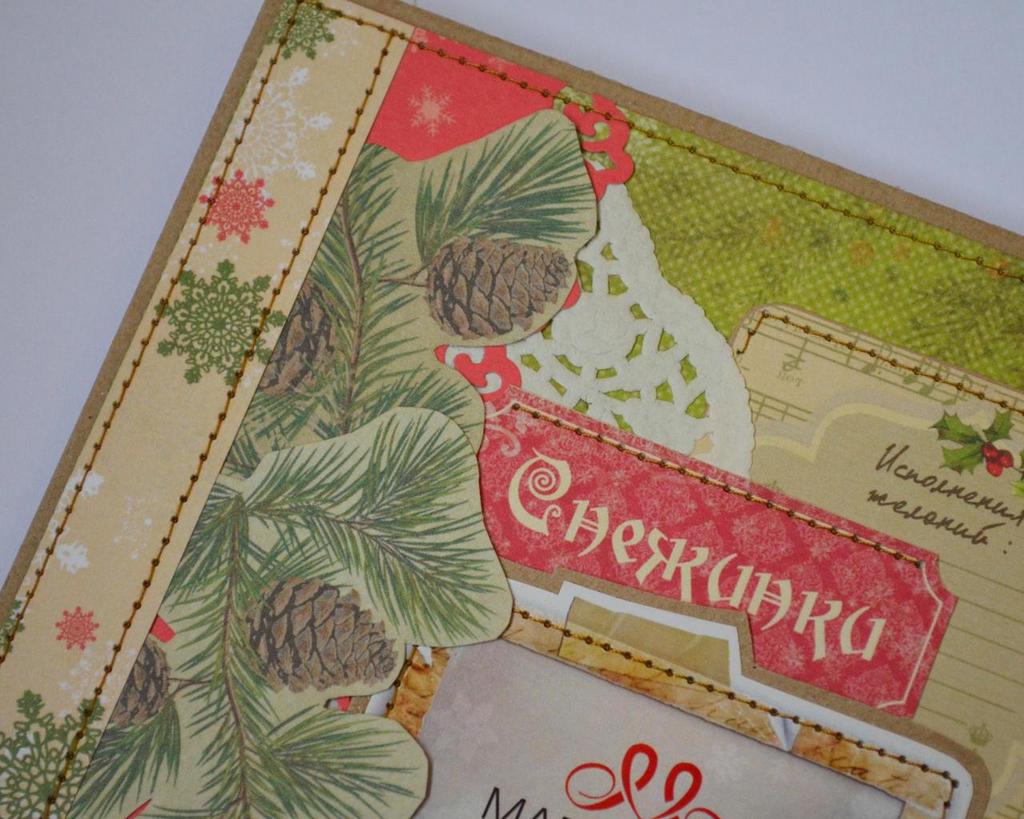
- The second envelope is brighter and will be suitable for storing photos from a children's matinee.
- We paste a lace napkin, a border and the bottom pictures which can be stitched on one side.
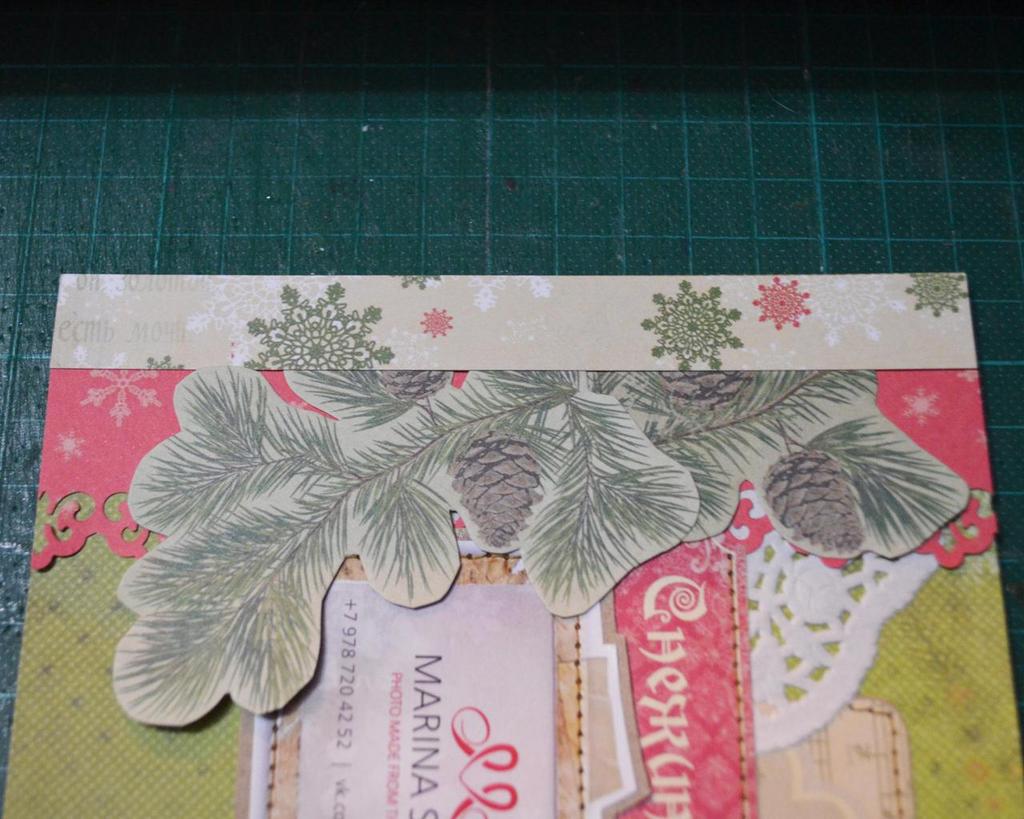
- Fir branches are glued only along the edge (leaving the effect of motion), and from above we fix the border and stitch it.
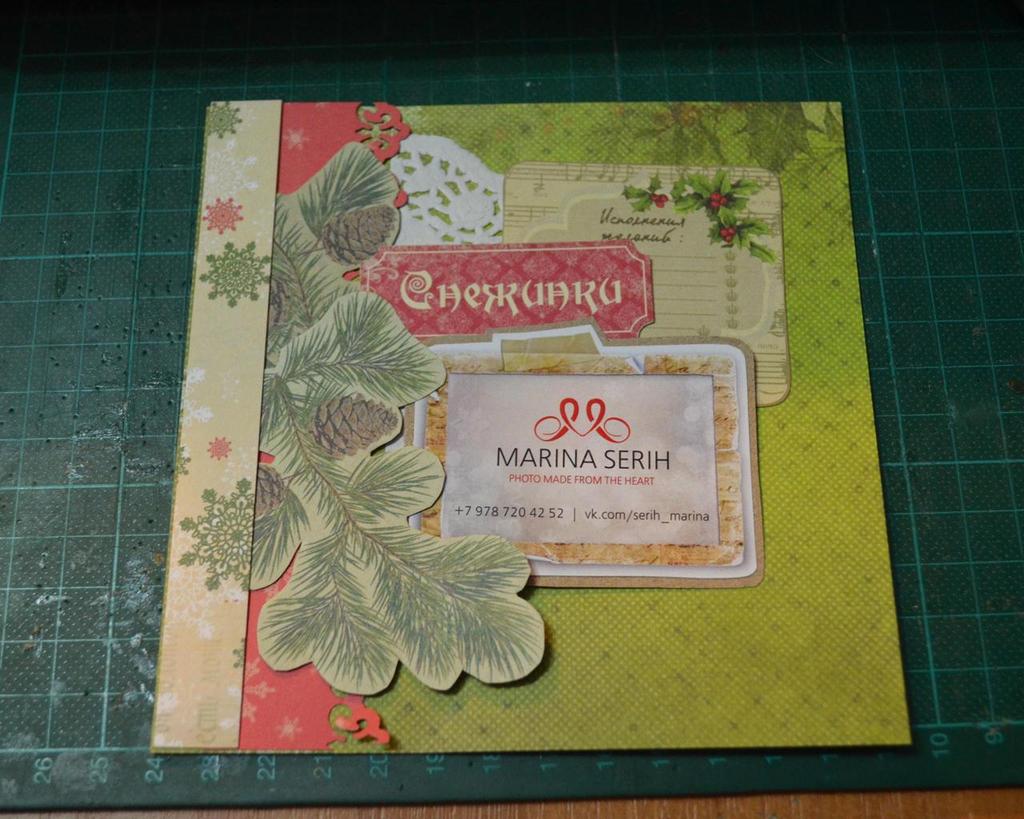
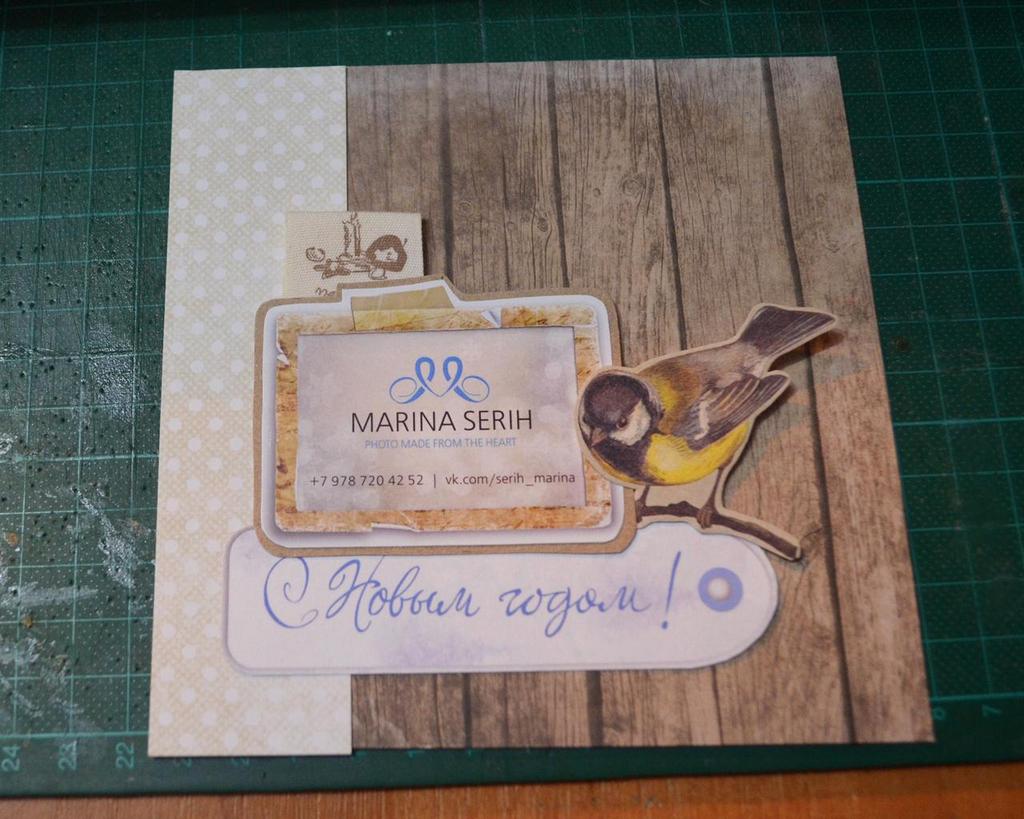
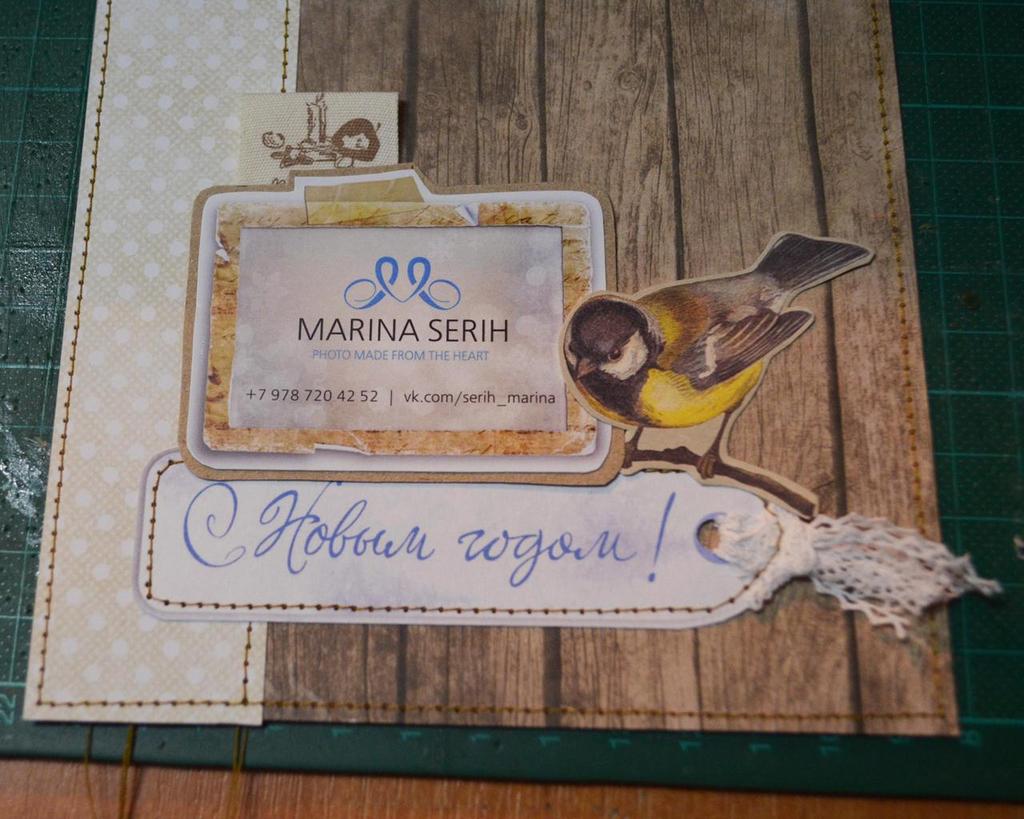
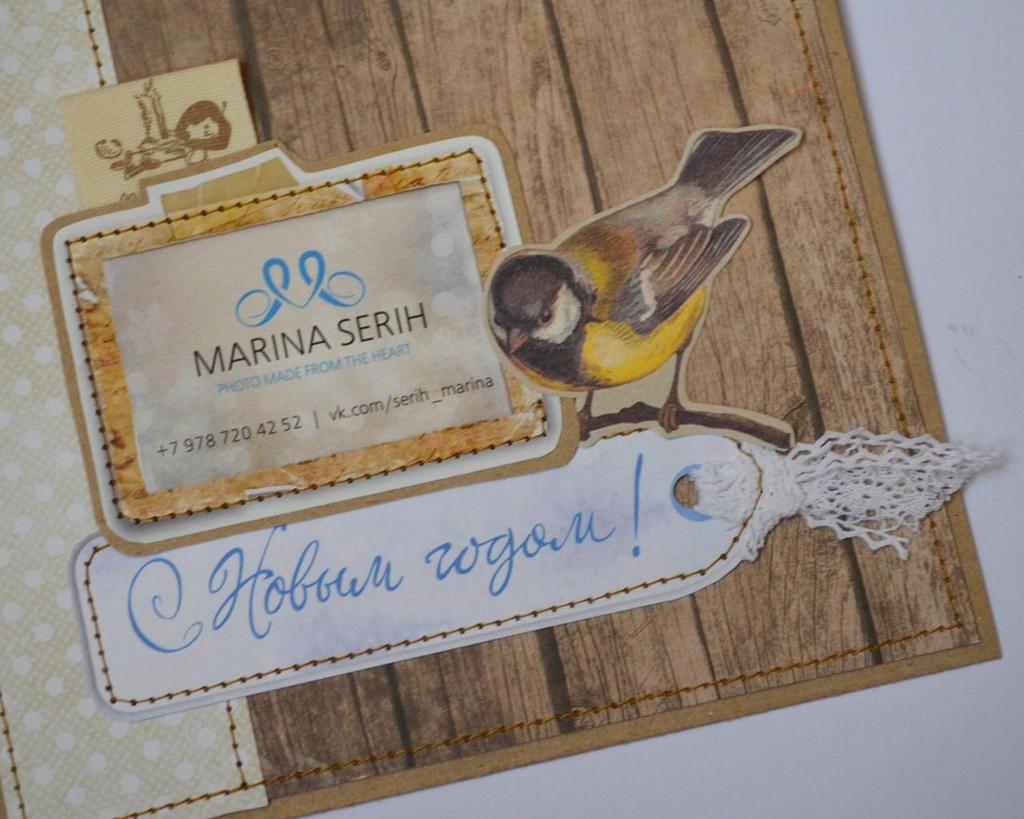
- The last envelope is the most restrained, but this is no less interesting.
- Side glued strip of paper more light tone and stitch.
- Tag the tag with a ribbon and sew on the cover.
- Then I added a card with the photographer's data, and you can arrange your text or picture. Sinichka will place it as if she were sitting on the inscription.
| | |
| | |
| | |
| | |
Such envelopes can be done not only for the New Year, but also for any other occasion, creating your home photo archive.
| | | |
| | | |
| | | |
The author of the master class is Maria Nikishova.