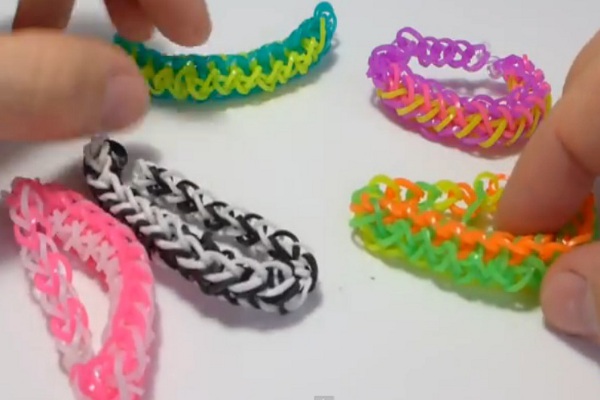
Surely you already had time to get acquainted with many techniques of weaving bracelets , and found a lot of lessons on how to make it from rubber bands, this time we will try the technique of "Shnurki". The name of the decoration was not without reason, because as a result you will really get something very similar to the lacing of sneakers.
How to weave bracelets made of rubber bands in the style of "Lace"?
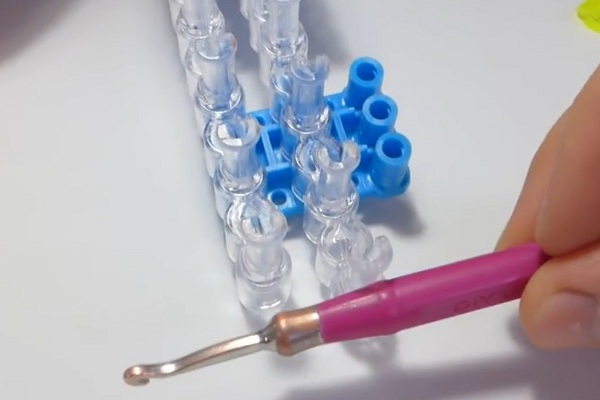
So, for braiding the bracelet we will need a machine with a hook and those same "shoelaces", or rather a set of rubber bands. Here you decide for yourself which color scheme will be most successful, usually take two or three colors so that the picture itself can be seen.
Performance:
- We will try to make such beauty now. For this we take the machine already known to us and the hook. Pay attention to the position of the tracks of the machine: one of them is longer by a step (rather, one pin).
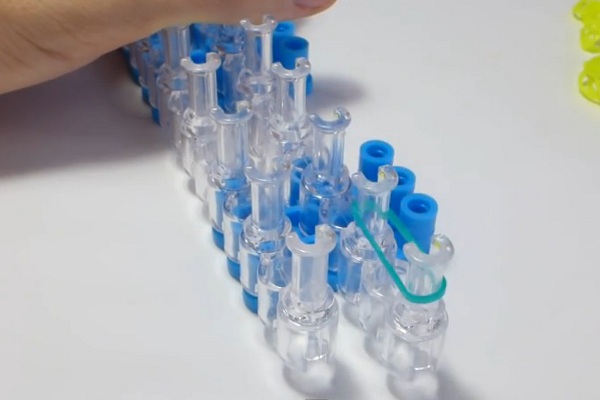
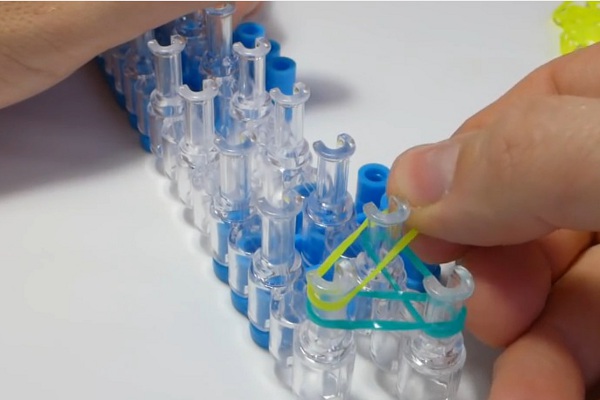
- We put the first rubber on two adjacent pins of the serving track of the machine.
- The second is put on the two extreme pins of both tracks.
- And now the third link to get the first triangle.
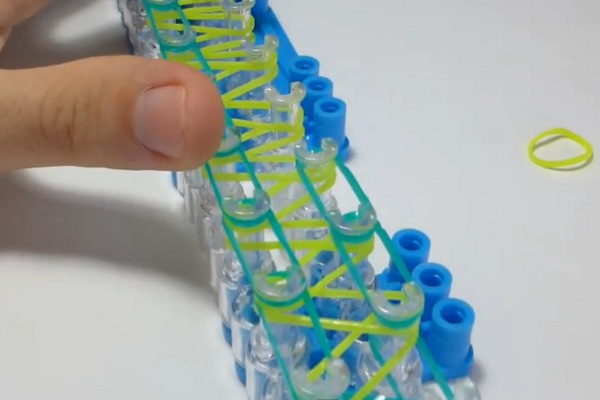
- Next, we begin to type a row of rubber bands, cross-pitch.
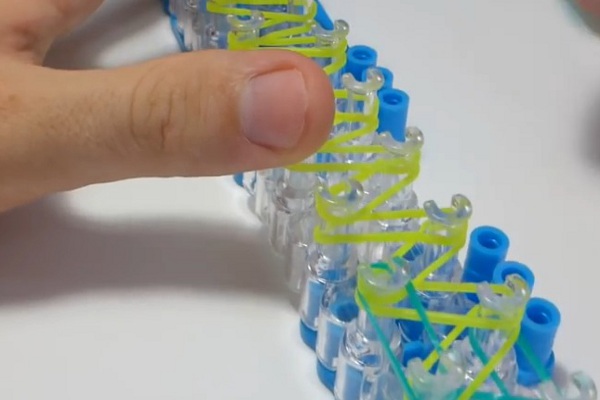
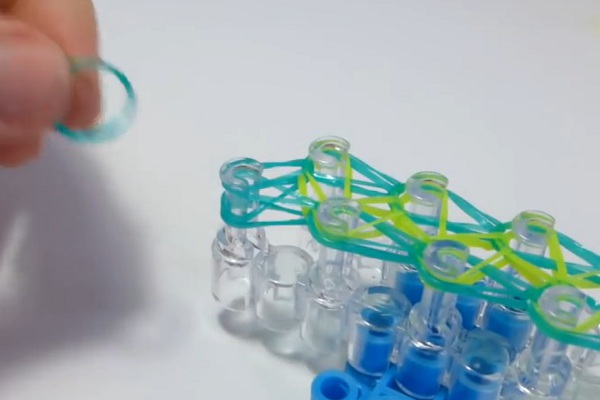
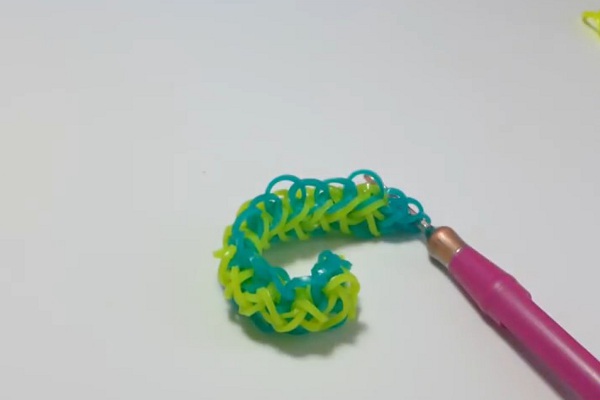
- Now we will decorate the second part of the Bracelet "Shnurki", in the photo you can see that the pattern is made of two or three colors of rubber bands.
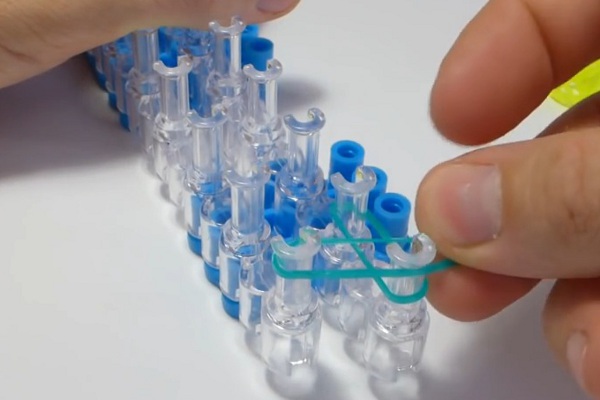
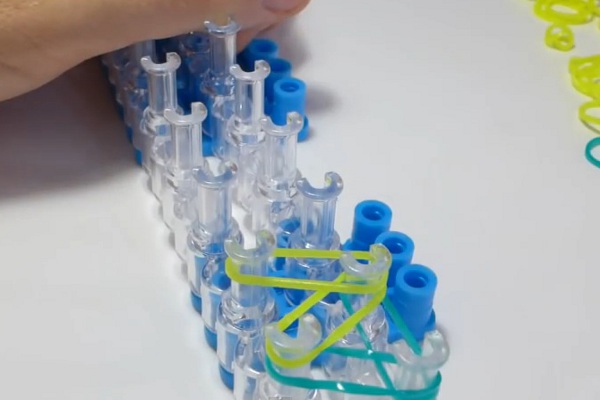
- We begin to spread out the path from the links.
- Thus, we move along the left side of the machine to the last pin.
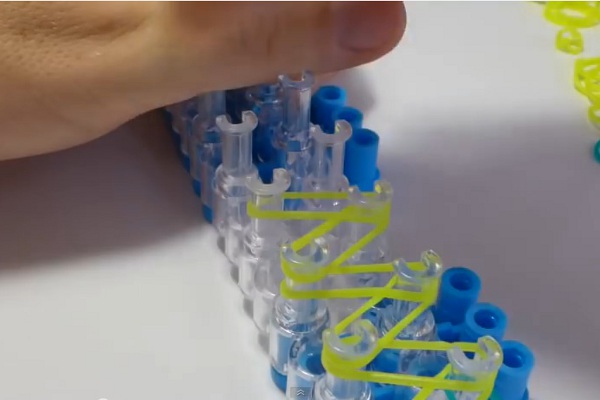
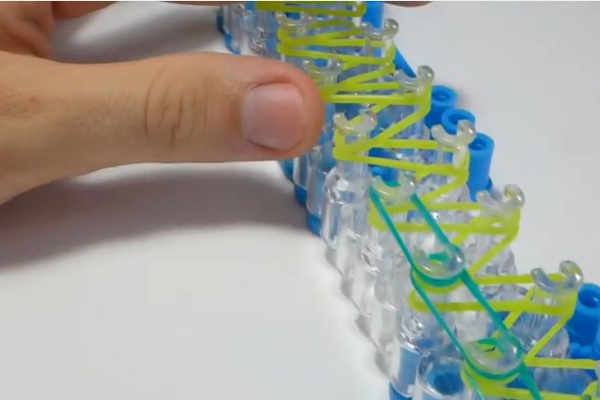
- Now exactly the same links will be typed on the right side of the machine. But we will not start from the first, but from the second pin.
- Went to the end of the right half.
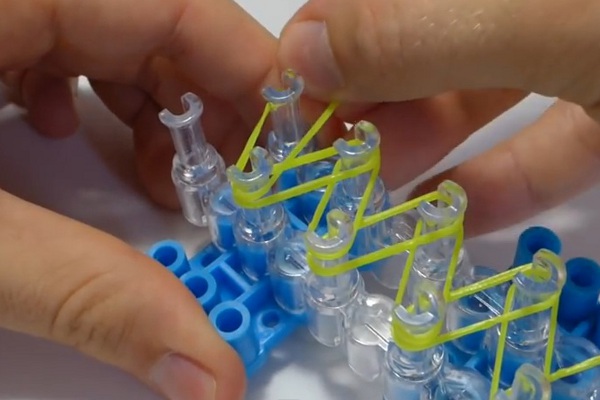
- Further we make the same triangle on the extreme pins, as well as at the beginning of the weaving.
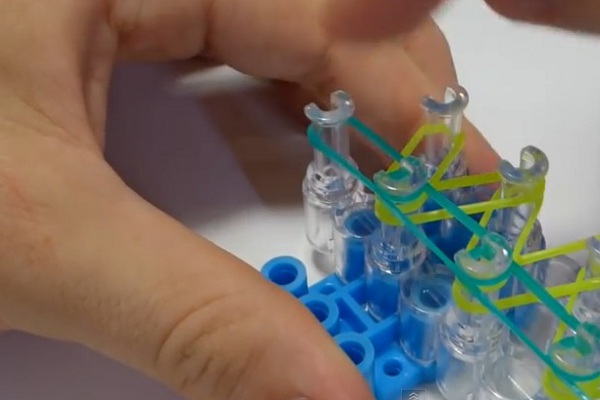
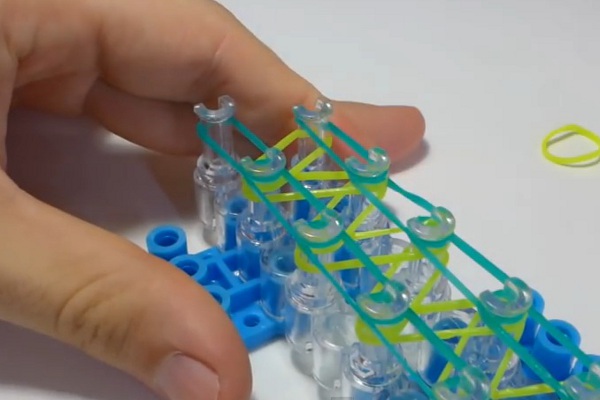
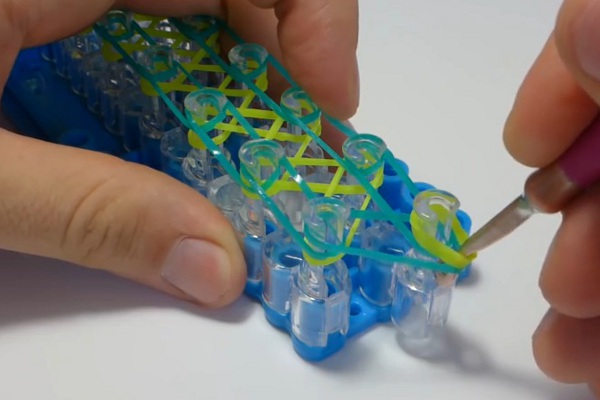
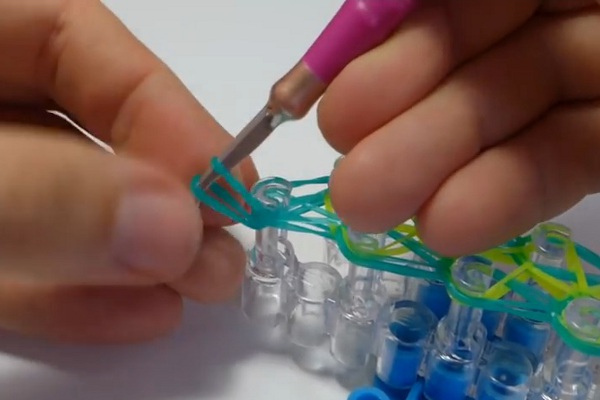
- It's time to consider how to make a pattern of rubber bands in the form of "laces" for the bracelet. First, we attach the rubber pin, twisted by a figure eight, to the last pin.
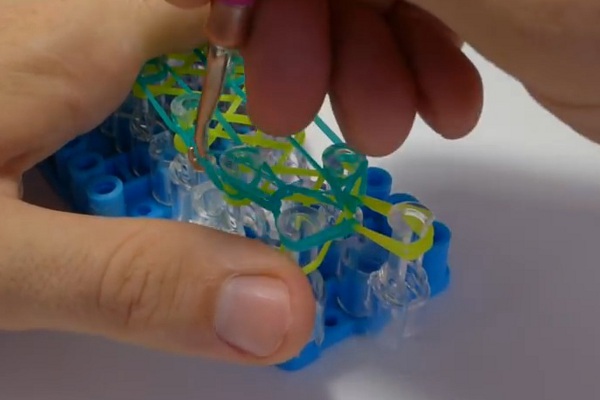
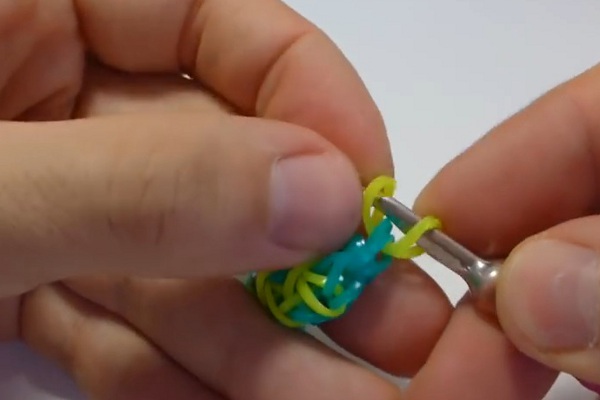
- It's time to take the hook into your hands.
- And now, step by step we will analyze the bracelet scheme "Shnurki", which end of the rubber bands we capture and where we transfer. The essence is simple: we insert a hook under our figure eight, and then through it we take out the edges of the rubber bands and we plant them each on our pins.
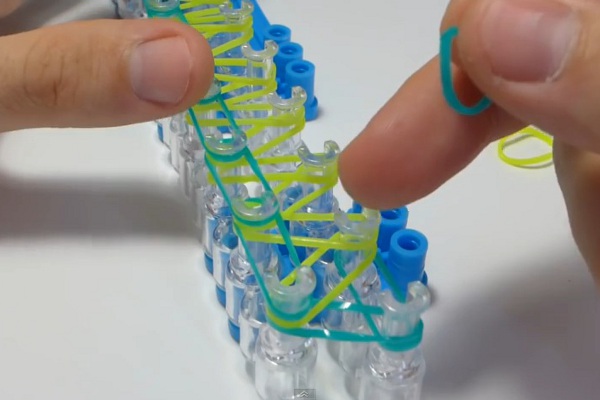
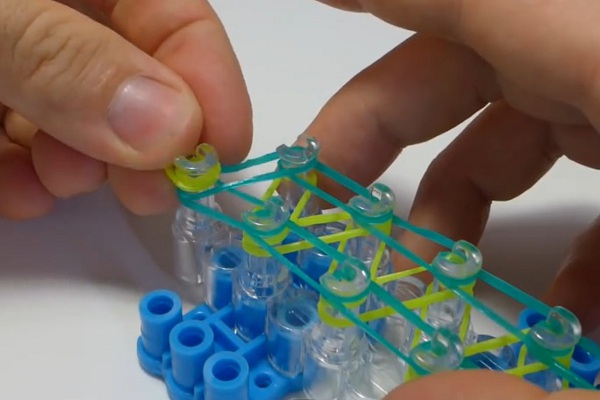
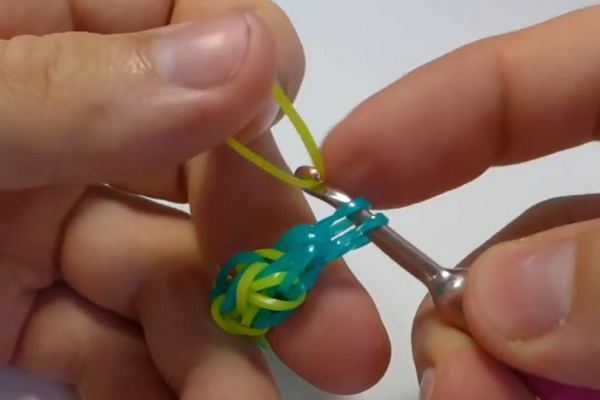
- Here we have seized the green rubber band, which is planted on the next pin. Pull it through the edge and put it in its place. In fact, we are doing the same eight, just twisting it across the other.
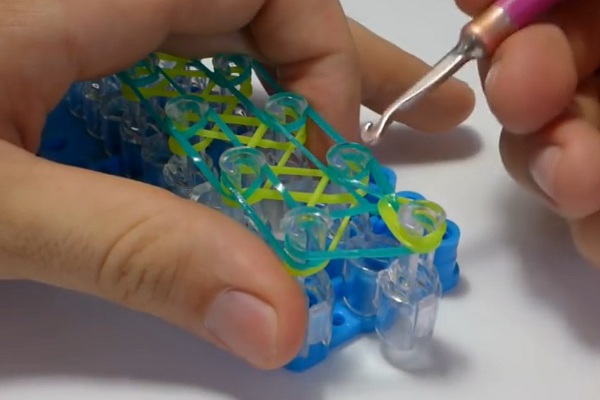
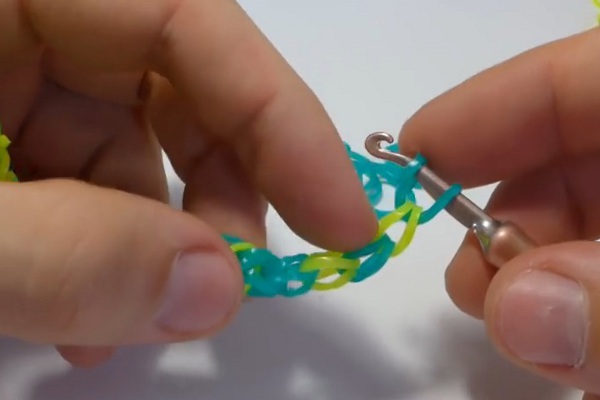
- Similarly, take the second elastic band on the pin diagonally and plant it in its place, preliminarily pulling through the extreme eight.
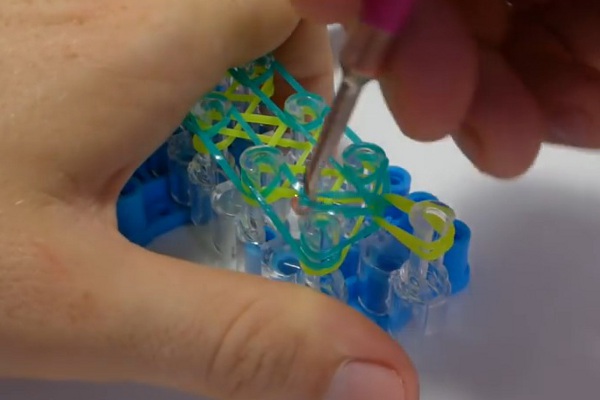
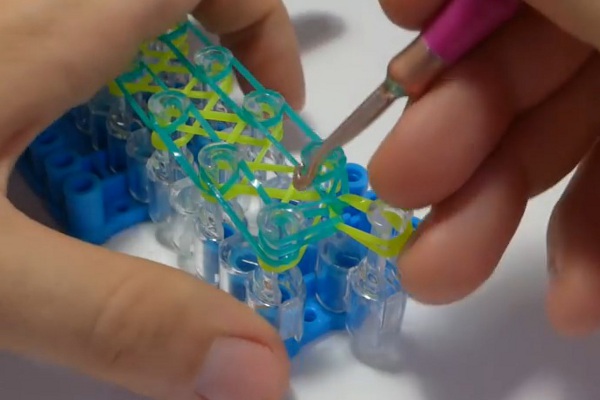
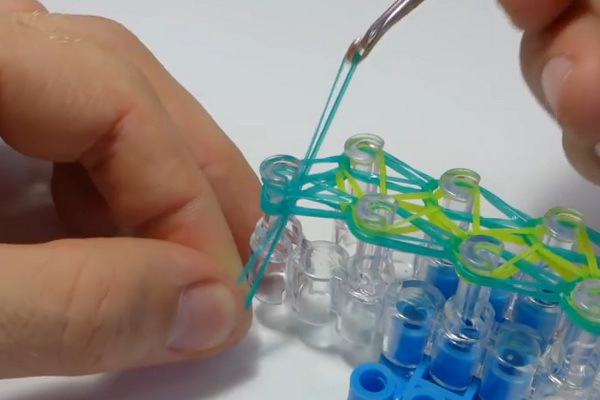
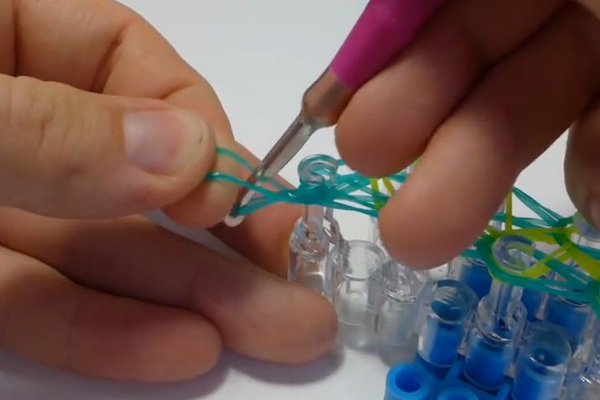
- And now step by step we move in order from the link to the link and we make these eight.
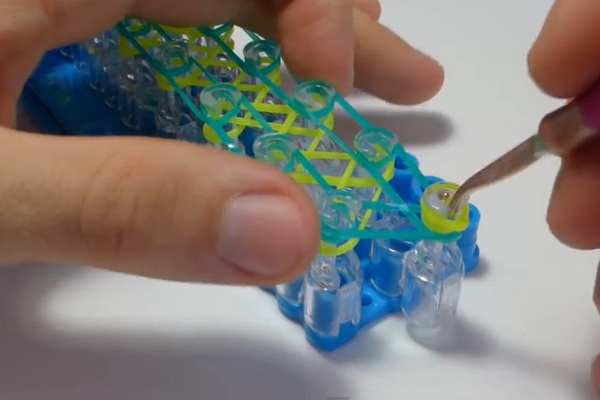
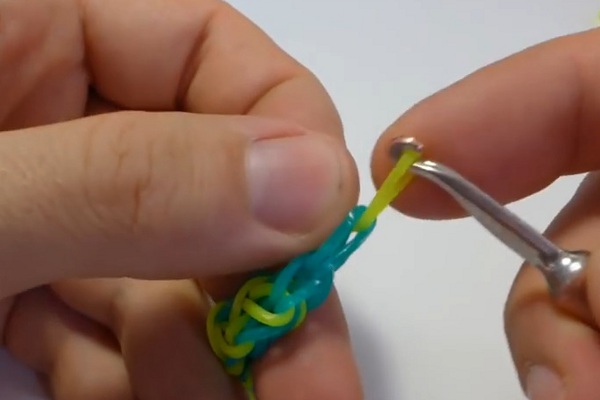
- We reached the second edge. We remove the edge of the bracelet on the hook. For this we extend one more link.
- To complete the desired length, we use the simplest technique in the form of a chain.
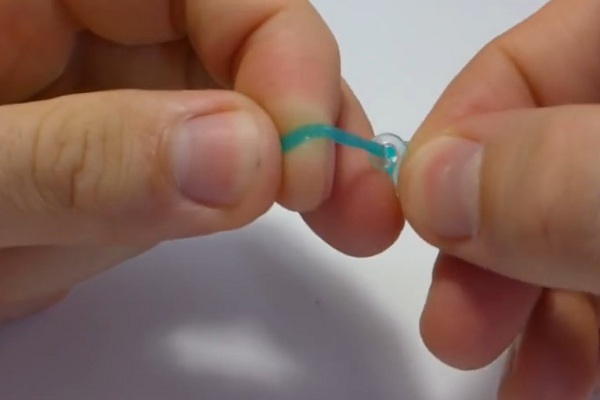
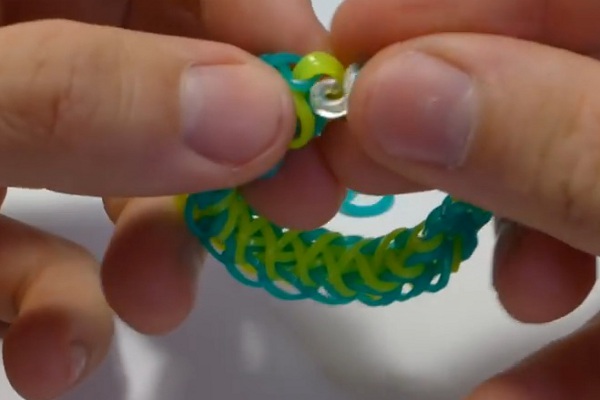
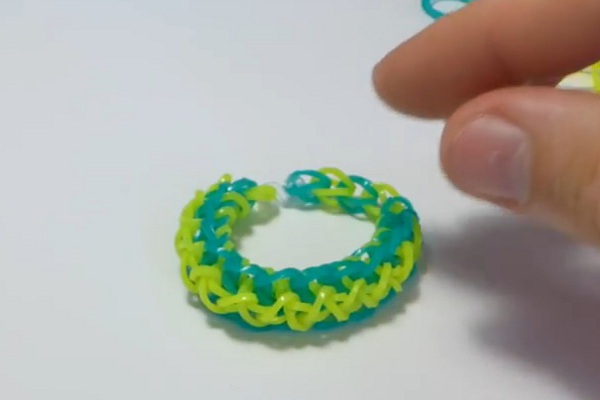
- The last step for any bracelet, and the technique of "Shoelaces" is also the fixation of the edges of the rubber bands with the help of a plastic lock.
| | | |
| | | |
| | |
| | |
| | |
| | |
| | |
| | |
| | |
| | |
| | |
| | | |