Many mothers decorate the hair of their daughters with bows. Sometimes you want to do something original, but you do not know how. In our master class you will learn how to make a beautiful ribbon bow with your hands, spending a minimum of effort and money. Bantik turns out cheerful, smart and bright.
How to make a ribbon bow - step by step instruction with a photo
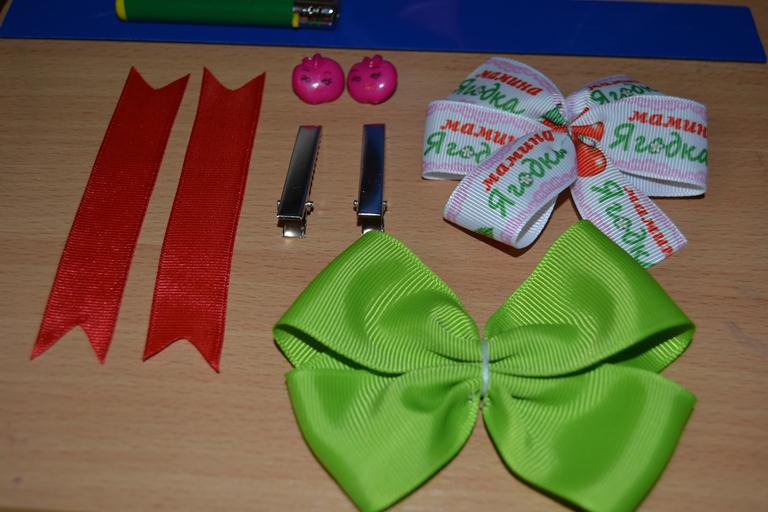
To make our bow, we need:
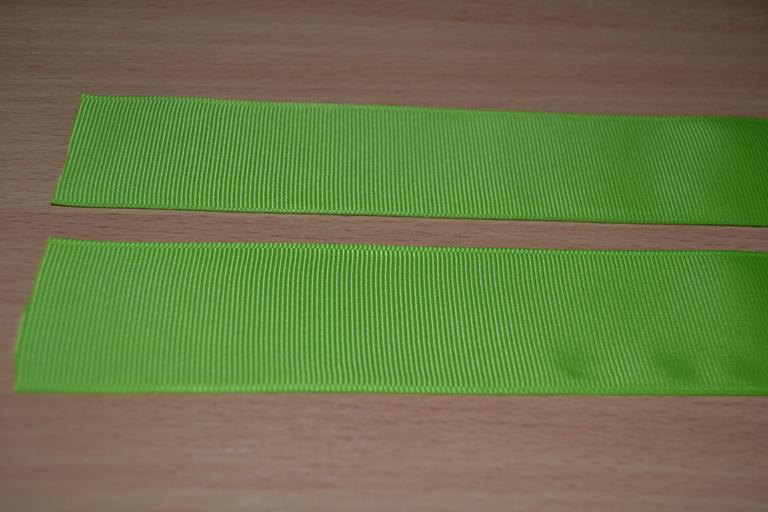
- rep ribbon 4 cm wide, 45 cm long - 1 piece;
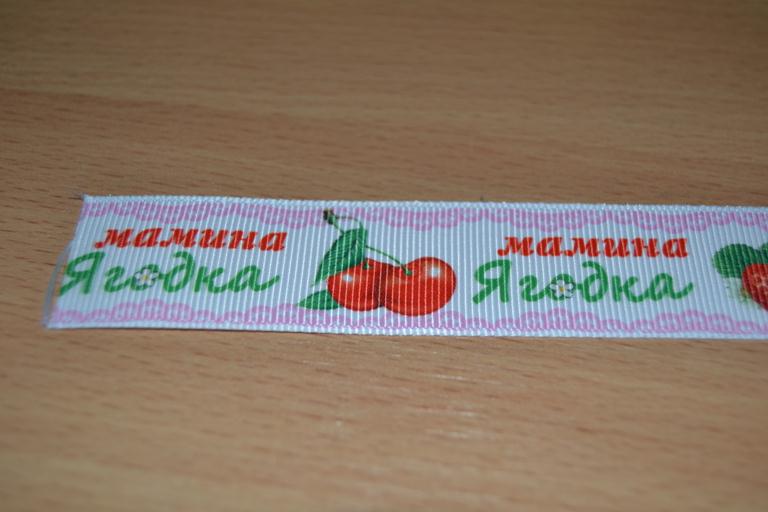
- rep ribbon with print width 2.5 cm, length 47 cm - 1 pc .;
- rep strip tape 2 cm wide, 12 cm long - 2 pieces;
- scissors;
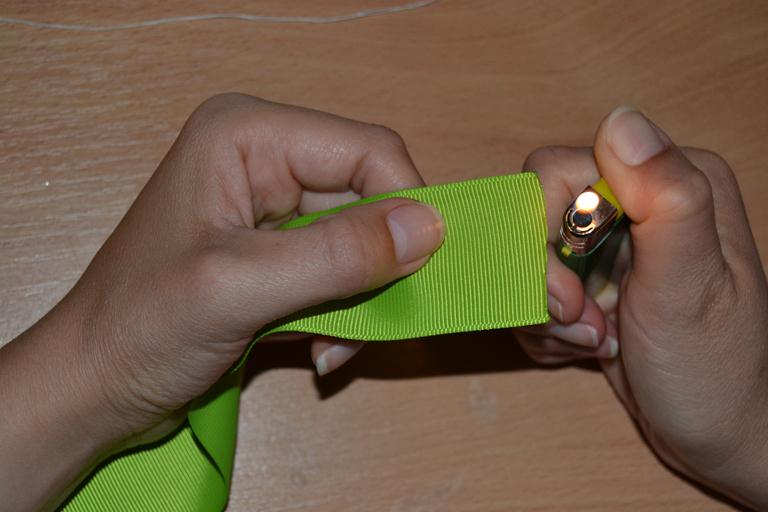
- lighter;
- glue gun;
- hairpin (you can use any kind of hair clip or elastic that you like);
- midpoint for the bow;
- thread and needle.
Progress:
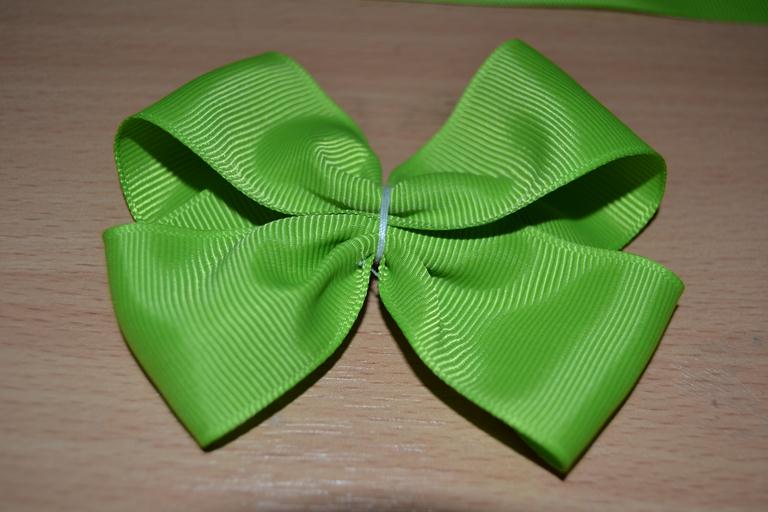
- We take a 4 cm reps tape, cut off the length of 45 cm and burn the edges with a lighter.
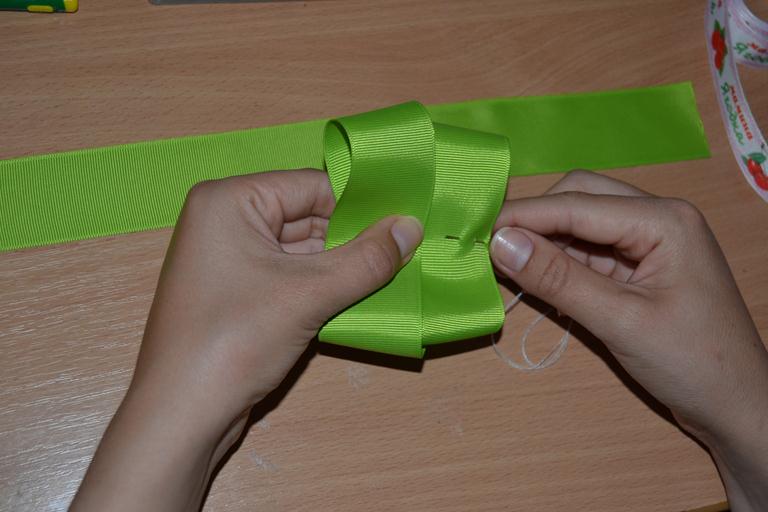
- Further we add a tape and we sew it with a thread, we tighten and fix a knot.
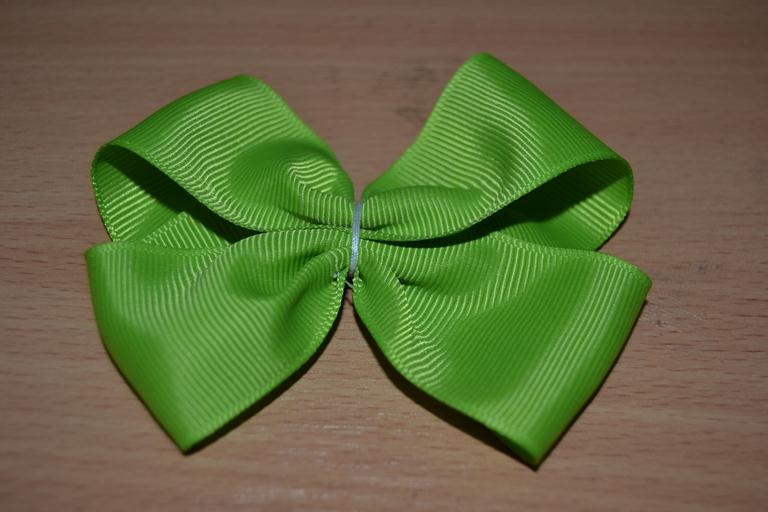
- Should get such a bow.
- Now take the ribbon with the print (drawing) cut off the length we need and burn the lighter edge.
- We fold it and sew it with a thread.
- Also pull together like the previous bow and fix the knot.
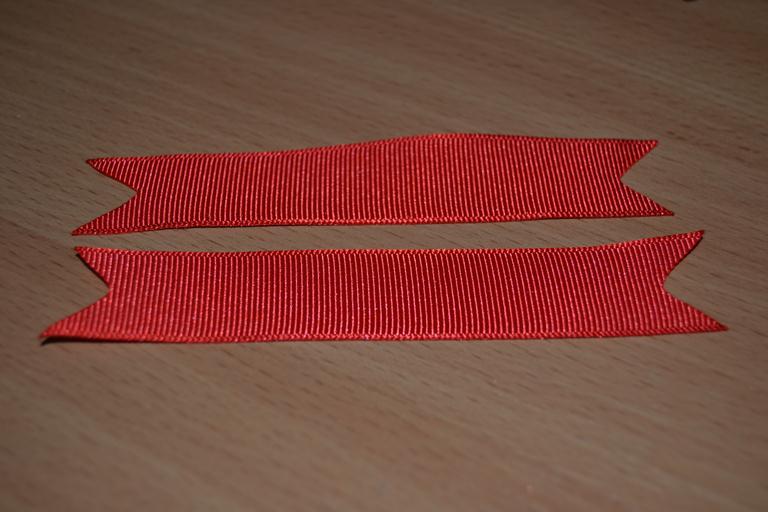
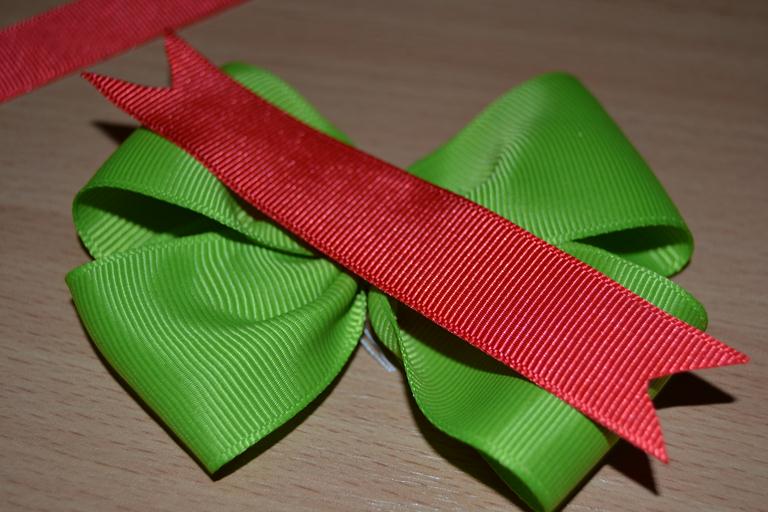
- Next, take a tape 2 cm wide (preferably bright color) and cut it into segments of 12 cm in length - 2 pcs.
- Cut the edges of the corner and firing a cigarette lighter.
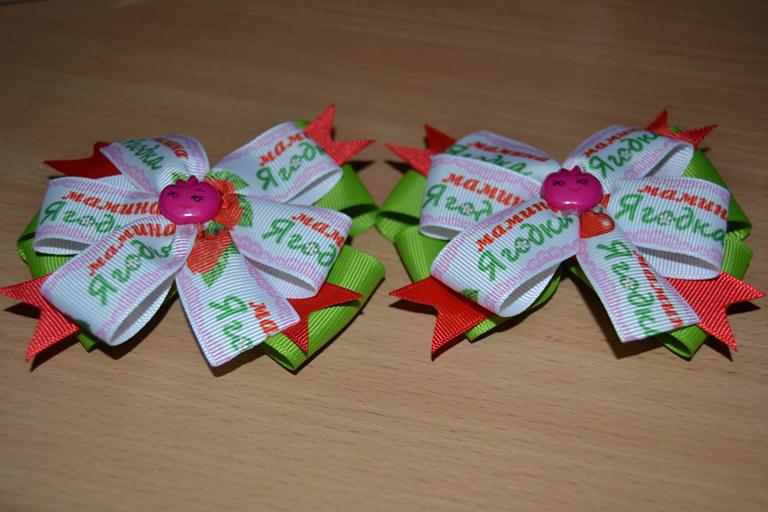
- It remains to collect all the finished parts in one beautiful bow.
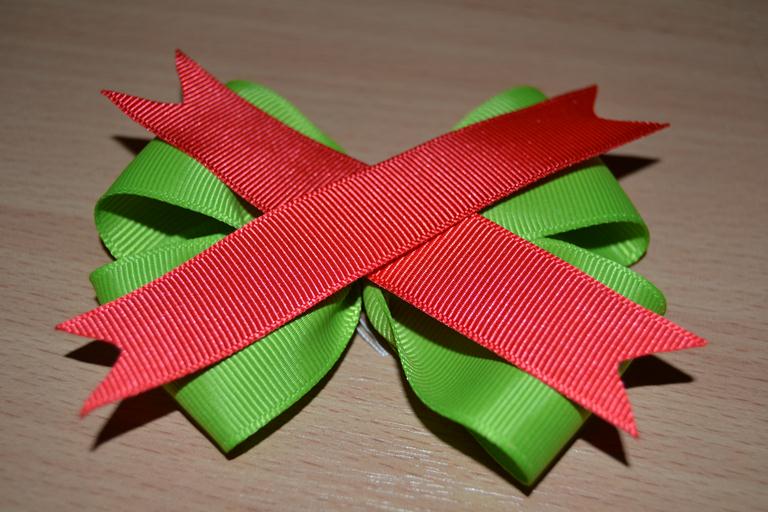
- The basis is from a wide tape.
- On it we attach a cross to the cross of a tape of 12 cm.
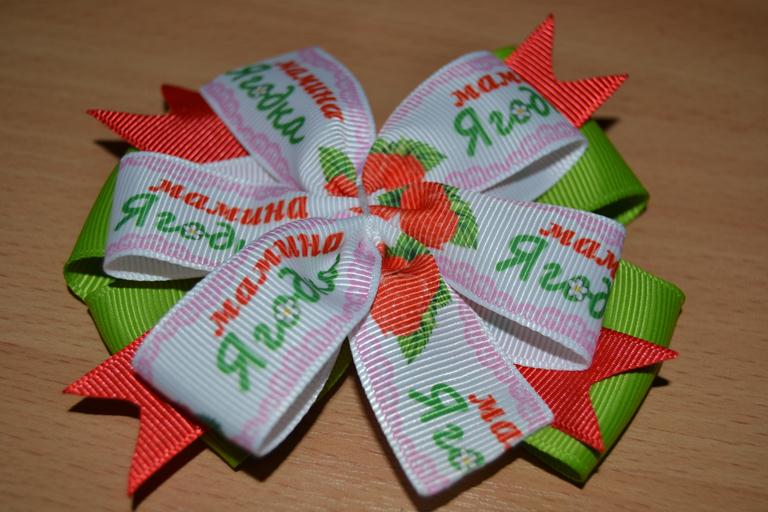
- Next, we glue with the help of a glue gun the last bow with a print.
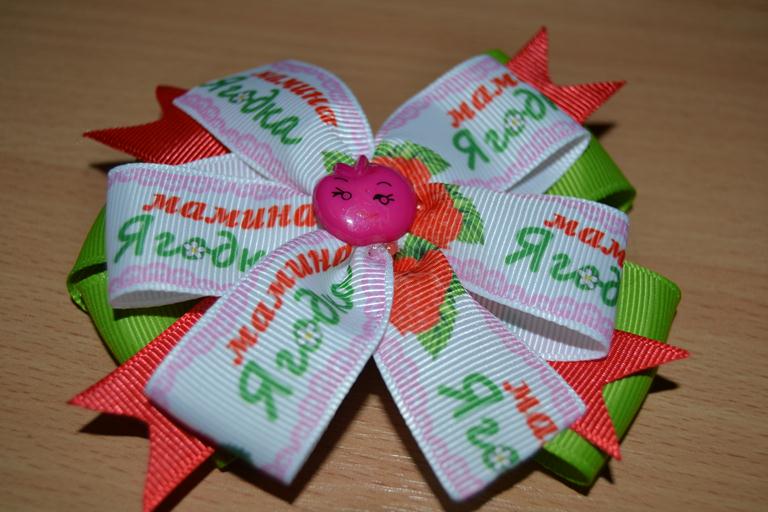
- In the middle we glue our middle for the bow.
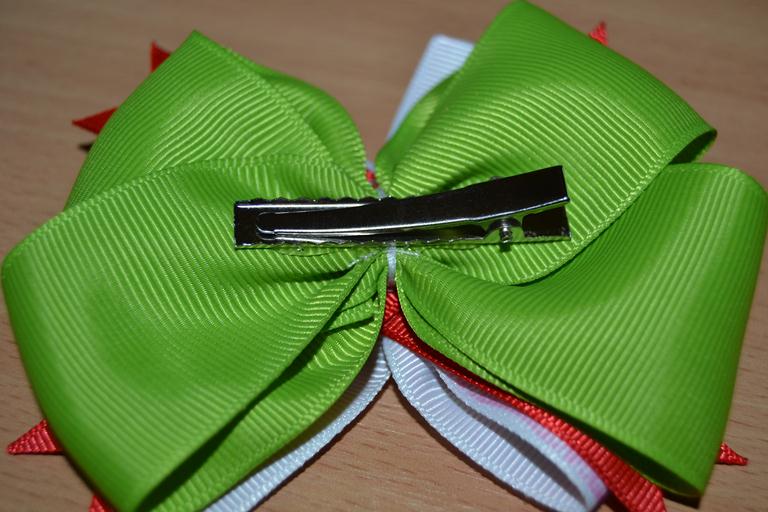
- We turn the bow and attach our hairpin to the glue.
- Here is such a wonderful beautiful ribbon bow from us left.
| | |
| | |
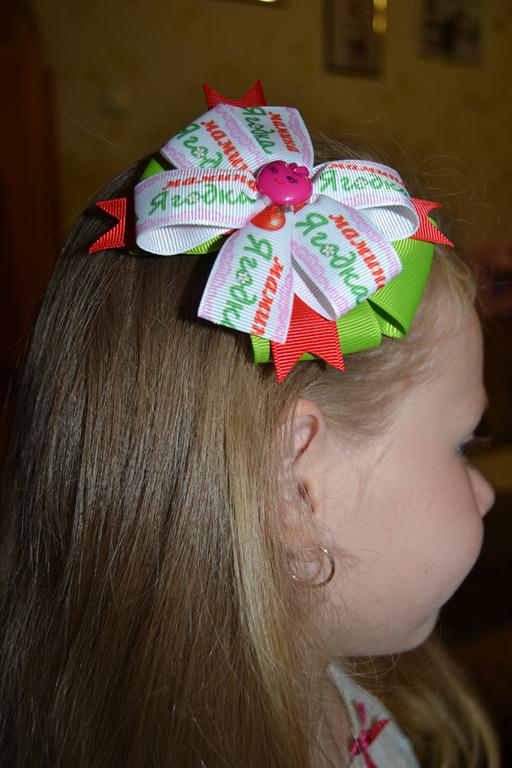
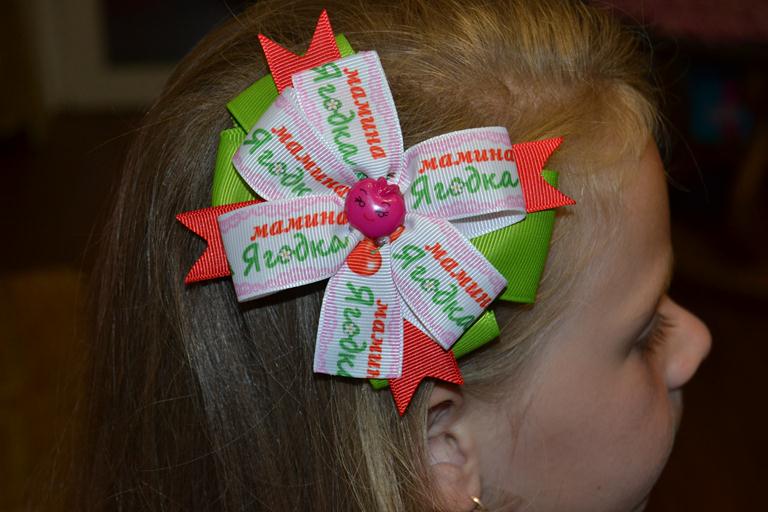
Believe me, a bow made by myself will be your favorite hairdo decoration for your daughter!