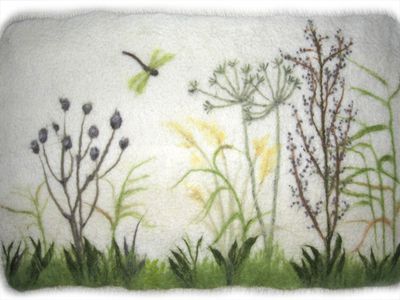
Very beautiful and picturesque paintings can be created using wool as a material. Those who saw such crafts, are necessarily interested in how to make paintings of wool? There are several techniques of work when creating paintings from wool, the simplest of them is the method of laying out. Images performed by the technique of repositioning can be diverse, ranging from flowers, fruits and ending with portraits of people.
By laying out a picture of wool, it is possible to create hand-made articles that resemble weightless watercolor drawings. In addition, to master this technique you do not need to be able to paint beautifully, because all the mistakes on the "canvas" can be easily corrected. Painting wool for beginners is better to build on the basis of simple landscape scenes or floral compositions. The simplest paintings made of wool by their own hands can be made by younger schoolchildren and even pre-school children, if you teach them basic skills of working with this material that is pleasant to the touch.
Master class: paintings of wool
You will need:
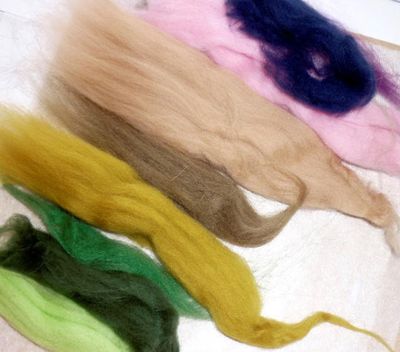
- multi-colored wool:
- soft textured paper (or slightly fleecy fabric);
- scissors;
- tweezers for working with small parts.
Sequence of manufacture:
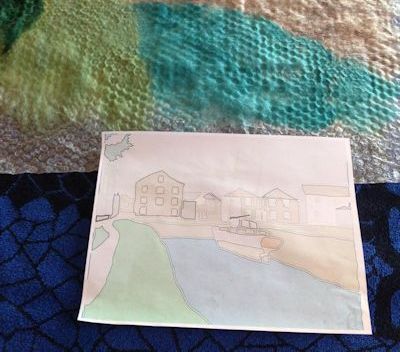
- We start by selecting a picture. As already noted, do not choose a complex drawing containing a significant amount of detail. You can draw a sketch yourself, which will serve as a further sketch of your work.
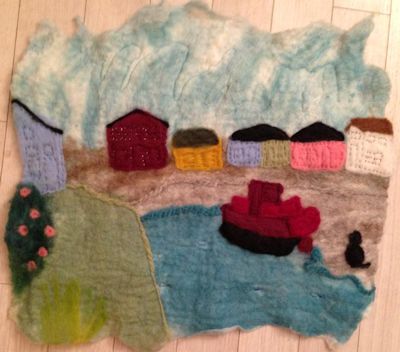
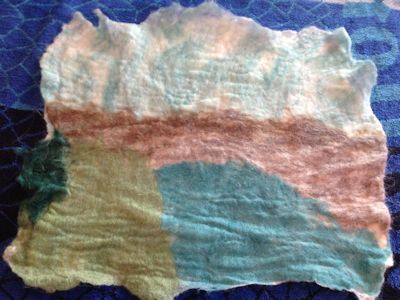
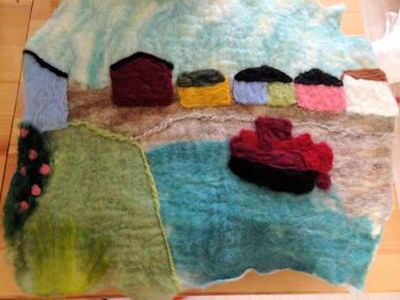
- For the base, the shape is cut out. If the picture is prepared for further placement in the frame, then according to the format of this frame. In our case, a picture with uneven edges is created, so we will dispense with a frame. We took a soft paper towel for the base, but the napkin ("Little Mermaid", etc.), flannel, felt, fleece is perfect. We begin with the formation of the background of the picture. For this, thin woolen fibers are laid out on the surface of the base, carefully stretched out of the total mass. To create the background of our landscape, we used wool of blue color (river, water), blue (sky), light brown (right rocky coast) and green (left grassy shore). Be sure to explain to the child that a closer arrangement of the fibers of the wool denotes dense objects, and the airy sky is laid out with rare fibers.
- Now we lay out colorful buildings on the bank of the river, a boat with cargo and vegetation. To do this, tear off pieces of wool and dump them, slightly moistening and priming, to get a very dense image. In the process of laying out the first plan of the picture, it is necessary to clap the applied parts, so that the layers are more securely bonded together. You can use the technique of twisting the hair with your finger pads. In our picture, we have separated the natural elements by the flagella we have received. Also, children can easily learn the technique of slicing wool, which is usually used to create small details, for example, roses on a bush, details for a seal. Cut pieces also roll well into balls or sausage.
- The windows of the houses are sewn on our picture with a hand-stitched seam. In the end, paste the picture on a cardboard sheet and place it in a frame under the glass.
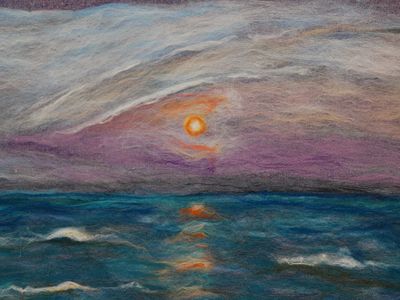
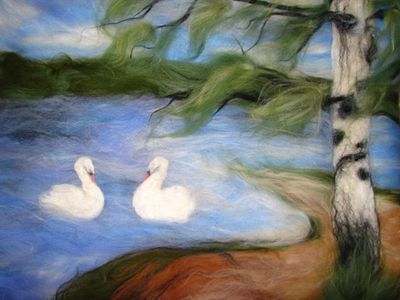
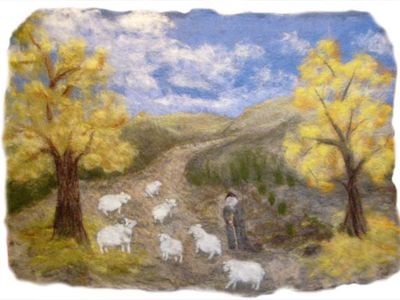
- You can pick up other landscape drawings. To create complex crafts, you should purchase a comb strip for pulling out individual strands.
| | |
| | |
This technique can be used when teaching children in manual work classes in senior kindergarten groups, at work classes in primary school or art studios. Warm pictures of wool will serve as an ornament to the foyer of children's educational institutions, the interior of the children's room, etc.
Tip: when creating a dark second plan (for example, night scenery) as a basis, you can use a flannel or other dark-colored fabric to use less wool, and the image is more dense.
Also you can create other unusual pictures, for example, from paper or coffee beans .