In any family, as far as living together, a considerable number of things appear that accumulate and sometimes even litter the premises. Endless cleaning, of course, helps for a while. But there is a way out - to create an organizer with your own hands. Here you can add everything that your heart desires - office supplies, accessories, jewelry and hair bands , etc. Create an organizer is not difficult and is quite affordable even for those who are not keen on making crafts. So, we'll tell you how to make an organizer.
Organizer yourself: the necessary materials
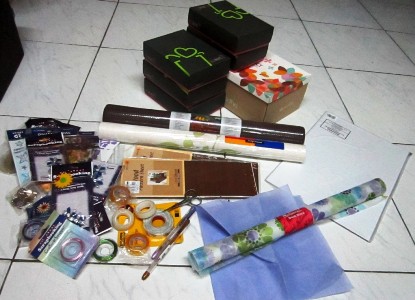
To create a convenient organizer for home trifles, prepare something that is sure to be found in every home, namely:
- cardboard box from shoes;
- 3-4 identical cardboard boxes of smaller size;
- a roll of wrapping paper;
- colored cardboard;
- pen or pencil;
- Scotch;
- scissors;
- various elements for decoration (optional).
Master class: personal organizer
So, if all the necessary materials are found, select the day when you have a good mood and start making an organizer yourself:
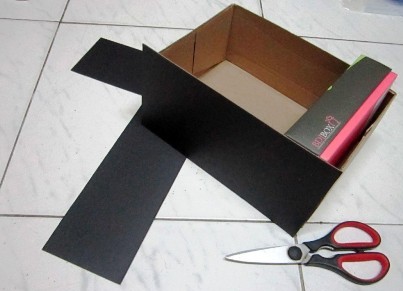
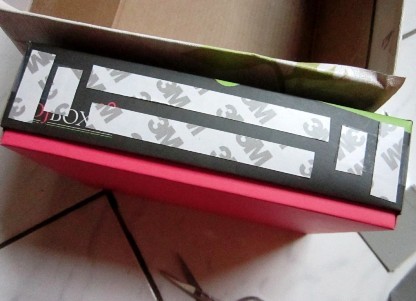
- Paste all outer sides of the shoe box with cardboard to make it more stable and sturdy. Fix the cardboard to the box with a wide tape.
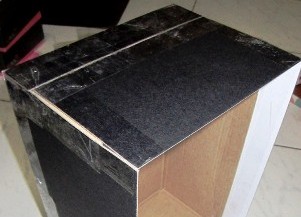
- Then give our future organizer a little decorative: pour a box of wrapping paper or remaining wallpaper after repair. Clips wallpaper can stripes of scotch tape.
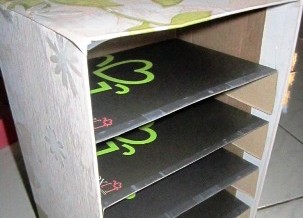
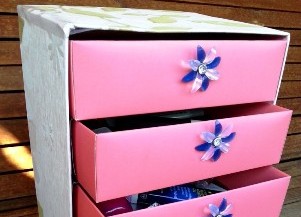
- We'll figure out how to form the shelves of the organizer: use caps to match the size of the boxes. At the lids cut one of the sidewalls. Such peculiar shelves can also be decorated with beautiful paper. Back of each shelf, cover with pieces of double-sided tape and attach to the organizer.
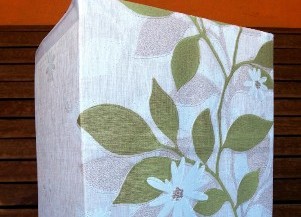
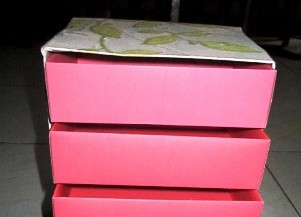
- The remaining boxes will become branches for small items. We recommend them to cover with the same paper or wallpaper.
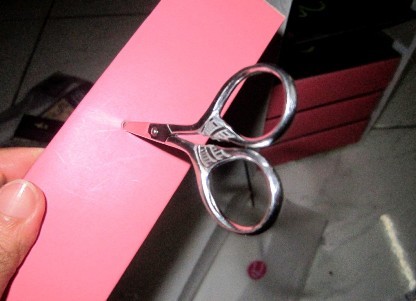
- In the middle of the front side of each box, scissor a hole and insert there a decorative element (for example, a flower), which can be fixed inside the washer.
- Insert all boxes into the organizer and fill them with anything! Done!
| | |
| | |
| | |
| | |
How to make an organizer: another master class
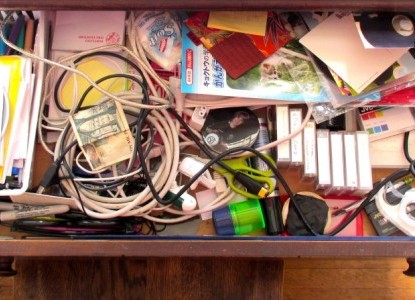
Surely in every house there is a desk with a shelf, where periodically all that is needed and unnecessary is dropped. As a result, a disorder forms in the shelf.
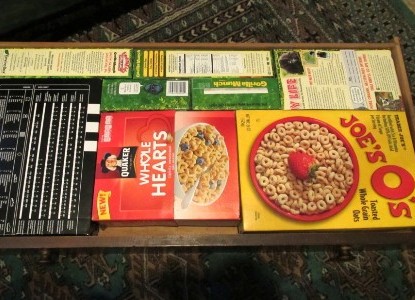
To solve this "disgrace" is possible with the help of the same organizer. To create it, find in the dwelling cardboard boxes of different sizes (and if you want, the same) from food or machinery. Also prepare scissors, PVA glue, water-based lacquer and a cut of beautiful fabric.
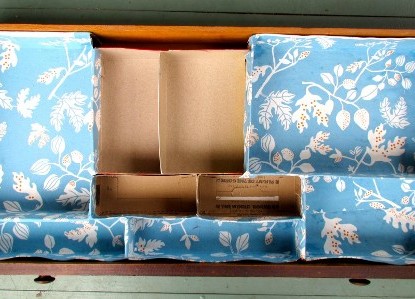
- Take out the shelf from the table and lay the found boxes in it close to each other so that they do not hang loose and create a complete structure.
- When the compartments for the organizer can be selected, cut off the front side of the boxes.
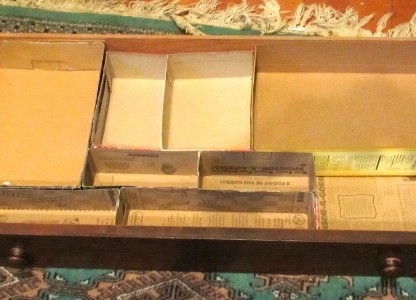
- Then gently and slowly put a varnish on a water basis (for example, parquet) on the surface of each box, and then cover each compartment with a cloth using PVA glue. Thanks to the layer of lacquer on the fabric there will be no stains from the glue, which means that the compartments will look neat. Seal the boxes in such a way that at the same time connect them with each other.
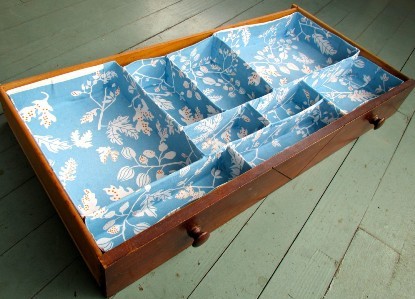
- When the entire structure dries, you can use the organizer for its intended purpose. Agree, now the shelf looks dignified!
| | |
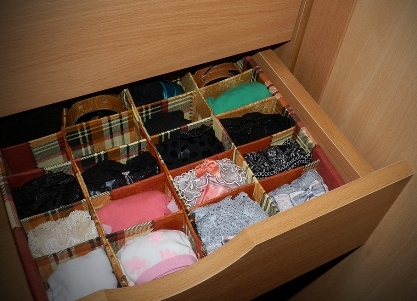
By the way, the scope of such an organizer should not be limited to computer trivia and office supplies. According to the above-described master class, you can create an organizer for the laundry. Here we recommend to choose boxes of the same size. And then your panties and bras will be stored in decent conditions!
In addition, you can create an organizer, not only for lockers, but for a bag.