Origami - a popular technique recently folding a variety of figures from paper. This ancient art was born in China in the early Middle Ages. In those days, only people from the upper classes owned origami. Widely spread in Western countries, technology was after the end of World War II. Now, origami is a pleasure for adults and children alike. This art perfectly develops logic and attention. There are several of its types - flat and voluminous. Both of these species are interesting in their own way. We suggest that you try your hand at voluminous origami. The figure is usually assembled from a large number of modules, that is, the same elements that were previously stacked. So, let's make modular origami "Basket".
How to make a basket from the modules - the preparatory stage
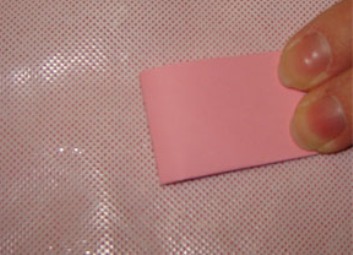
Just before assembling the basket in origami technique, you should start making a lot of modules. They are of different types, but the so-called triangular module is most often used. Suitable office paper format A4. The sheet should be cut into 16 identical rectangles in size.
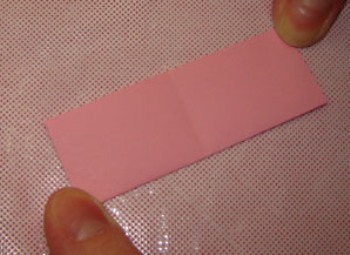
- The rectangle is folded in half first across, then unfolded, along.
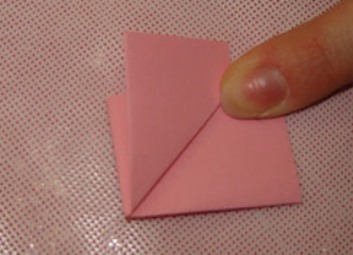
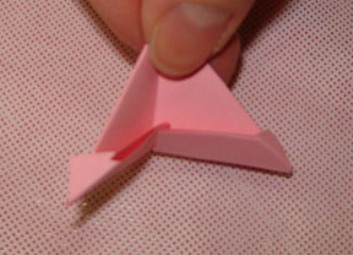
- Then bend the bottom corners of the rectangle up.
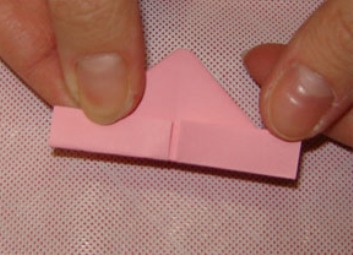
- We open the workpiece. After that, the details protruding from below are bent upward. Expand the workpiece to the other side. Bend the corners of the folded parts inwards.
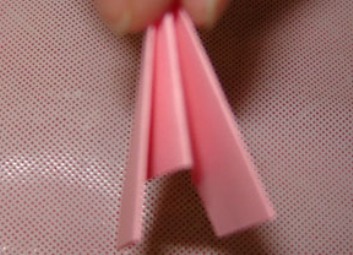
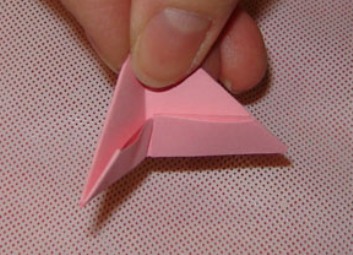
- It remains only to bend the resulting blank in half.
She has on each side pockets, where the same modules are then inserted. Due to this, a voluminous figure of origami from the modules-the basket-is collected.
For our future crafts, you need to make 494 triangular modules in blue and 168 triangular modules in pink. This process is, of course, time-consuming and requires patience.
Modular origami "Basket" - a master class
When all the necessary modules are made by you, you can proceed to the manufacture of the basket. The assembly scheme of the modular origami basket is as follows:
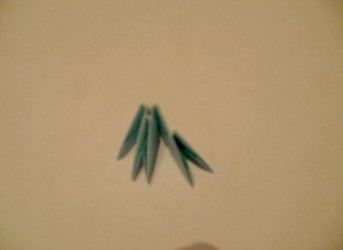
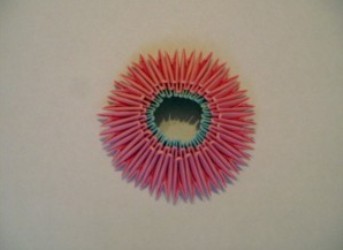
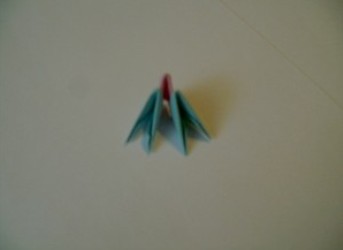
- We collect a chain of blue modules. In both pockets of one module we insert one corner of two modules.
- Then, to the free lateral corners of the upper modules, the module pocket is put on.
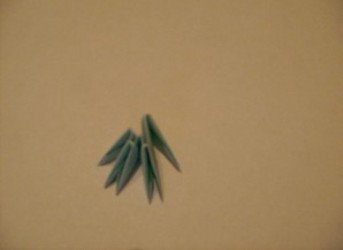
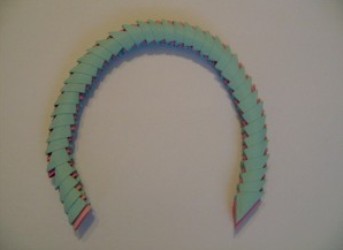
- Similarly, the whole chain of two rows is collected, each of which must have 32 modules.
- Then you need to close the circle.
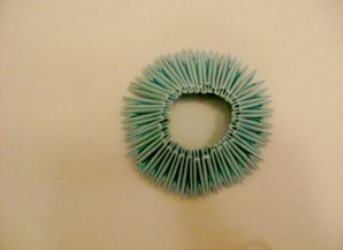
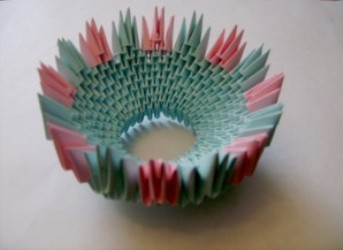
- Next, we build eight rows of a future basket of triangular modules. In each, you need to use 32 blue modules.
- In the next row, you need to use pink color modules. The total number of modules is 32, but every two blue modules alternate with two pink ones.
- The next row is laid out as follows: on the two central corners of the two pink modules are put on the pockets of one pink module. We do the same with the blue modules. As a result, we have a series of 16 modules.
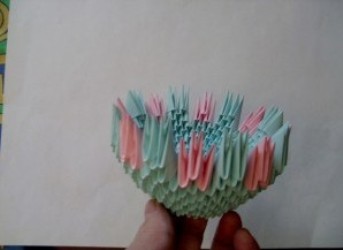
- After that, we put on two modules of blue color, and then one more blue module.
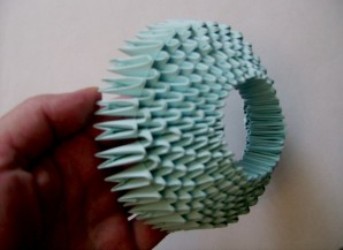
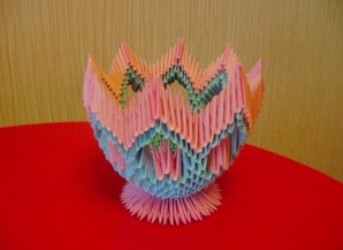
- We build new elements in the form of an arch: we string on six blue modules one pile on each other. Then the top elements are fastened together. We carry out such actions throughout the circle of the basket.
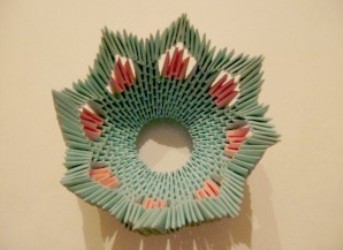
- After that, lay out a new solid series of pink modules.
- You need to make a stand for the basket. It consists of 1 row of blue modules and 2 rows of pink modules. In each such series, you need to use 27 elements.
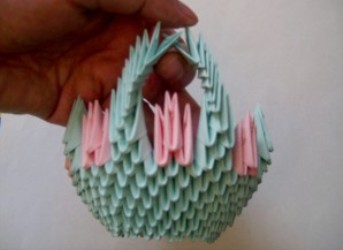
- It remains only to make a handle for the basket. It is composed by alternating one pink module with two blue ones.
- In total it is necessary to make 79 rows. Having arched the handle, we fasten it.
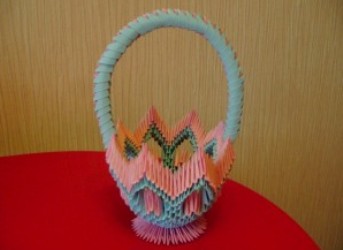
The origami paper basket is ready!
From the modules you can also make a beautiful vase and candy dish .