Handicraft techniques are countless, some of them require a fair amount of skill, some are very simple in execution and allow you to create real masterpieces. In this article you will get acquainted with interesting and beautiful Japanese handicrafts - kinusayga, which is also called "patchwork without a needle". The execution of products in this technique is very exciting, but the study of the technique of kinusage should begin with master classes for beginners.
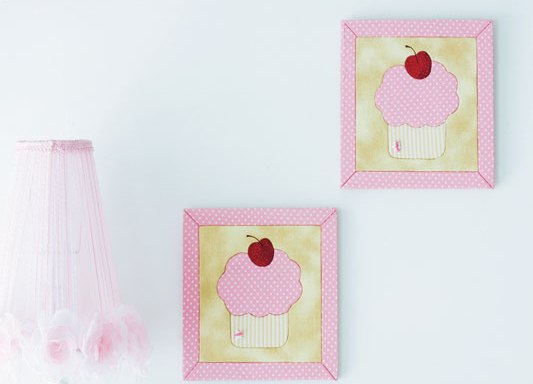
A picture for a children's room in the technique of kinusayga: a master class
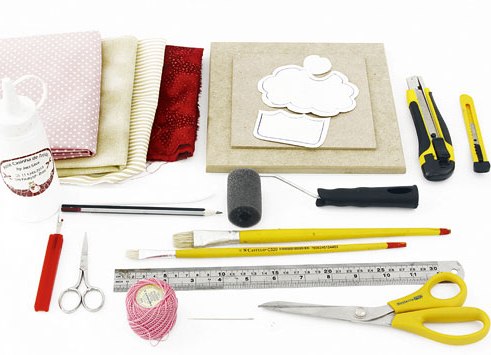
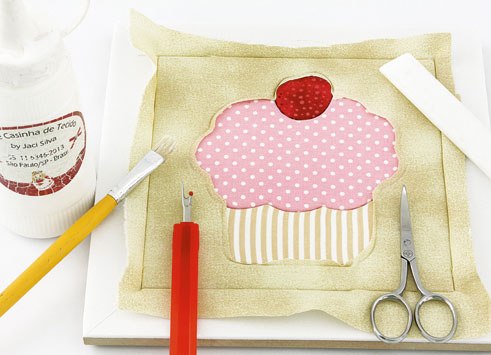
It will take:
- frame;
- thin foam plastic;
- stationery knife;
- PVA glue;
- scraps of cloth;
- scissors;
- special stack or thin nail file;
- pattern-template.
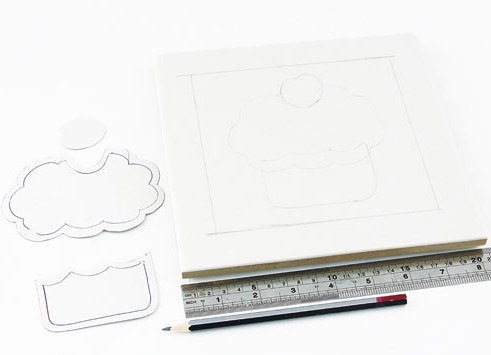
- Applying the pattern-pattern to the foam plastic, we apply all of its lines with a needle.
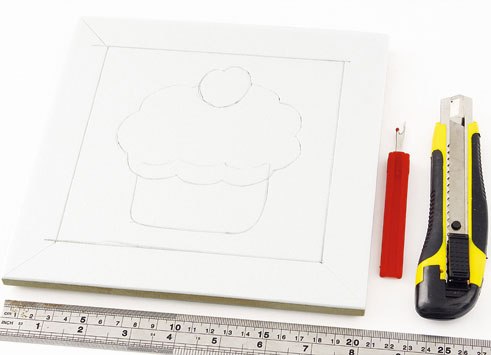
- Deepening to the middle of the thickness of the foam, we cut through the lines of our drawing with a stationery knife.
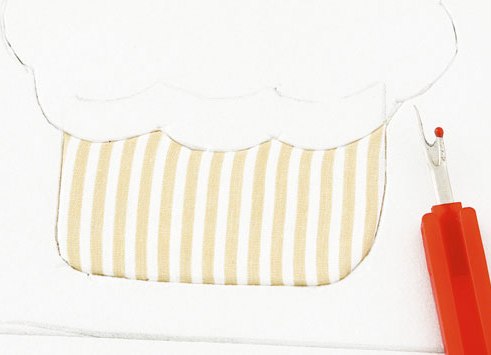
- Using paper parts of the applique, we cut the workpieces from the fabric, making an indent 1 cm from the edge of the pattern.
- Lubricate the desired area of application on the foam with glue, apply a fabric blank and carefully stack the edges in the slots. To avoid wrinkles or bubbles, we smooth the fabric, then cut the unnecessary edges with scissors and refill the stack.
- We do the same with all other parts of the picture.
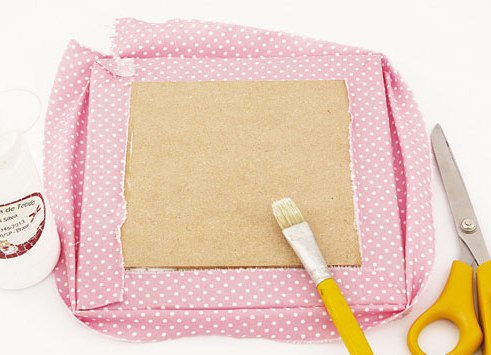
- We first glue the fabric for the frame from the back of the picture.
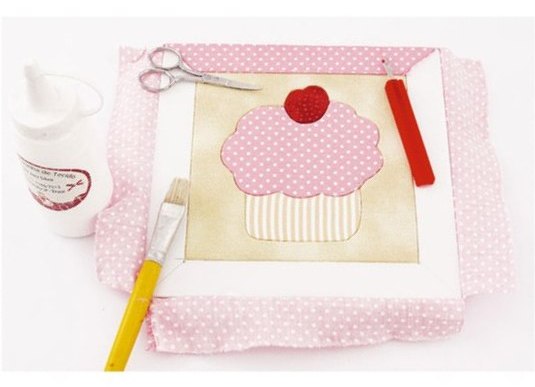
- Turn to the front side and, having smeared the foam with glue, we fill the fabric, gently cutting the corners at an angle of 45 ° at the ends of the sides for the frame.
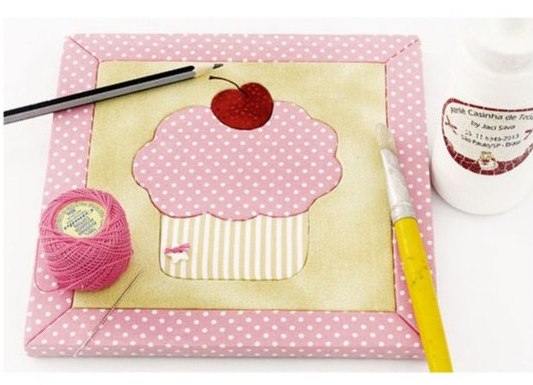
- We supplement with small elements, we make a loop. Everything - our picture is ready!
| | |
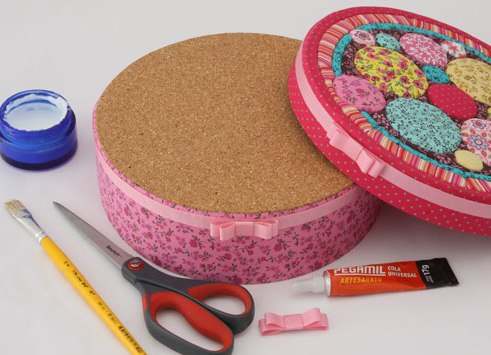
Decoration of a box in the technique of kinusayga: a master class
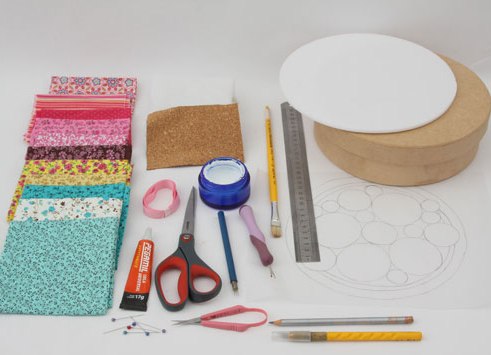
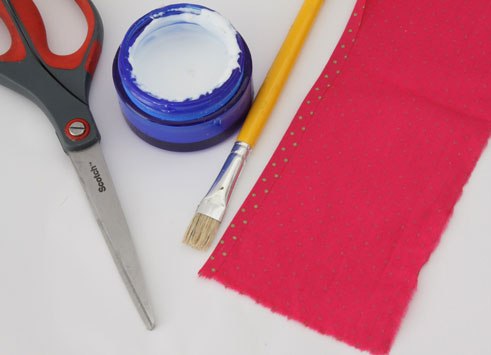
It will take:
- box;
- thin foam plastic;
- stationery knife,
- PVA glue;
- scraps of cloth;
- stack or thin nail file;
- pencil.
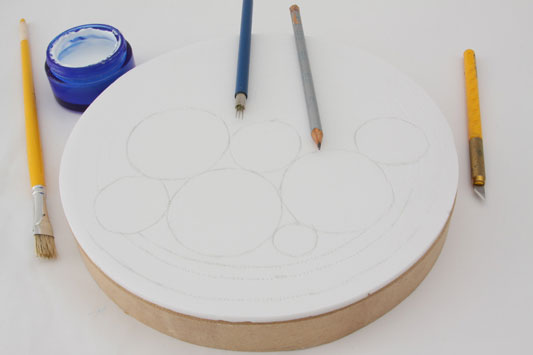
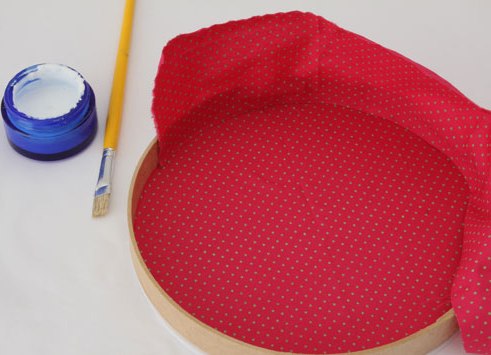
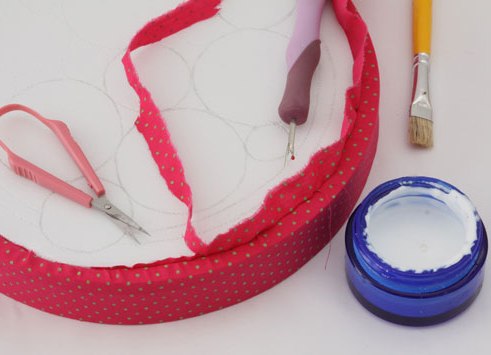
- We glue foam plastic to the lid of the box, draw circles of various sizes on it and cut them through with a clerical knife to the middle of the thickness of the foam.
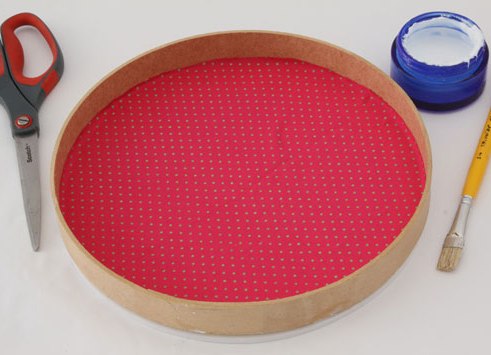
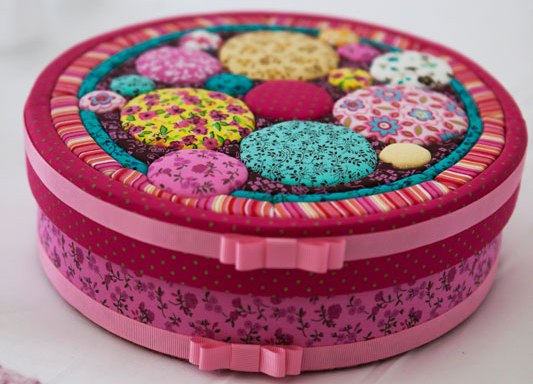
- From the inside of the lid we glue in the middle a circle of fabric, and to the sides - a wide strip of fabric, the continuation of which serves for gluing the outer side of the lid. We fix the fabric on the top of the lid in the slots and cut off the excess with scissors.
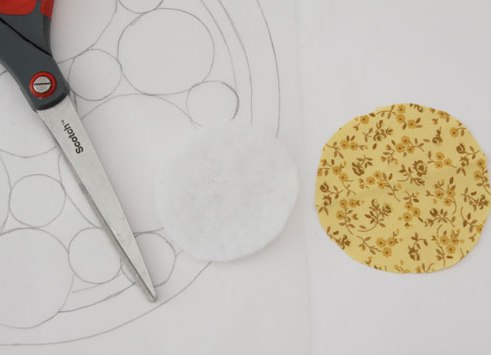
- Cut from the fabric circles for the picture with an allowance of 1 cm.
- Alternately, all the details of the fabric fill the stack in the slot, greasing the foam with glue beforehand.
- Space between circles in the technique of the kinusage is carefully filled with pieces of tissue.
- The lower part of the box is pasted with a cloth and decorated with ribbons.
| | |
| | |
Our box, updated with our own hands in the technique of kinusayga, ready!
Having understood the basic principles of kinosuya technique, you can safely proceed to create gifts for your friends and more complex and interesting products.