The technics of Tunisian knitting popular among needlewomen is very different from simple crochet crochet . It's more like knitting with knitting needles: let's find out why.
For this technique a special hook is used - it is called Tunisian or, sometimes, Afghan. This distinguishes Tunisian knitting from ordinary. The lapping of all loops takes place on one side of the product, and you do not need to turn it around during knitting. Thus the hook moves first from right to left, and after - from left to right. Because of this, speaking of Tunisian knitting, mention not just the ranks, but their pairs. The basis of all technology is the Tunisian column crochet, the technique of knitting which we will consider in detail on the example of this master class.
The main techniques of Tunisian crochet crochet
- Prepare a coil of medium-sized thread and a Tunisian hook. The latter, as you can see, is quite long and ends with a limiter that prevents the loops from slipping off the hook. If you plan to tie a large product (pullover, tunic , etc.), you can use a Tunisian hook with a fishing line, and if necessary - a two-way Tunisian hook. With regard to thread, then to crochet, for example, socks, you have enough and one skein, because Tunisian knitting is very dense and economical knitting.
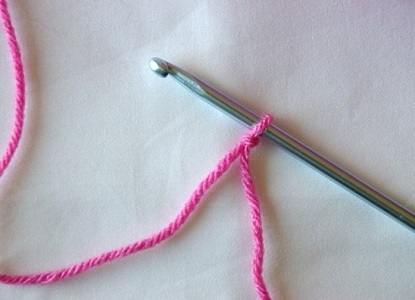
- So, we begin to knit a Tunisian column. First, make the first loop of the chain in the usual way, leaving a small "tail".
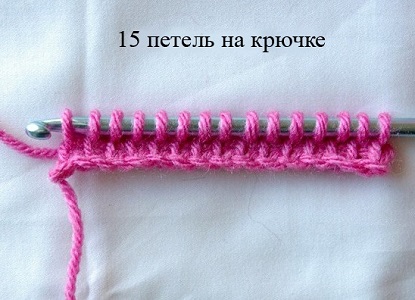
- Type the number of air loops required for the future product: in our example there will be 15.
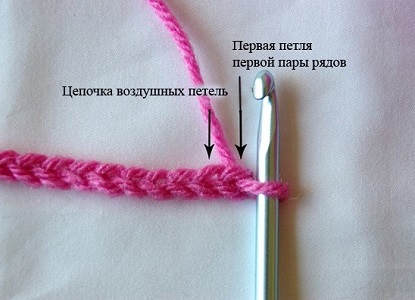
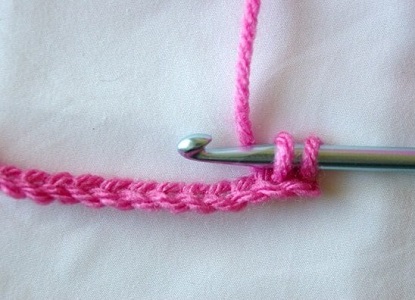
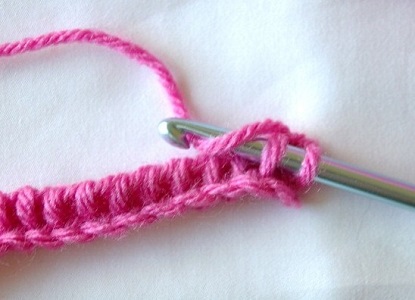
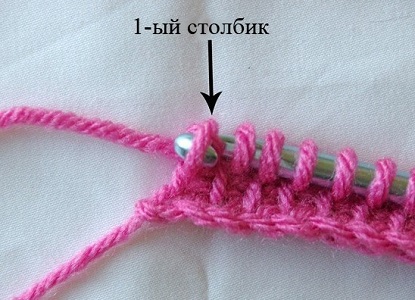
- Next, without turning the knitting, enter the hook into the last loop of the chain and tie the first loop of the first pair of rows.
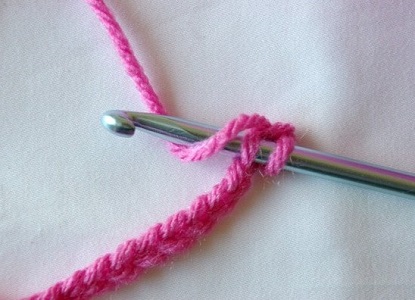
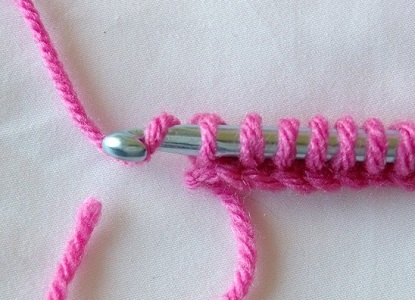
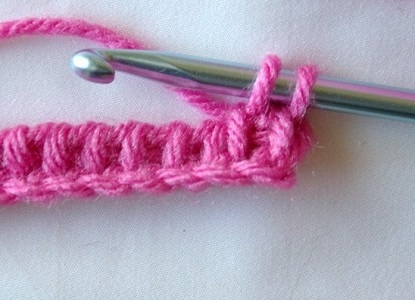
- Corrugate all subsequent loops in this row, pulling the thread from each previous loop of the first chain.
- In this case, all the loops should remain on the hook, forming a second chain.
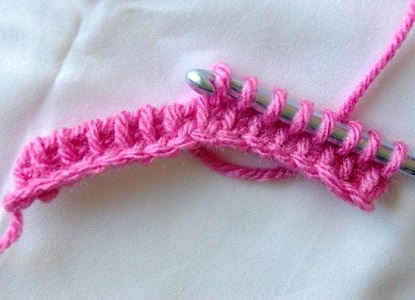
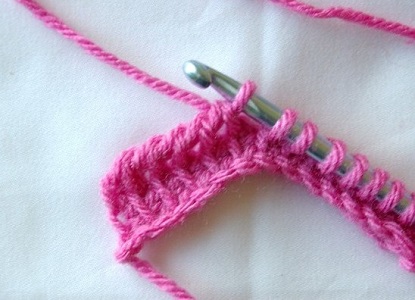
- When you get to the end of the series, you need to loosen one lifting loop in order to move to the next row.
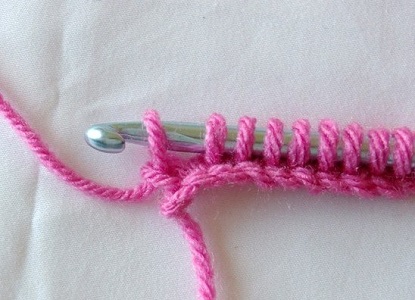
- Next we knit from left to right, stretching the thread through every two loops of the first row.
- Keep in mind that you do not need to dial the air loop at the end of the row, because one loop is already on the hook.
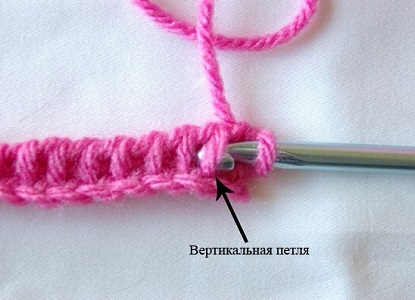
- The following rows are knitted similarly to the previous ones, but you need to enter the hook into the vertical loop of the first part of the row, and then repeat step by step the actions that were described in paragraphs 5-8.
- The figure shows schematically the main pattern of this technique - the Tunisian column. It is indicated by a vertical strip, while the wavy line represents the second part of the series - the reverse, which is knit from left to right.
- So, when mastering the Tunisian way of crocheting, you need to remember the basic rules. The first part of the row is knitted in such a way that the hook shows the number of loops equal to the initial number of air loops (in this case it is 15).
- The second part is tied by pulling the thread through each two loops, giving as a result just such a weave of threads, as you can see in the figure. As it was said above, it is called the Tunisian column.
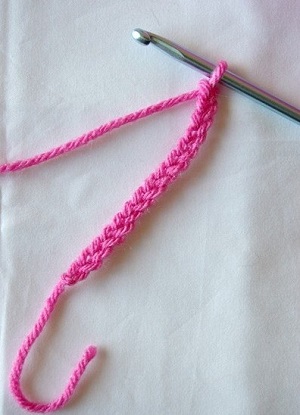
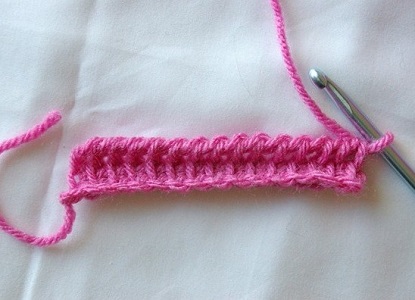
- Here's what the simplest basic pattern, made with the help of Tunisian crochet, looks like. More complex tricks, such as, for example, knitting lace colors using beads or two-color knitting by a Tunisian crochet will differ slightly in the way of tying loops, but the basic rules remain the same. Tunisian way you can connect anything you like - from children's pinets to a warm coat!