It is always interesting to create something new with our own hands. Therefore, if you started a children's holiday , then we suggest you make interesting headgear of paper for the guests. You can create them together with children, because it is very interesting and exciting. The smallest can make paper caps , and older children will take part in creating more complex models of hats. In this master class we will present to your attention several different versions of homemade headdresses and tell you how to make caps from paper.
How to fold a baseball cap from paper?
Necessary materials
In order to make a paper cap you will need:
- colored paper;
- pencil;
- ruler;
- scissors;
- glue;
- hole puncher;
- metal rivet.
Instructions
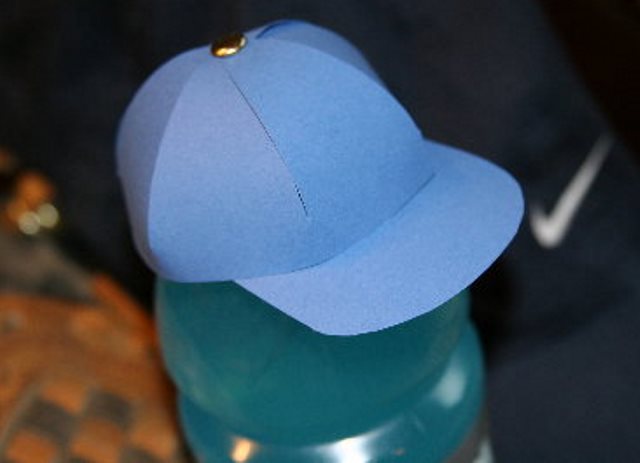
A paper baseball cap is more likely to appeal to boys, but girls will appreciate it, especially if you decorate the hat with interesting details. The photographs of the instructions show how to make a small-sized hat out of paper for a children's toy. To make a baseball cap for a baby you just need to increase the size of the pattern.
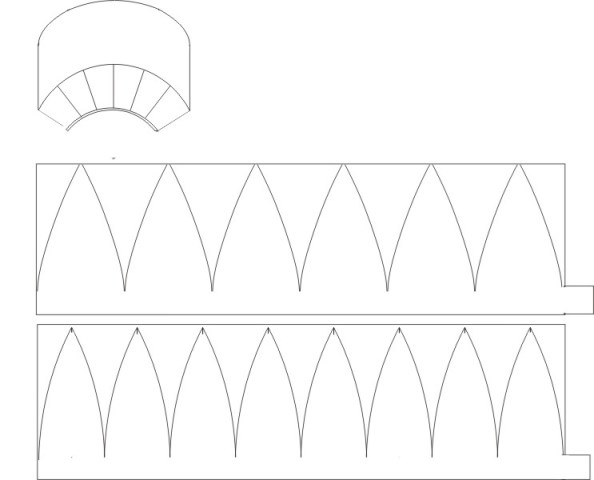
Before you start, draw a pattern on the sheet of paper, shown in the picture. For a toy hat is suitable and a normal album sheet or even a sheet of office paper. For a larger headgear, you need to buy a tight Whatman. The top element will be needed for the visor, and each of the bottom for the base of the cap. The difference between them is only in the number of sections. A baseball cap of 8 sections will be more rounded than a cap of 6 sections.
Cap of 6 sections
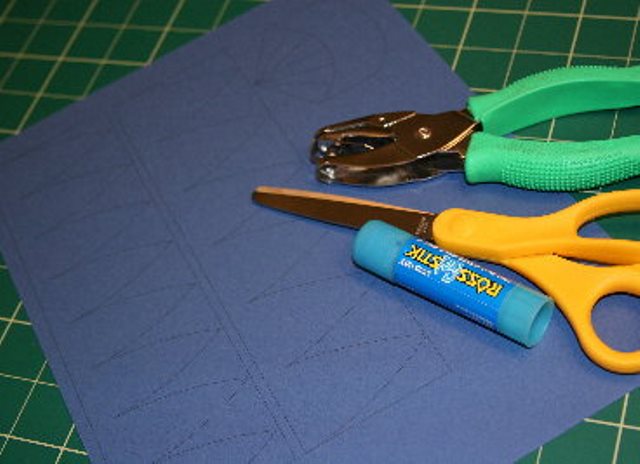
- Prepare all the necessary materials.
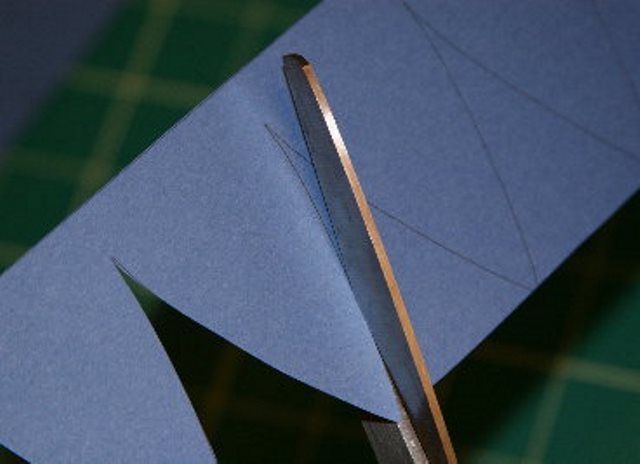
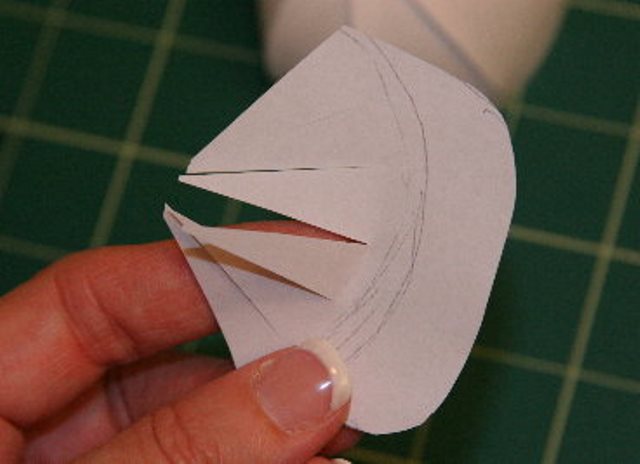
- Draw a diagram of the paper caps on the sheet and carefully cut out.
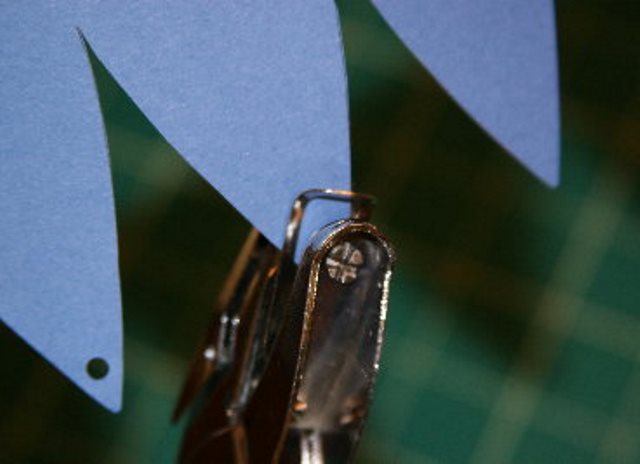
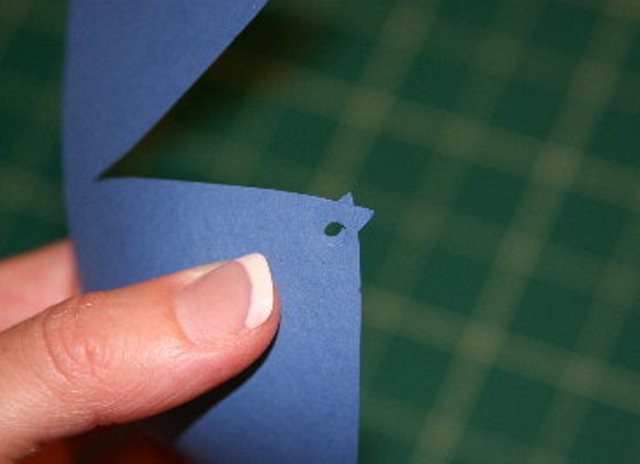
- After that, make holes on the tops of sections with a punch.
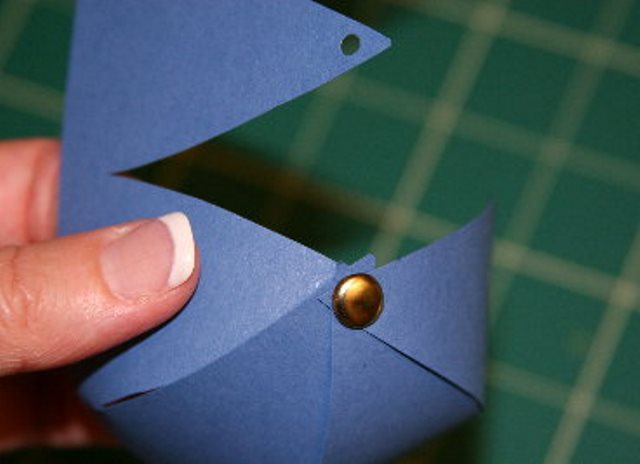
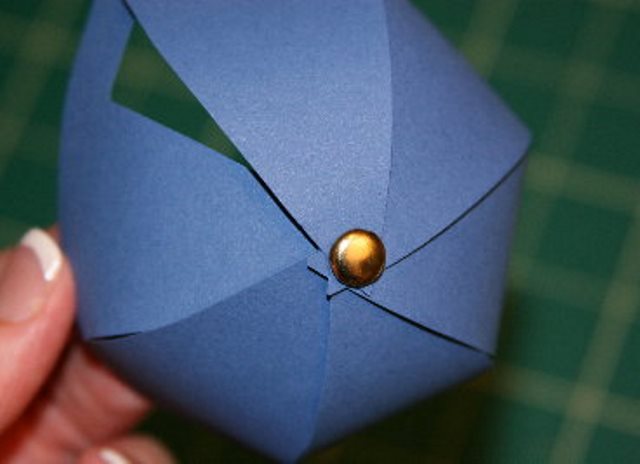
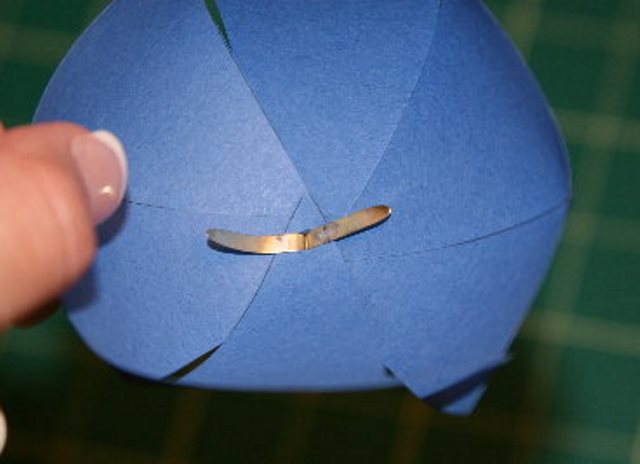
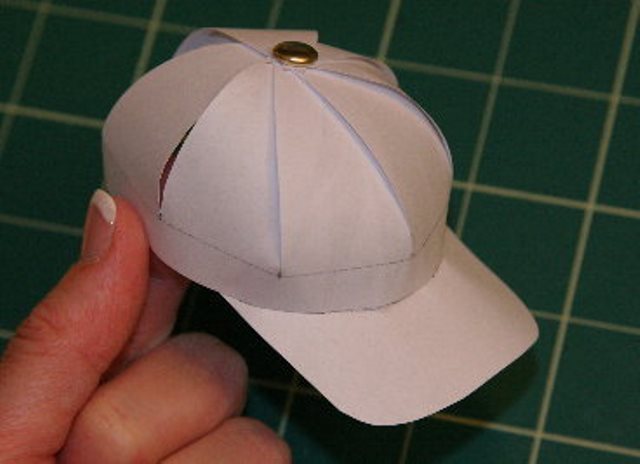
- Assemble all the sections together and thread the rivet into the holes.
- Fix the workpiece by spreading the rivet tabs in different directions.
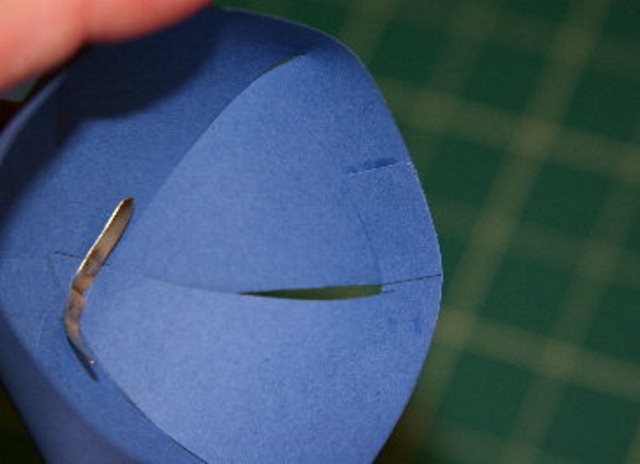
- Lubricate the side with glue.
- The base of the baseball cap is ready.
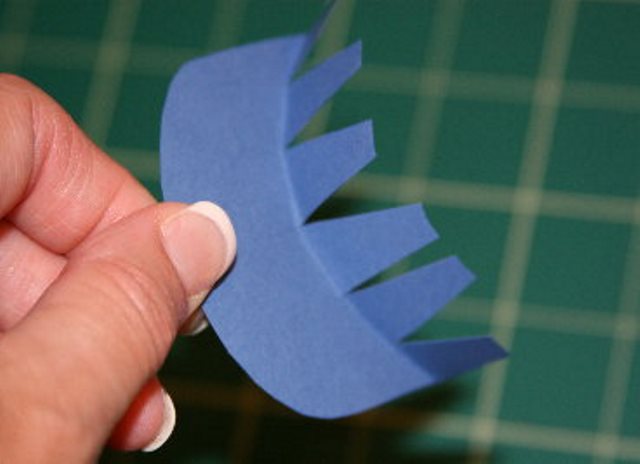
- Now let's start making a visor. Cut the workpiece as shown above.
- Fold and glue the fixing parts, and then press against the base of the cap from the inside.
- A cap made of paper with a visor is ready.
| | | |
| | | |
Cap of 8 sections
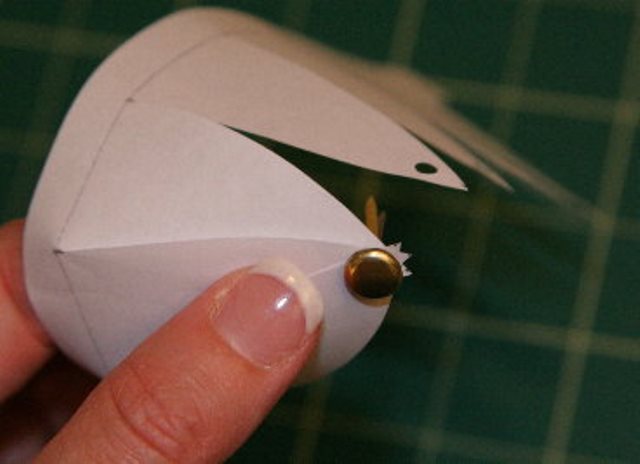
- Cut out a piece of paper from 8 sections and also make hole holes in it.
- The technology of assembling this cap is no different from the previous version.
- Baseball cap from 8 sections is ready.
| | | |
So we made cute paper caps. By what scheme to fold a baseball cap out of paper depends only on your preferences. Outwardly they differ very little.
How to make a party paper hat?
Necessary materials:
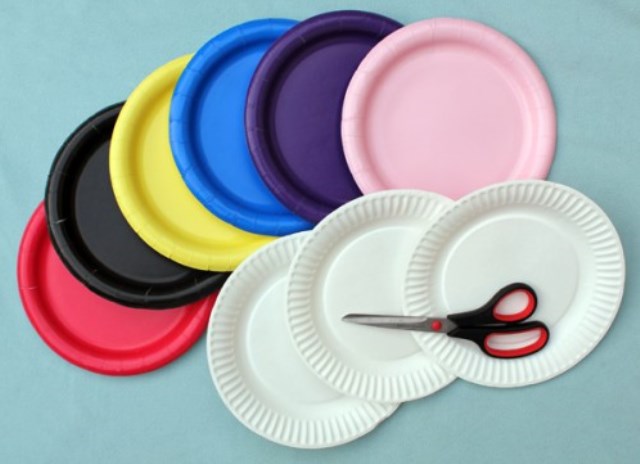
- paper plates or a sheet of thick paper or paperboard;
- scissors;
- paints, pencils and markers.
Instructions
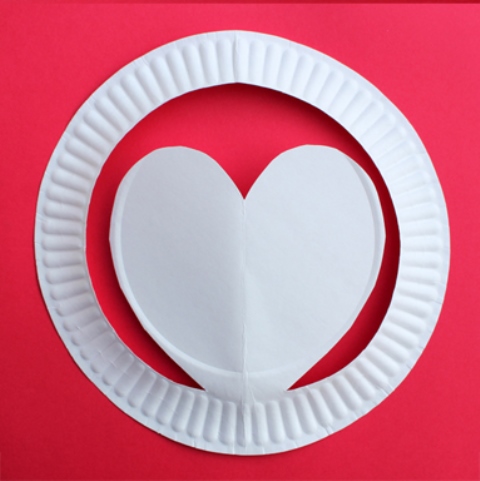
Such hats can be made for any holiday or themed party. The easiest way is to make them from paper plates. But you can take and ordinary thick paper and cut out of it round blanks. Consider step by step how to fold the cap from the paper:
- Prepare paper plates or paper cut from paper.
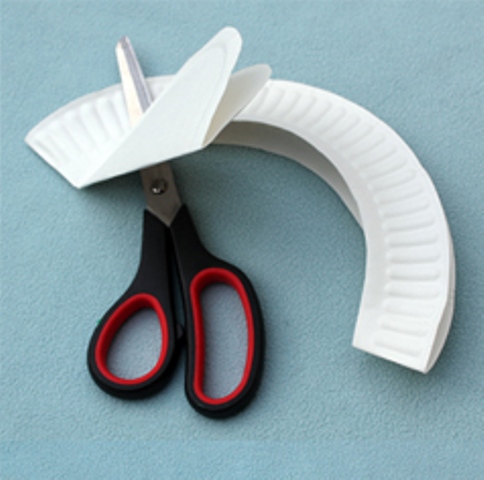
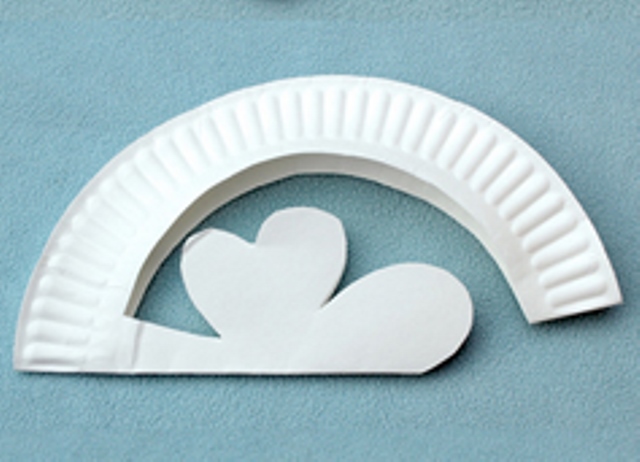
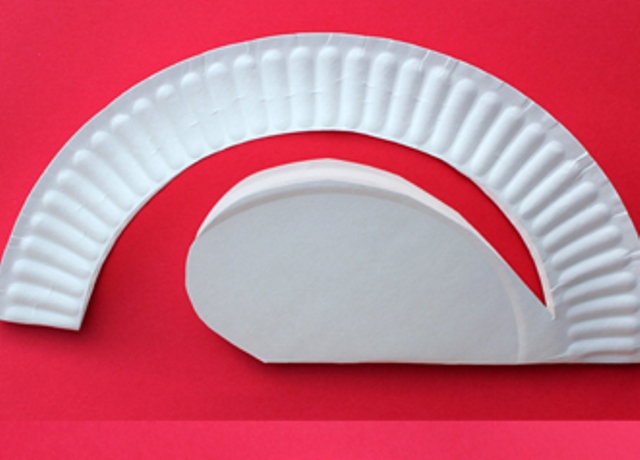
- Decide on the desired form of the future hat, fold the plate in half and draw a contour with a pencil. Then carefully cut out.
- Due to the fact that the workpiece is folded in half, you get an even symmetrical figure.
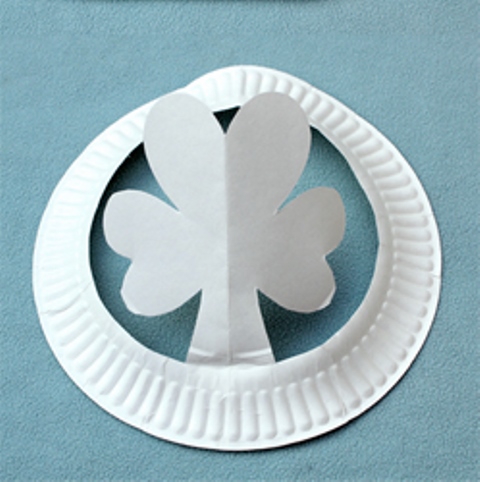
- Straighten the paper hat.
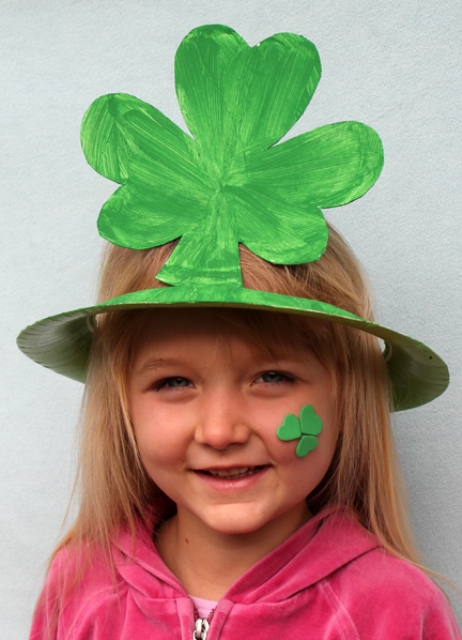
- Now it remains only to color the headdress.
- In the same way, you can cut out any other shapes on the caps, for example, the heart.
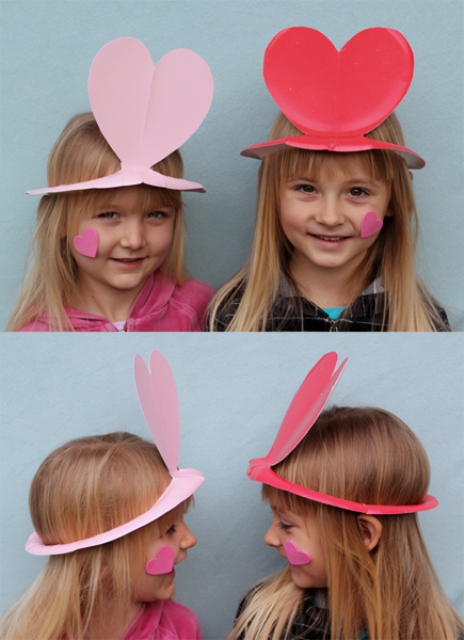
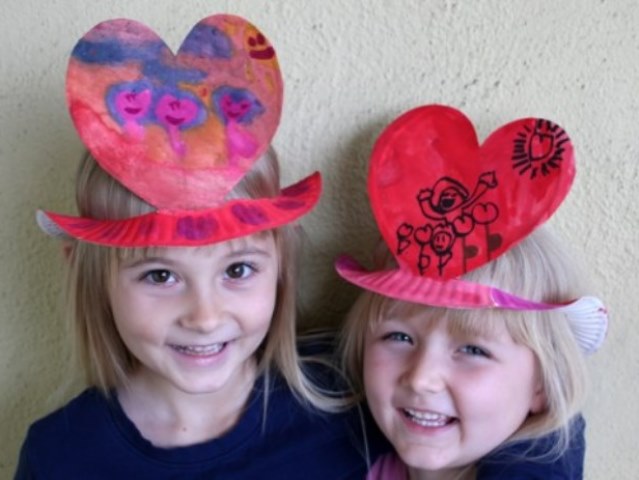
- Caps made of paper made with their own hands can be cut from colored plates or paper blanks.
- Or paint them with your kids.
Such a hat can be of almost any shape. Give scope to your imagination, and cutting out paper headgear will turn into an original game.
| | | |