In a huge variety of ideas for a hobby, everyone chooses by their own taste and, of course, preferences. As they say, there would be a desire to create. In recent years, the weaving of various ornaments and accessories from small gums of bright colors has become especially popular among women of any half of humanity of any age. It's amazing how with the help of simple movements and simple adaptations (some patterns can be weaved on your own fingers !) Literally in half an hour unusual patterns for a bracelet , necklaces, rings and even small toys are created! If you follow the trends of fashion and want to try your hand at weaving, we will tell you how to make a bracelet made of rubber bands in the style of "ladder".
Materials for a bracelet from elastic bands "Staircase"
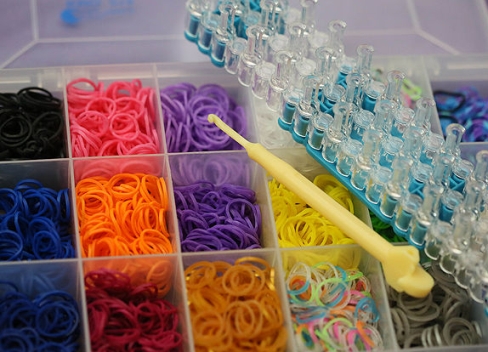
To make an effective decoration on your wrist, you will need the following materials:
- special machine (can be bought in a specialized or children's store);
- hook;
- elastic bands of bright colors in pairs of 48 pieces;
- gum of white or black color in the amount of 14 pieces;
- clamp in C or S-shaped.
How to weave a bracelet of stairs of rubber bands - instruction
When all of the above is at your full disposal, you can proceed to create a beautiful and unusual bracelet of elastic bands:
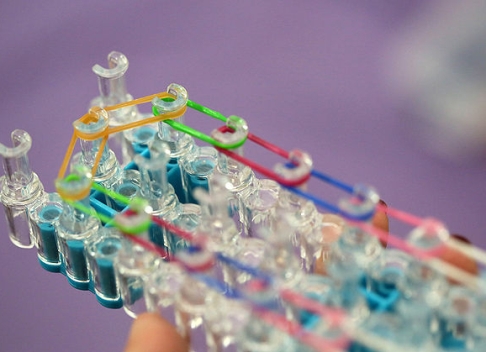
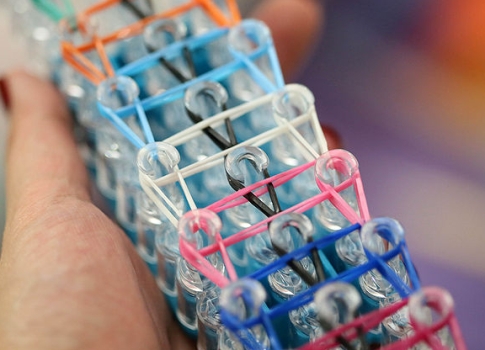
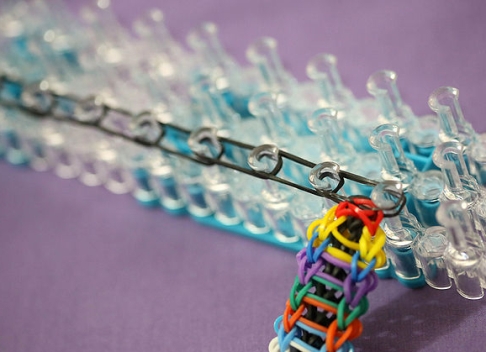
- Begin the work by creating a bracelet frame: put the rubber bands on the left and right rows of the peg in pairs in colors. At the beginning and at the end of the frame, two rubber bands are put on the first and last pegs of the middle row.
- Now put the rubber bands on the parallel pegs of the left and right rows, taking into account the matching colors.
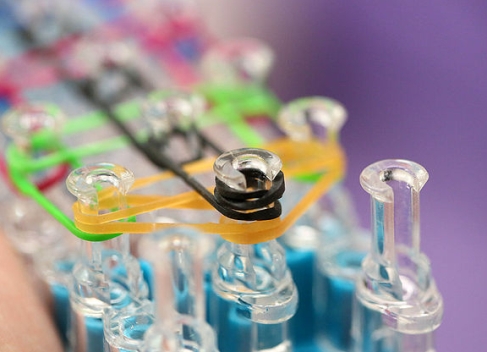
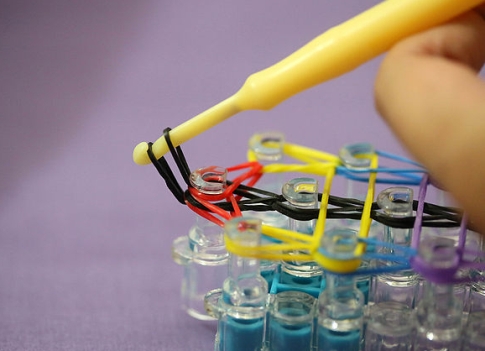
- Then, on all pegs in the middle row, you must put on black or white gum.
- Then on the last peg of the central row (at the same time the hands of the machine should be directed to you), you should put on an elastic band folded in eight by a figure eight.
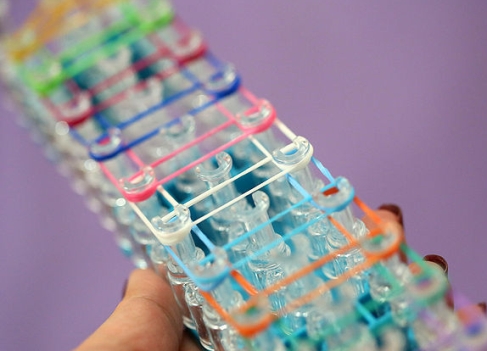
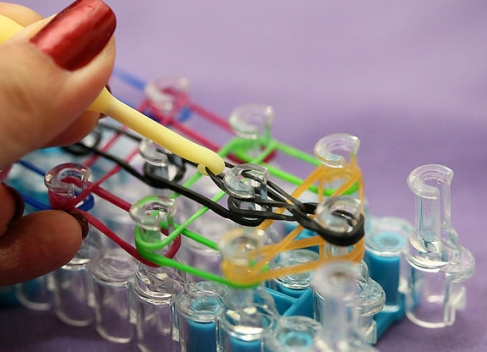
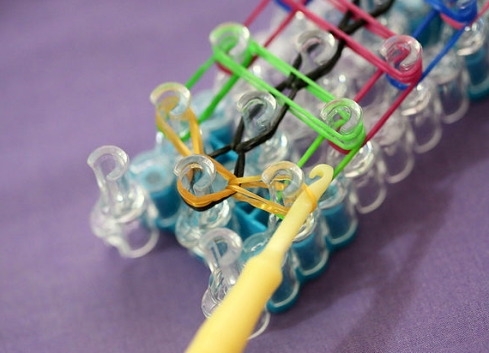
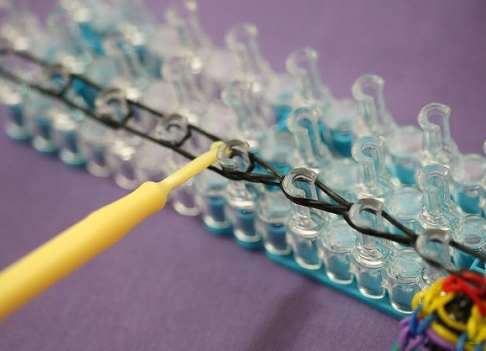
- Well, now you can go to the responsible part of creating a bracelet of rubber bands in the style of "ladder" - weaving. It starts with the central row: in the first peg crocheted grip loop from the rubber bands, which connects the first two pegs, and put it on the second peg.
- Then we perform similar actions: the loop of the rubber band connecting the second and third rod, we transfer to the third peg and so on to the end of the row.
- Then we put on the colored pegs on the parallel pegs of the left and right rows from above.
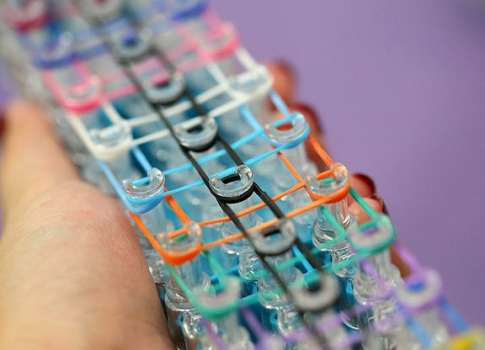
- At the first peg in the middle row, we put on an elastic band twisted together.
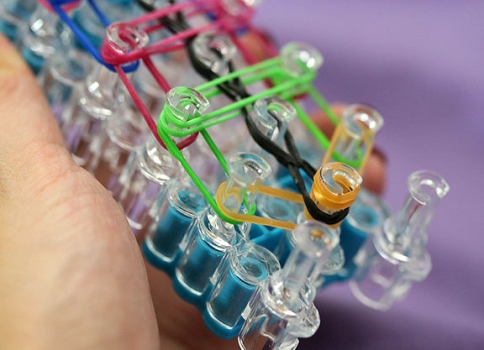
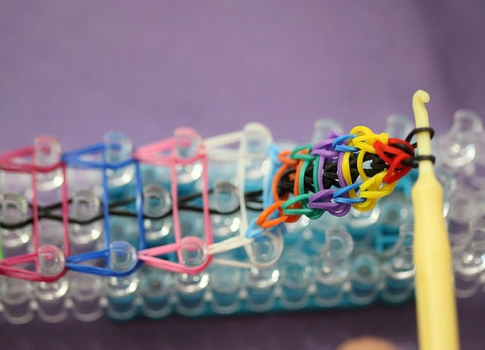
- We pass to the braiding of the bracelet "ladder" of rubber bands along the outer edge. From the first peg of the middle row we twist the hinges to the left, and then to the right pegs.
- Continue to grab and twist the loops on the left row, and then move on to the right row. At the end of the last pegs the rubber bands are transferred to the last peg of the middle row.
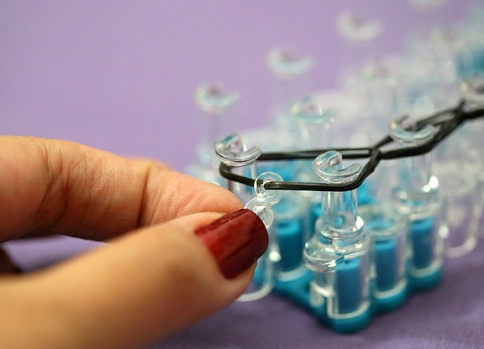
- It remains to carefully remove the bracelet from the machine. Through all the loops that are on the last peg of the middle row, drag the edge of the new rubber band. Then, hook both ends of the loop.
- After this, slowly release the machine from the bracelet with your fingers, taking off the loops alternately from the pegs.
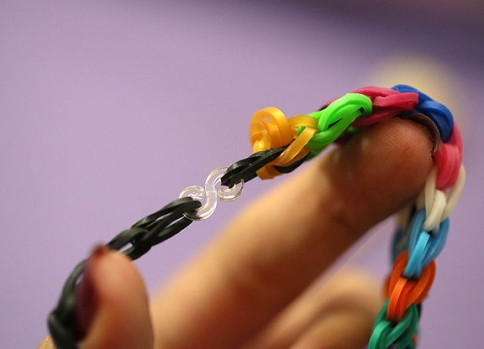
- Usually the length of the bracelet is not sufficient, so we recommend that you increase it. Put on the left row of the peg of the machine, located by the arrows to the body, 3-6 elastics. At the last, put on both bracelet loops.
- Then crochet start grabbing the rubber bands from the bracelet to the next peg.
- Continue to weave this way until the very end. On the last elastic band, put on the C or S-shaped clamp. Then gently remove the bracelet from the machine, put the clamp on the other end of the bracelet loop.
| | |
| | |
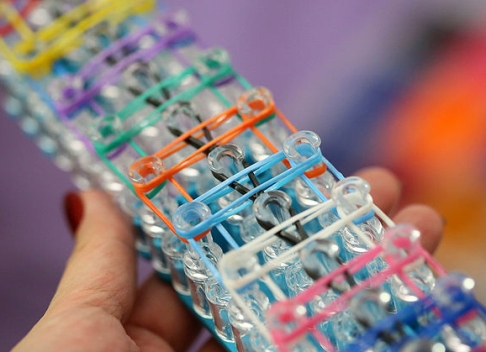
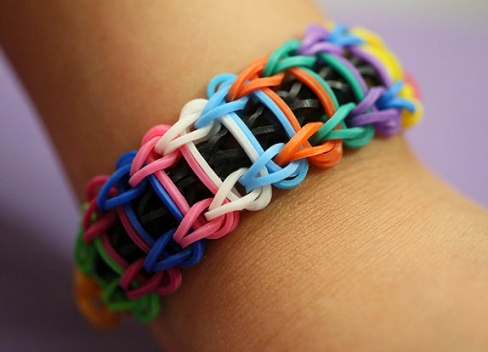
That's all! It turned out bright and unusual, well, and the pattern really looks like a simple staircase.