The book-box can be used for money, for various small things for needlework, it is convenient to make a small cache in it. How to make such a casket from the book and what is needed for this?
Casket from the book: master class
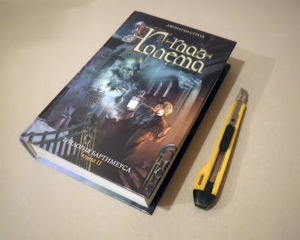
So, what we need to make a book-box:
- any book that you do not mind cutting;
- stationery knife;
- PVA glue;
- sheets of A4 format.
Now let's look at step by step how to make a casket from a book.
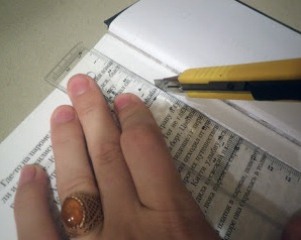
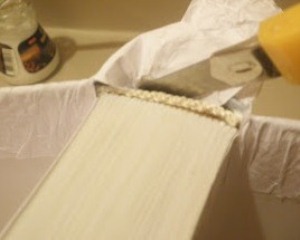
1. Take the knife and start cutting the pages. We do not touch the first page of the book. From the edges it is sufficient to retreat about one and a half centimeters. When working, use the ruler to make it smooth and neat.
| | |
2. This stage of making a casket from a book by one's own hands is the most time-consuming and time-consuming. Gradually you will see how the casket's outlines begin to appear.
| | |
3. Especially carefully cut the corners, they will have to tinker.
4. We recommend for your convenience to attach already cut out pages. This can be done with a wire.
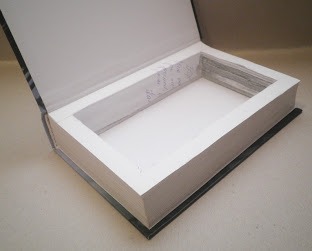
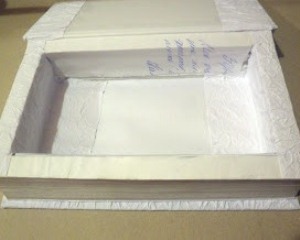
5. At this stage, the book of the box will look like this:
6. Now take the paper and glue.
7. Put the sheet between the pages and the bottom cover of the book.
8. Glue all pages carefully with glue. We work from the outside and inside.
| | |
9. Put another sheet of paper between the pages and the first untouched sheet.
10. Align all and put the press on top. Now we leave the book for the night, so that everything will dry out completely.
11. The box dried, now we start a new stage of work. Carefully tear off the top sheet, which we put during the application of the glue.
12. The bottom sheet, as a rule, very strongly adheres, because it is easier to bend the edges inward.
13. Now the pages are densely glued, you can start decorating the casket.
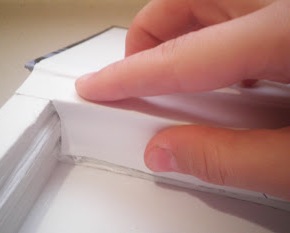
14. The first sheet, which we did not cut, should be cut as follows:
15. Now paste it to the pages. This is necessary so that the lid of the box does not hang.
| | |
16. The next stage of making the casket from the book with your own hands is decorating.
17. At this stage you can act as your heart desires. In this master class we will make a small relief.
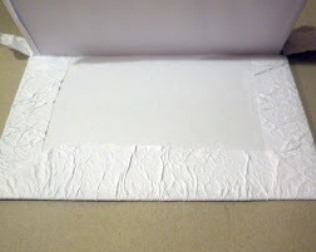
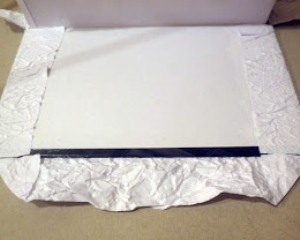
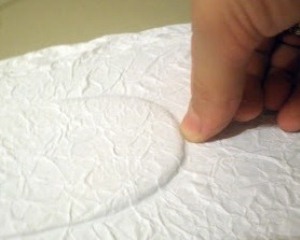
18. To create an effect, take the usual office paper and mnem it.
19. Cover the book with glue. Now it's time to paste the crumpled paper.
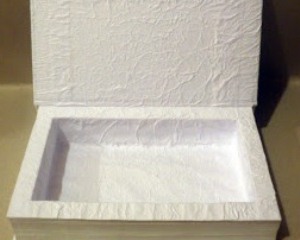
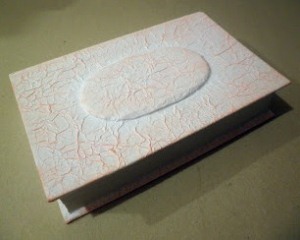
20. Now bend the edges of the paper, previously cutting them. Here's what should happen in the end:
| | |
| | |
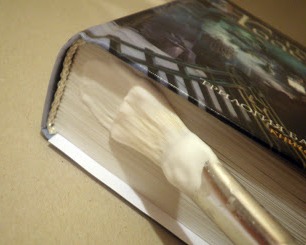
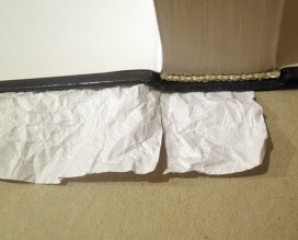
21. We cover the lid the same way. Do not forget to highlight the relief at the root and on the podium.
| | |
22. Inside we do exactly the same work.
| | | |
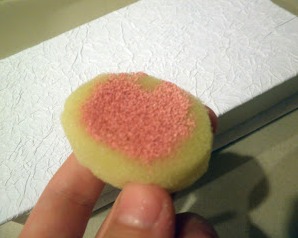
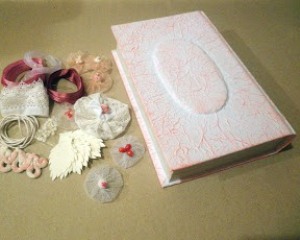
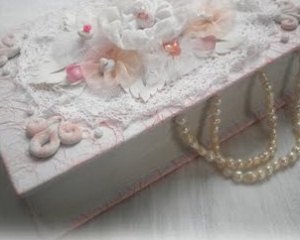
23. For toning use sponge and paint. Press strongly sponge is not worth it, only the folds should be colored. In conclusion, we glue the decor elements.
| | |
| | |