Why do you need a spider? Perhaps you want to play one of your friends or acquaintances, frightening them suddenly thrown on your shoulder by a spider. Maybe you want to decorate the corner of your apartment, so much so that the guests will shy and scream at the sight of your creation. Or maybe you just love these creatures, but until you can get a real specimen, and you want to make a spider to attach it to your collection of artifacts of insects .
Regardless of your goals, today we will still make a paper spider and describe in detail how we did it. Your attention is the first way to make a spider with your own hands.
A spider of paper with their own hands
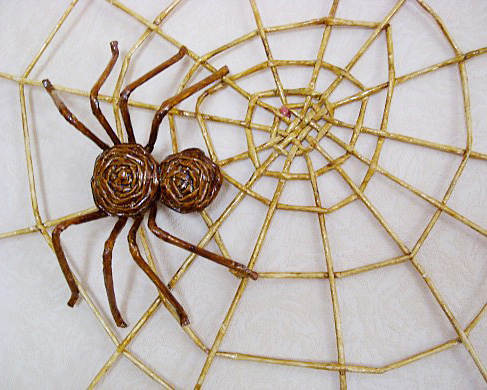
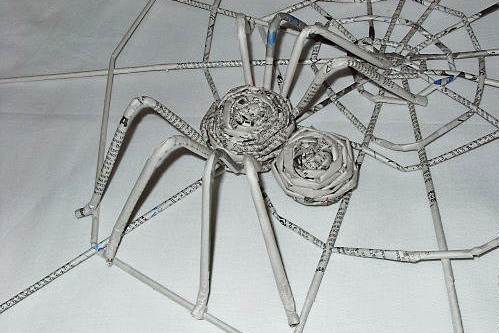
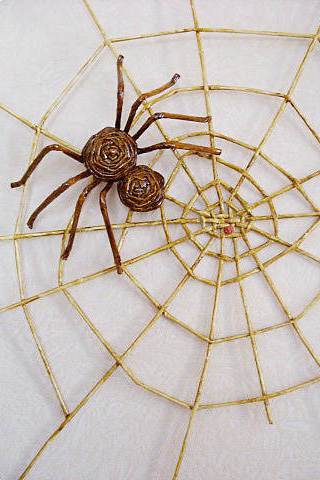
This nice spider on a spiderweb we will make of newspapers. Or rather from newspaper tubes.
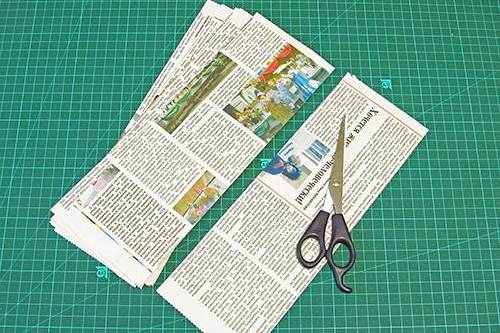
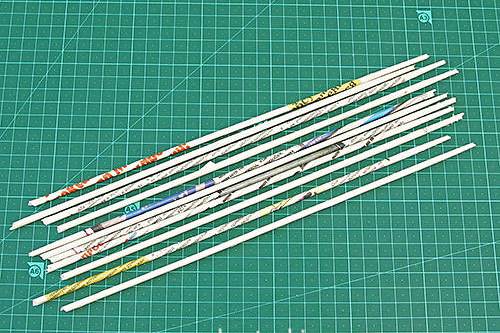
- Cut off these pieces of newspaper.
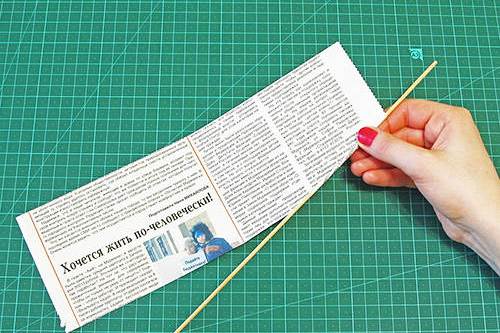
- Gently wrap the newspaper on the spoke. Note that the angle should be the same as in the figure, otherwise the tube will turn out to be too hard or too soft.
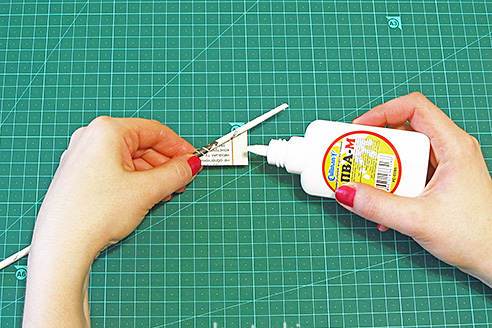
- We glue the end.
- Prepare several such sticks.
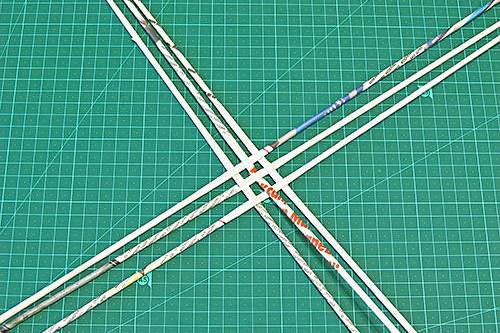
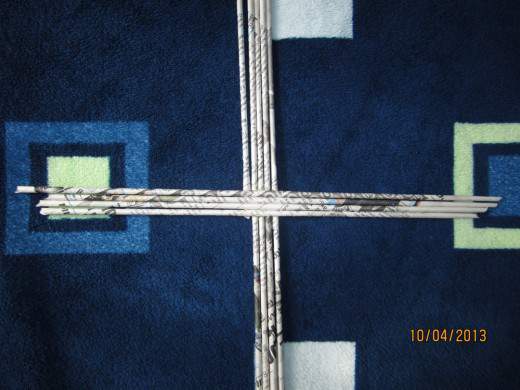
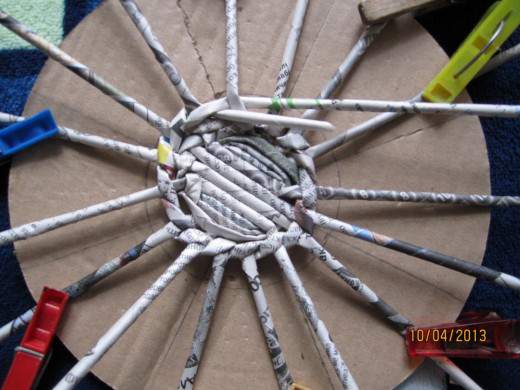
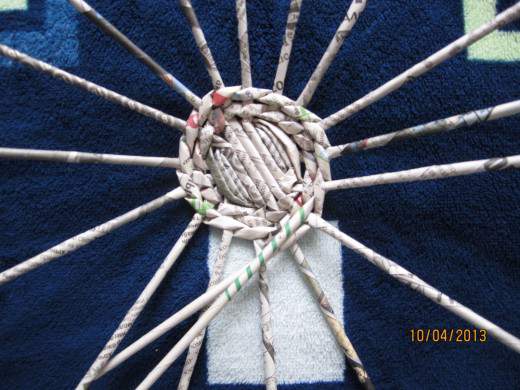
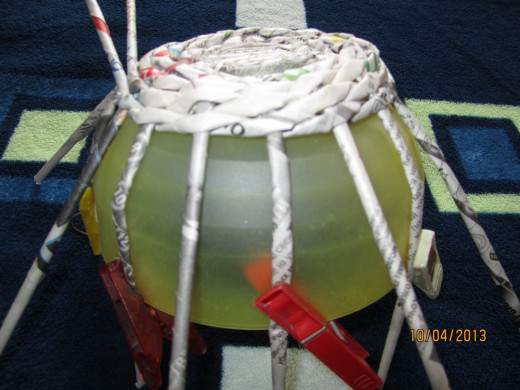
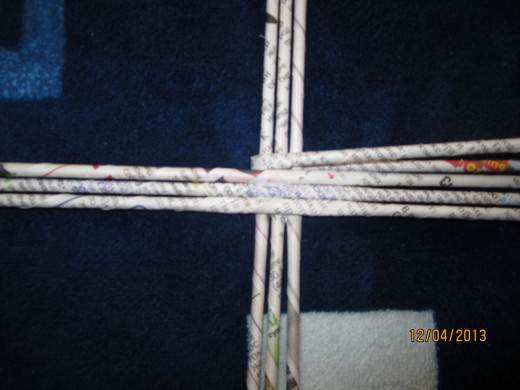
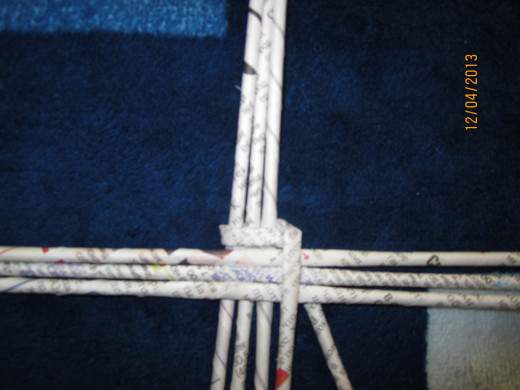
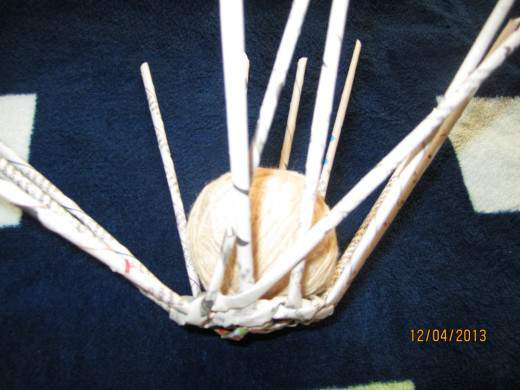
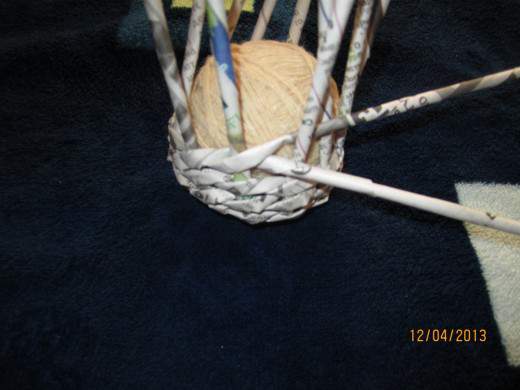
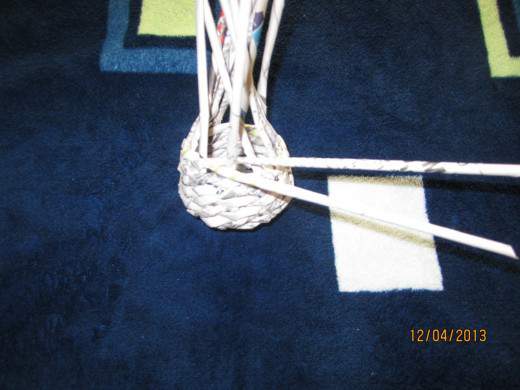
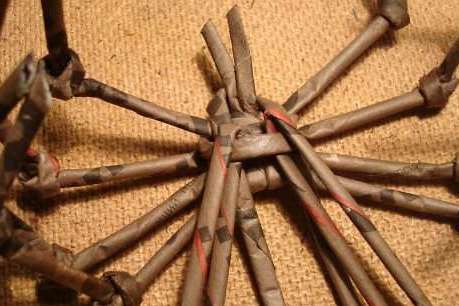
- We begin to weave.
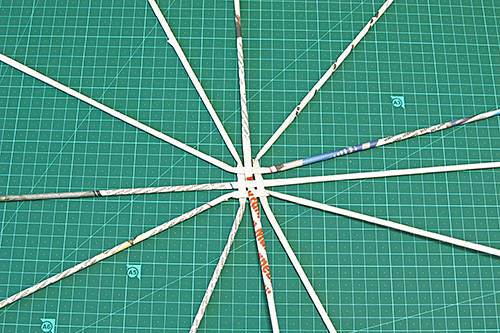
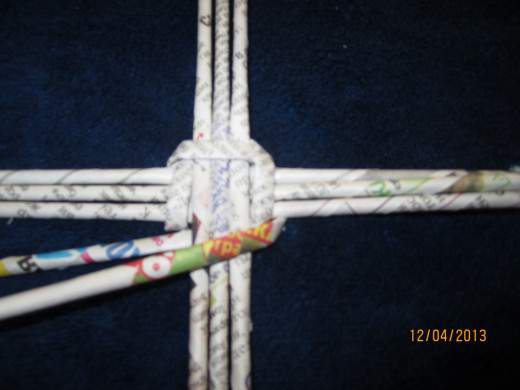
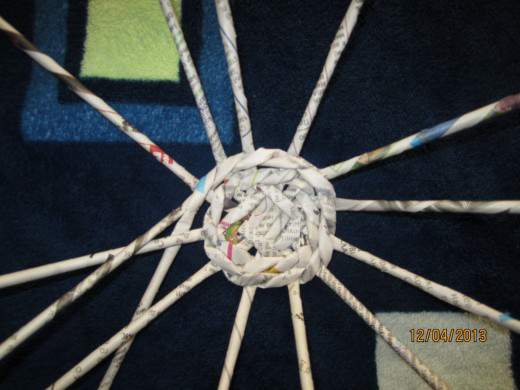
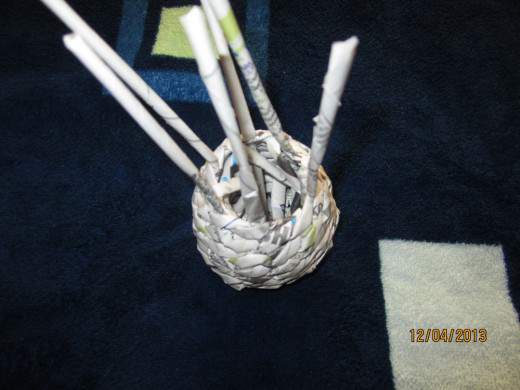
- We fix the sticks and bred them radially.
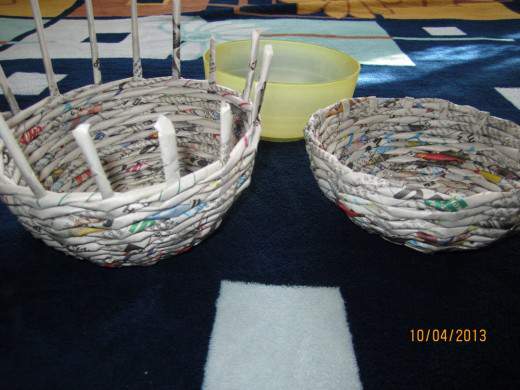
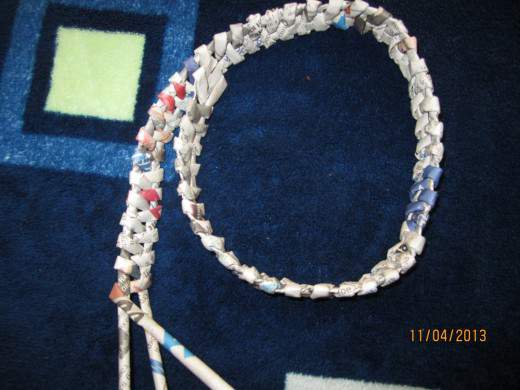
If the stick needs to be enlarged, insert one into the other and fix it with glue. The spider will need two circles of different diameters and four sticks with a wire inside for the feet. We connect all the details.
We cover with paint.
Then we open with varnish.
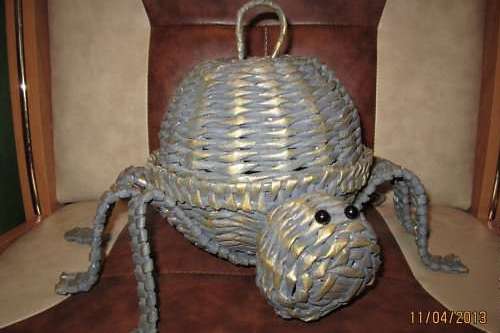
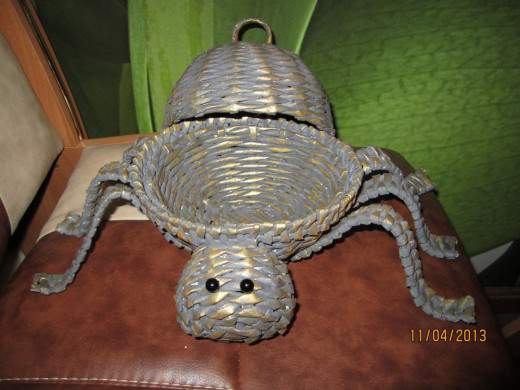
By the same principle, you can make an article - a spider-box.
| | |
The spider of our spider is as pictured in the pictures. Then we paint and varnish.
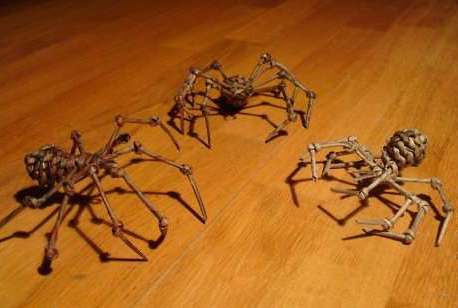
Crafts from twisted into bundles of paper, are universal, you can make such a spider. And maybe there will be several.
Procedure:
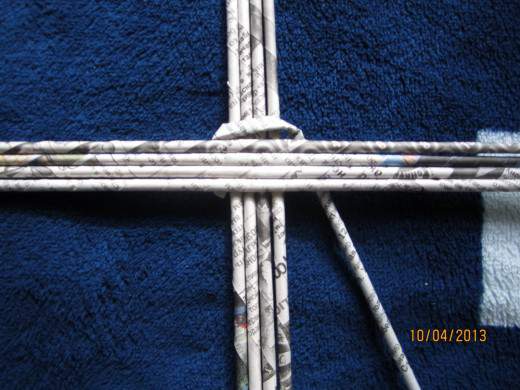
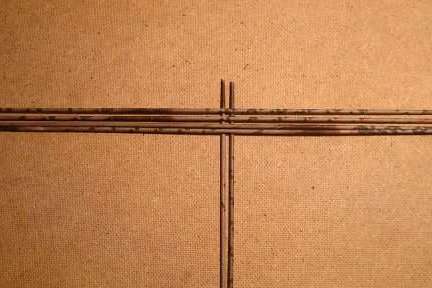
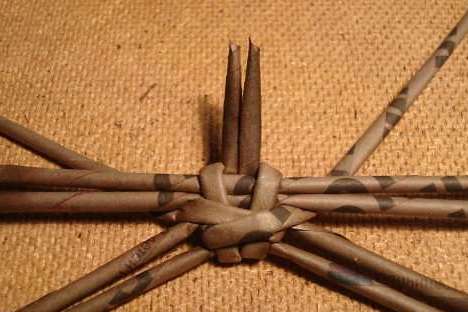
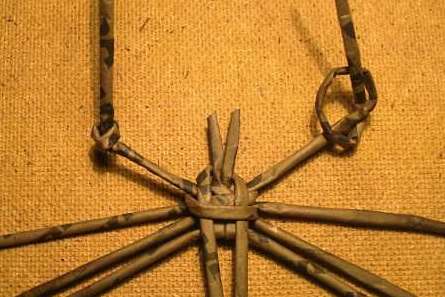
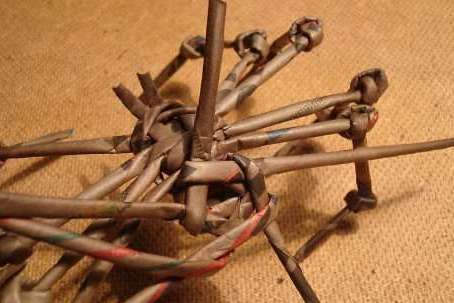
- We will first weave the so-called cephalothorax. This is the place where the spider grows its feet. To do this, take 4 tubes 40 cm long and two 28 cm long.
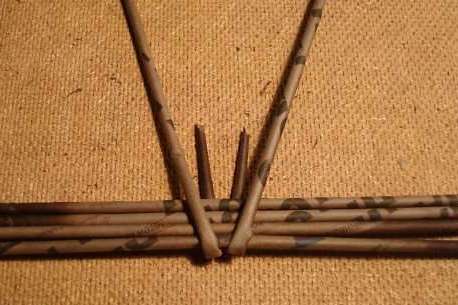
- We wrap short up.
- We cross them from the opposite side and lower them.
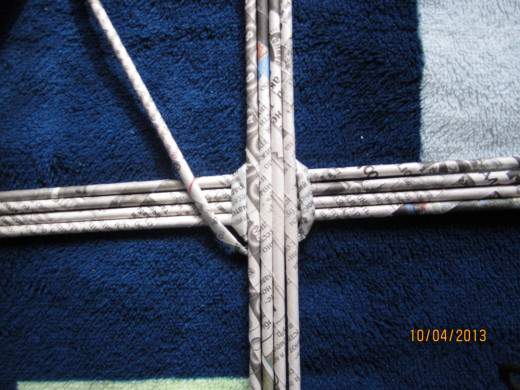
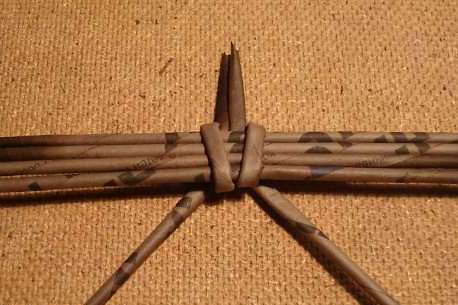
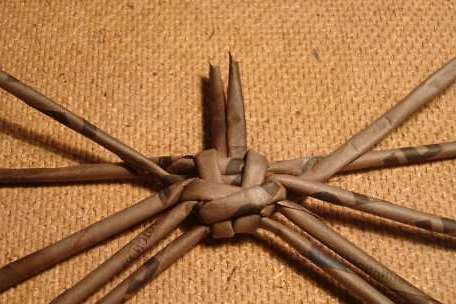
- Now let's pass the tubes between the paws.
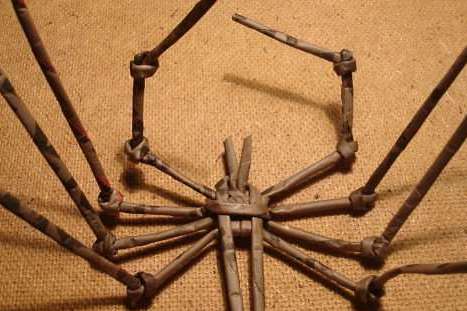
- Crossed on the front side.
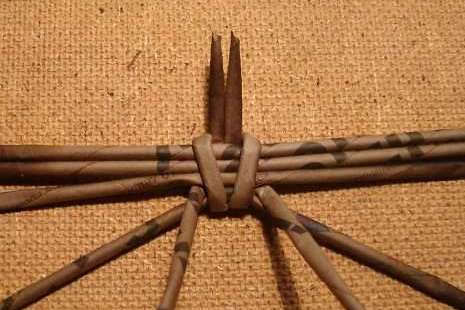
- Again between the paws.
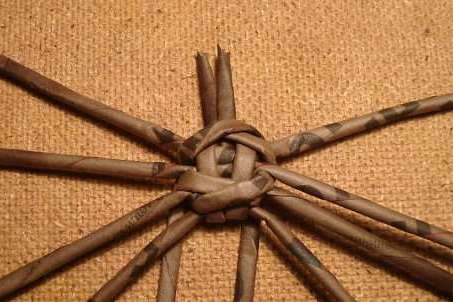
- Criss-cross on the front side and down again.
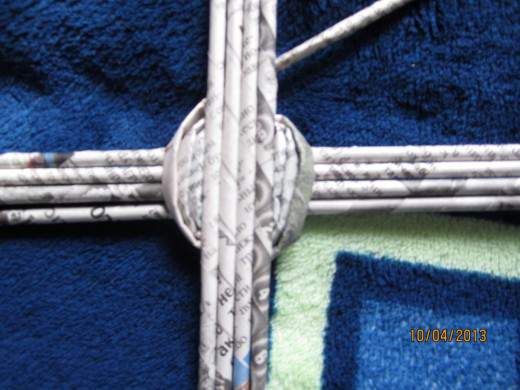
- So our blank looks from the wrong side.
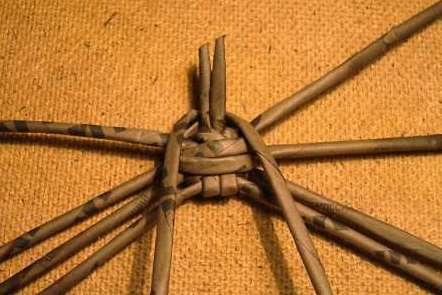
- We fix the tubes, slipping them under the cross piece.
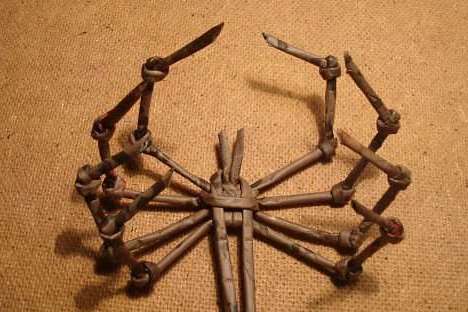
- We knot knots on the paws.
- Do not tighten the nodules much, you risk tearing up the paw.
- The paws are ready.
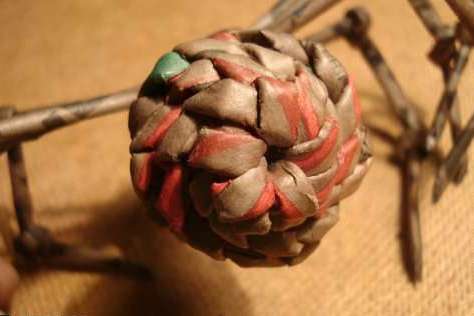
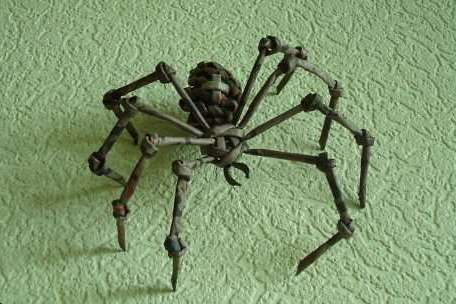
- We weave the abdomen. Pull two tubes and bend them in half.
- Of the six tubules, the spiral wound the abdomen.
- Done!
- We hide inwards the tails.
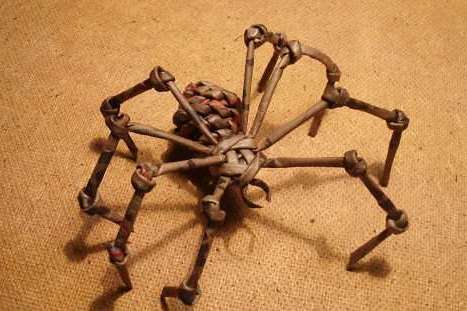
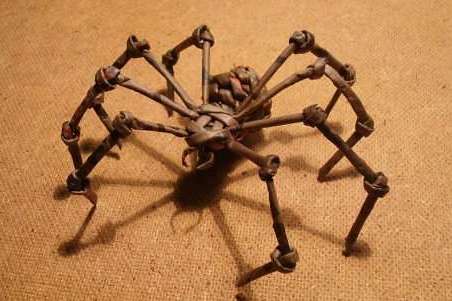
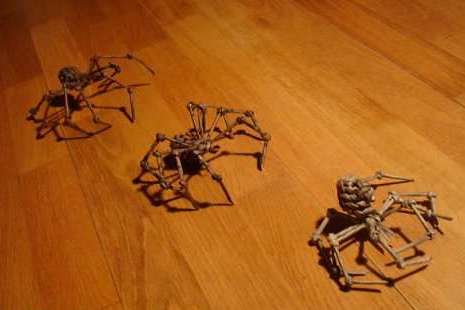
- The spider is ready. If you want it to be a spider-cross, fix two brackets of sticks on the back.
- They attack!
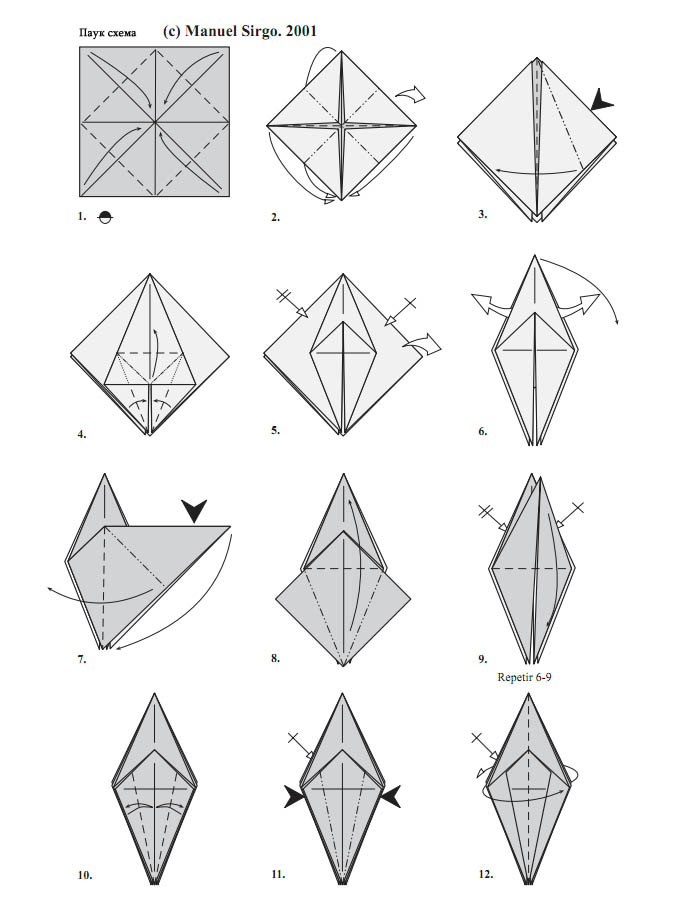
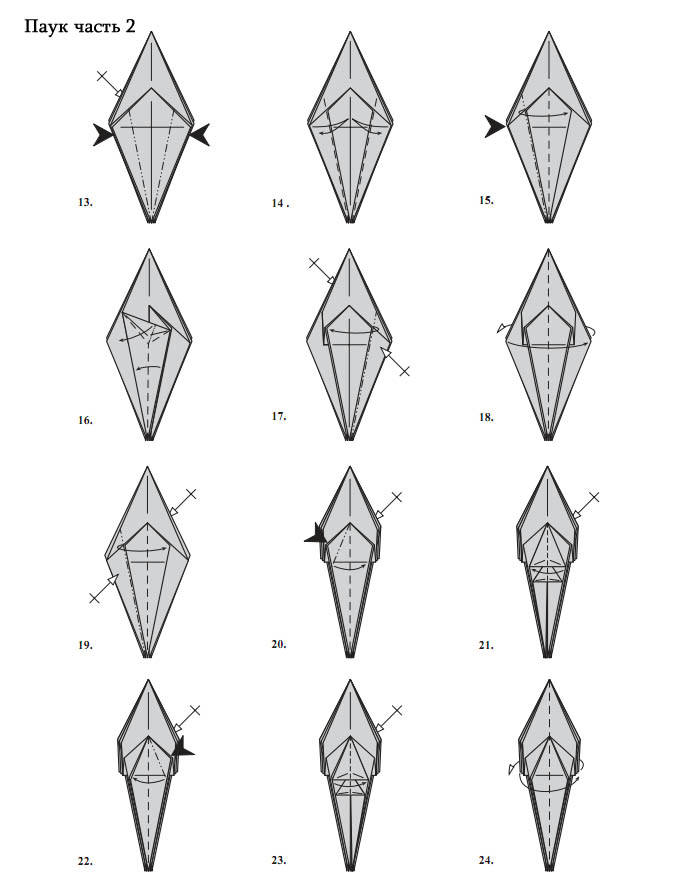
Origami from paper spider
- Take the square and mark the lines diagonally.
- Fold on the received lines.
- We bend the edge.
- Lower edges raise.
- We repeat the same with the others.
- We pull out a layer of paper.
- We bend inward and bend.
- The resulting form is piled up.
- We do the same with the other parts.
- Bend and straighten the corners.
- We put it inside. We repeat from behind.
- Turn over and repeat the operation.
- We bend inward and repeat from behind.
- We bend and unbend.
- We bend to the right.
- We make the ear of a rabbit.
- We repeat.
- Turn over.
- Again, we repeat.
- Fold it to the right on both sides.
- We bend to the right from two sides.
- Now to the left.
- Again we bend.
- Turn over.
- We put it together on two sides.
- We bend down from two sides.
- Bend to the middle, repeat the other side.
- Repeat the previous two steps.
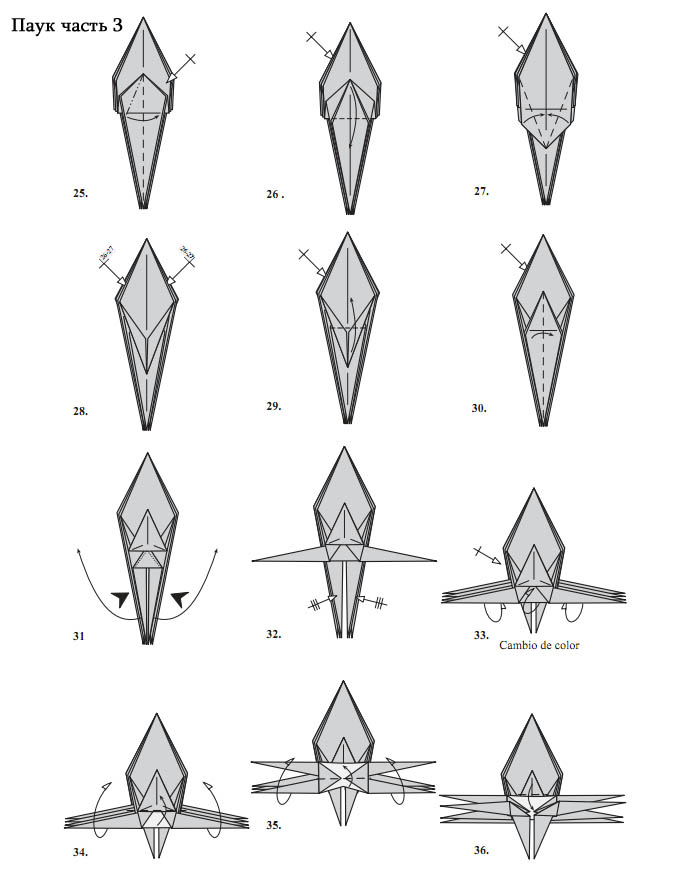
- Front and back bend upward.
- Front and back bend to the right.
- We turn the paws.
- Now the others.
- We pull the inner layer from both sides.
- We bend upwards.
- Once again, bend.
- The edge is bent downwards.
- We turn the workpiece.
- We make in the middle of the rabbit's ear.
- Repeat with the rest of the paws.
- Bend back the ¼ of the foot.
- Repeat the previous action.
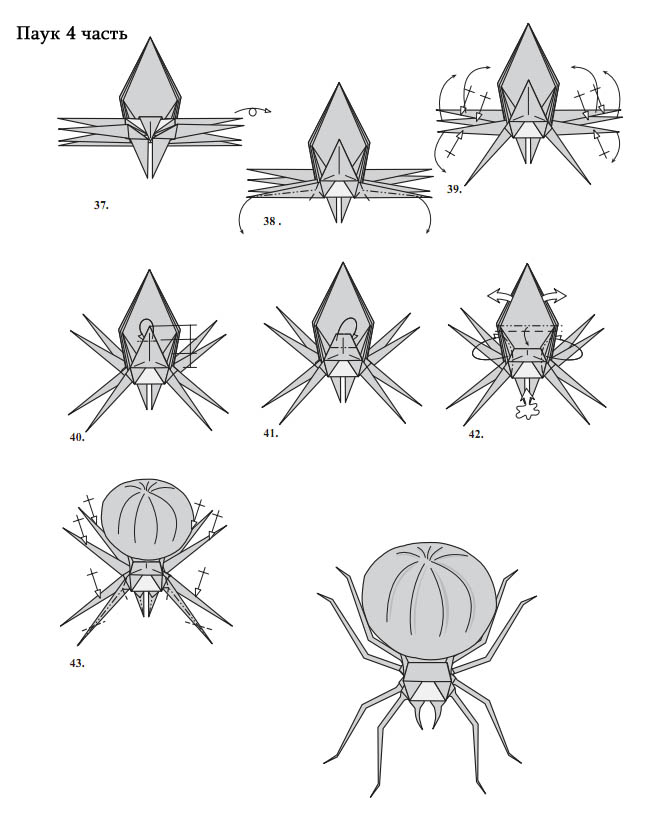
- We shape the shape, pulling out layers and inflating them.
- We bend the legs and mouth.
- Done! Our spider in all its splendor appeared before us.
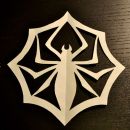
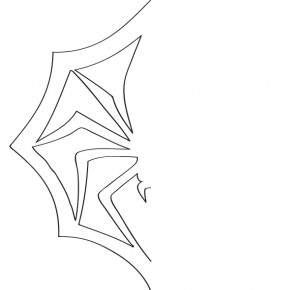
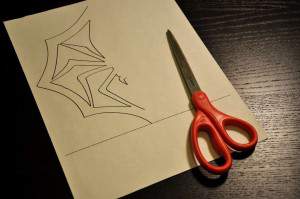
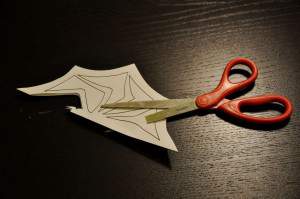
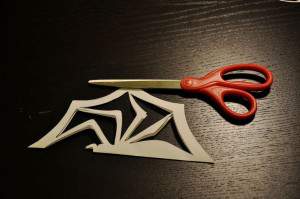
The spider can be cut out of paper on the principle of snowflakes.
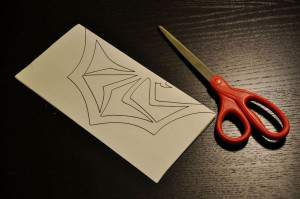
For this, print the outline.
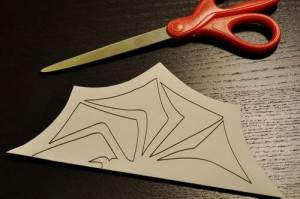
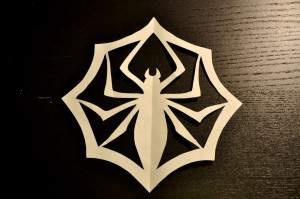
And cut it out. Here such beauty at us left.