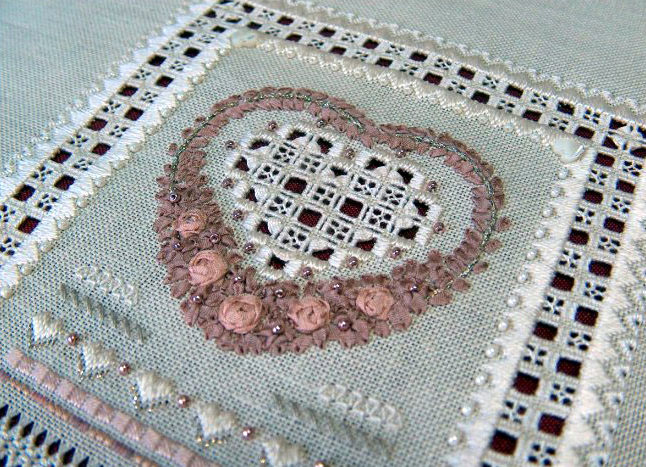
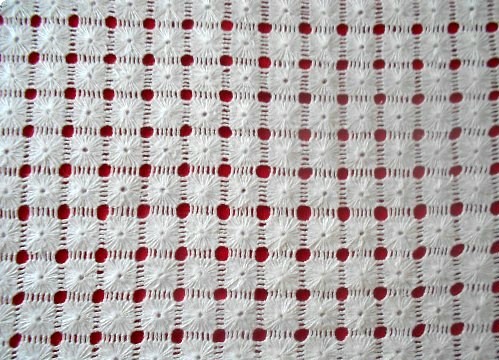
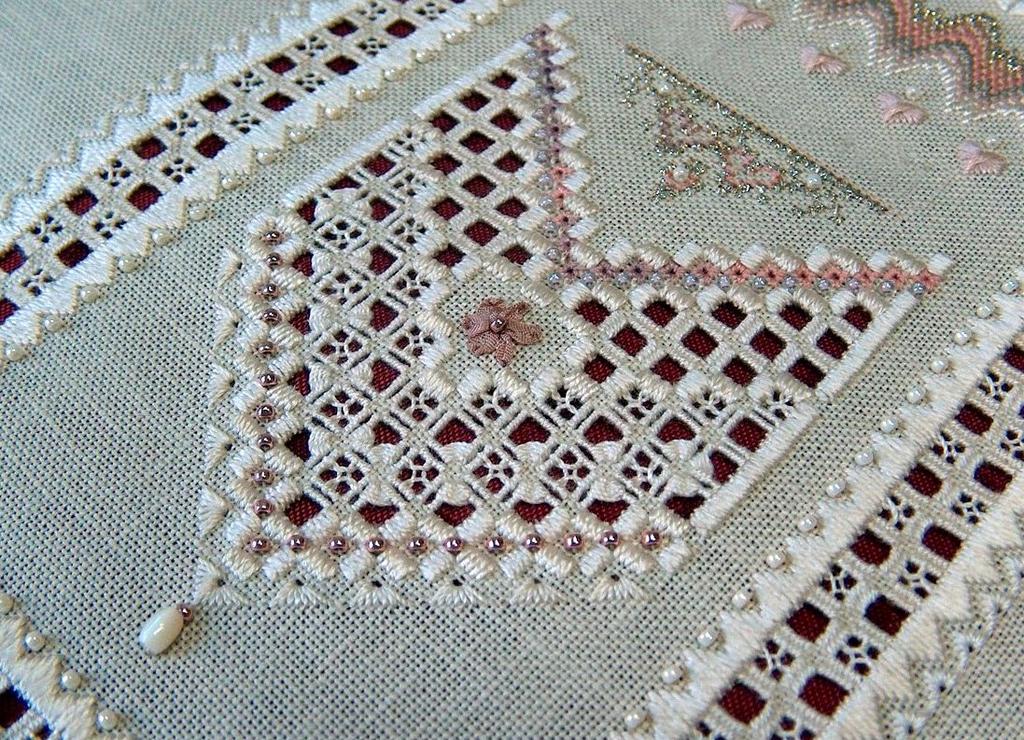
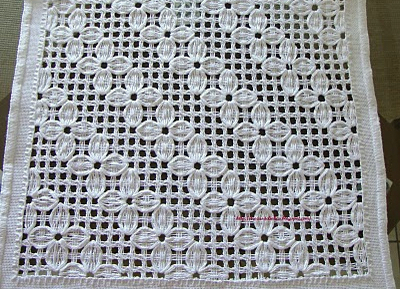
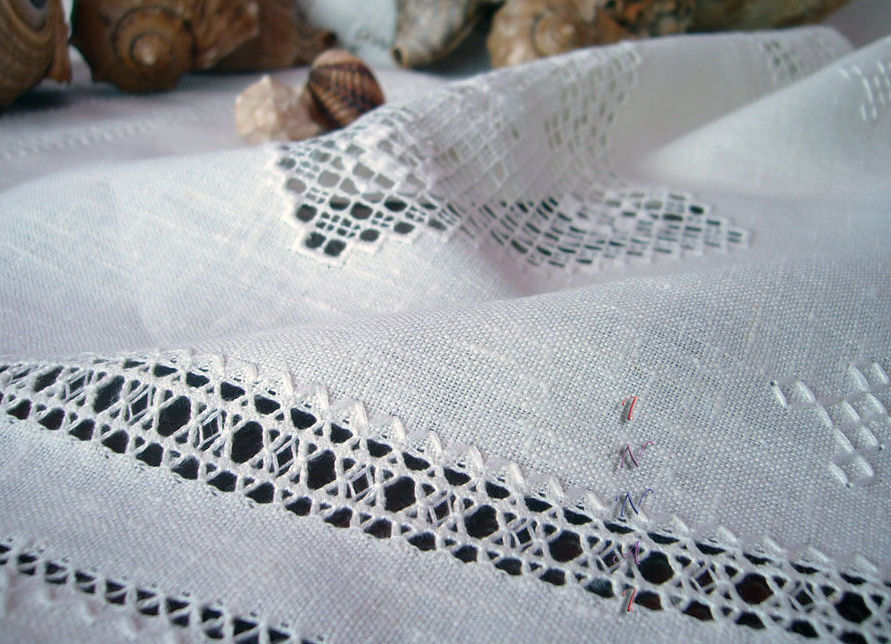
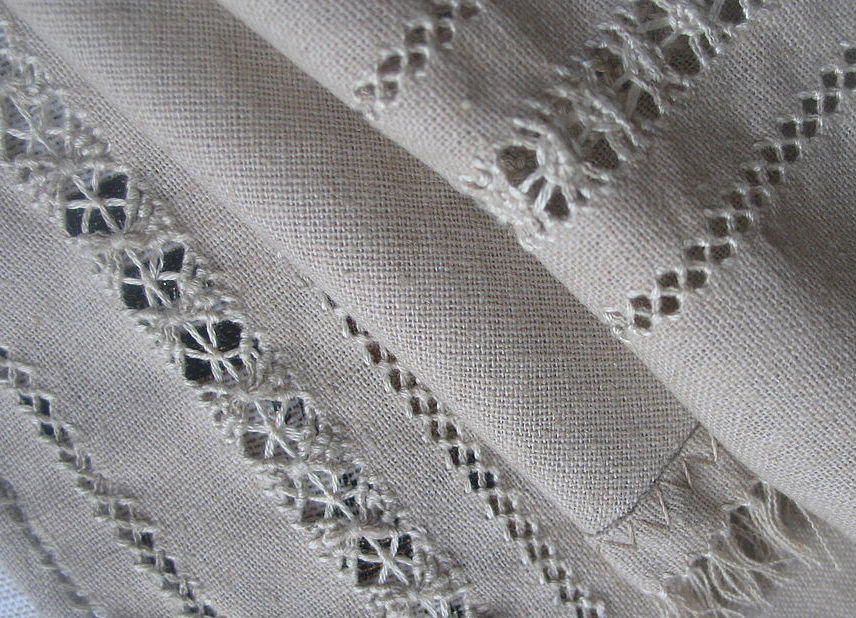
Techniques and techniques of embroidery there is a great variety. One of them, known for a long time and extremely fashionable today - is a hemstitch. It is an openwork embroidery on the fabric, from which previously a certain number of threads were pulled out. Embroidery with a hem is a very fascinating kind of needlework, and the products decorated with it look very elegant.
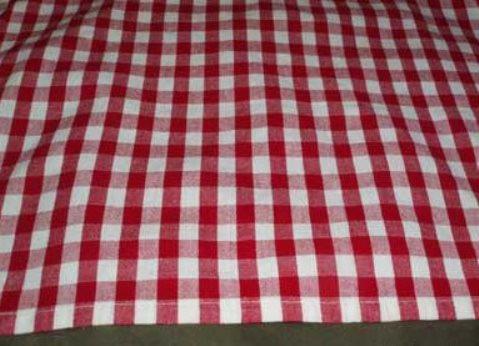
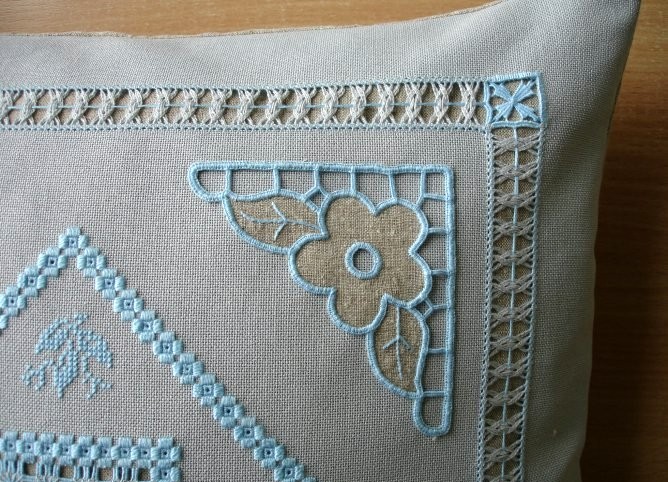
Embroidery in the technique of "skirt" is decorated with napkins and tablecloths, bed-clothes, scarves, collars and cuffs of shirts, skirts and blouses. In the old days, shoe was very popular, primarily because for this type of needlework, no sewing or embroidering machines are needed. In terms of performance, the shaving is simple, but requires patience and perseverance, as well as considerable accuracy.
As a rule, in order to do a little work, you need a suitable cloth. The main principle of its choice is a way of interlacing of threads (for example, linen). The simpler it is, the easier it is to pull the warp thread, and the more convenient it will be for you to work. It is best to use for cambric batiste, linen, silk, canvas or the most common cotton linen.
Embroidery threads should be chosen taking into account the density of the fabric itself. It can be like ordinary reel (from №10 to №120), and a mule in several additions. An interesting technique may be the use of yarns stretched from the same fabric. As for the thread color, it can be almost anything, depending on your idea, combination with the fabric and the color design of the product as a whole.
You will also need sharp scissors to cut the warp threads and needles of different thicknesses.
Types of patterns
The creation of any open-work embroidery is based on a few simple patterns.
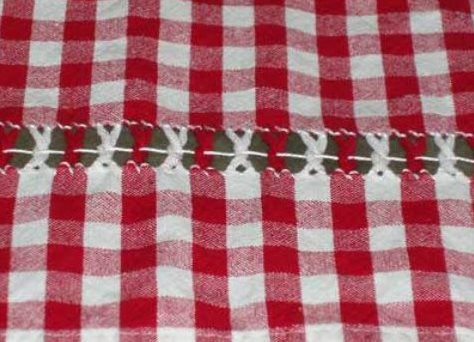
- Brushes. Prepare the fabric by pulling out the desired number of threads from it. Then fix the needle with the thread, thread it on the front side of the fabric and, passing it through several longitudinal threads (from 3 to 5), grasp them in a loop. Then bring the needle to the place where the second, similar, stitch starts. Carry out the pattern to the end of the row.
- Columns. This is one of the variations of the previous pattern, in which the brushes are performed on both sides of the fabric. This two-sided pattern makes it possible to stretch between the rows of tassels a string or a ribbon.
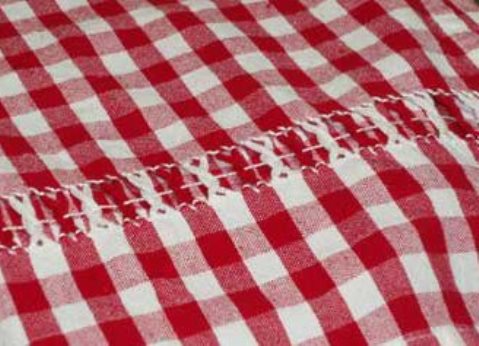
- If the brushes of the second row are slightly displaced relative to the first one, you will get a staggered embroidery, or, as it is called, a shaving in the split .
- Goat. A fairly complex pattern for beginners. It combines two adjacent columns in two places, each time shifting the junction point so that a similarity of crosses is obtained. Sometimes this pattern is also called the Russian cross.
- Flooring. This is one of the most beautiful types of hemstitch. The needle is threaded under the longitudinal threads of the fabric in a certain order, and then, moving along the wrong side, pulls the pattern into a dense surface like embroidery with a smooth surface.
- Embroidery with beads is also possible in the technique of shaving. In this case, in the intervals between the brushes (columns, rhombuses), beads, glass beads or beads are threaded onto the string. Such work looks even more refined.
Tips for Beginners on How to Make a Hang on Fabric
Merezhka is interesting because there are absolutely no nodes in it. In order to start embroidery, you need to slightly back from the edge of the fabric, make 2-3 stitches and fix the thread.
Embroidery in this technique is always performed only from left to right. In order for the stitch to be even, you should count the same number of threads of fabric through which the needle passes, and also try to make as uniform stitches as possible.
Master-class for beginners "How to make a hanging on the fabric"
- Prepare a cotton cloth - it is easier to master the shoe.
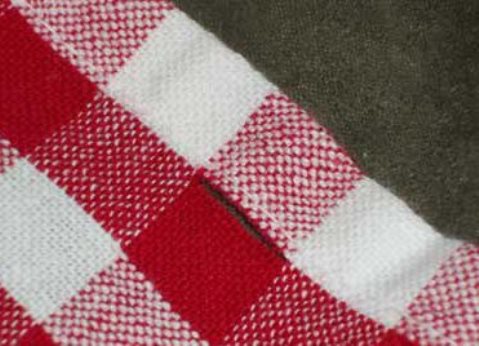
- Make a neat cut on the fabric with sharp scissors.
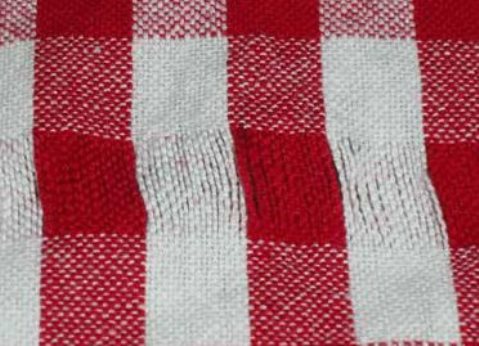
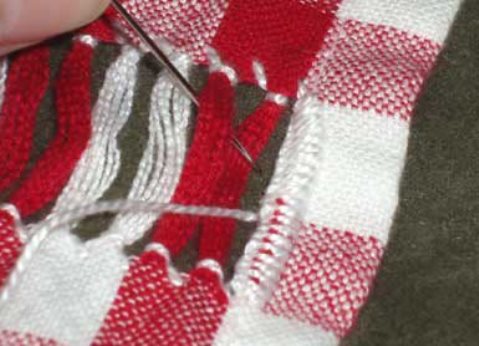
- Pull out several warp yarns according to the drawing. For this purpose it is convenient to use tweezers.
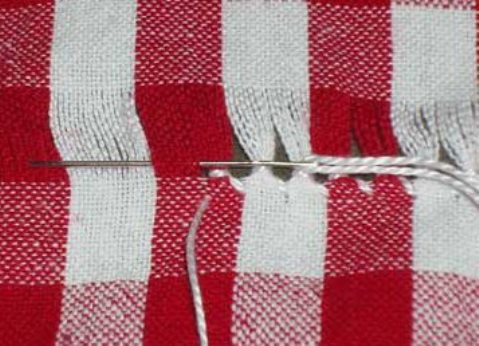
- Counting every 8-10 threads, pull them into bundles, using white threads and a needle.
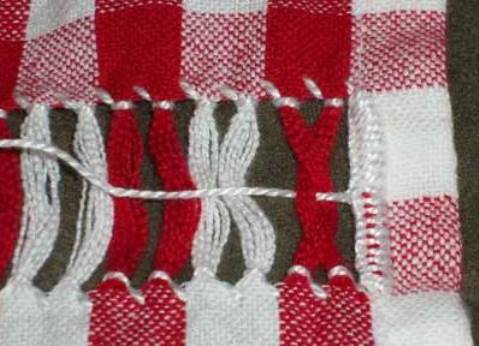
- After you process both sides of the row, flip two adjacent bundles of the same color crosswise, forming a brush.
- In the center of each brush should be a central thread.
- Pull it through all the brushes of the row, thus fixing them together.
- If you want, you can also make the reverse row of brushes, creating a pattern of "columns".
This kind of embroidery, as a shaving, today again gaining popularity. If you want to decorate your clothes with a fashionable needlework pattern, then this technique is exactly what you need!
| | | |
| | | |
| | | |