A postcard made by one's own hands can be varied with a paper waterfall. Then there is more room for wishes and different pictures. This is especially suitable for young children, who are always interested in looking at them. How to make a waterfall from a paper we will tell in this article.
Master class - How to make a paper waterfall
It will take:
- blank for a postcard;
- cardboard of two colors (yellow and orange);
- stationery knife;
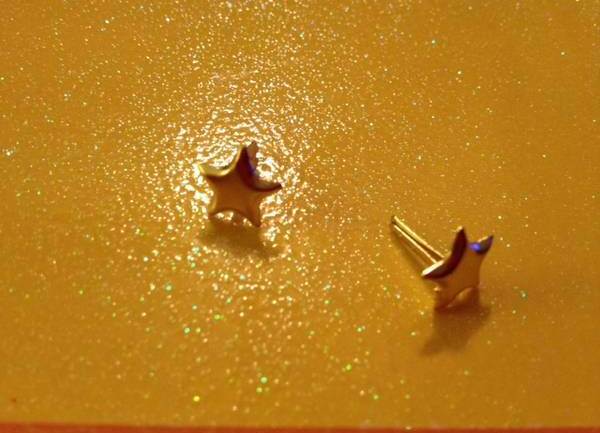
- 2 pcs. rivets in the form of asterisks;
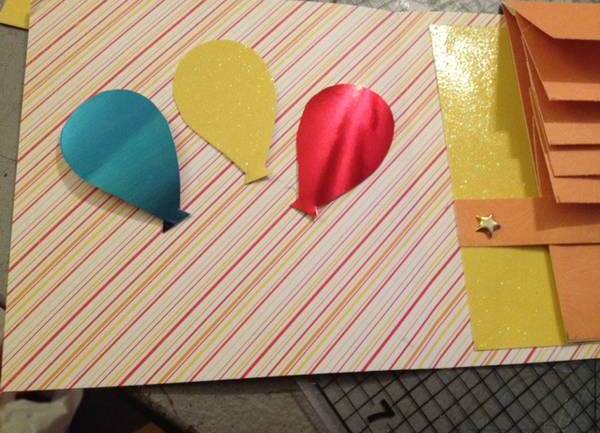
- decorative elements: balloons, asterisks;
- glue;
- ruler, scissors and pencil.
Progress:
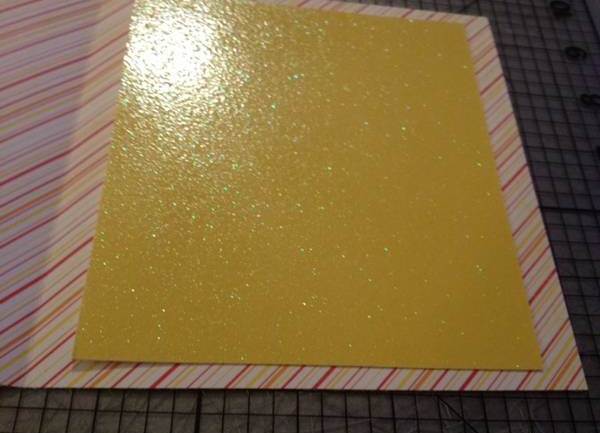
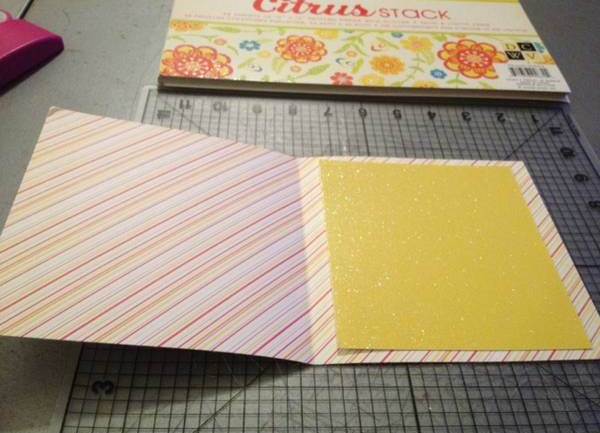
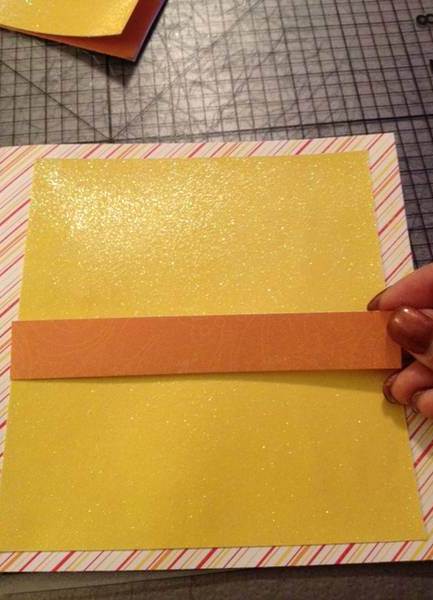
- Cut out a yellow cardboard rectangle, its dimensions should be 1-1.5 cm less than the half card. Glue it to the right inner side.
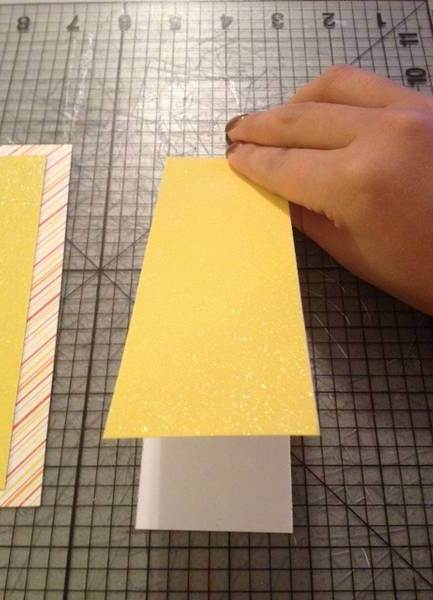
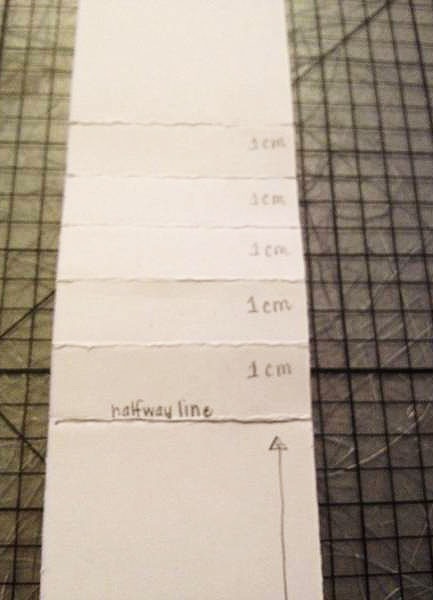
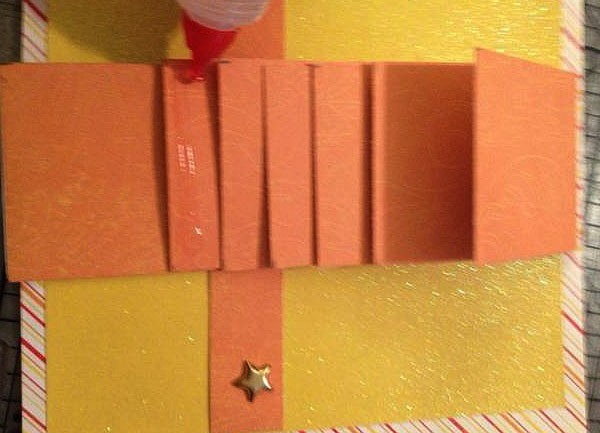
- We take a cardboard of the same color and cut out of it a strip of 30 cm in length and 5 cm in width.
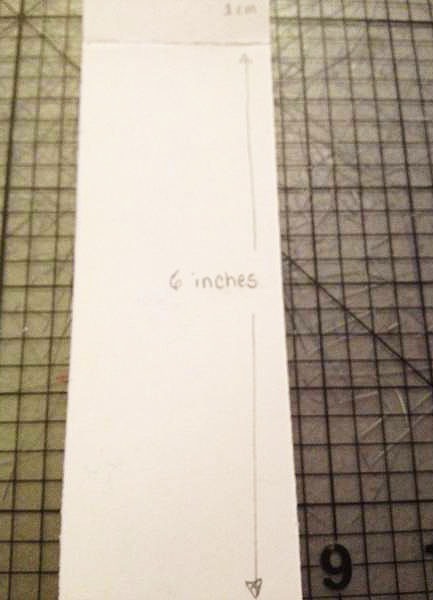
- Fold it in half, and then from the middle up we lay 1 cm and we make folds in these places.
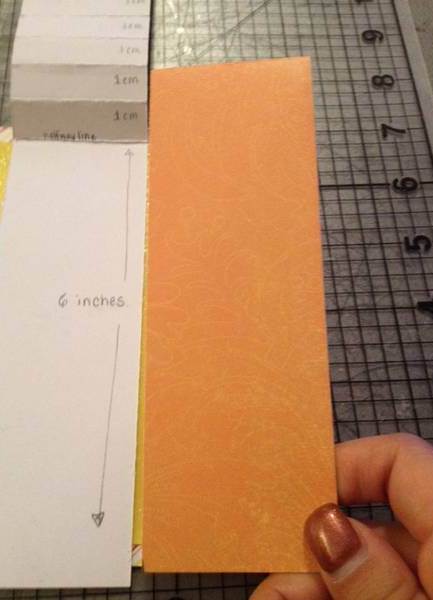
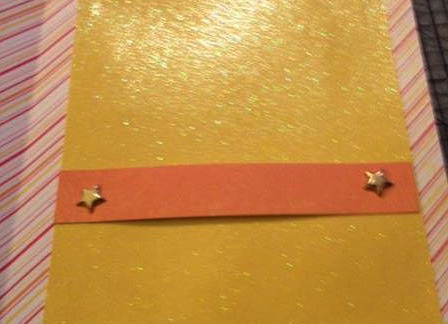
- Cut out the orange cardboard rectangle length of 15 cm, a width of 5 cm. It should correspond to the lower half of the already existing strip. We glue it to it.
- Cut off again from the orange cardboard strip of 2.5 cm wide and the length equal to the width of our cardboard glued to the card. We place it slightly below the middle of the glued box.
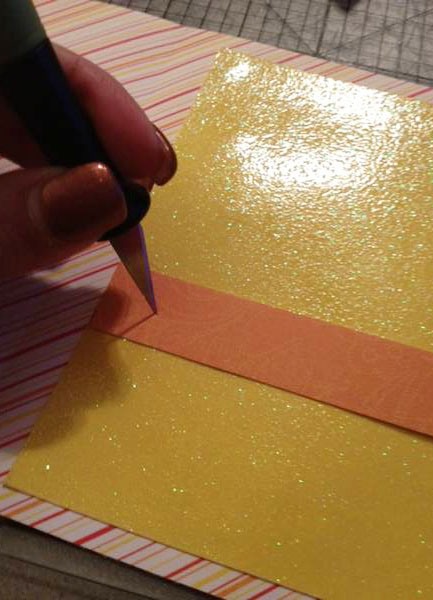
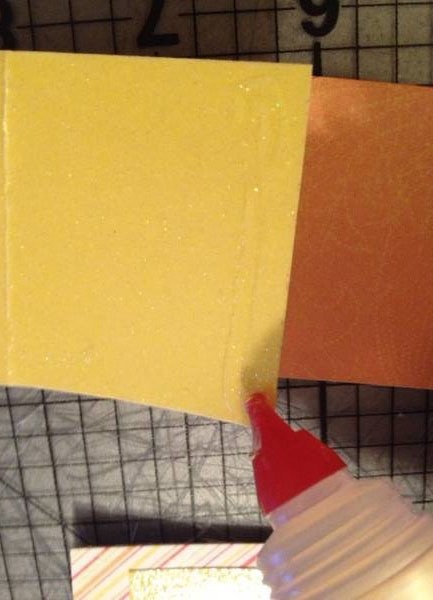
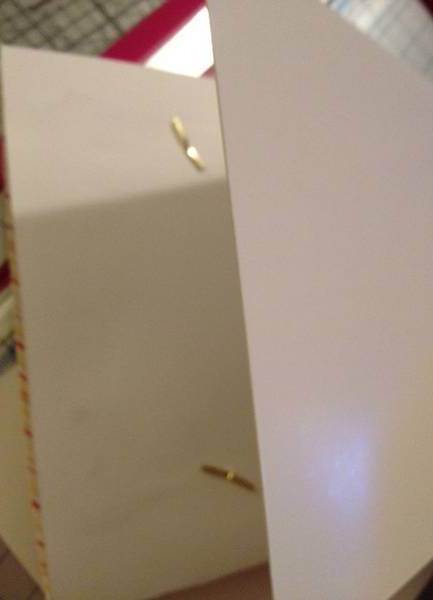
- Using the tip of a stationery knife, we make holes along the edges of a narrow strip, punching at the same time a postcard.
- For stronger fixing of the strip to the substrate, glue it with glue.
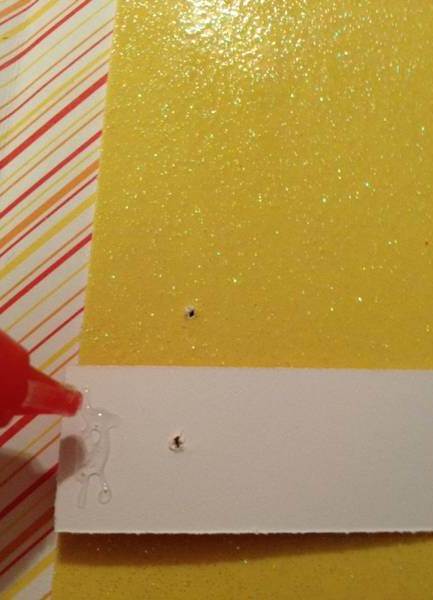
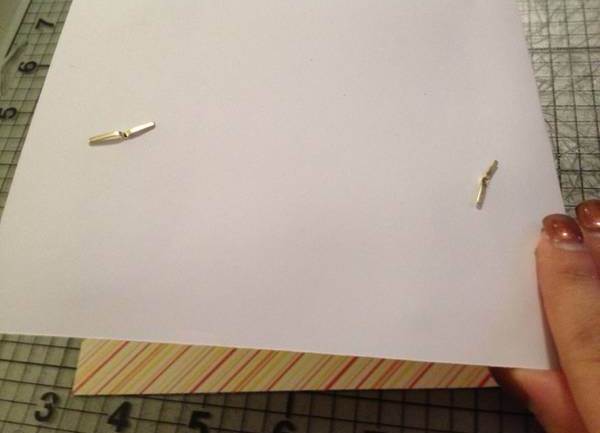
- In the holes we insert rivets and open their tails from the wrong side.
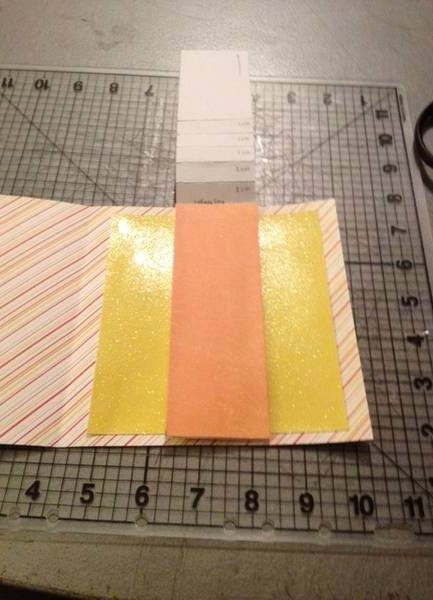
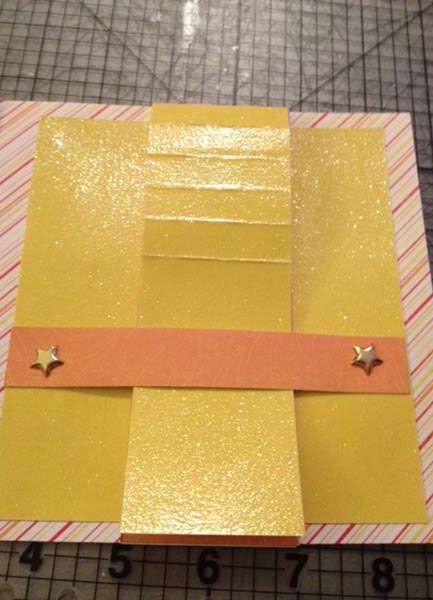
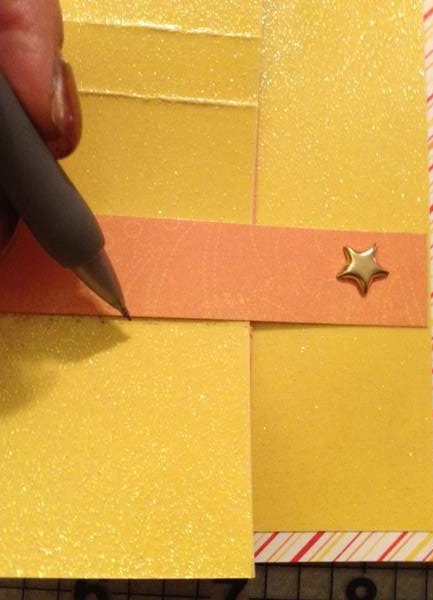
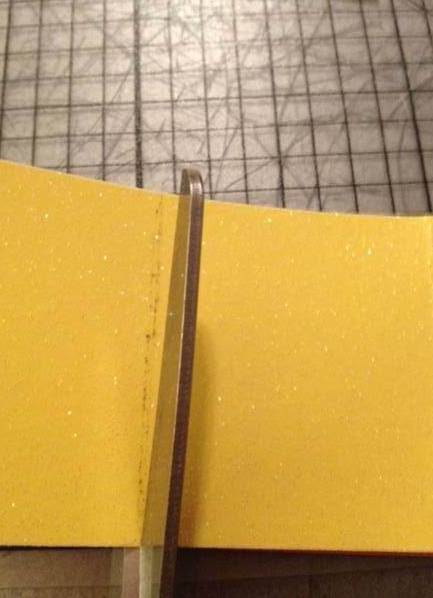
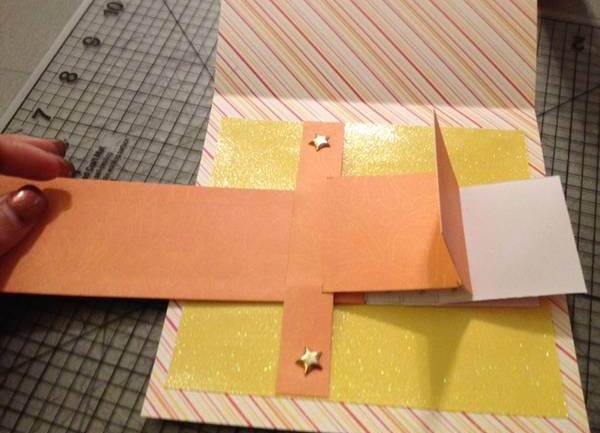
- We paste a long workpiece attached to the postcard. We note where the vertically placed cardboard ends with respect to the horizontal. We do not need him to get out of the strip, so we cut off this line.
- On the edge of the vertically placed workpiece (of yellow cardboard) we apply glue, insert the workpiece into place and glue it in a horizontal strip. We give a good grasp of glue and only then we proceed to further work.
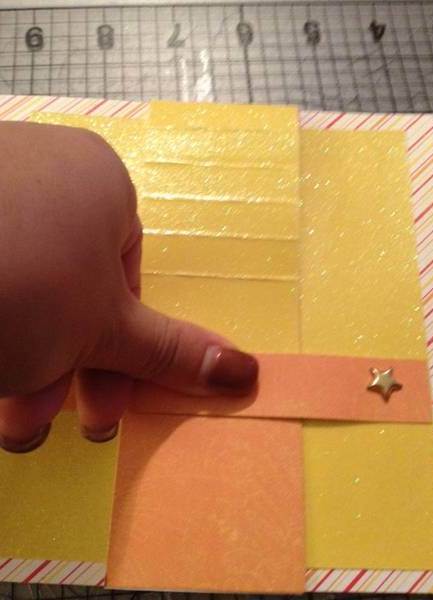
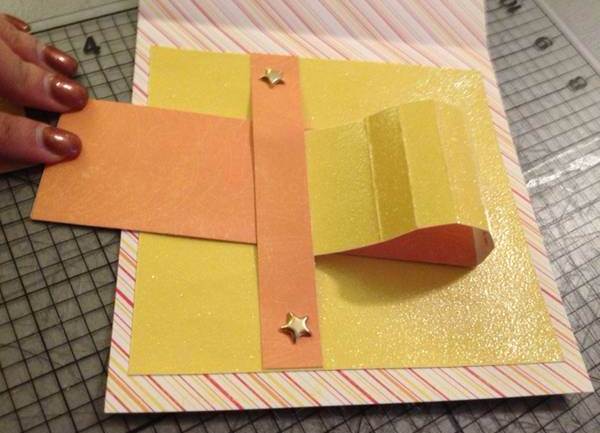
- After the glue dries well, check how our waterfall mechanism works. To do this, pull the end of the orange strip down as shown in the picture.
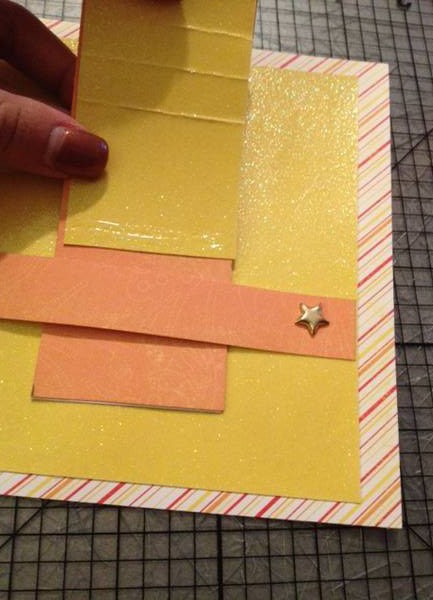
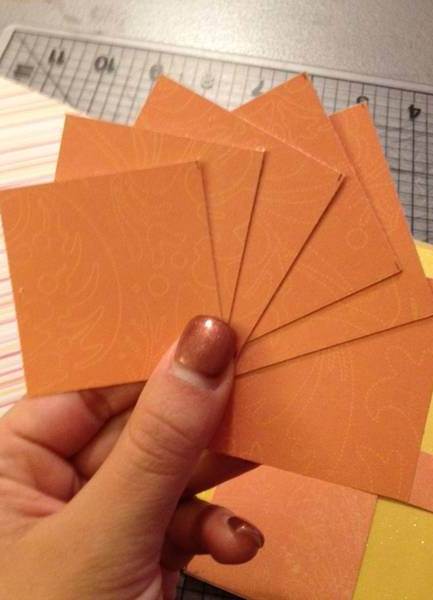
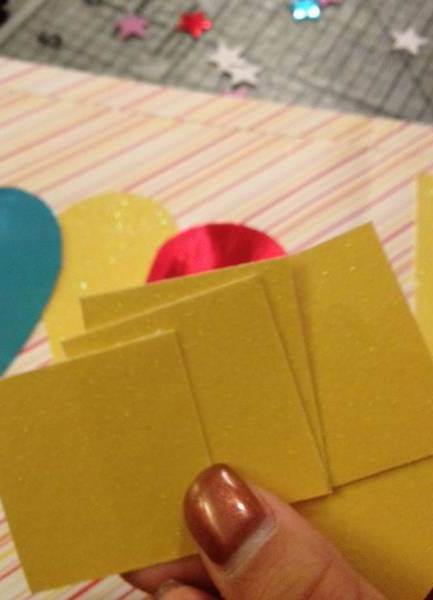
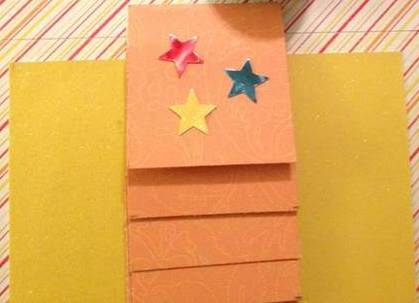
- Cut out of orange cardboard 6 squares with a side of 5 cm.
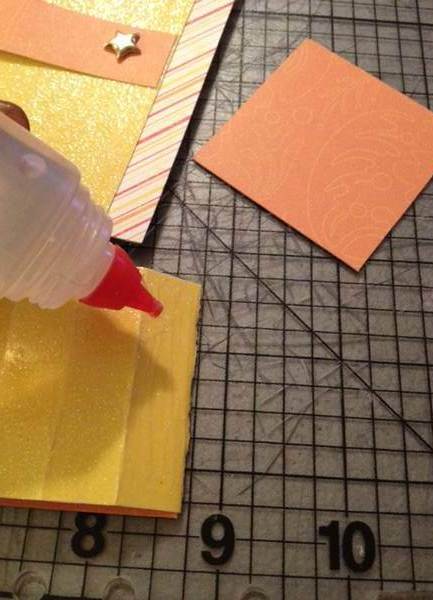
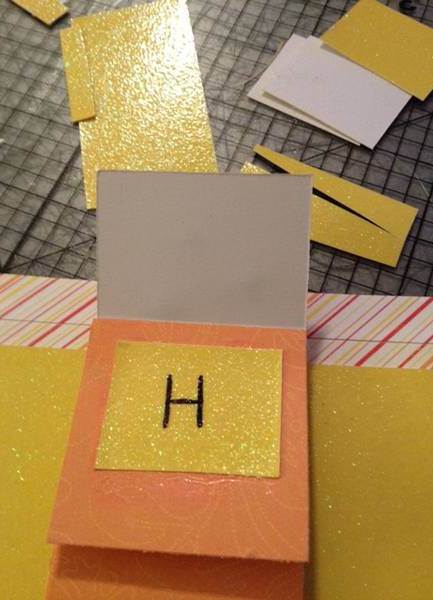
- We apply glue every centimeter, which we measure on a vertical strip and glue the top of the square. We do so with all 6 billets.
- On the last section of the strip, apply glue at the top.
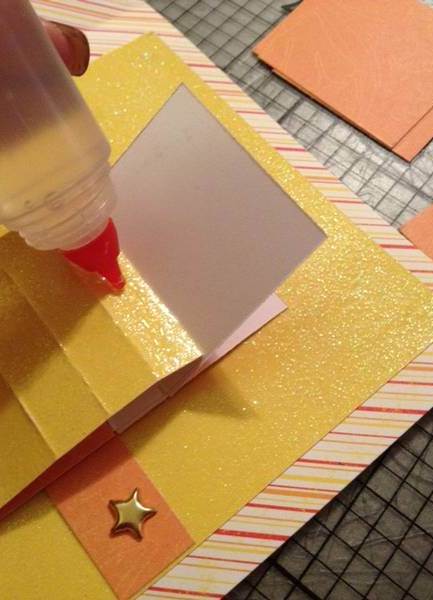
- The bottom of the last orange square is glued to the horizontal strip. Now our mechanism is ready. You can start decorating it.
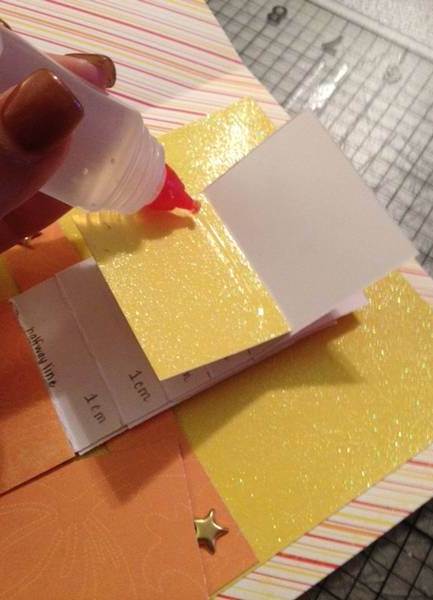
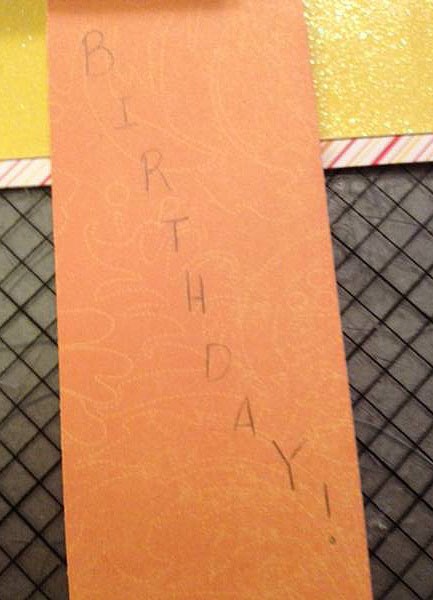
- Cut out of yellow cardboard 5 squares with a side of 3.5-4 cm. We need them to write on them one word of the word, which must be read when opening the waterfall. It can be a name, wishes or "HAPPY DAY".
- On the vertical workpiece, pulling down, we write the ending of the phrase (for example: "BIRTH" or a congratulatory poem).
- We decorate the festive elements: the top of the waterfall (asterisks) and the second inner side of the postcard (balls).
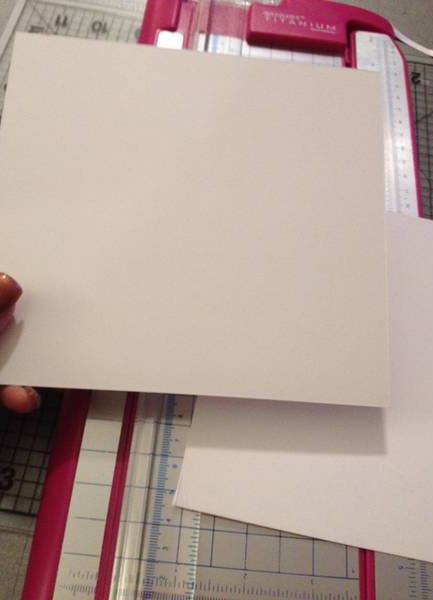
- Now you need to cut out a white cardboard rectangle, the size of which will correspond to the rotation of our postcard. We glue it from the back of the outside to close the protruding ends of the rivets.
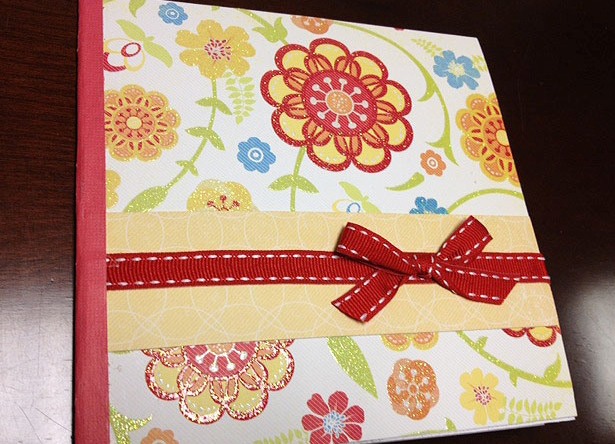
- It only remains to decorate the first page of our postcard (for example, in the technique of quilling or scrapbooking ) and you can present the birthday boy. At the moment of giving it is better to show at once how you put waterfall out of paper.
| | |
| | | |
| | |
| | | |
| | | |
| | | |
| | |
| | |
| | |
| | |
| | |