The decoration of everyday objects is peculiar to man. After all, you so want to make things around you nicer and more pleasant look! We suggest you do the decoupage of the old tray, which seems to be throwing away time, but your hands do not rise. This technique is based on the cutting out of small items of napkins, paper, cardboard and gluing them on the substrate, which gives the effect of painting.
Decoupage tray: materials
For the "restoration" of the tray in the technique of decoupage you will need:
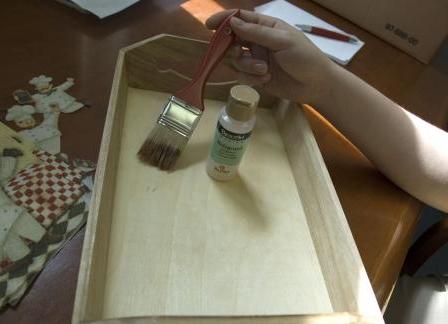
- acrylic primer;
- acrylic paints;
- napkins with drawings on the kitchen theme;
- PVA glue;
- aerosol varnish.
Decoupage tray: a master class
So, let's get creative:
- The old tray must first be sanded, that is, to clean its layer of old paint with sandpaper.
- Then cover the surface of the tray with a layer of acrylic primer. If you decide to decouple a metal tray, then to treat the surface sanded with paper, you need an aerosol primer for metal and acrylic enamel.
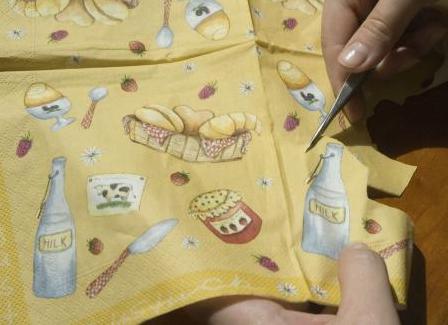
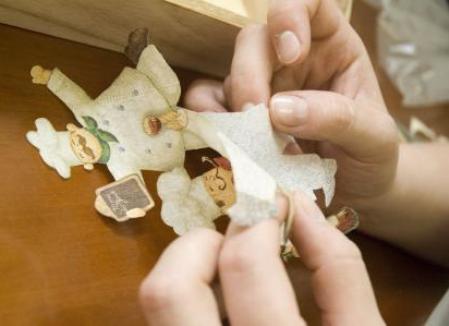
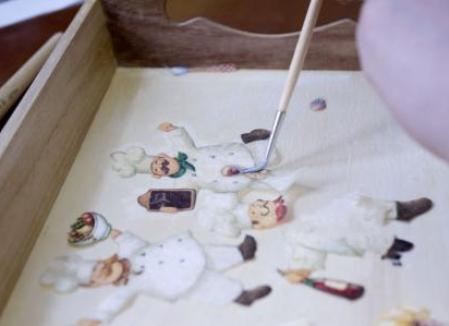
- On the napkins we cut out the images we liked and separate them from the lower layers.
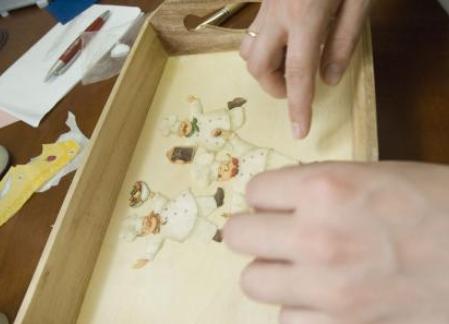
- Now we put the elements cut from the napkins onto the tray and estimate their location.
- After that comes the most crucial moment - gluing the elements of decoupage. Carefully with a brush moistened with glue, we smooth each image. To start better with the largest and located in the center of objects, gradually moving to the edges of the tray.
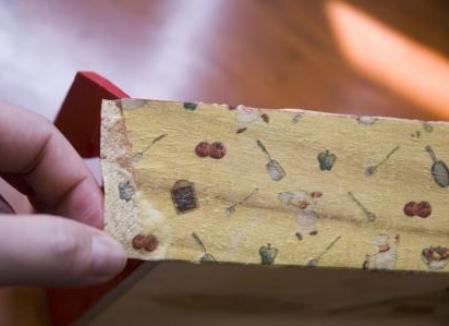
- The inner parts of the side walls of the tray can also be decorated with strips cut from napkins.
- Ornament on the kitchen theme decorate the outer sides of these two side walls.
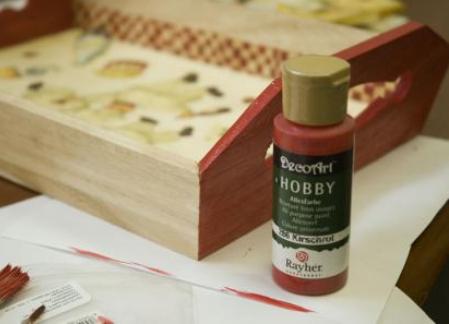
- Two other, short, walls are painted with red acrylic paint on the outside and inside.
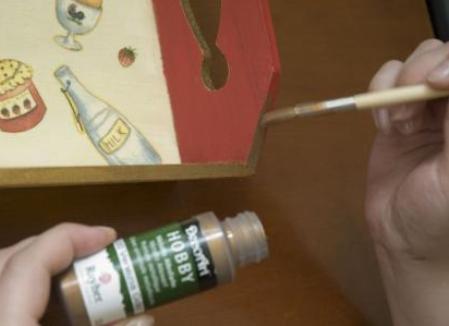
- To complete the image, we cover the sides of the side walls with the acrylic paint "gold metallic".
- We finish the work, covering the finished tray with a layer of aerosol varnish, which will protect our craft from damaging the elements of decoupage. Done!
| | |
Decorating the tray, you can do other things in the house: a housekeeper , a vase or a tea house .