New Year is the most magical holiday of the year. New Year's Eve is associated not only with the Christmas tree and mandarins, but also with frost and snow-white snow, enveloping houses and streets, and creating a unique holiday atmosphere.
On the eve of the new year, we are trying to decorate our house with colorful garlands, twinkling lights, paper-cut snowflakes. By the way, snowflakes can be created not only from paper, but also from a variety of other materials, for example, from macaroni, cocktail tubes and so on.
In this master class I will teach you how to sew three-dimensional snowflakes from felt.
Snowflakes from felt - master-class
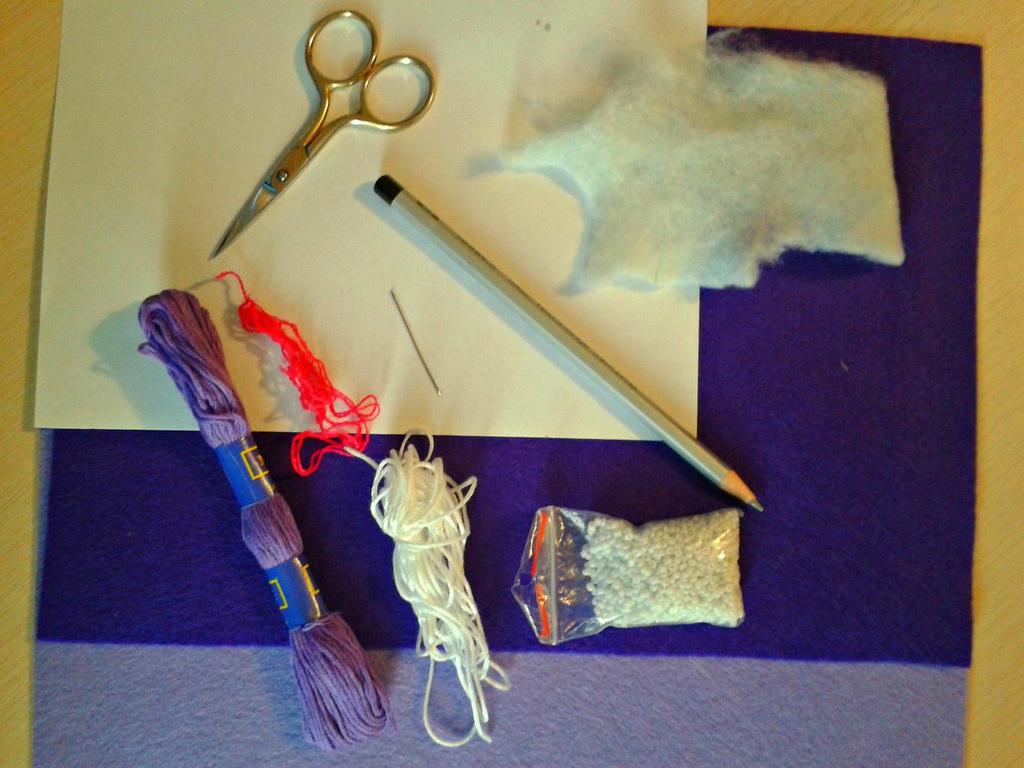
List of required materials:
- 2 sheets of felt: lilac and violet;
- a sheet of white paper;
- pencil;
- strings of purple moulin, bright pink and white flowers;
- beads of white color;
- needle;
- scissors;
- a small piece of sintepon.
Progress:
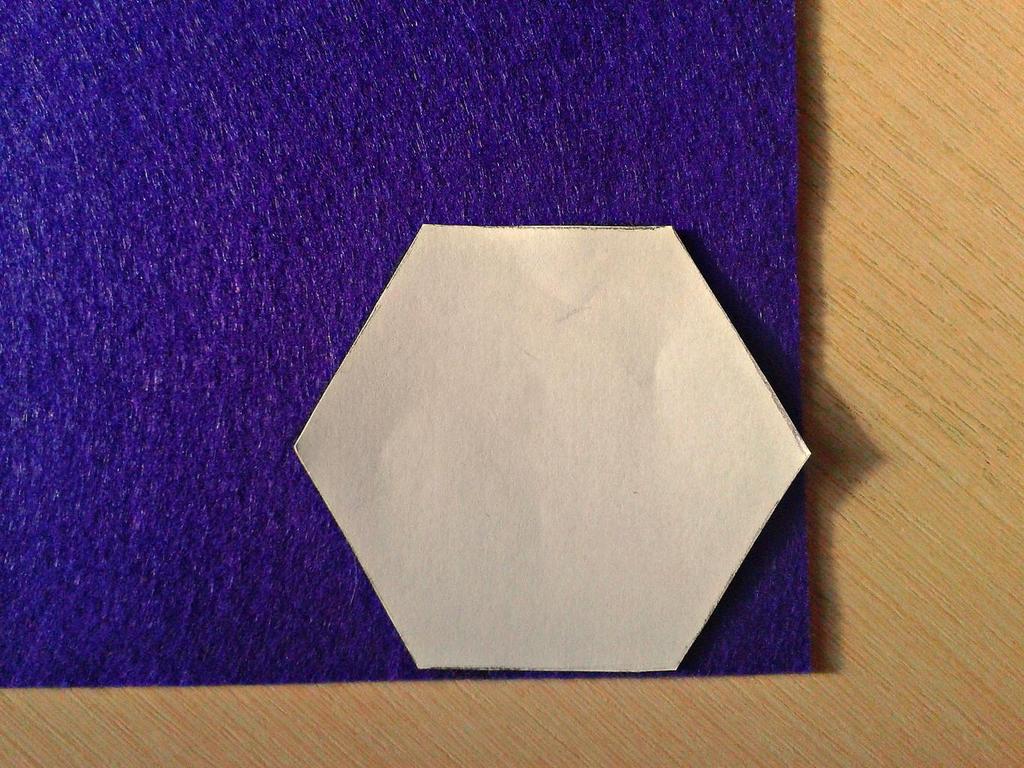
- Let's start the process of creating a snowflake from felt directly from the pattern. Since the snowflake will be in the form of a hexagon, we need to draw a hexagon on a piece of paper and cut it out. Next, apply our pattern to the felt of purple and circle it with a simple pencil.
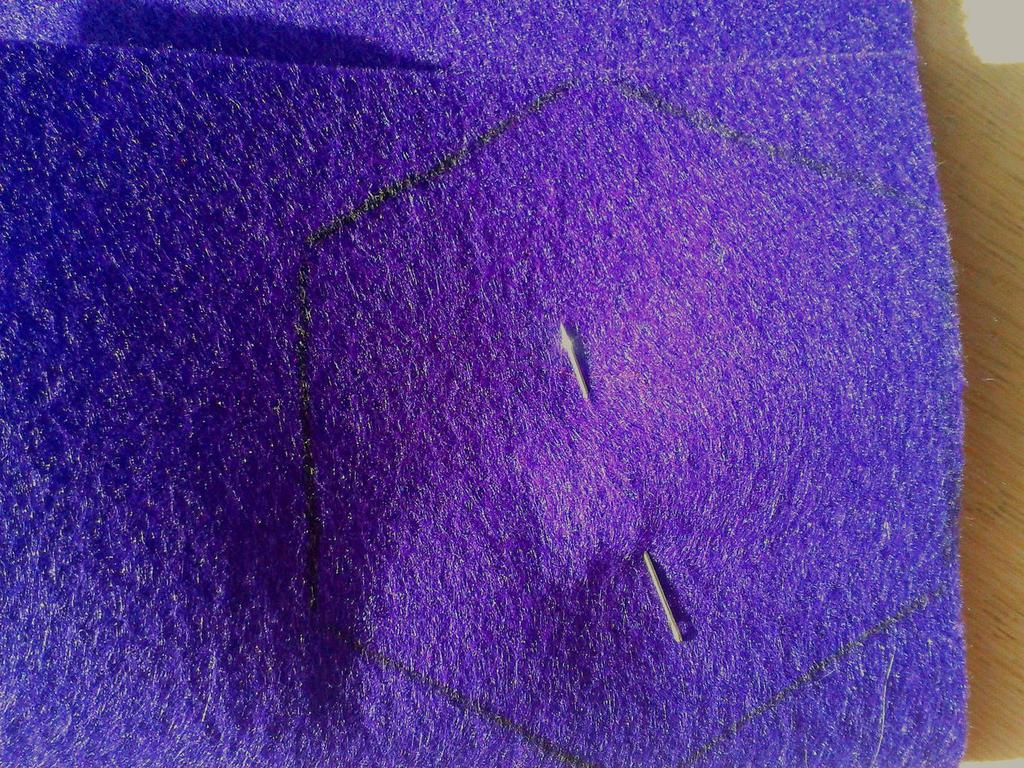
- Fold the sheet of felt in half and, thus, cut out two details of our future snowflake. To ensure that the felt does not move around, we will fasten it with a needle. This allows us to cut out the details of the snowflake more smoothly.
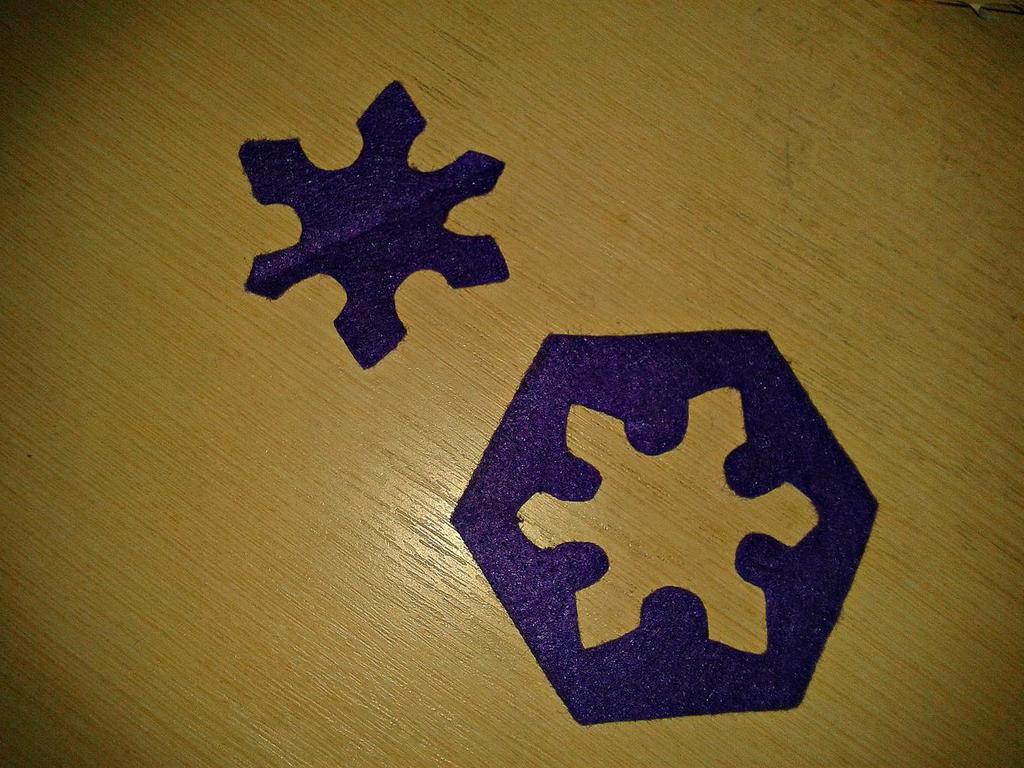
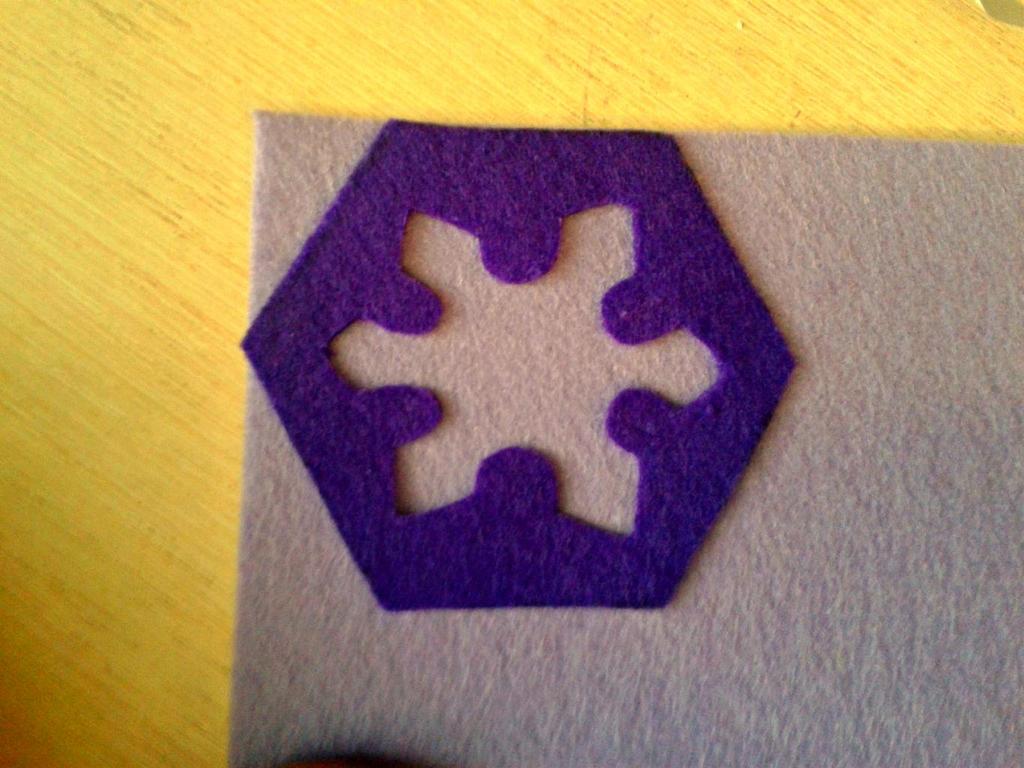
- Take one of the received felt hexagons and cut out the snowflake ornament in it, first folding the felt in half.
- We apply a hexagon with the cut out ornament to the sheet of felt lilac color, then from lilac felt we cut out the same hexagon as the hexagon carved from purple felt.
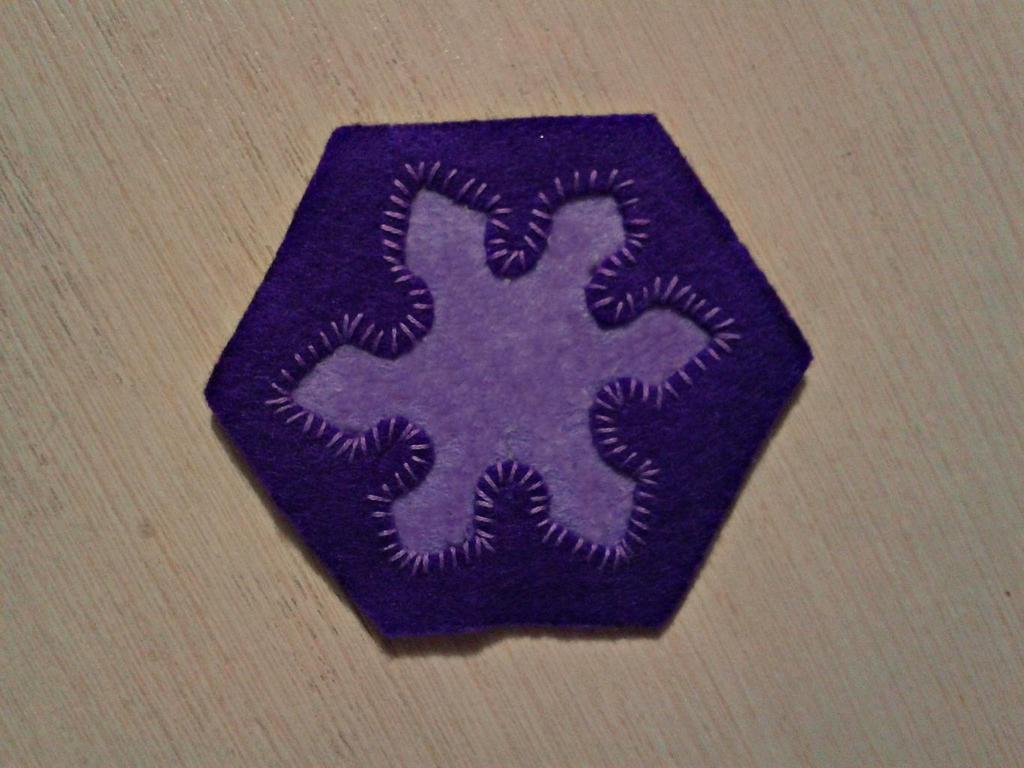
- Now you need to attach purple and lilac hexagons to each other. To do this, we take a string of purple moulin and sew two hexagons along the contour of the cut out snowflake in two strings with a suture seam. It should look like this.
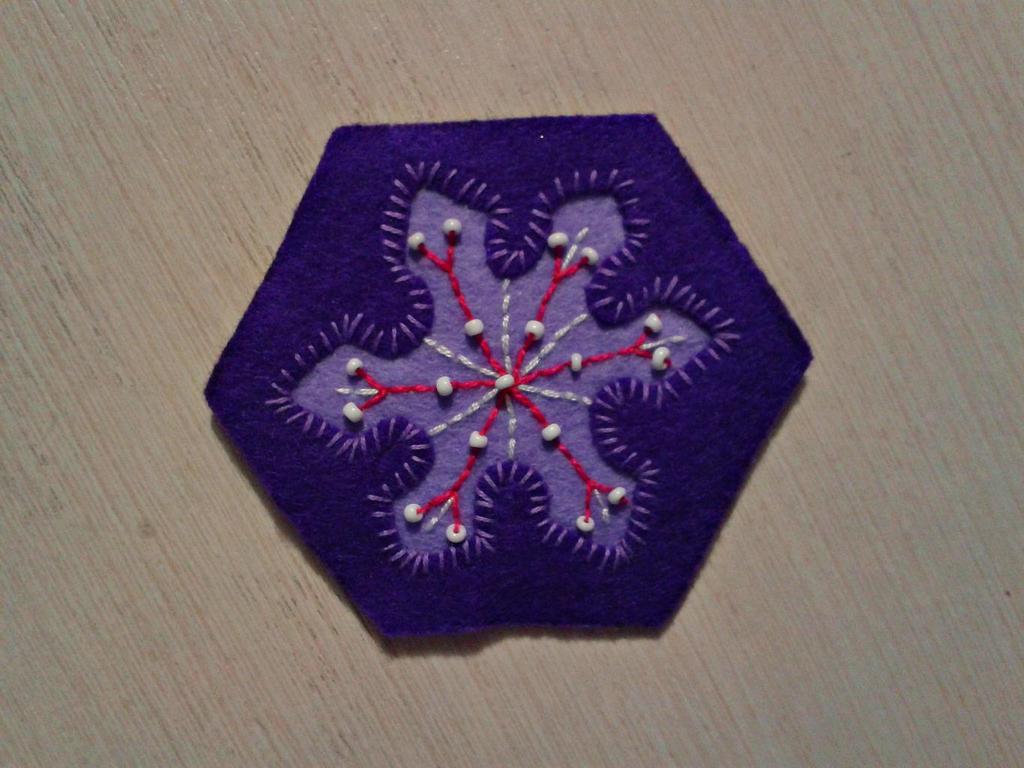
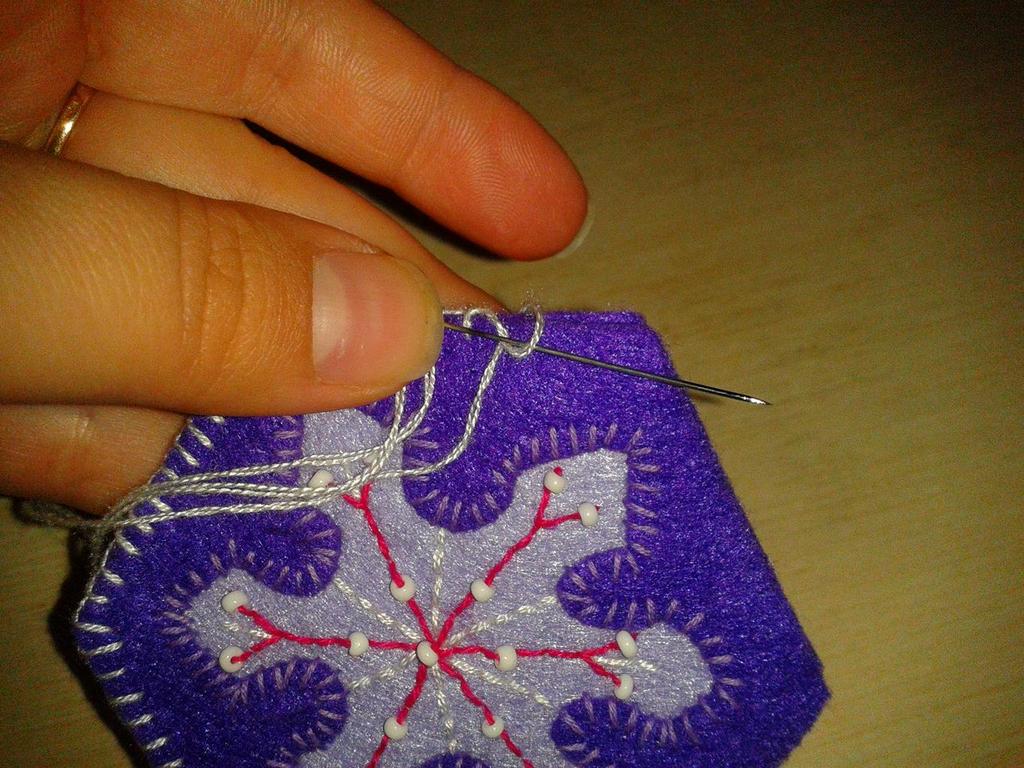
- Thread the moulin of bright pink and white flowers with the back of the needle and embroider the ornament of the snowflake on the center of the lilac felt. To the center of the ornament we sew white beads. White beads, in addition to the center of the ornament, we sew the snowflakes to the end of each branch and to the middle of the branches. That's what we got.
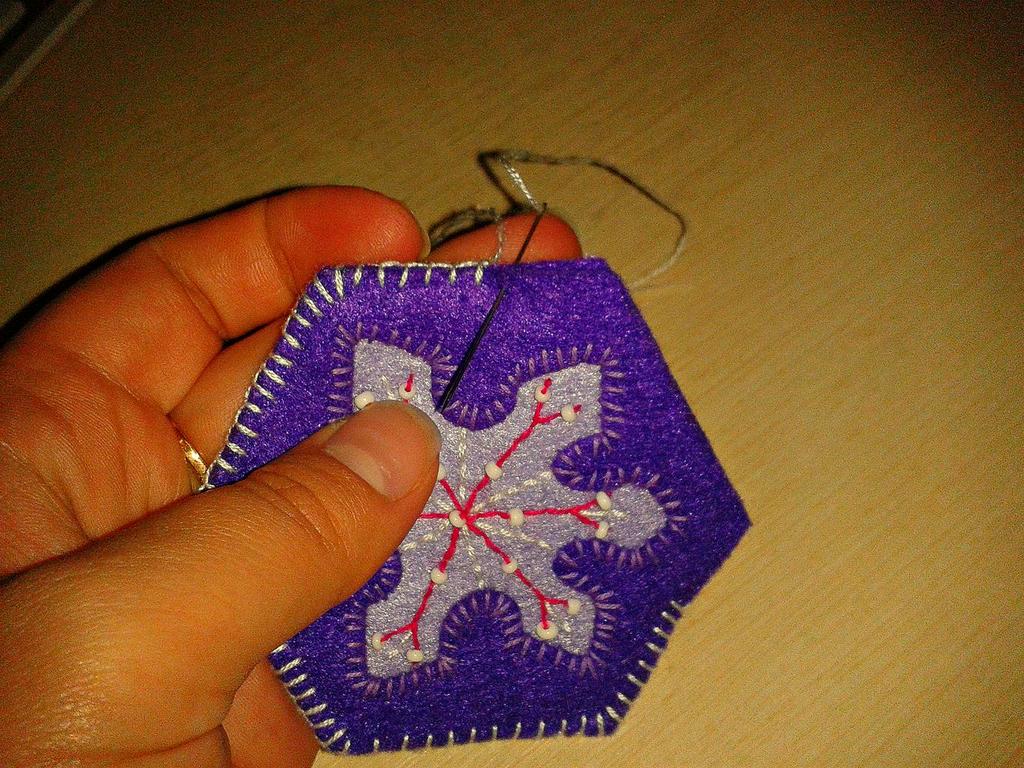
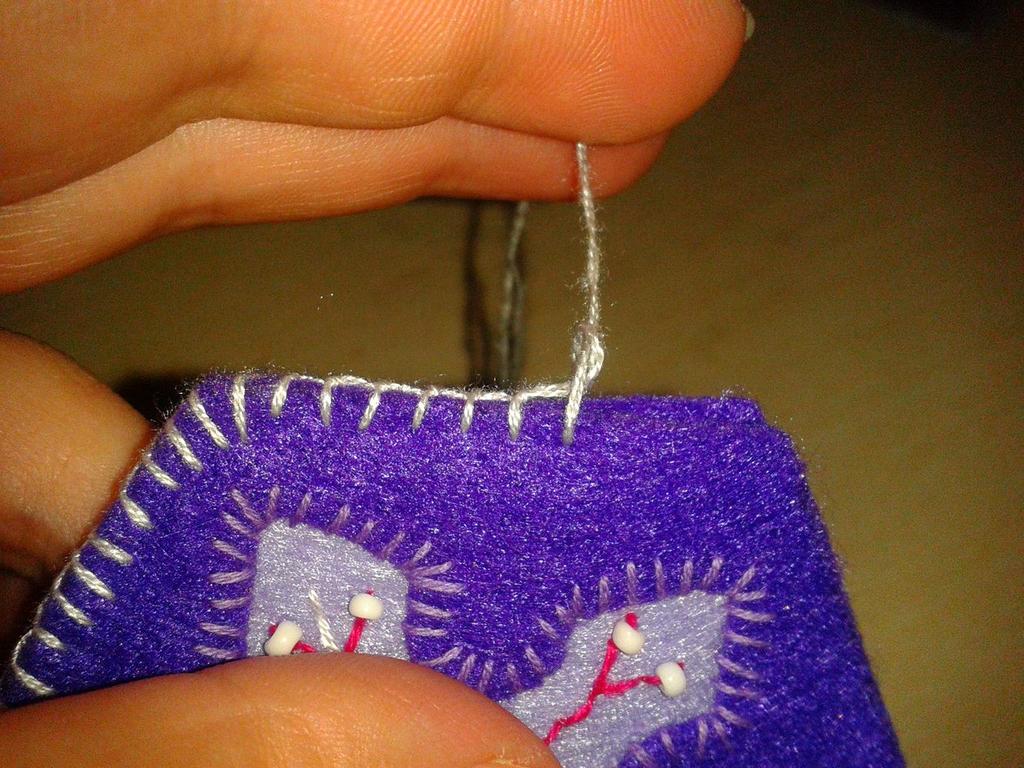
- Now we need to sew two pieces of our snowflake together. To do this, we apply two purple hexagons to each other and thread the seam with threads of white mulina into two strings sew our snowflake, previously filling it with a sintepon.
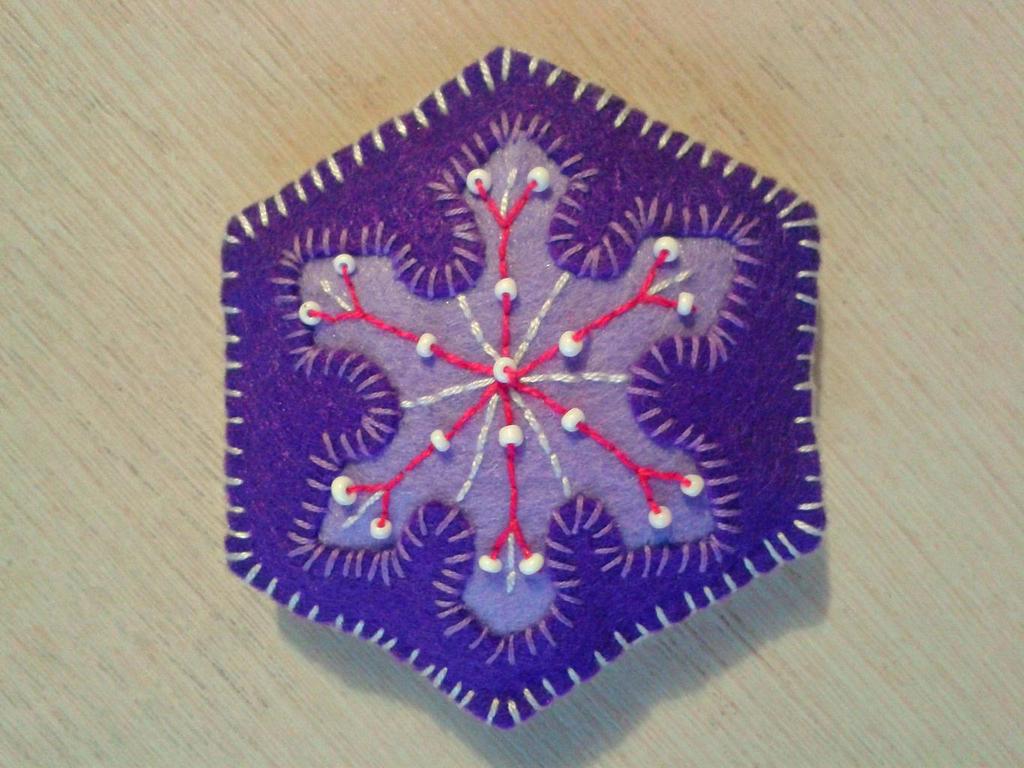
- We made this unusual snowflake of felt with our own hands.
| | |
| | |
| | |
Such a snowflake can be used as a Christmas tree toy by attaching a ribbon to it, so it's convenient to hang it on the Christmas tree, or a magnet on the refrigerator, gluing a magnetic tape to the back of the snowflake, or as a needle bed - it all depends on your imagination.
The author - Zolotova Inna.