Like any other part of the apartment building, the attic floor needs enough light and fresh air. Taking into account the peculiarity of the construction of the attic space, there are significant differences between the installation and installation of conventional and attic windows .
Considering the peculiarity of the construction of the attic space, it is important to choose a reliable, durable and waterproof glazing unit. The technology of installing attic windows at first glance seems quite complicated. To help you solve this task on your own, in our master class we will show how to install the dormer windows with your own hands.
For installation we need:
- a double-glazed window + a metal contour in the size 1280х960 mm;
- a set of waterproofing;
- insulation circuit;
- set of salary;
- electric saw;
- wooden beams;
- scissors for metal;
- a hammer;
- screwdriver;
- mounting knife;
- metal measuring tape;
- building stapler;
- rubber hammer;
- pencil.
Installing the attic window with your own hands
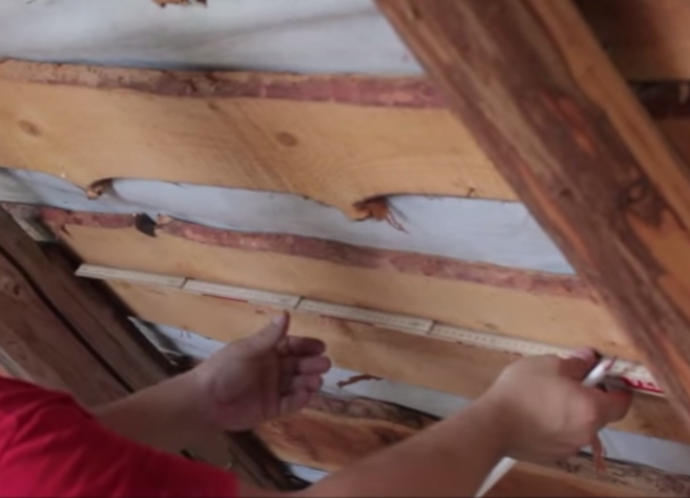
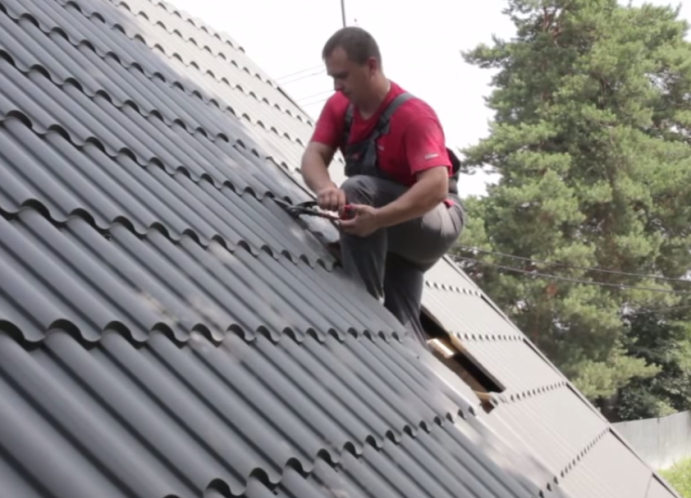
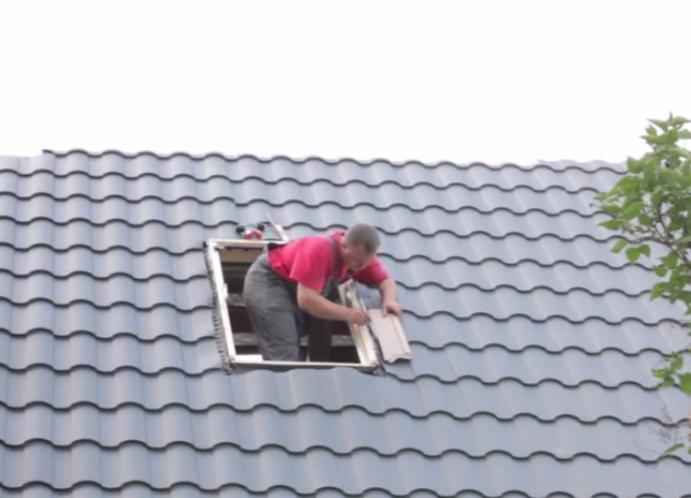
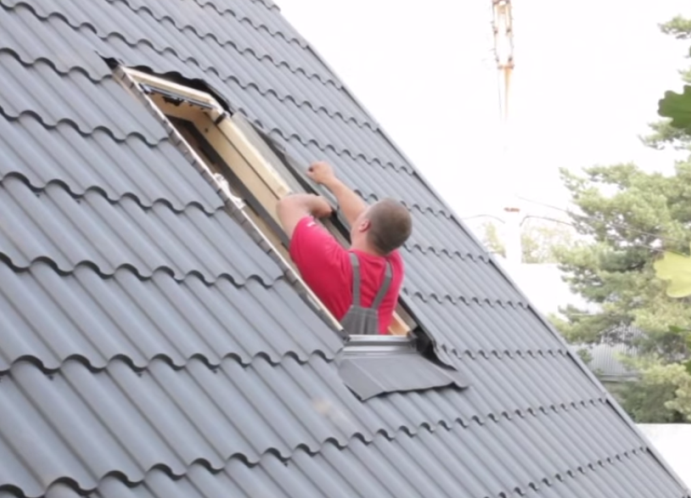
- Prepare an opening for mounting the window. We measure the distance between the rafters with a tape measure. It is 5-6 cm longer than the width and length of the window. Make markup
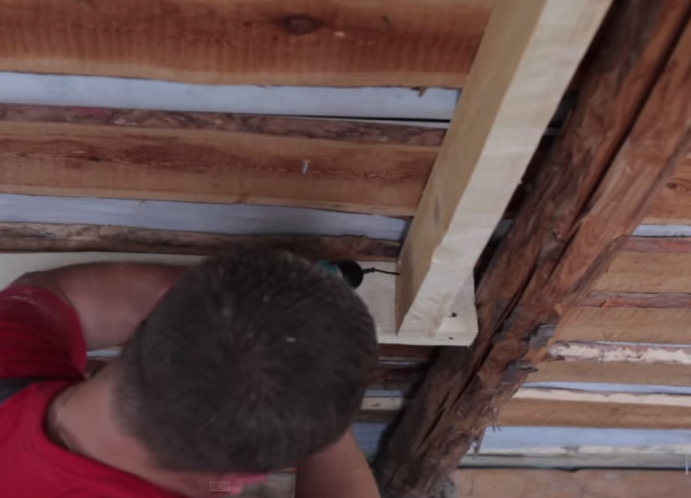
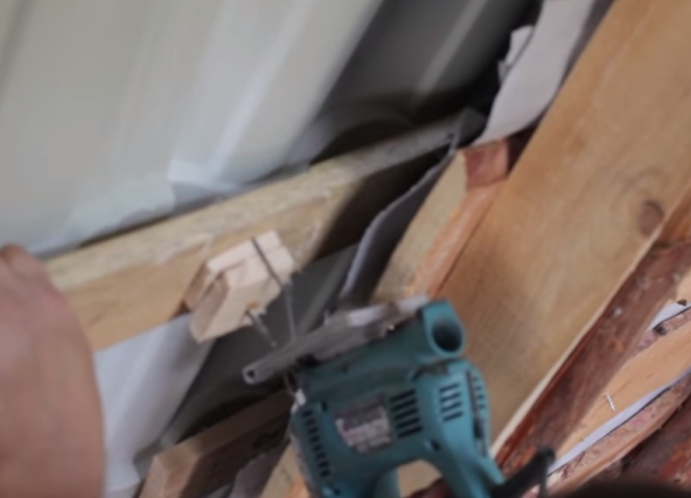
- We fix two transverse beams between the rafters and two longitudinal ones. Fix them with screws and screwdrivers.
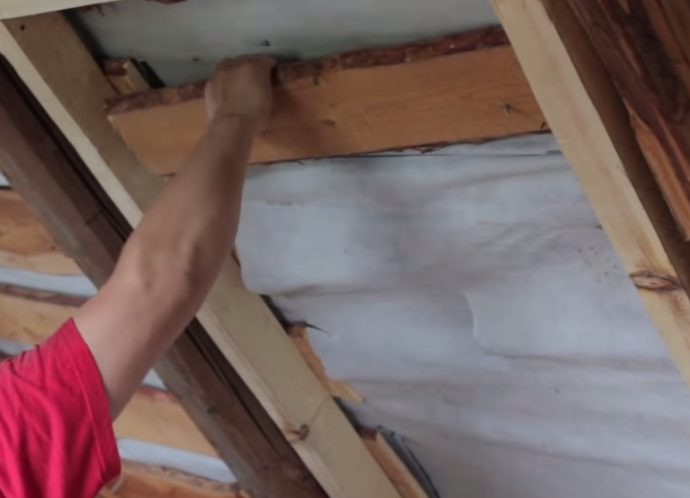
- Elements of the inner crate in the opening are removed using electric saws.
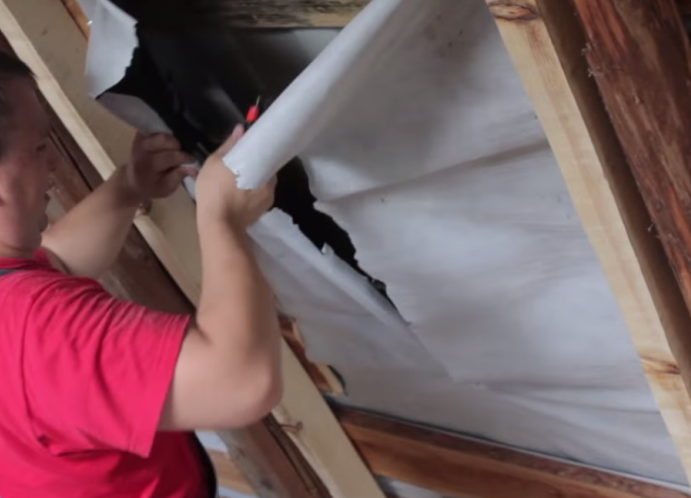
- With a knife, cut out the hole in the waterproofing film.
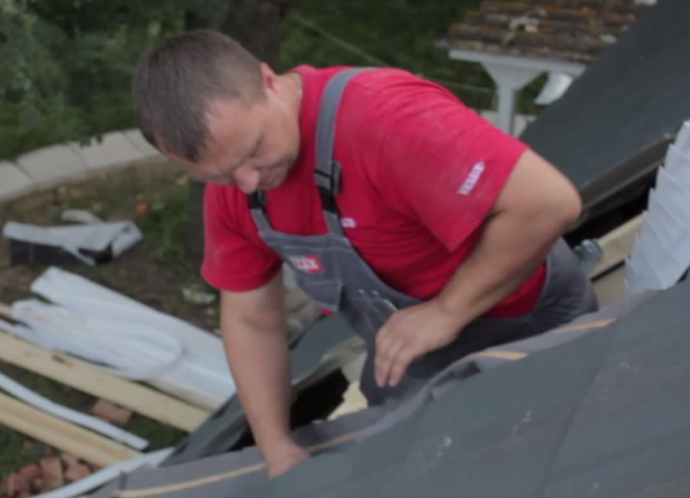
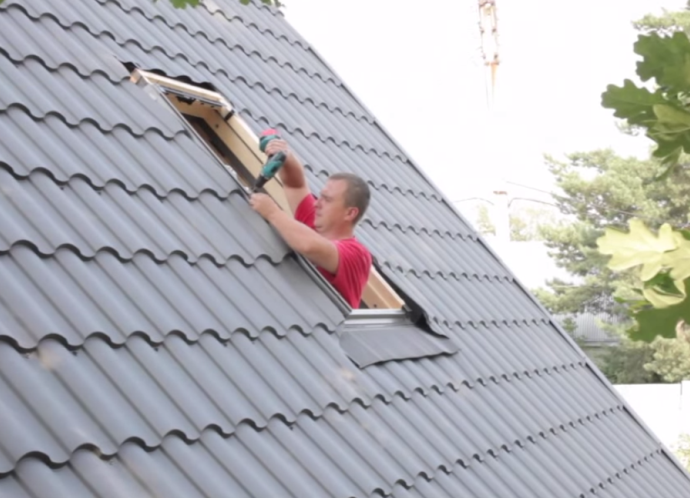
- With the help of electric saws, we remove inside the opening elements of the outer roof lath.
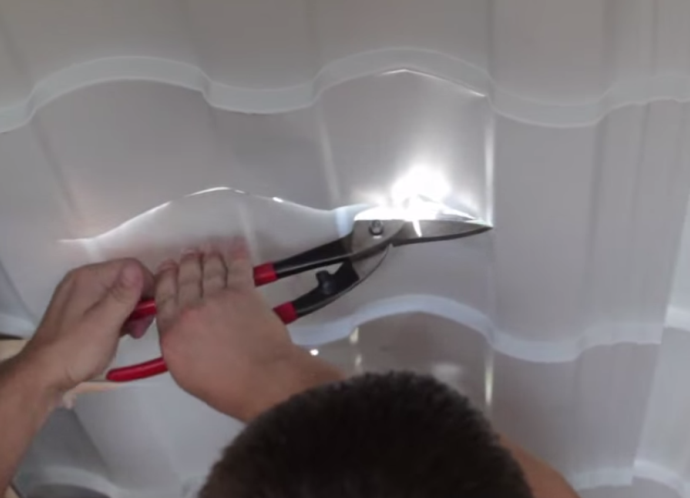
- Scissors for metal cut a technical hole in the layer of metal.
- We unscrew the screwdriver screws from sheets of metal cover.
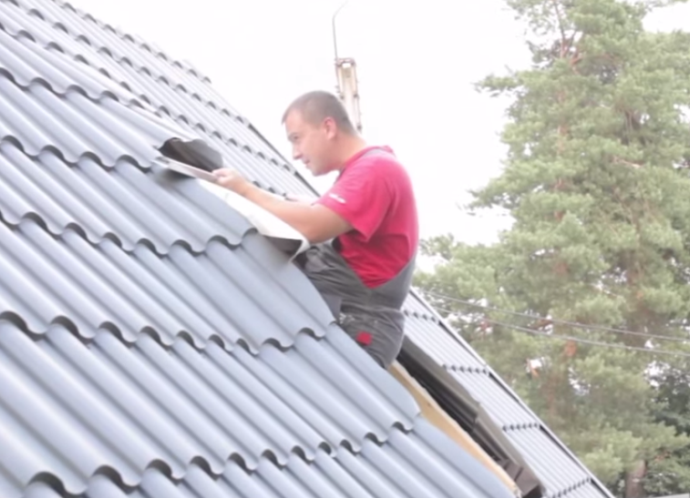
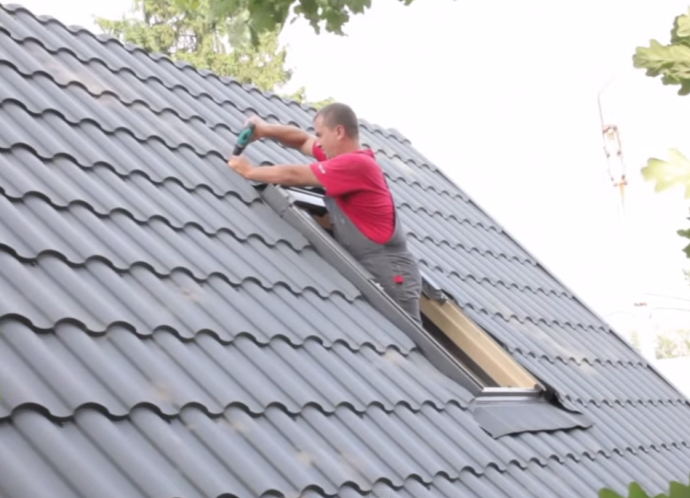
- We make the marking on top of the metal, 5 cm more than the window on each side
- On the marking, we cut a hole in the roof with scissors.
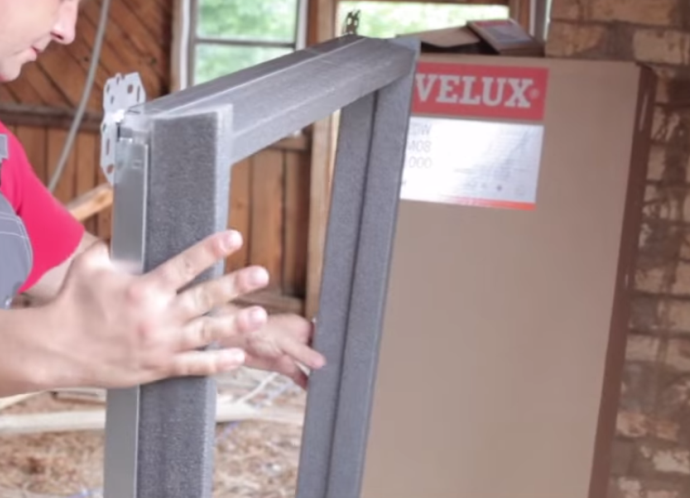
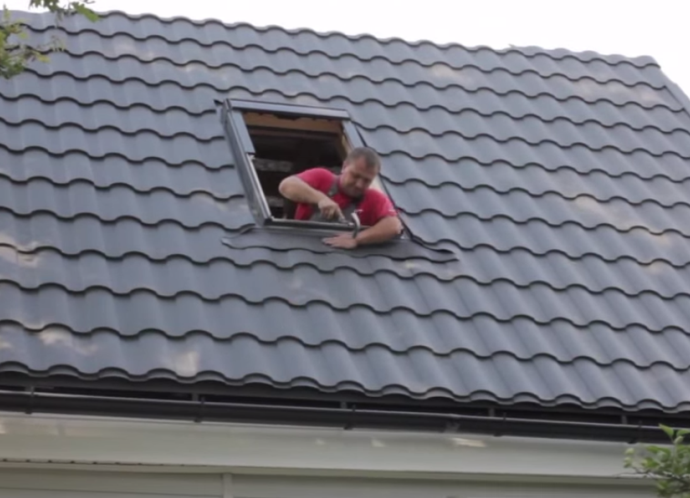
- We collect the insulation circuit and insert it into the prepared window opening.
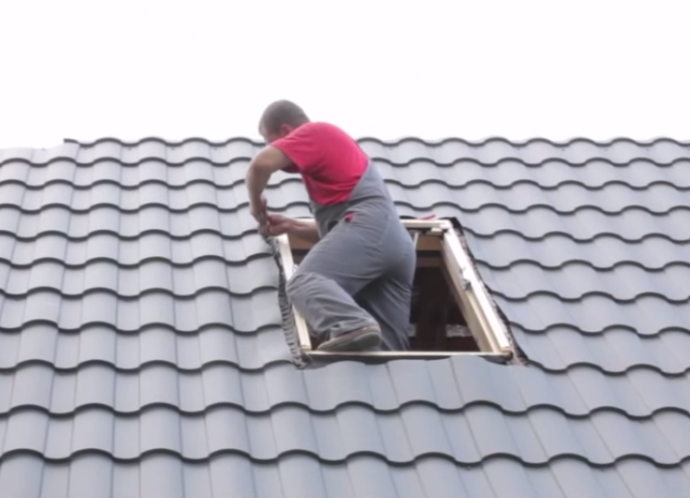
- Open the box with the window and remove the staples from the surface of the packing material.
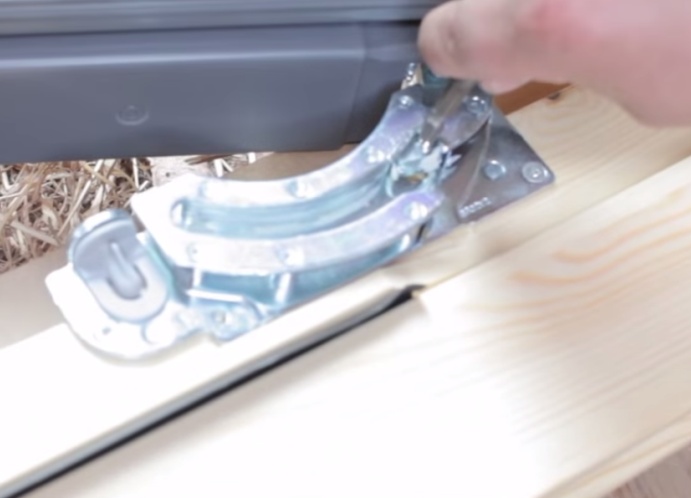
- On the swivel hinges, press the latches to remove the swivel frame.
- We remove the transportation bars.
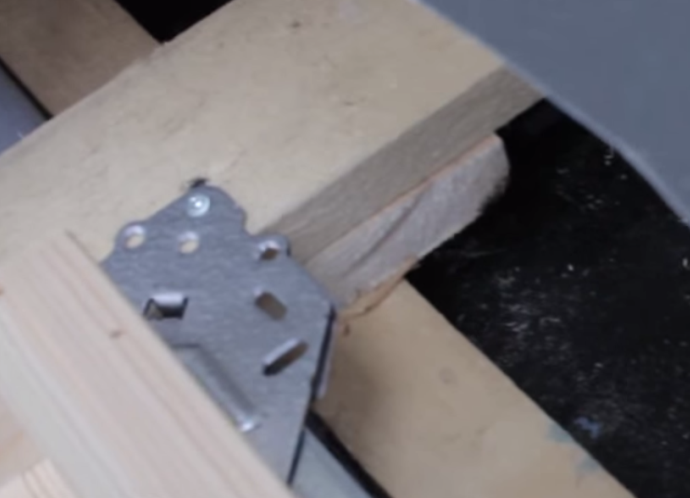
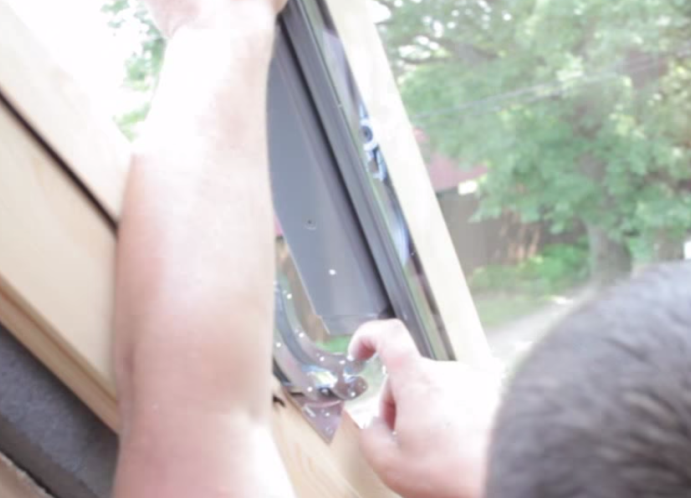
- Screws fixing mounting angles in special grooves.
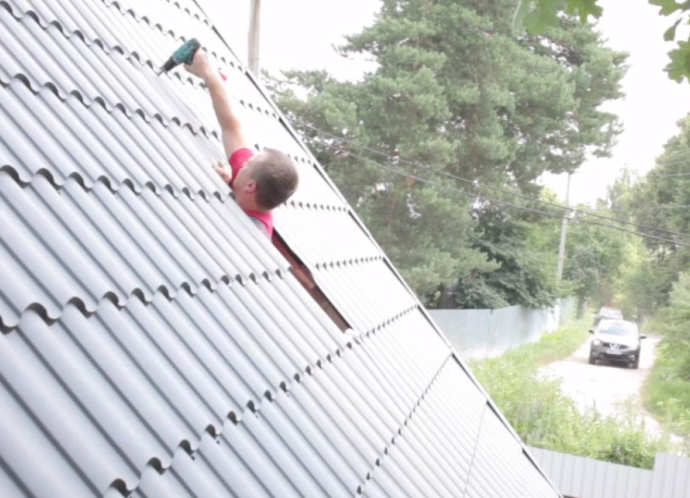
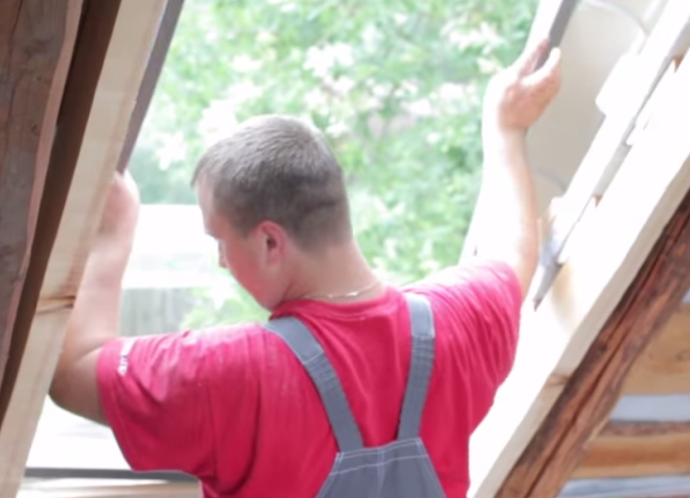
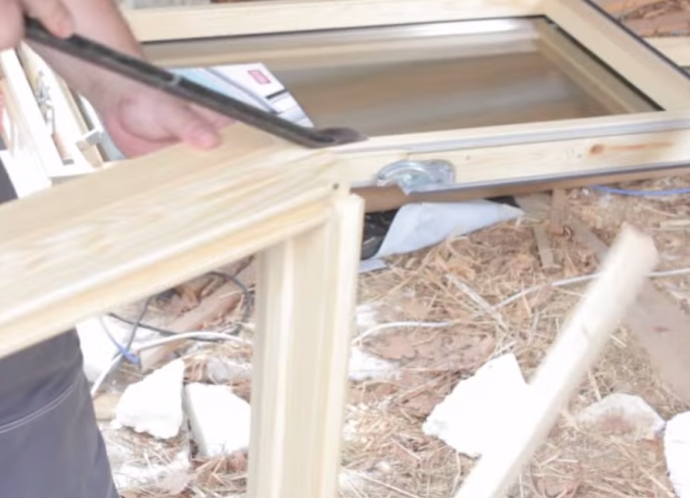
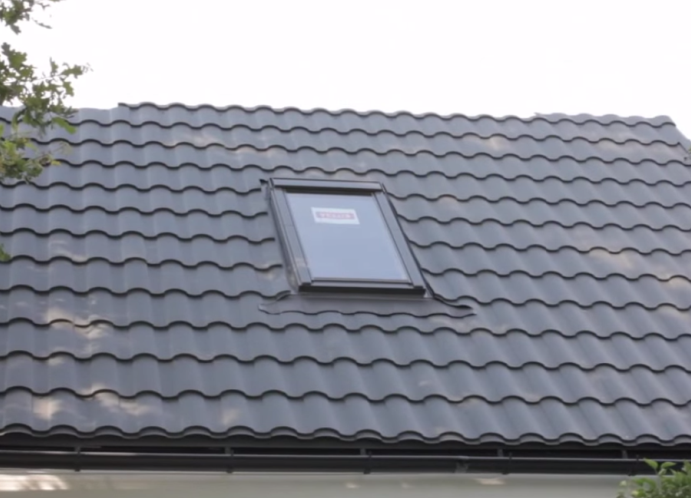
- The frame of the attic window is installed in the finished opening and leveled.
- We fix the frame to the crate with the help of self-tapping screws.
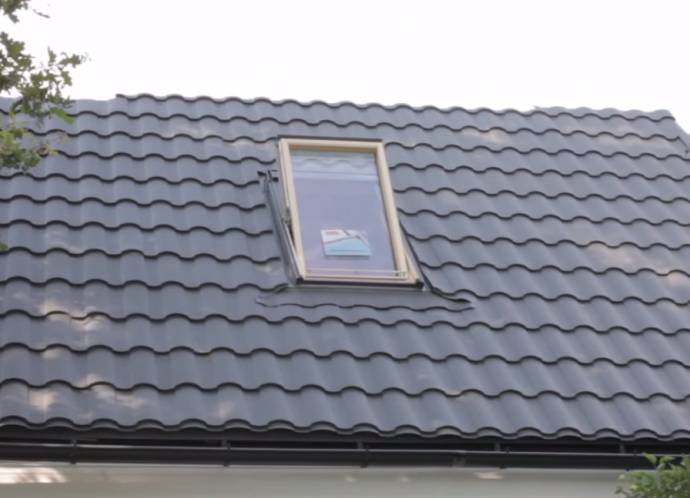
- According to the instructions for installing the dormer window, insert the frame into the opening, and adjust it. Fig. 18.19
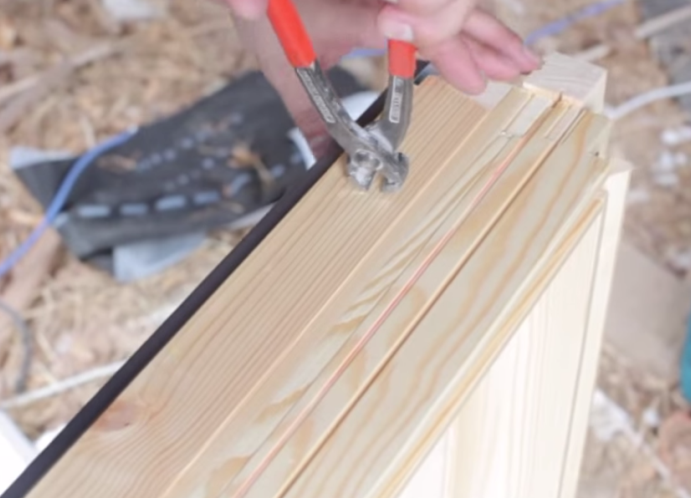
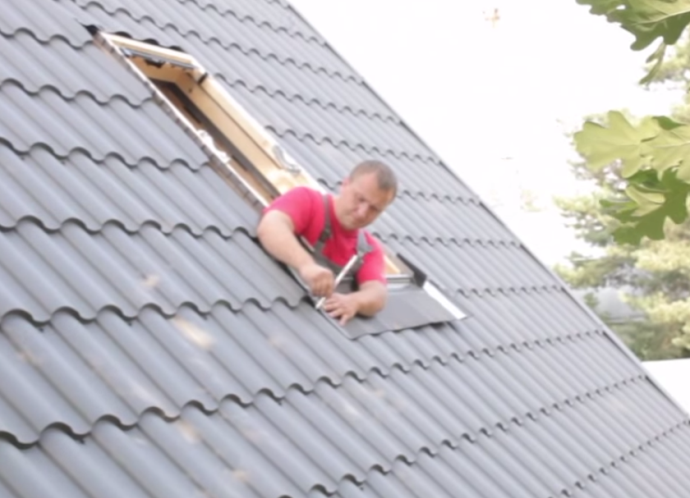
- We lay on the perimeter of the window waterproofing, and fix it to the frame with a stapler.
- Mount the drainage trough.
- We make the marking in relation to the window, retreating from the edge of the frame 4 cm.
- We make a cut in the markup.
- We open the package with a salary.
- The lower part of the salary is applied to the edge of the window and we install it, partially winding it under the shingle layer.
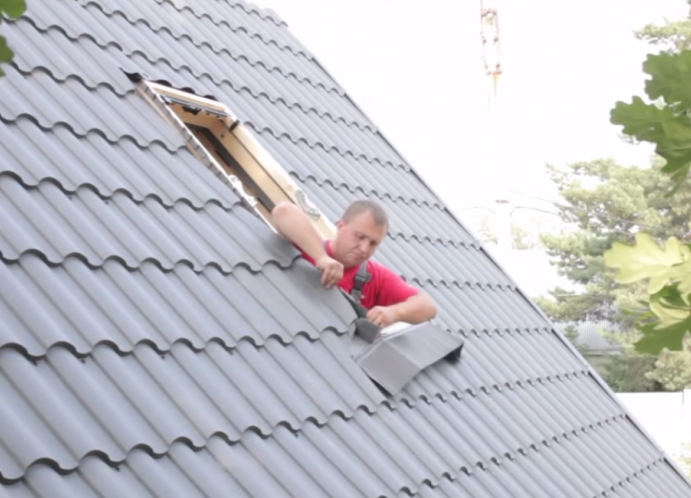
- In the same way we lay the side sections of the salary.
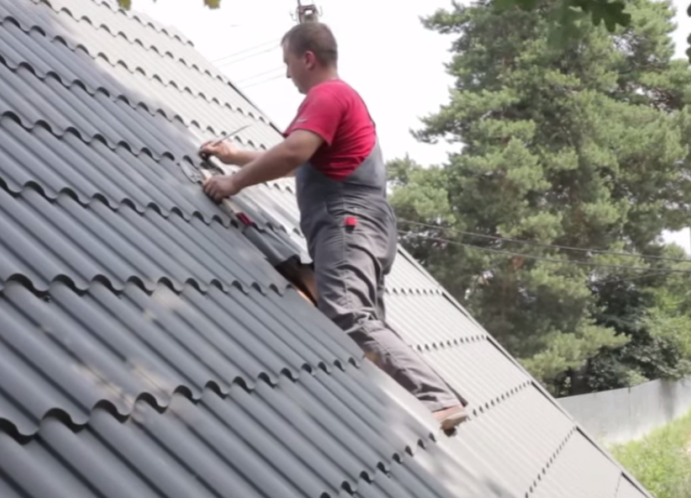
- We fix the salary with screws to the frame.
- Having installed the upper section, we fix the roofing material to the crate with self-tapping screws.
- The edge of the lower salary is taped with a rubber hammer so that it closely adjoins to the roof.
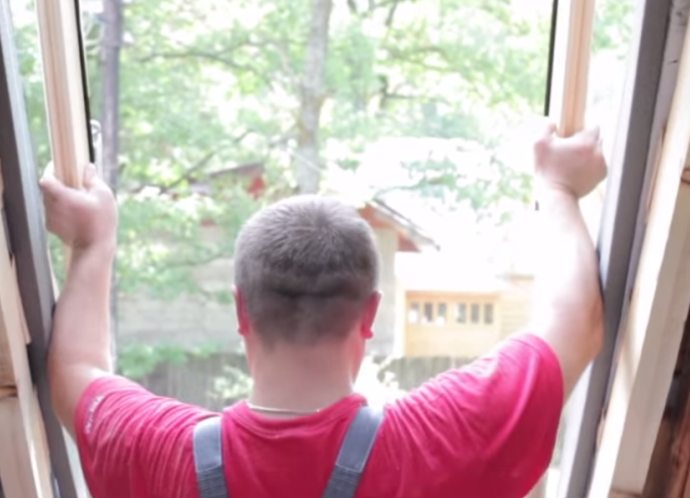
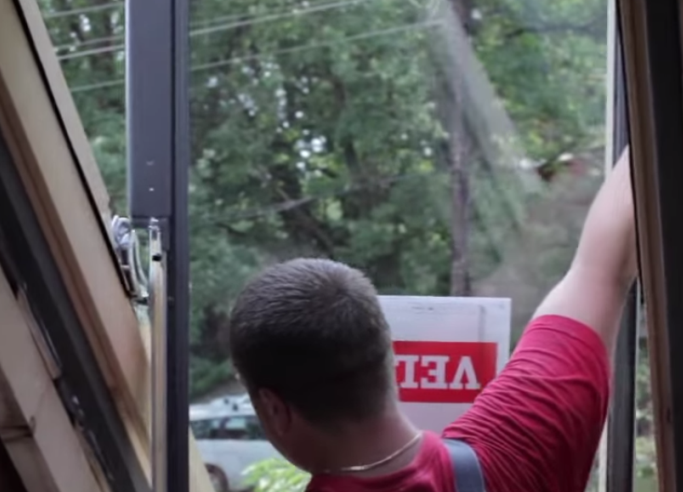
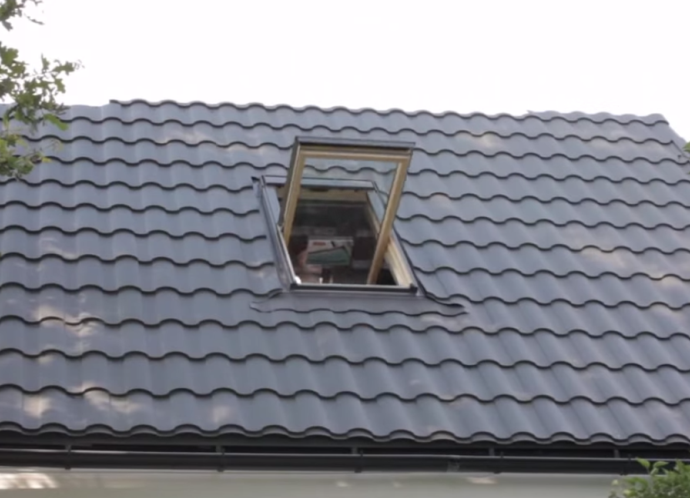
- We insert the swivel frame into the latches.
- Installation of the attic window with your own hands is completed.
| | |
| | |
| | |