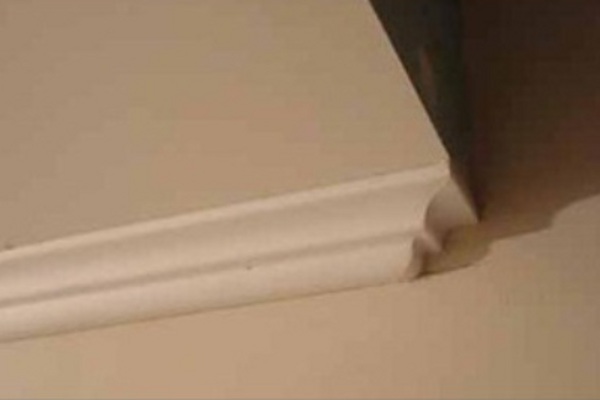
After leveling the walls comes the next stage - preparation for wallpapering. If you do the repair yourself, you will be useful information how to glue the ceiling skirting . Here you can go in two ways: use a regular filler or purchase a glue composition specifically for plinths made of plastic or styrofoam. But no matter what glue you decide to glue ceiling moldings, the principle of operation remains approximately the same.
How to glue a ceiling skirting board - a simplified version
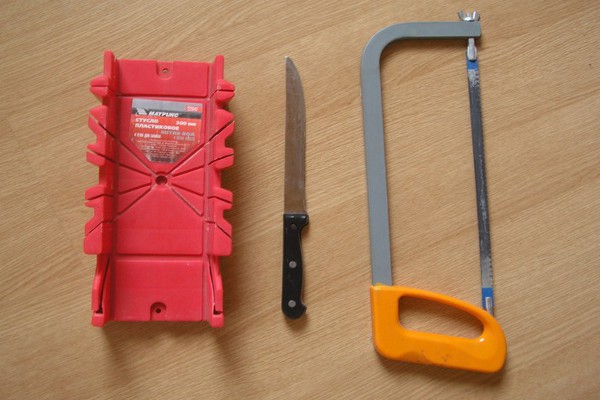
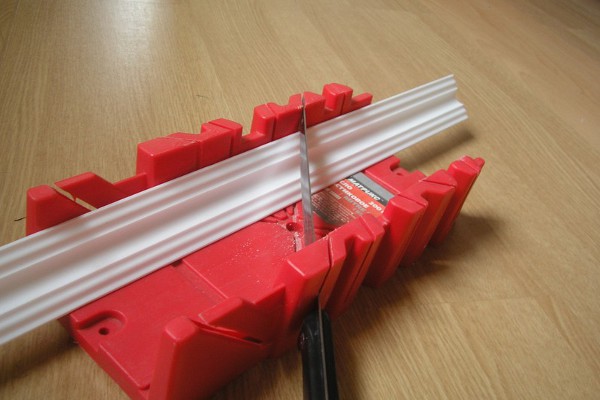
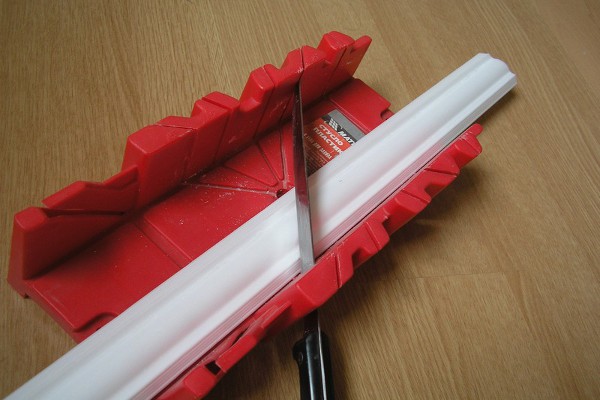
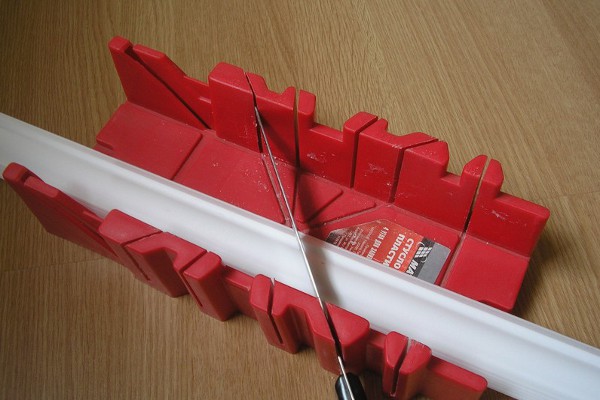
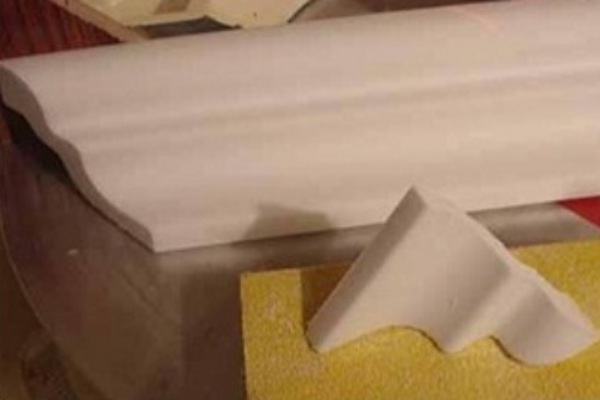
To begin, we will prepare all the necessary tools: a chair for making corner pieces, a hacksaw and a sharp knife, as well as a ruler and a work surface (usually a fairly thick cardboard sheet here).
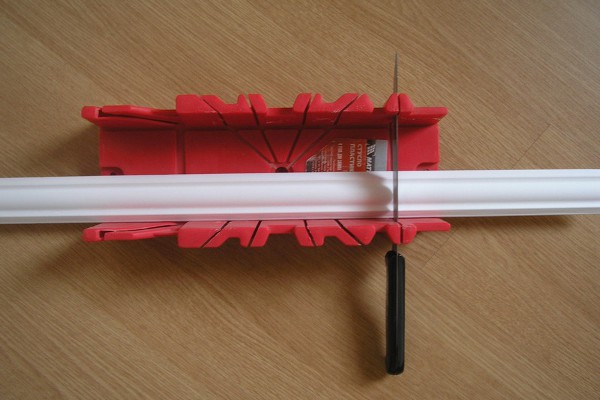
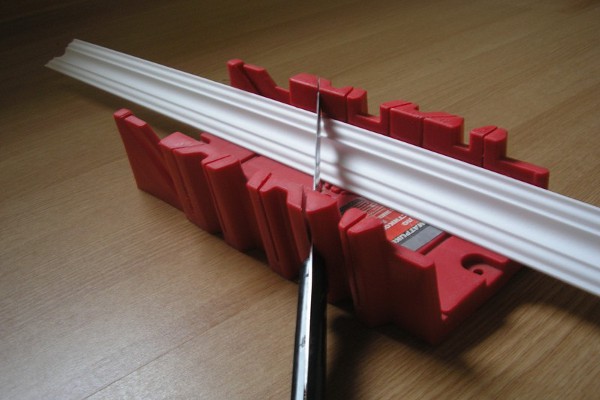
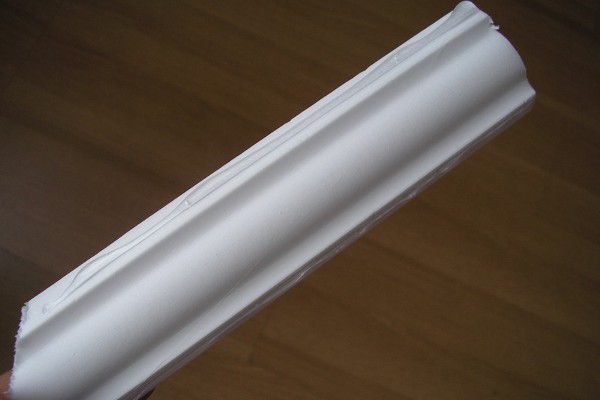
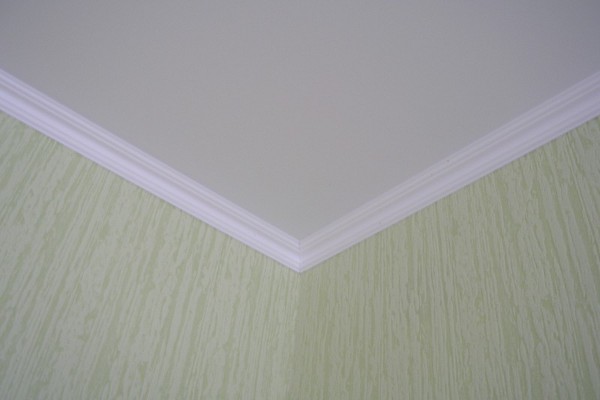
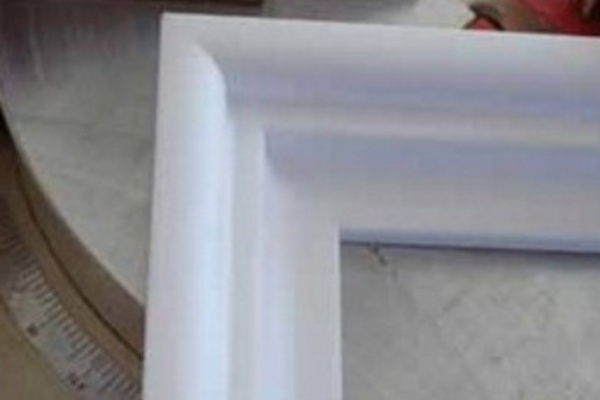
- Before you glue the corners of the ceiling skirting, you should familiarize yourself with the rules of work with the wort. To make a right angle, put the plinth face up. The outer corner is made from the inside out, and the inner side up. The figures show exactly how the details of the angle will look.
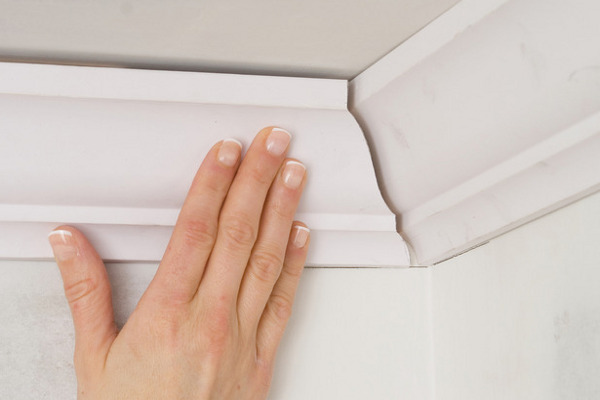
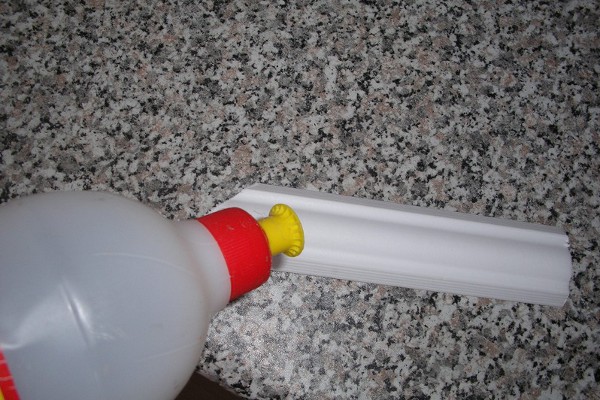
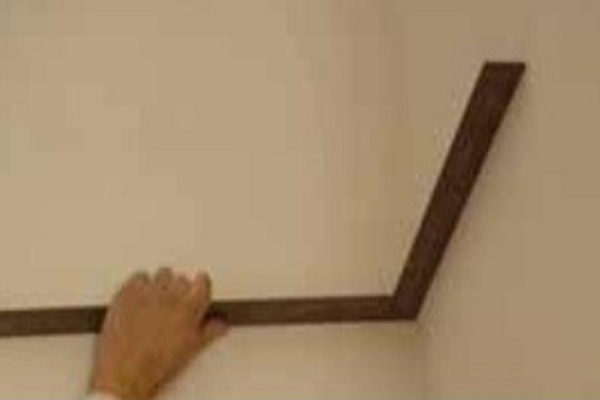
- Next, you must attach the finished piece of skirting to the wall and mark its end. Intermittent path we apply a strip of glue on the wall and on the reverse side of the plinth. We wait some time (it is indicated on the label) and fix the plinth to its place.
- Before you glue the corners of the ceiling skirting, always put them on the wall and check if the ends of the pieces of the skirting have come together. It is desirable to immediately apply glue to both the parts and the edge of the cut. Then fasten two parts at the same time and press them firmly so that the two pieces of the plinth fit tightly.
No less important issue remains, what glue to glue ceiling skirting. There are lots of options here. Use both liquid nails as glue, and finishing putty, there is a special Dragon glue. But the best thing to buy in the store with baguette and a special adhesive for him.
How to glue ceiling skirting with complex angles?
It happens that the room has a complex geometric shape and apart from the usual external corners there are also internal ones, and sometimes the wall just does not close. How to proceed in this situation, we will consider below.
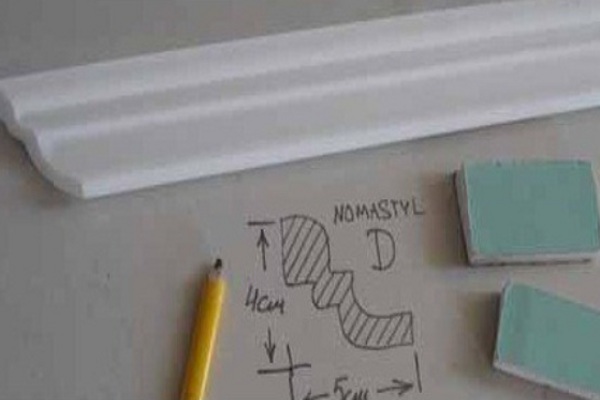
- In this case, we will use a special primer. It is necessary to ensure that the grip on the wall is maximized. While it dries, it is necessary to make a small template out of the piece of the selected baguette.
- As soon as the wall dries, apply the template to the ceiling and draw the lines. In the future, it is for them that we will apply an adhesive compound. What is needed for this template: if the baguette has both sides with the same width, there will be no problems, but sometimes one side is slightly longer than the second, the height of the glue application is different. Because you have to draw lines for glue according to which side you will glue the ceiling skirting.
- Direct internal angles will be performed with the help of the already familiar chair. We apply glue for plastic skirting boards on a wall and a workpiece, we give a little to dry up and we fasten. Some masters recommend on the contrary, first fix one corner piece, and after a second time.
- The inner corners are the most difficult moment. The fact is that part of the glue will necessarily protrude beyond the edge of the baguette and it will have to be removed. That is why when cornering is important, it is important to make the joint in such a way that the glue almost does not come out and did not have to peel the surface of the baguette, since even the thinnest skin can be very easily damaged.
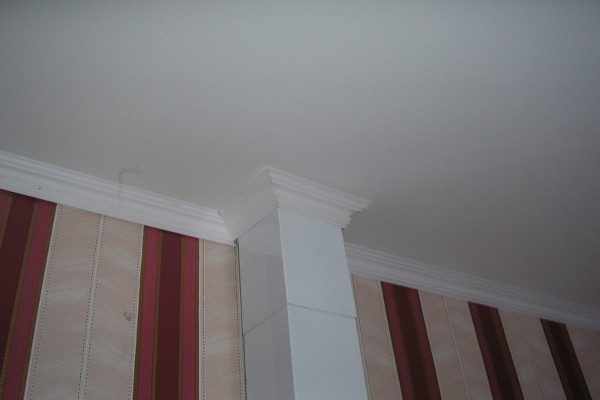
Another difficult moment can arise if the wall does not close. As a rule, it is found on the stairs.
In this situation, you can proceed as shown in the figure. Get a complete and neat appearance.