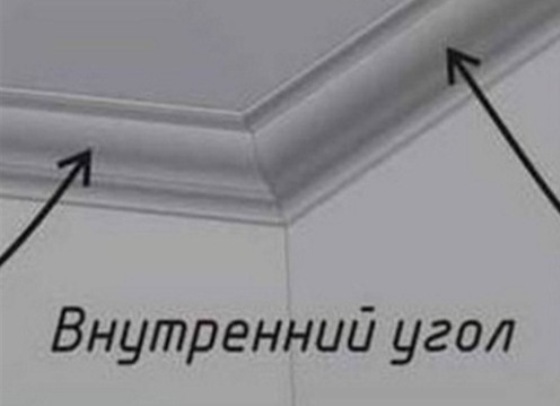
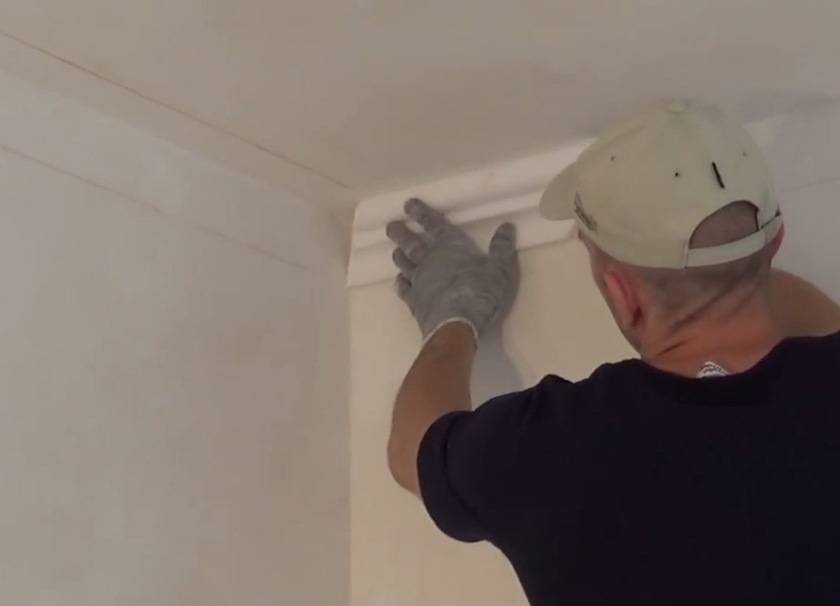
Finishing the ceiling is to glue the ceiling skirting . Mounting is not difficult, but usually there are difficulties with fastening fillets in the corners. Incorrect trimming and several meters of material are spoiled.
How correctly to glue ceiling skirting boards in corners?
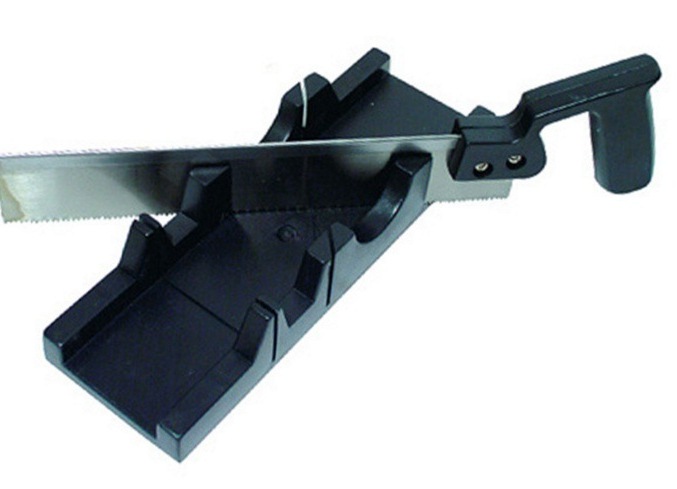
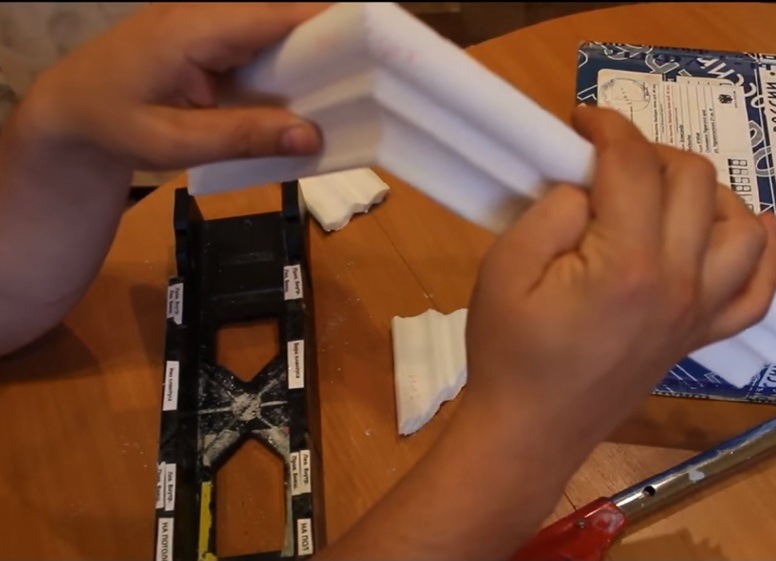
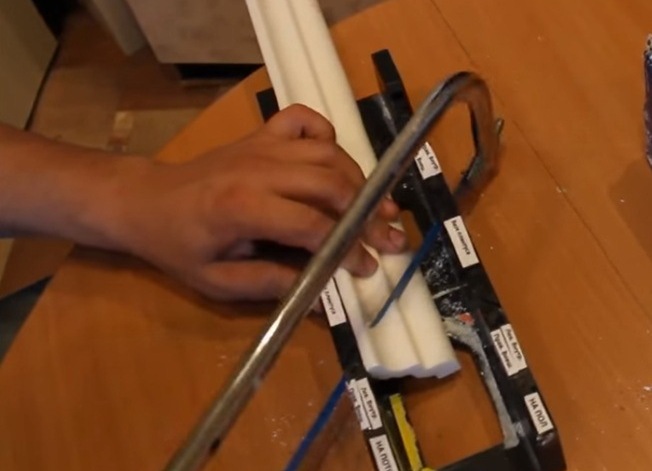
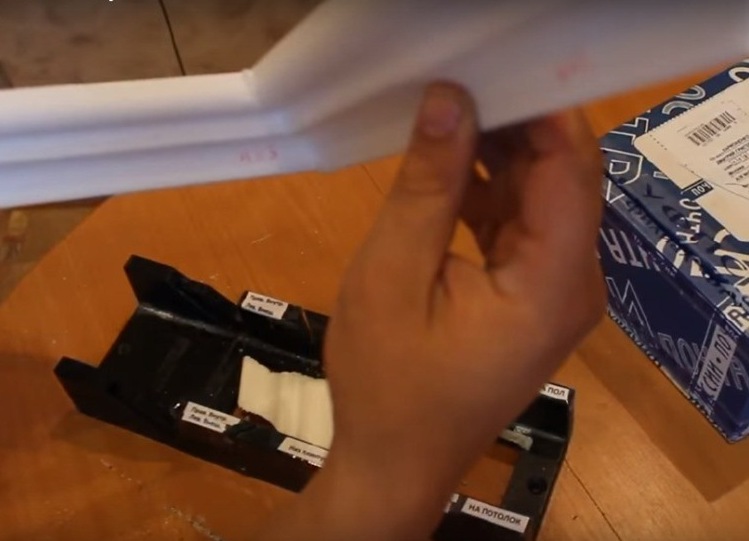
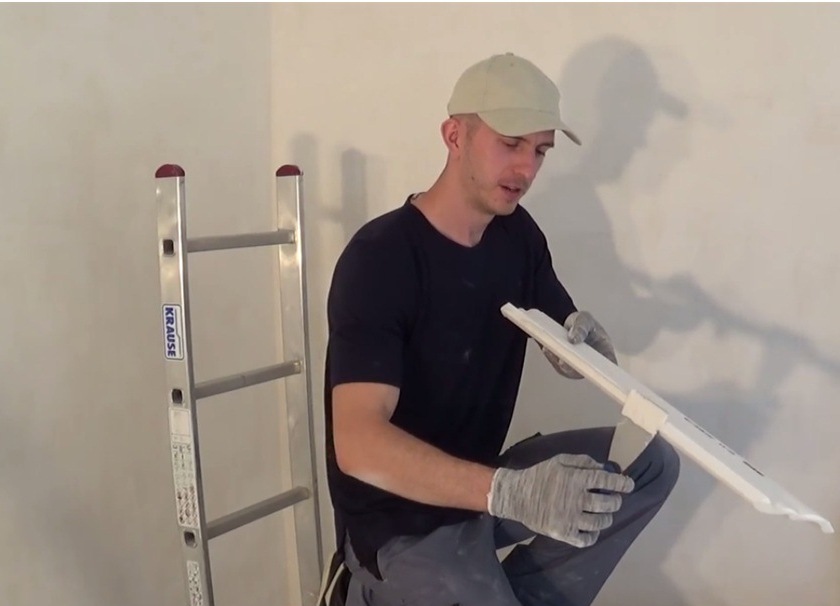
The best way to prepare ceiling fillets for mounting in corners is to use a chair. This is a special stand with markings for cutting skirting boards. The U-shape with deep cuts in the side walls allows you to cut at a right angle and an angle of 45 degrees. The workpiece is put in a certain position, a pruning is carried out with a special saw or a hacksaw for metal.
The position is selected depending on the type of angle: external or internal.
| | |
Let's get to work:
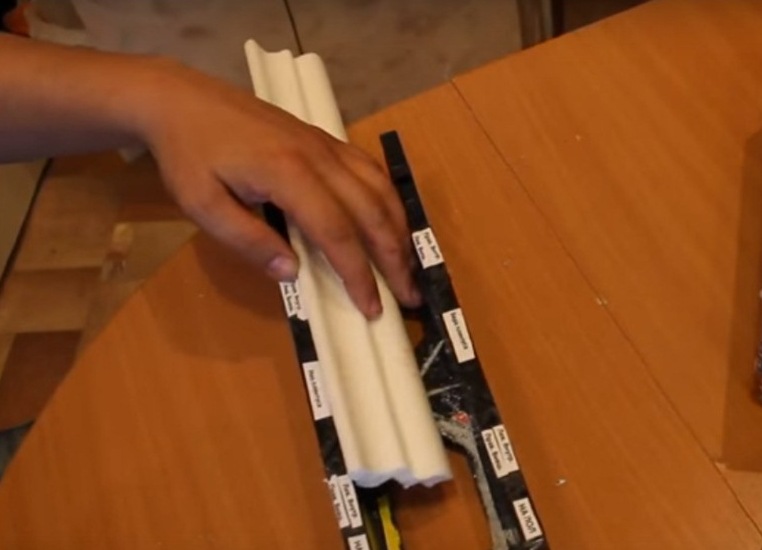
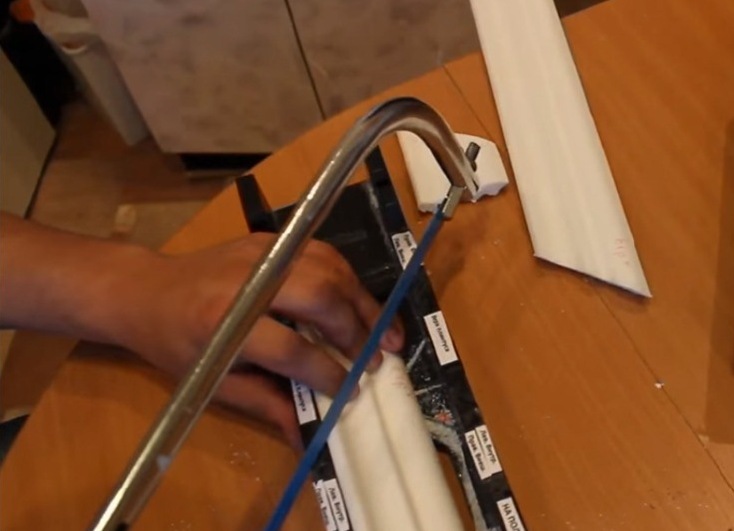
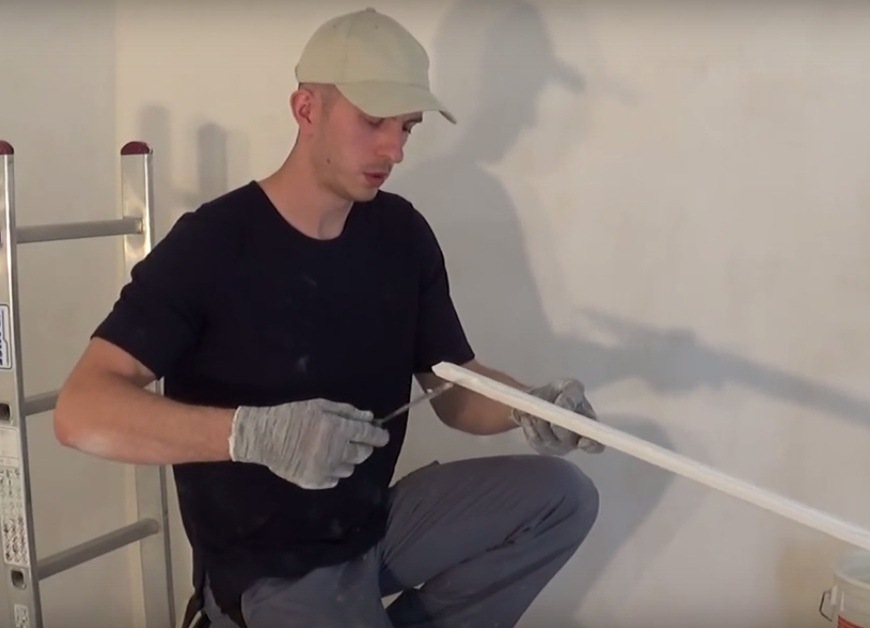
- Start with the left side of the outer corner. The lower part of the ceiling should be on top in the stool. The saw is conducted as follows:
- The right outer corner is cut as follows:
- For the left inner we lay the panel with the bottom part upwards, the pruning is done in this position:
- The inner right corner is done like this:
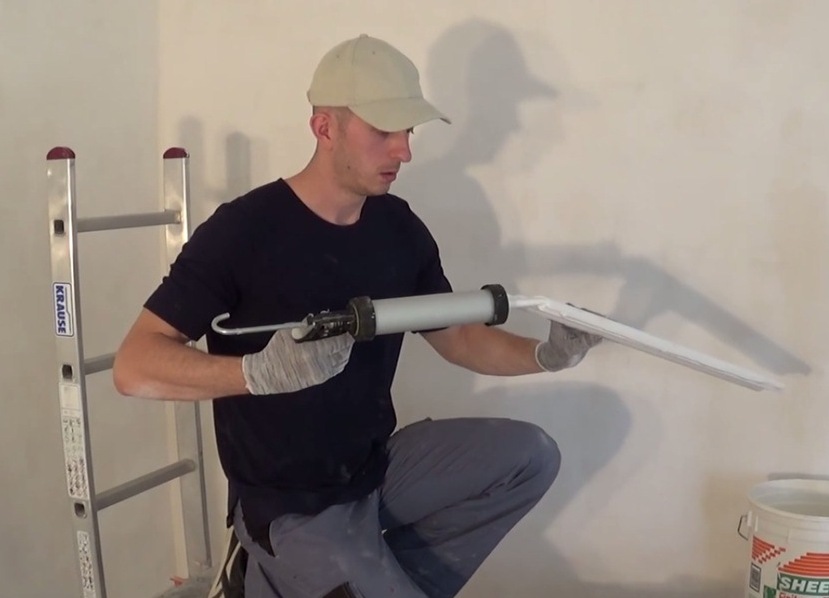
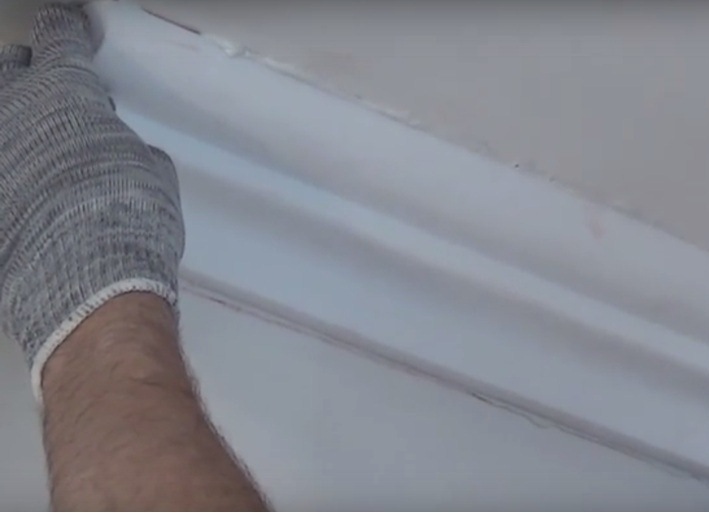
- Attach the workpiece to the ceiling. Apply the adhesive mixture to one side of the panel, then the second. For joints it is recommended to use special mixtures. Usually they are sold in cylinders with a gun. Such a solution will not allow the seam to crack at temperature differences. The skirting boards may slightly widen and narrow.
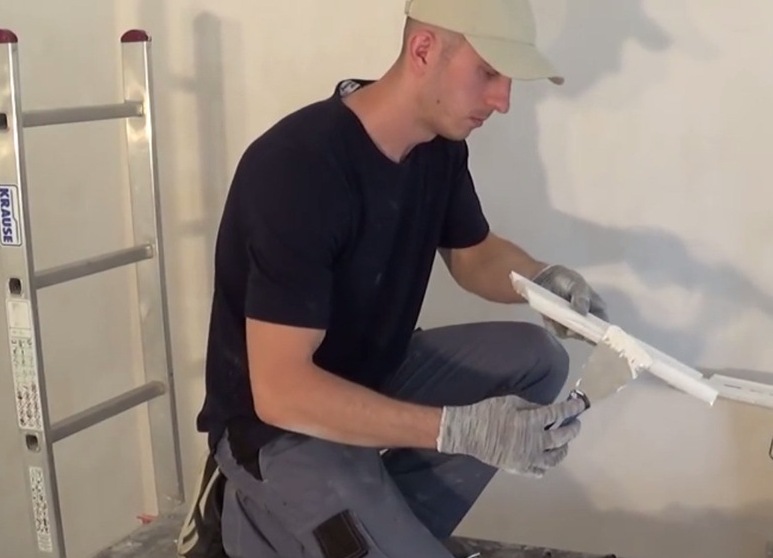
- Check that the position is correct.
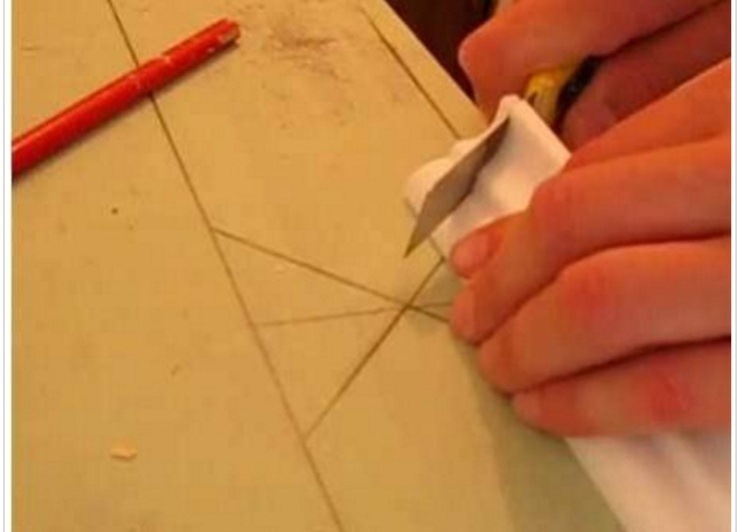
- Remove excess glue with a spatula and a washcloth (cloth).
| | |
Got:
Got:
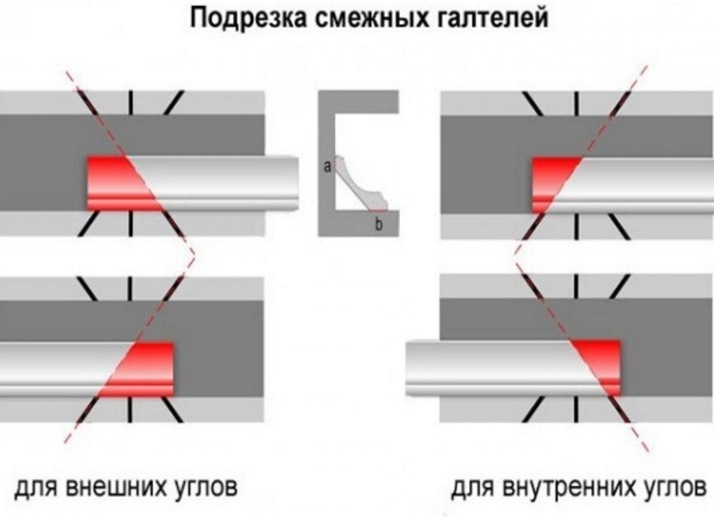
The general scheme for cutting will simplify the process of preparing corners. Before you start work out on short pieces.
| | | |
| | | |
| | | |
How to glue the corners of the ceiling skirting without a stool?
To trim fillets, you can do without a stool in two cases: by making a marking on the wall or by drawing a stool. Choose a more convenient way for you.
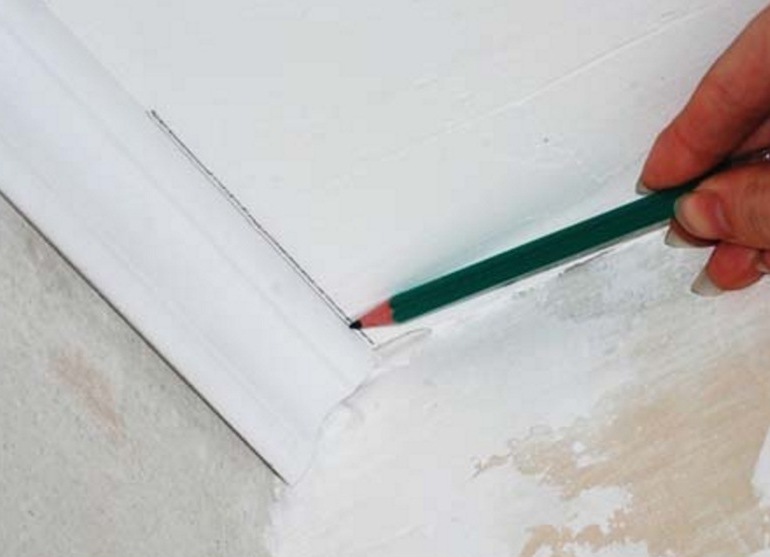
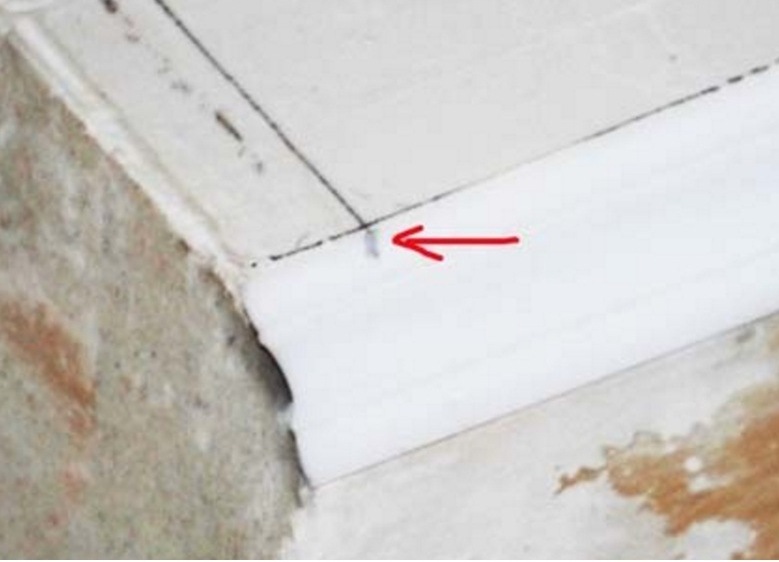
Algorithm of "wall" trimming the skirting board:
- The edge of the plinth is cut at an angle of 90 degrees, applied to the corner. Draw a line along the contour with a pencil.
- The first bar is removed, the second is applied. Again make a mark on the wall.
- Now you have a point of intersection of lines, it needs to be transferred to the plinth. We connect this mark with the edge of the element - we obtain a line for cutting.
| | |
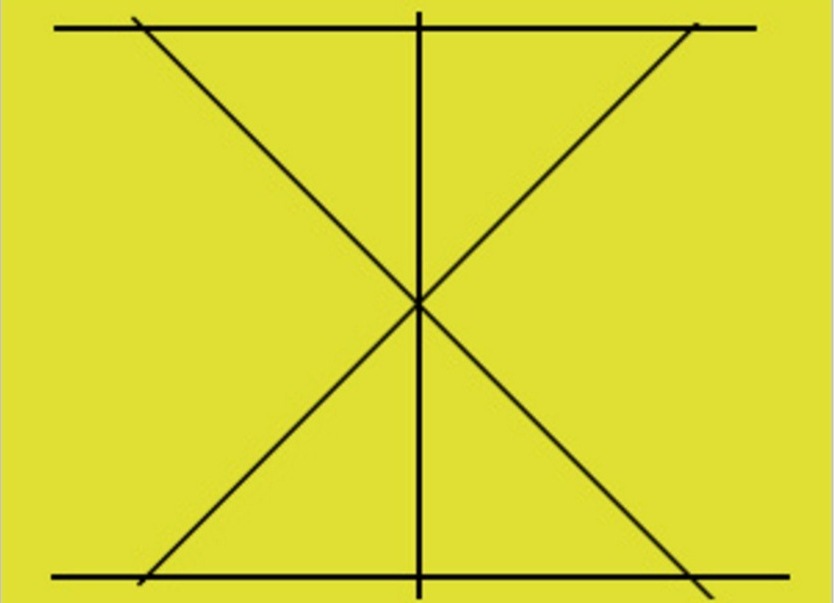
You can make a draft of the chair on paper, cardboard or a board.
- On the chosen basis, draw 2 parallel lines, with the protractor, set the corners at 45 degrees.
- The markings will be enough for the work. The workpiece is prepared as follows: a fillet is applied along a parallel line, cutting is performed under one of the corners.
| | |
Note that not always the angle between the walls is 90 degrees, respectively, and the pruning is not 45 degrees. Before you glue the ceiling skirting in uneven corners, it is worth using a draft of the chair.
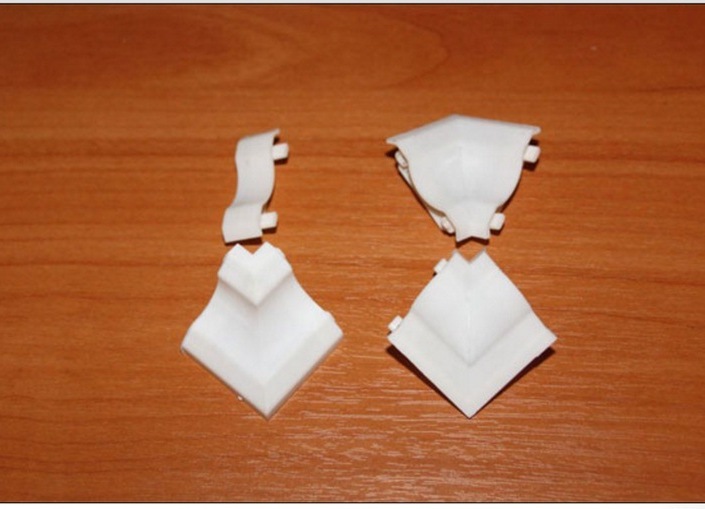
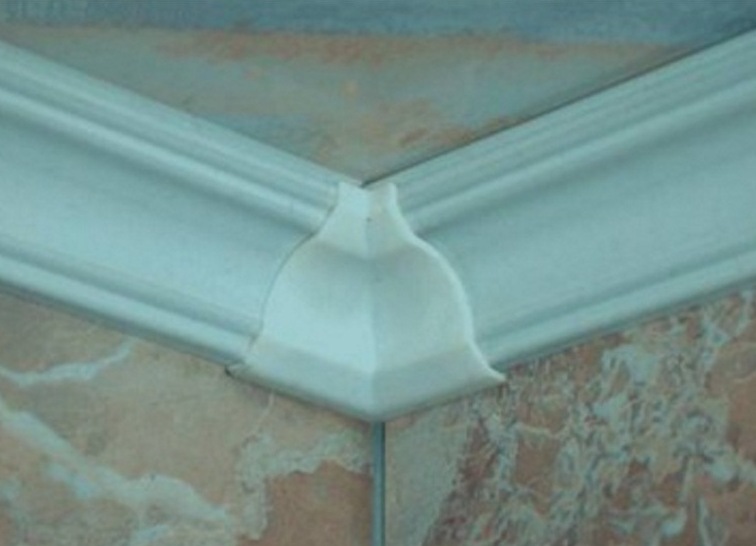
If you make a mistake when docking corners, the situation can be corrected with the help of special fittings - inside and outside corners. The panel ends are inserted into the product.
| | | |
Fittings can be with decorative trim.
Cutting and gluing of ceiling skirting boards does not take much time. The main thing is attentiveness. If the surface after gluing is slightly damaged, there is glue, all these places can be corrected with the help of fine-grained grinding.
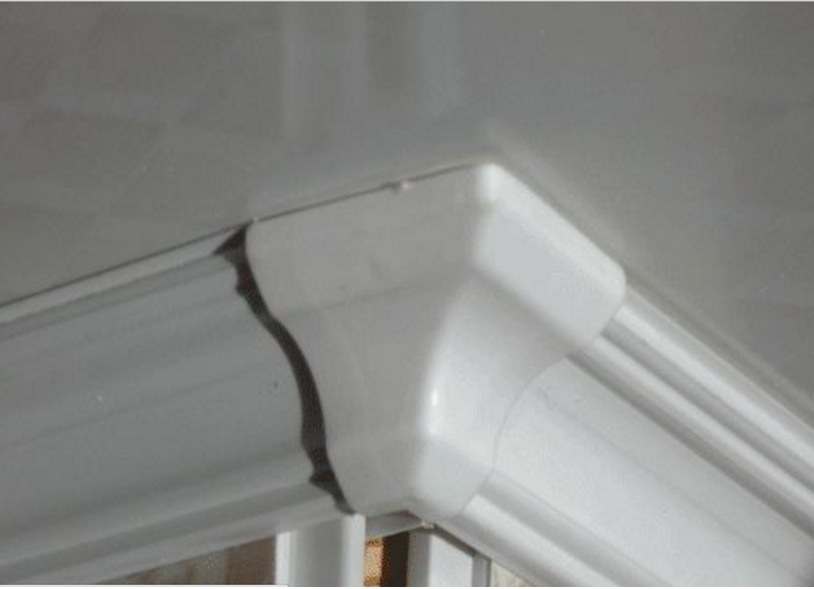
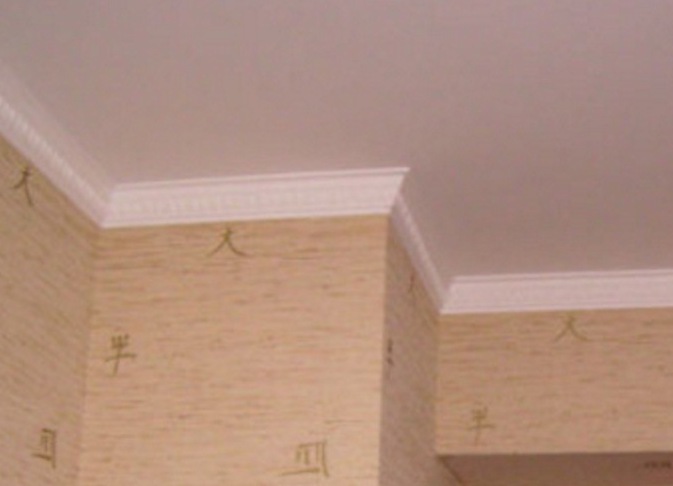
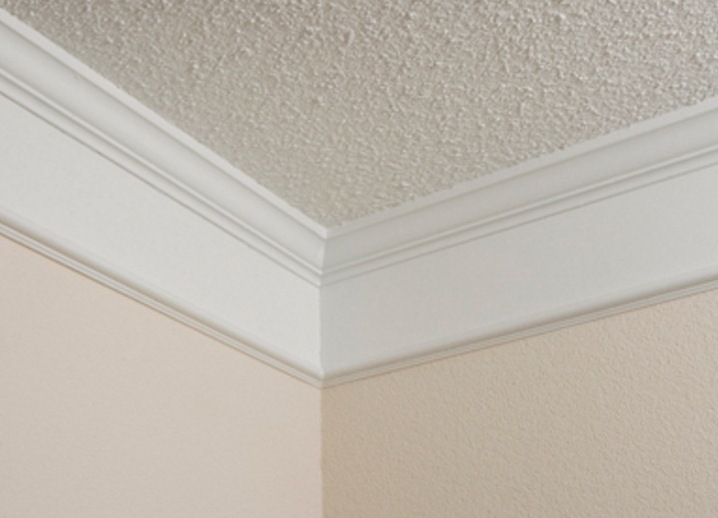
At the end of the work, an effective wall / ceiling transition is obtained.
| | |