We decided to update the interior, but to change all the decoration of the walls is expensive or inappropriate! Using photo wallpapers is the best option. With the help of this material you will get a lively and unusual decor. In addition, you can make such a "repair" with your own hands.
Varieties of wallpaper
There are several types of wallpaper. A relatively budgetary option - a PVC film on a self-adhesive basis. This material is suitable only for perfectly smooth surfaces, for example, a closet , laminated, plastic coatings. Sticking this kind of photo wall on the wall is impossible. Do not make a mistake when choosing! The most economical option is the wallpaper on the paper blueberry. The same basis for posters on billboards. The sticker on the wall is overlapped. Professional wallpapers have an excellent dense base, often glued joint-to-splice. There is no need for additional pruning.
Paper wallpapers do not always have an excellent photo show, but their clear advantage is the democratic value. Wall-paper from nonwoven are made of pressed fabric and paper fibers. They are more qualitative, are not afraid of moisture, are resistant to pollution and mechanical damage. Printing with ultra-violet or latex inks makes the product resistant to burnout.
If we talk about the texture, it can be very diverse. There is a base resembling sand, oil stains, a structure of paper, canvas, or can resemble a glossy coating, silk.
Kleim wallpapers with own hands
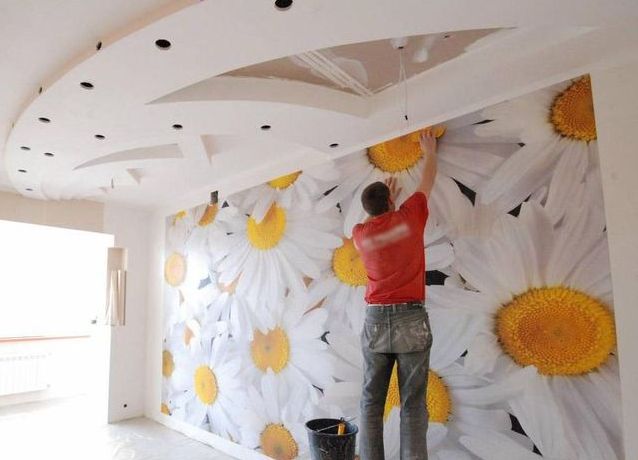
Updates of this kind are a scrupulous process, requiring attention and minimal skills. Act step by step, and the result will pleasantly surprise you.
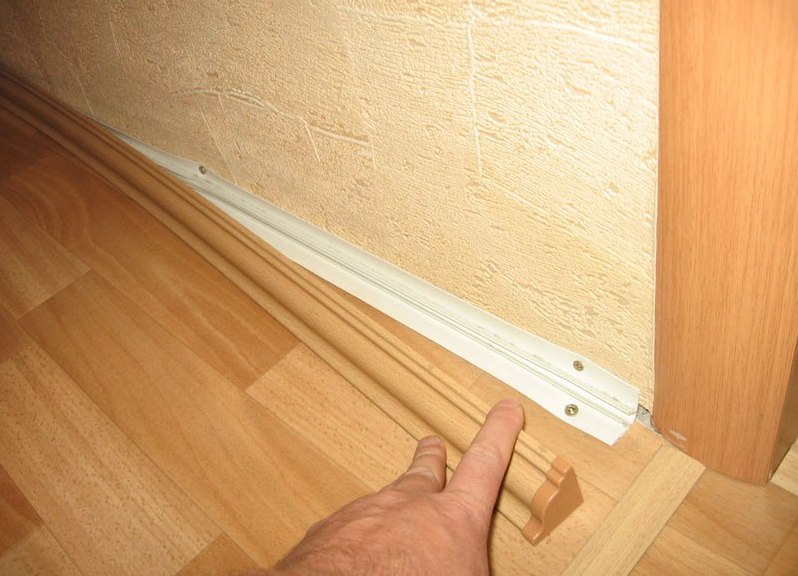
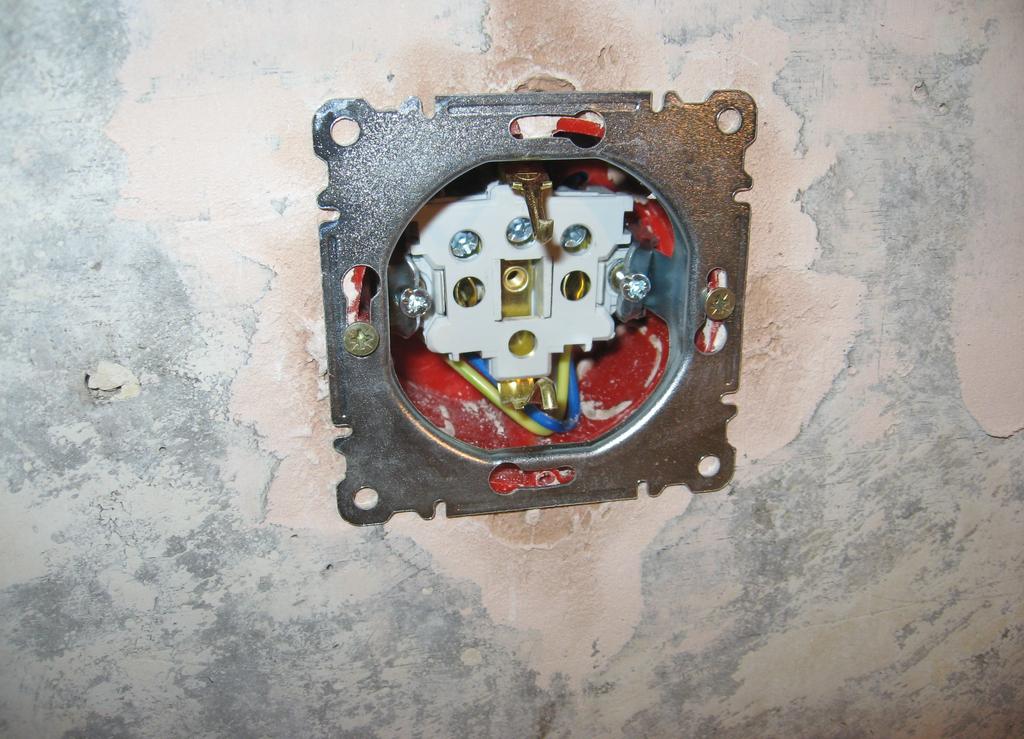
- The first action - a thorough preparation of the walls for the gluing of wallpaper. Remove the floor skirting, all sockets, switches.
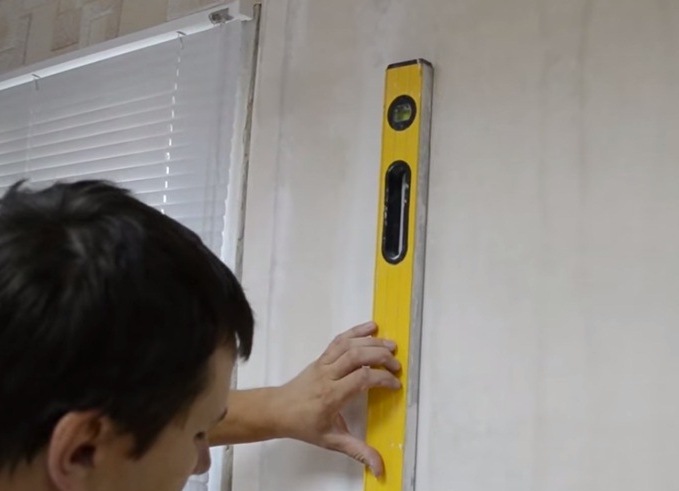
- Now you can start marking the wall. Use the level so that the verticality of the lines is 100%.
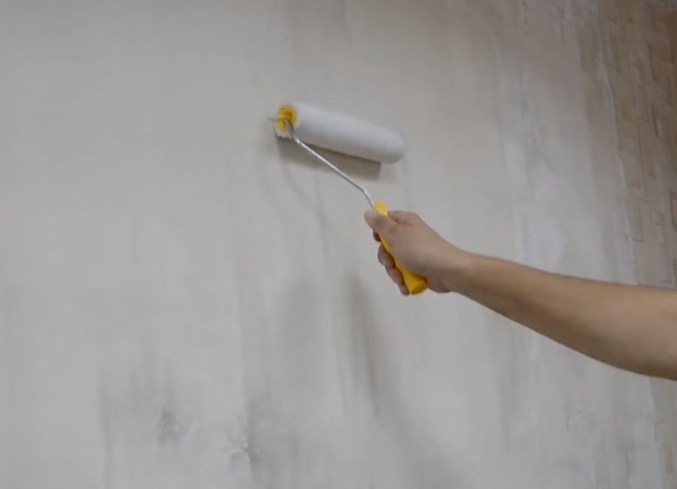
- Walls are applied glue for vinyl or non-woven wallpaper.
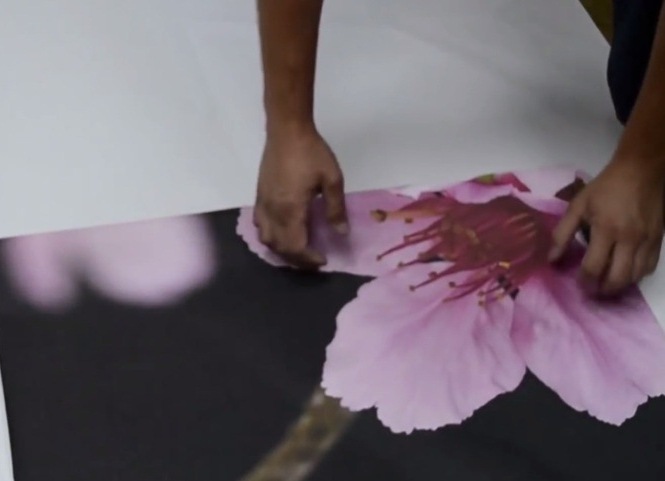
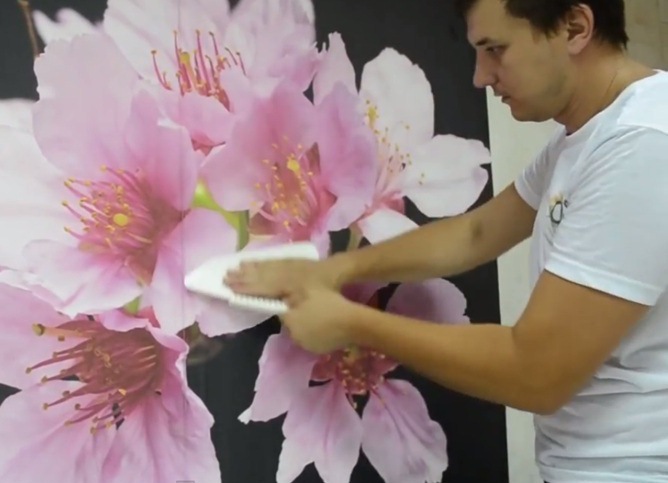
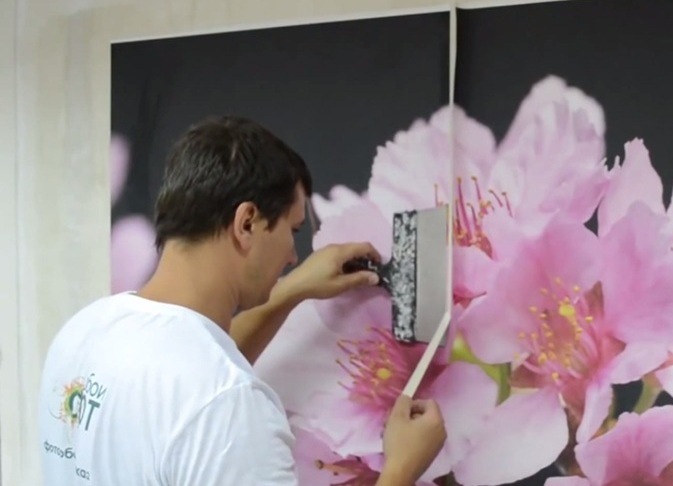
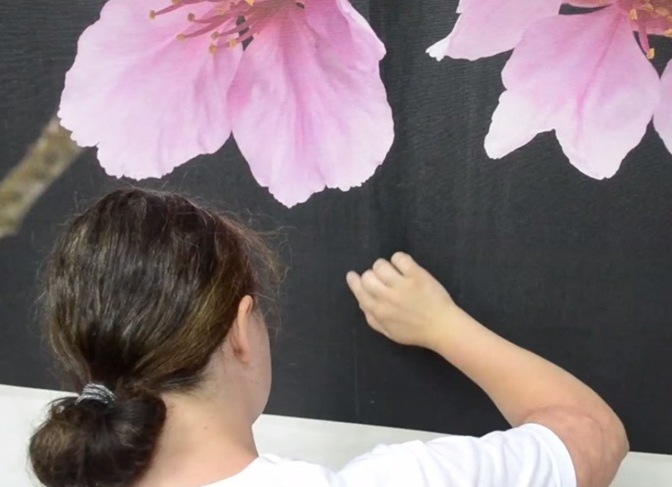
- Attach the sheet to the wall according to the markings. Now you need to thoroughly fix the material on the wall and get rid of all the defects in the form of air bubbles. To do this, walk across the area with a rubber spatula and a rubber roller. The use of tissues, napkins from microfiber is excluded, since this kind of decoration is quite "gentle".
- A similar algorithm of actions is also observed when sticking a second cloth.
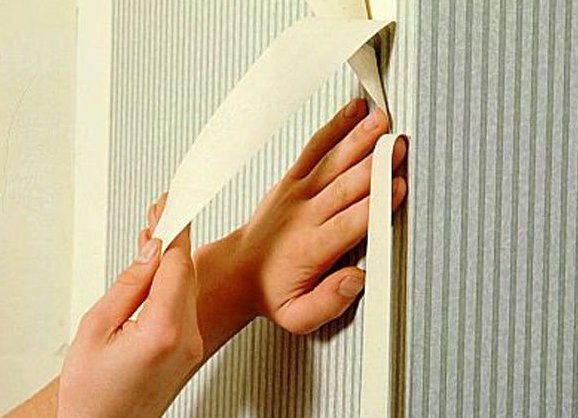
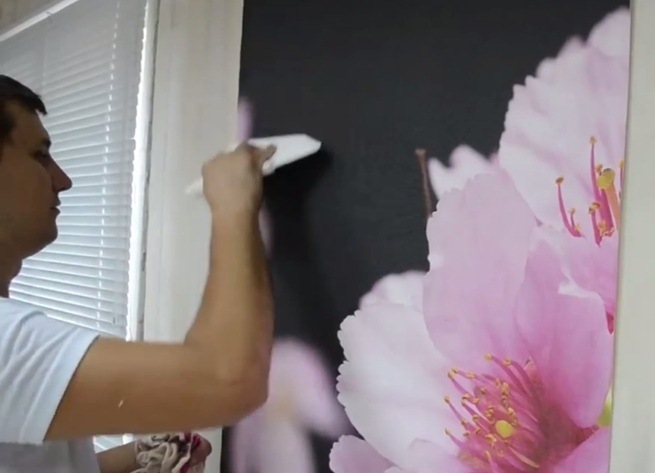
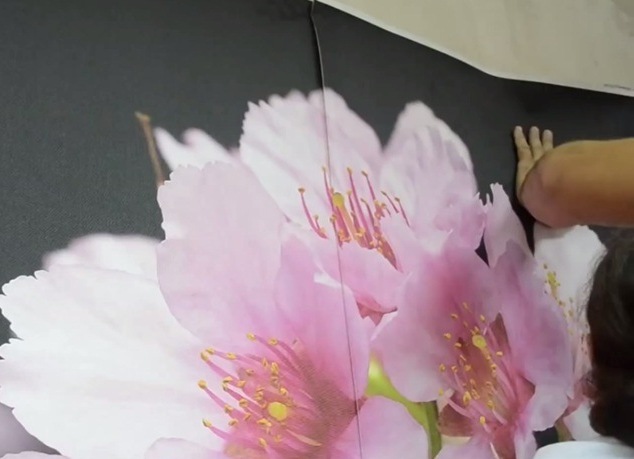
- In order to paste the photo wall at the joint as best as possible, the material is glued overlapping (1-2 cm), an incision is made in the middle, the excess is removed with a clerical knife and using a spatula.
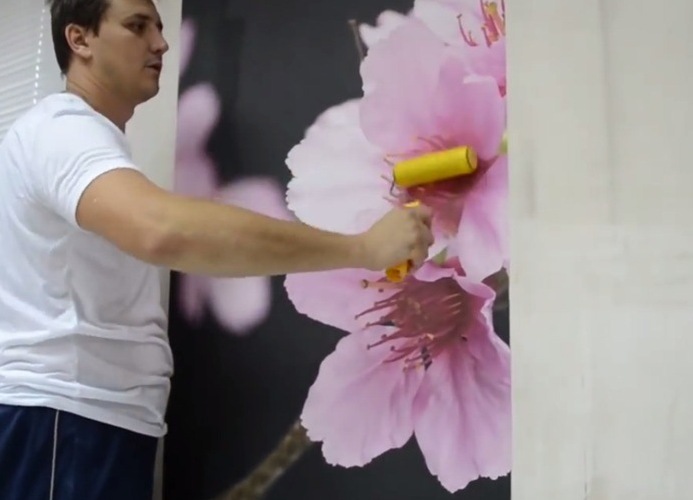
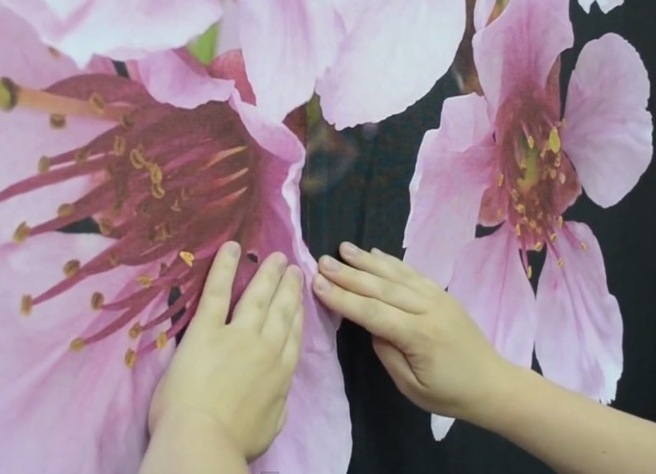
- Check the joints, we pass over them with a rigid roller.
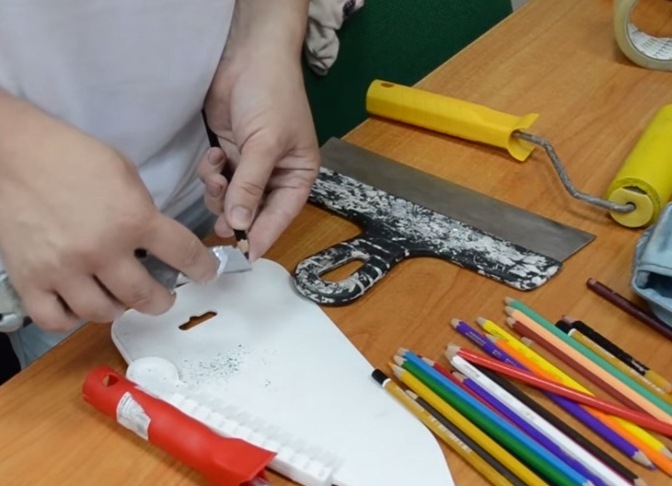
- The retouching stage is the final one. It is not necessary, but in some cases it helps to hide as much as possible the presence of a strip (junction) between the canvases. Choose the right shade of the pencil, make a "shaving" and put it with your finger on the required area.
| | |
Old wallpaper is removed in necessarily order.
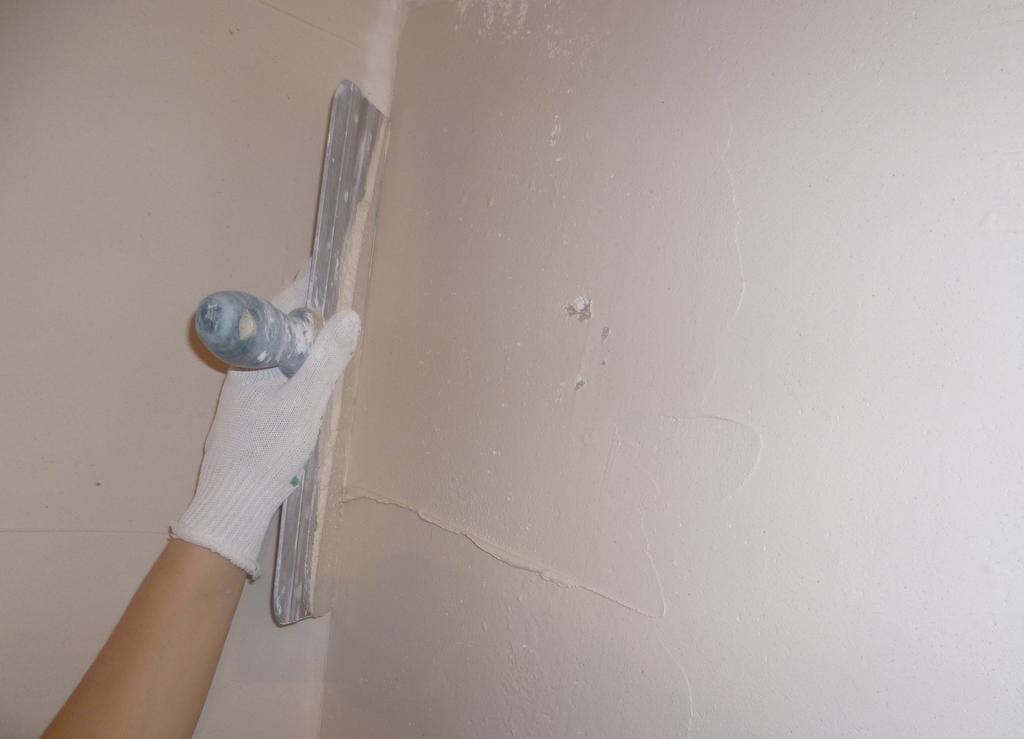
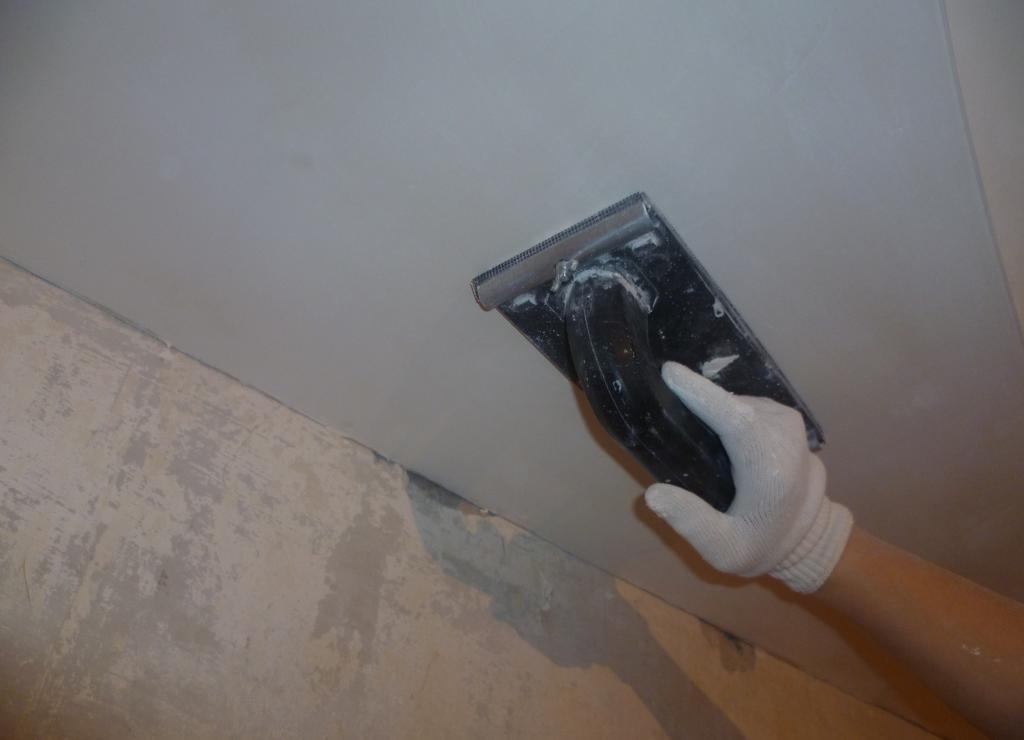
It is desirable to re-plaster the surface, wipe it with a mesh and primer. Photo walls are very "sensitive" to irregularities.
| | | |
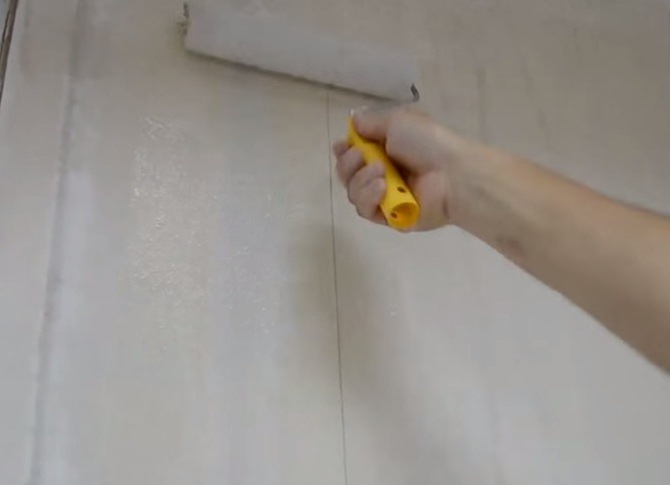
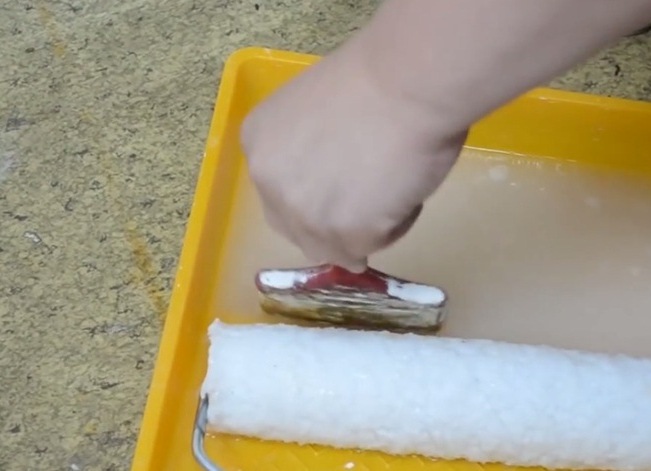
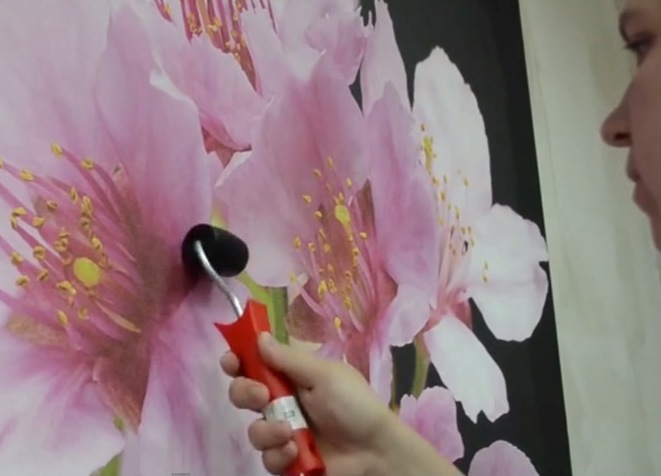
Options for sticking photo wallpapers can be different. Some experts recommend to apply glue to the wallpaper beforehand, others believe that applying the mixture only to the walls is enough for a qualitative result. So, put the wallpaper with the image down and apply the mixture with a fluffy roller across the entire area, fold twice and leave in that position for a minute.
| | |
| | |
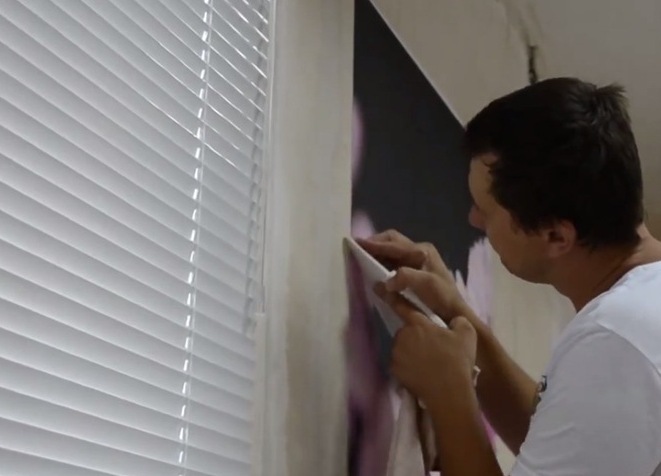
The edges are greased with glue and we pass over them with a rubber spatula.
| | |
| | |
| | |
| | |
| | |
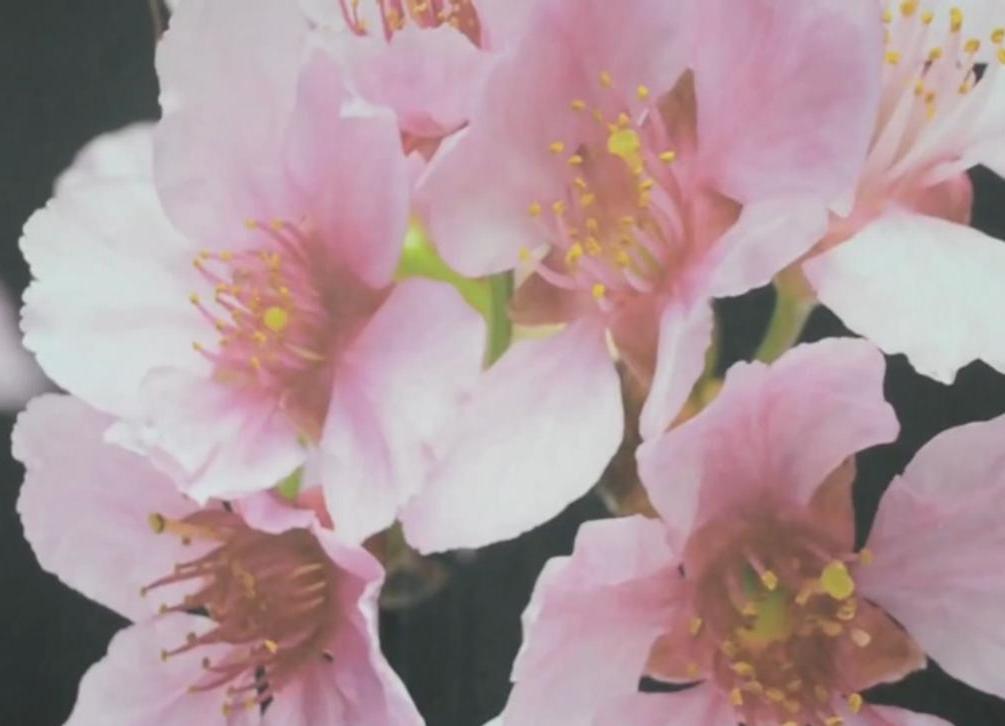
The result has surpassed all expectations!
Photo wallpapers are a great way to place accents in the design of your apartment.