Warm-up of premises from the inside is usually used in cases where, for some reason, this work can not be done outside. An example of this - multi-storey apartment buildings. On the question of how to warm the loggia , we usually think, feeling too low a temperature in the room. One of the important moments of warming is the correct installation of windows. During the installation work, we need to have a small space between the heater and the ceiling, as well as between the heater and the window sashes.
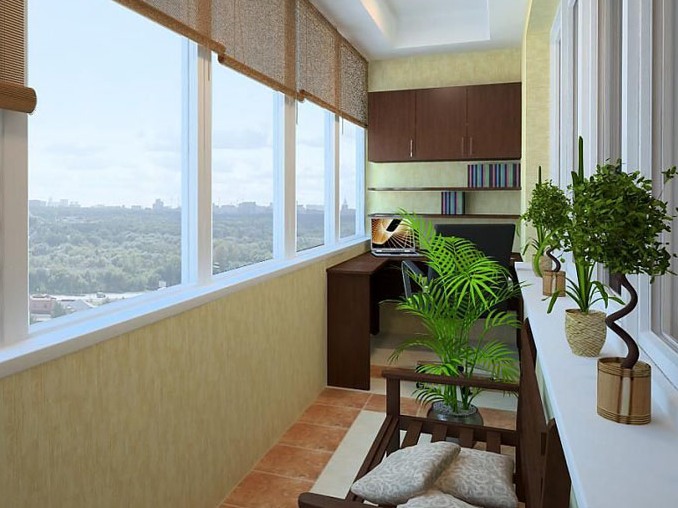
How to properly insulate the walls of the loggia with your own hands?
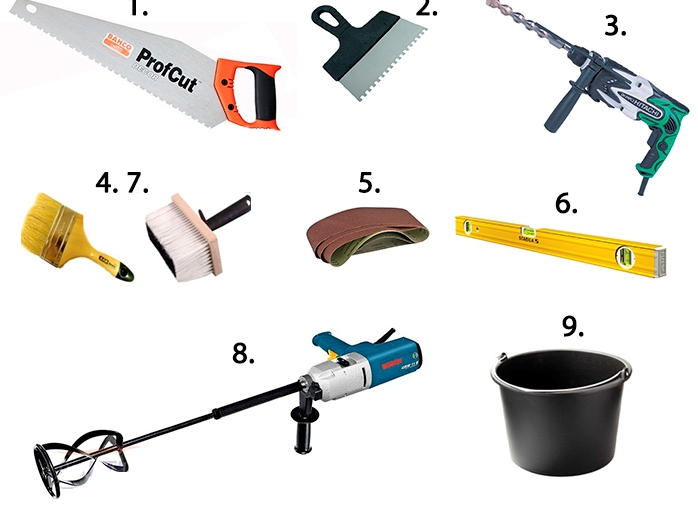
- We prepare materials and tools for work. The main material is a heater . If we decided to purchase expanded polystyrene, we buy only the facade, whose density exceeds 15 kg per cubic meter. Due to their low density, packaging products are not suitable for insulation.
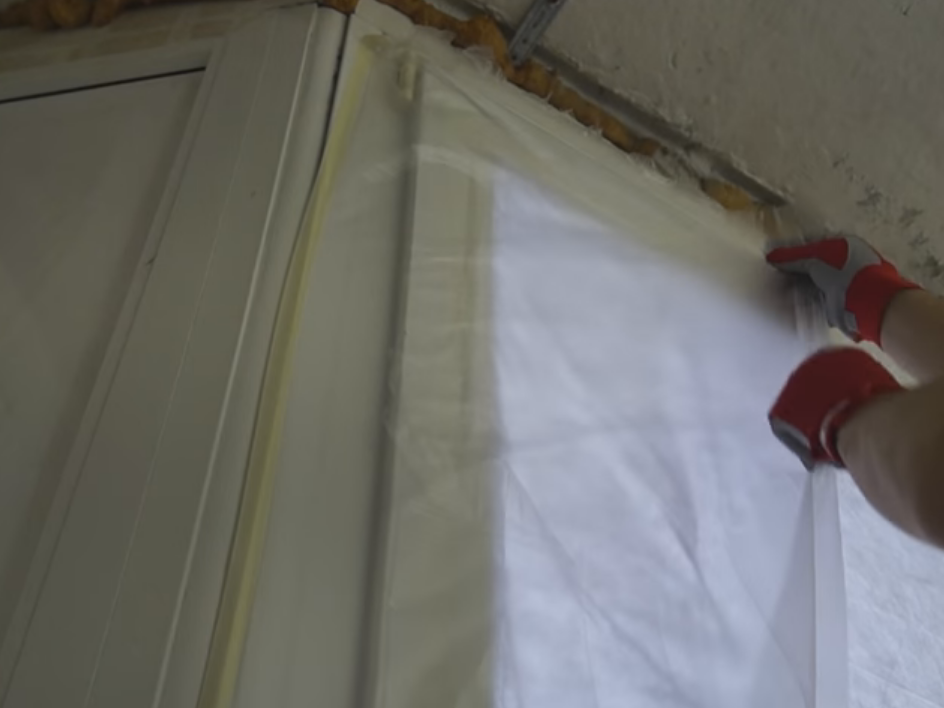
- Before starting work to protect against dust and mechanical damage, we close doors and windows with plastic wrap, which is fixed with adhesive tape. You can purchase in the trade network special material designed for this purpose.
- Before we warm the loggia from the inside, we prepare the walls.
- Prepare the heater.
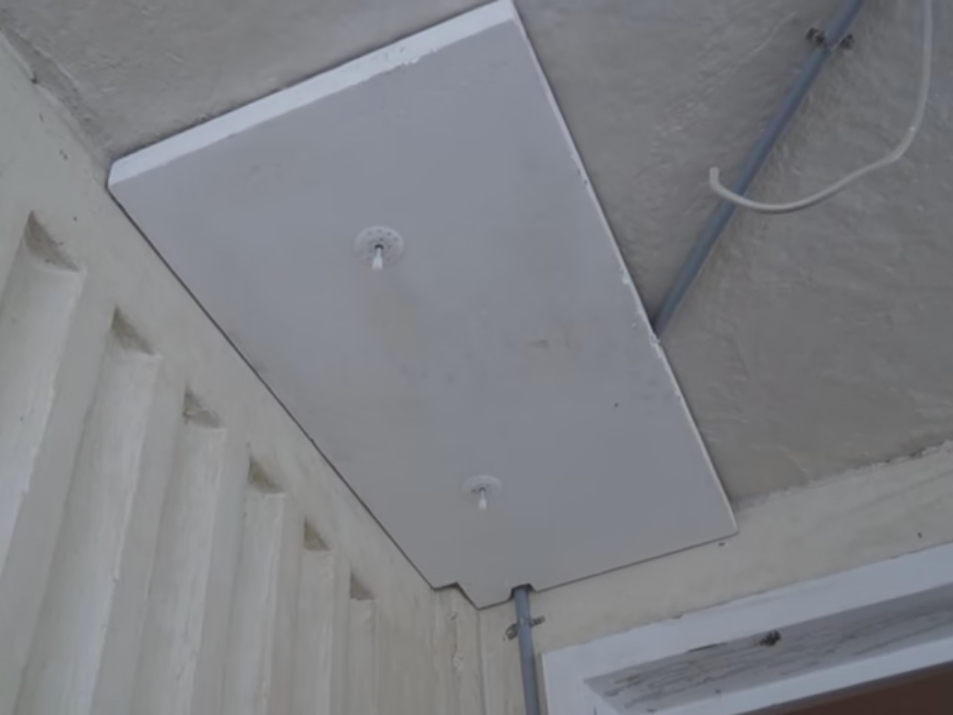
- We warm the ceiling.
- We warm the outer cold wall.
- Gaps between the plates are filled with glue or mounting foam, then grind the surface.
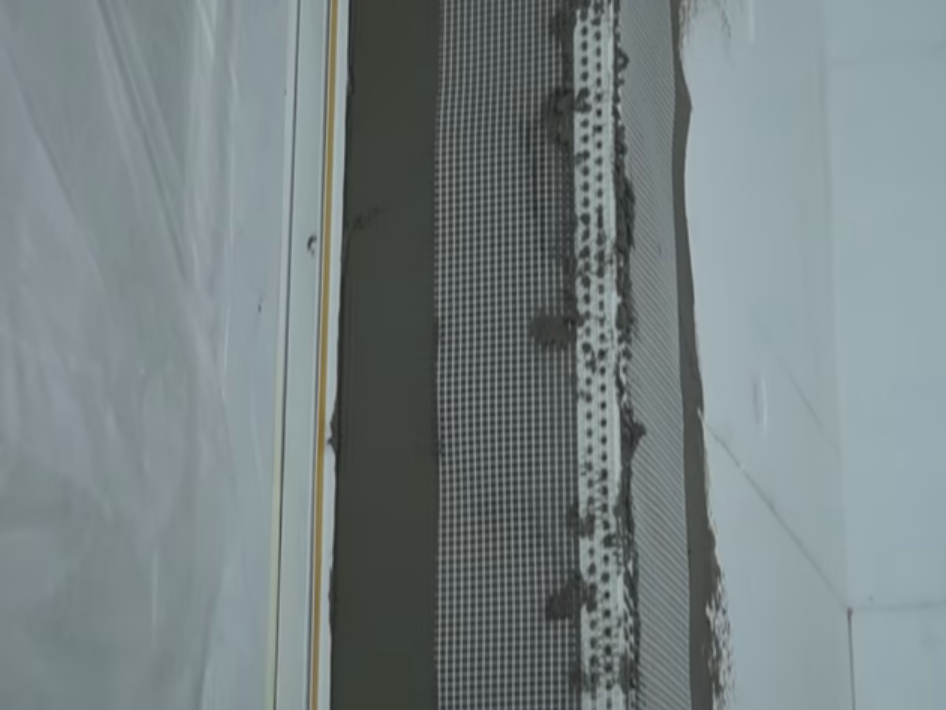
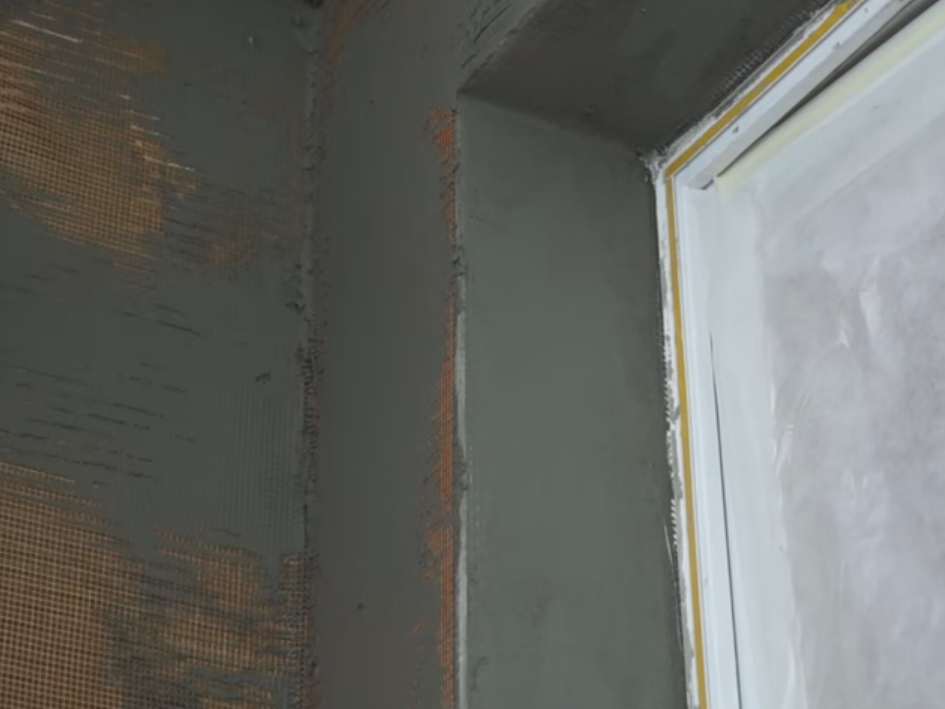
- Carefully install the window and corner profile with reinforced mesh with double reinforcement in the corners.
- By the same principle, we process the doorway.
- Gear smoothly distribute glue evenly on the wall.
- We reinforce the entire surface of the insulation with a glass net. We heat the mesh into the glue with overlapping pieces on top of each other.
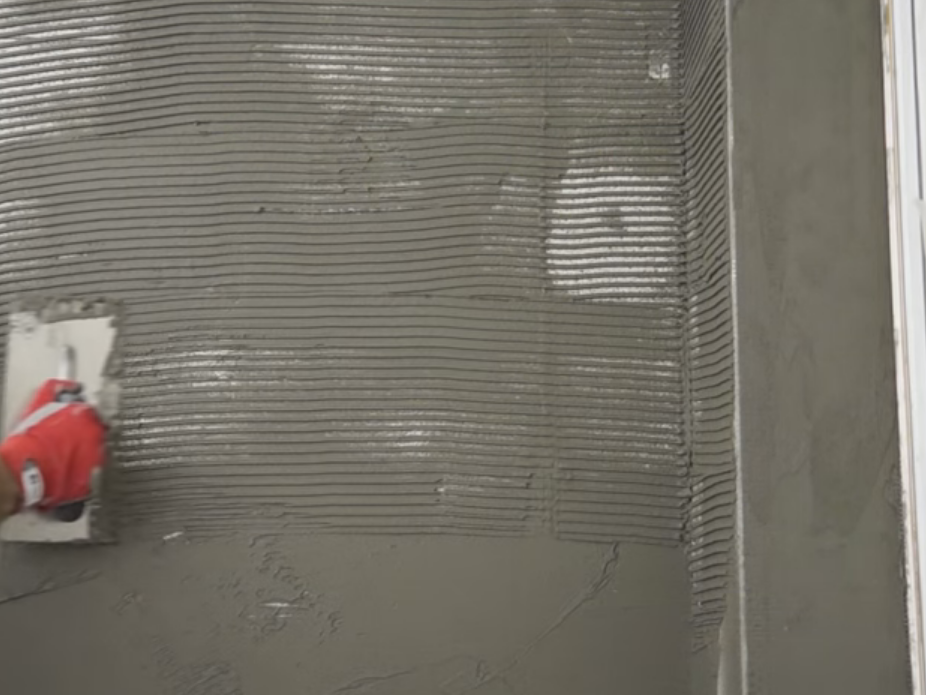
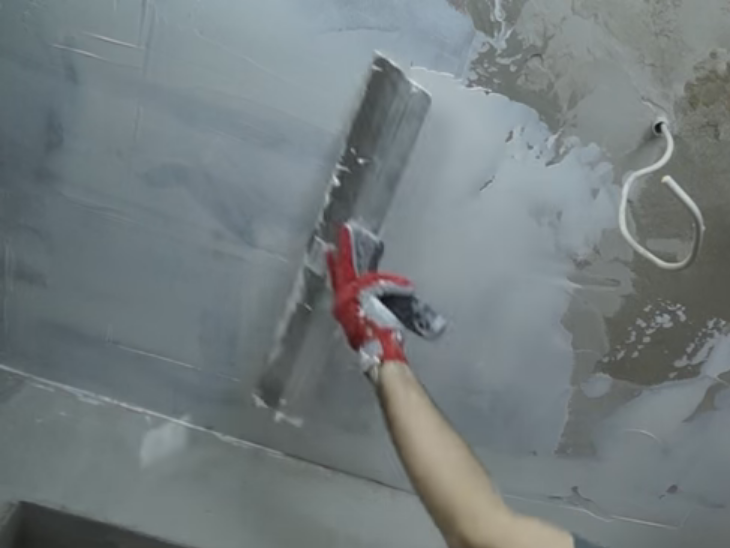
- After solidification, level the walls with an additional portion of glue.
- We plaster and grind the walls, trying not to hook the base layer.
- Surface primed with a layer of paint.
- To finishing work we proceed after warming the floor.
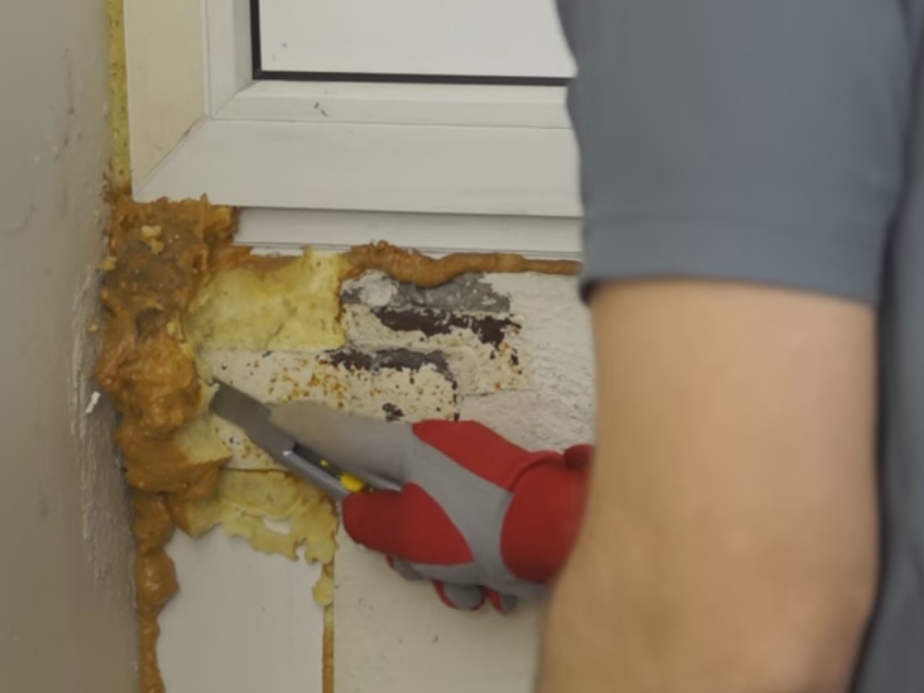
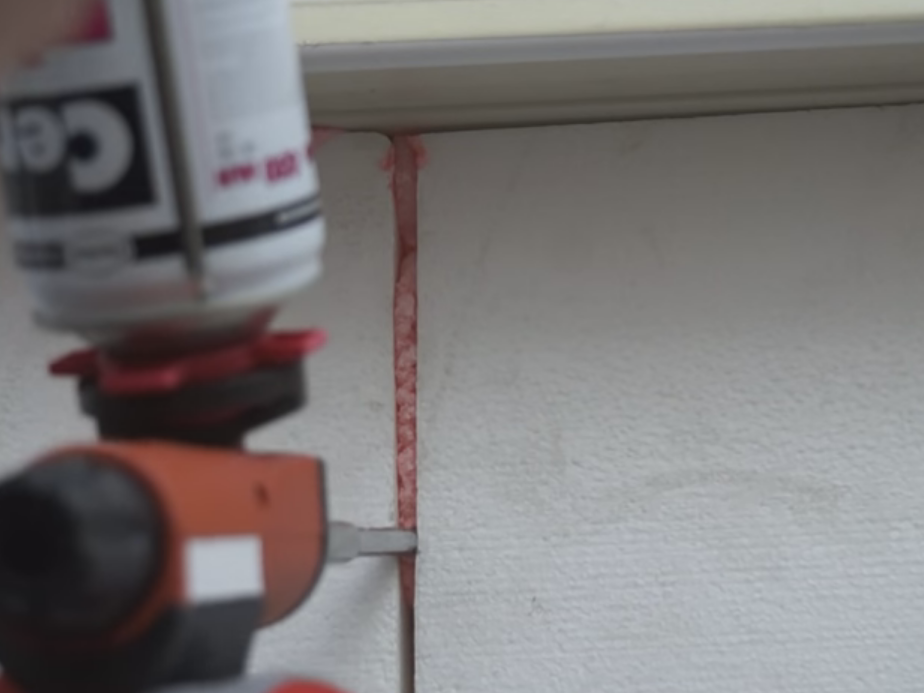
Cut the protruding sections of the mounting foam.
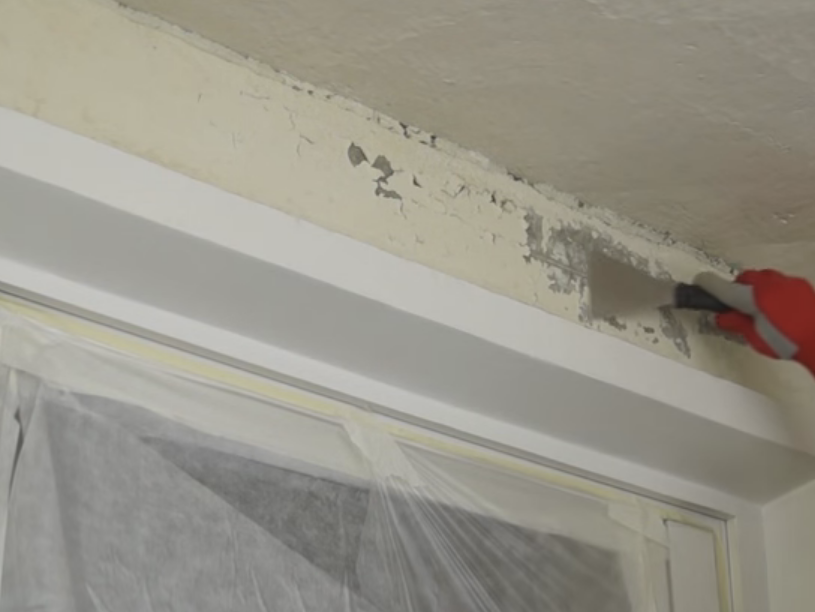
Achieving an absolutely smooth surface of walls, we remove dust and dirt from them, scraped off the stained paint and putty with a spatula.
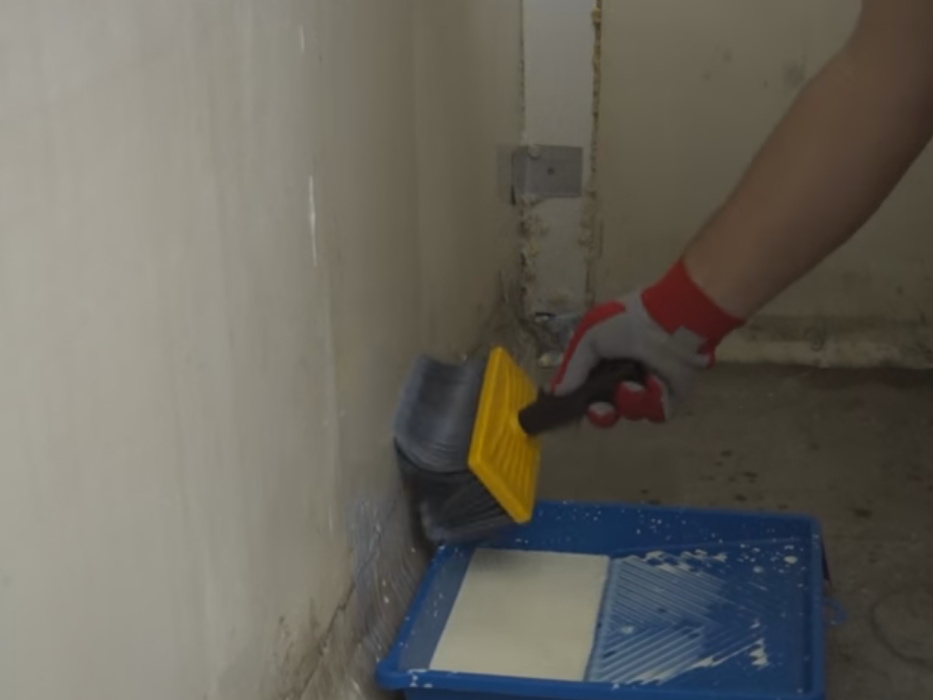
We put on the walls a primer of deep penetration.
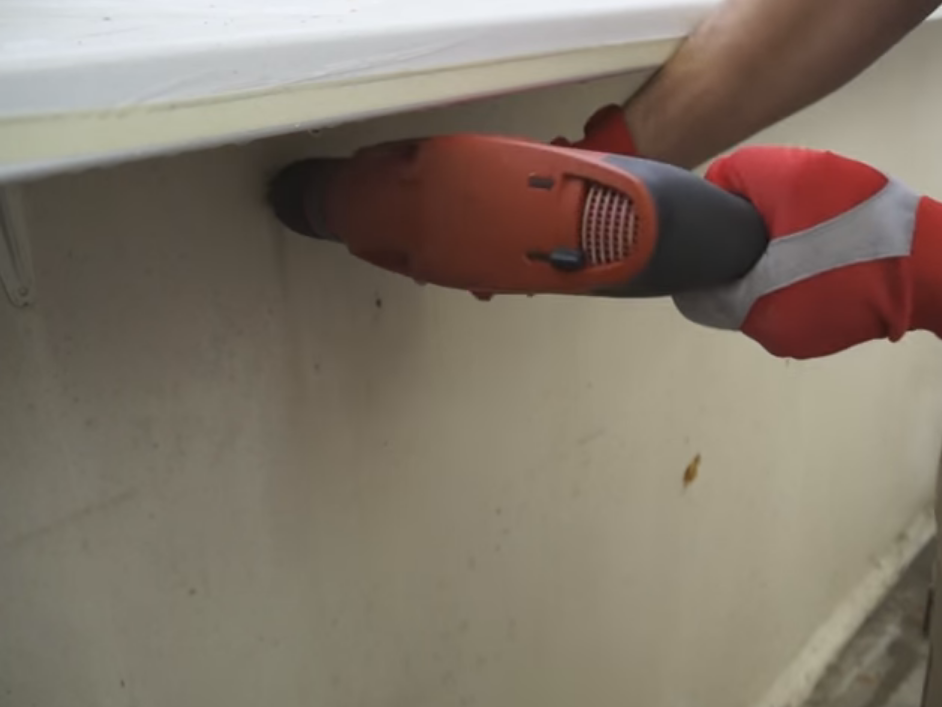
In the event that the surface from the street is made of heavy concrete, from above and below drill a few holes in it at an inclination. This procedure is needed to ventilate the air layer above the heater.
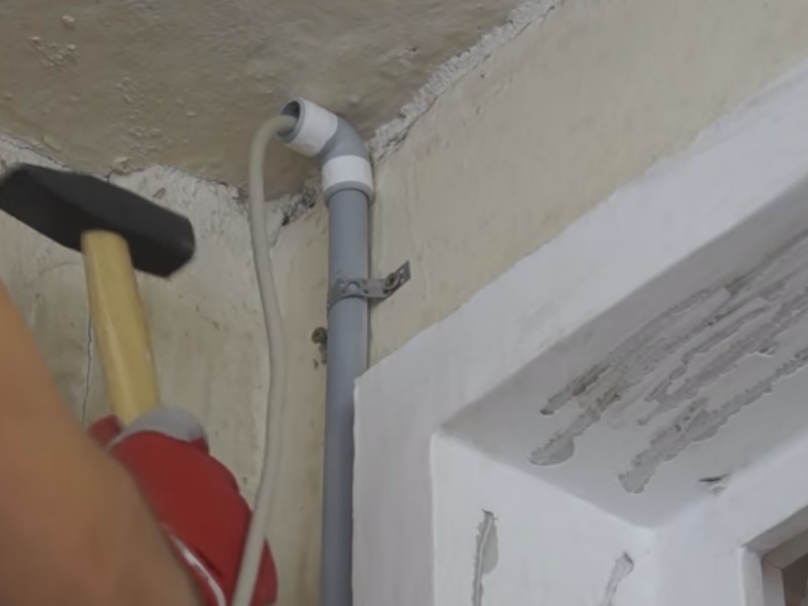
Prepare the walls to connect electricity. If you want to insulate the floor, we do cable wiring. For this we use non-combustible PVC pipes.
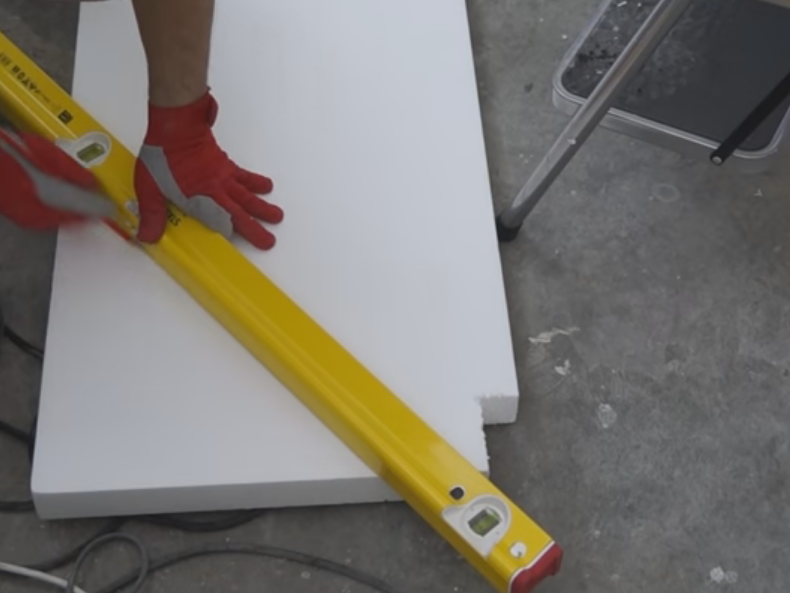
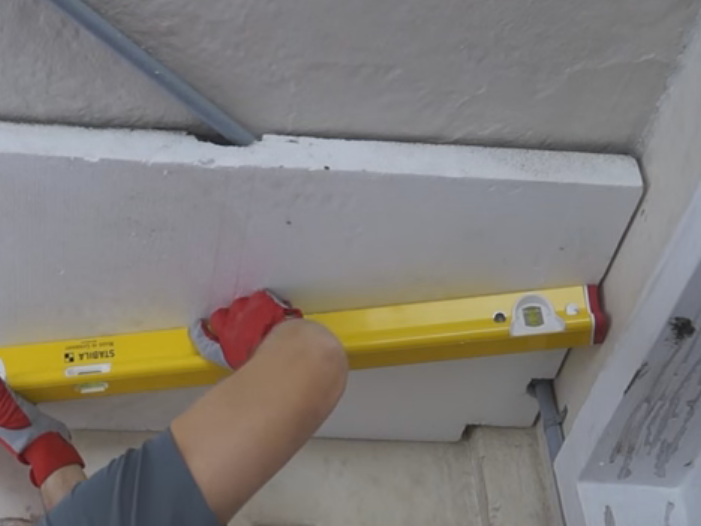
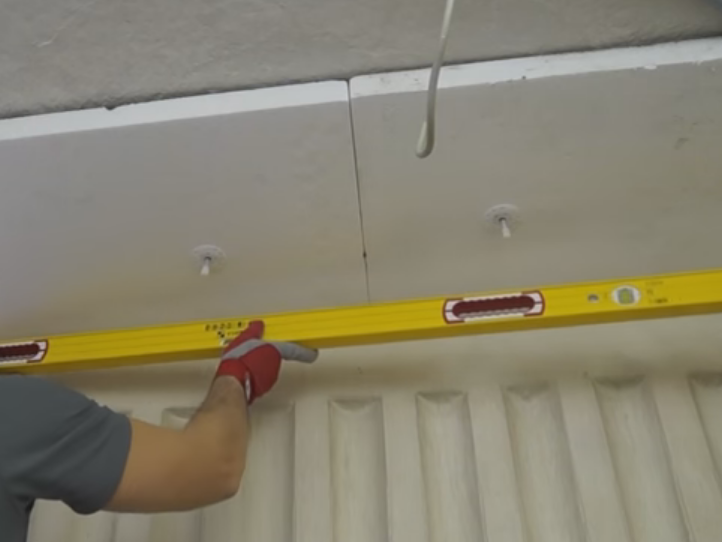
Since the surface must be level, the building level determines the possible deviations from the norm.
On the insulation we plan the holes for the protruding objects, We form their size and shape with a knife. If the insulation is applied over the pipes, we create in it grooves of appropriate dimensions.
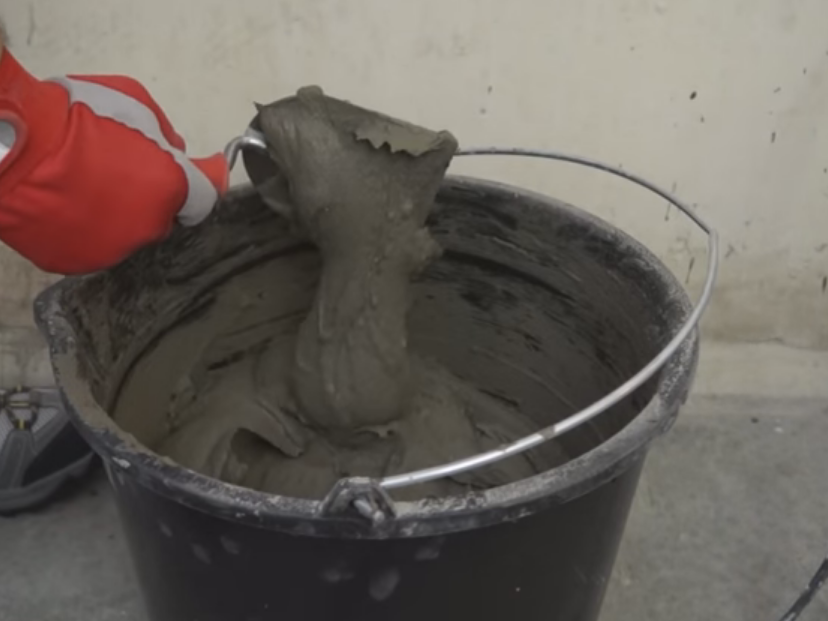
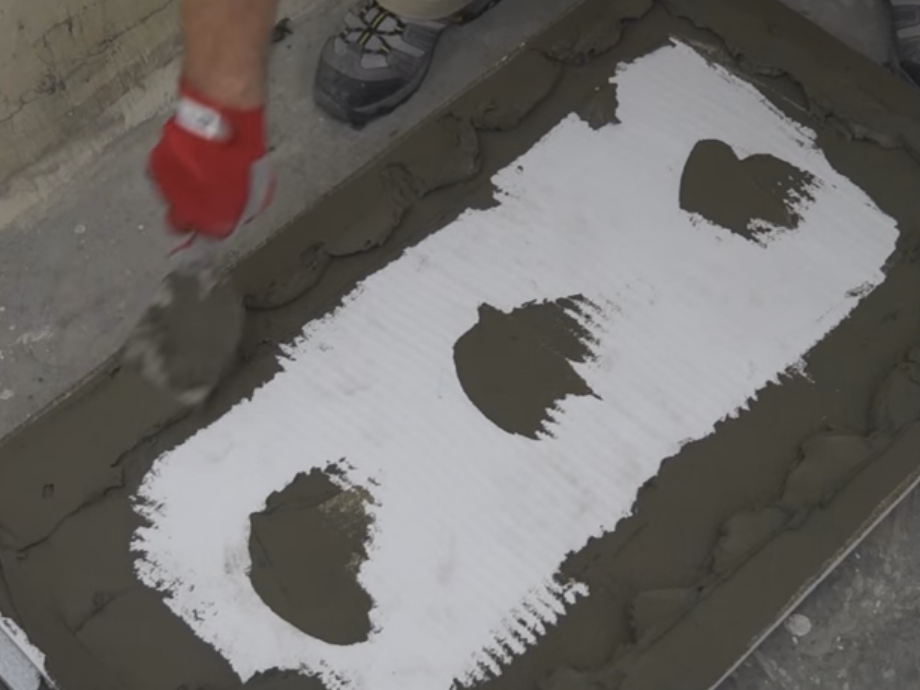
We prepare special cement glue. In consistence, it should not be too thick or liquid.
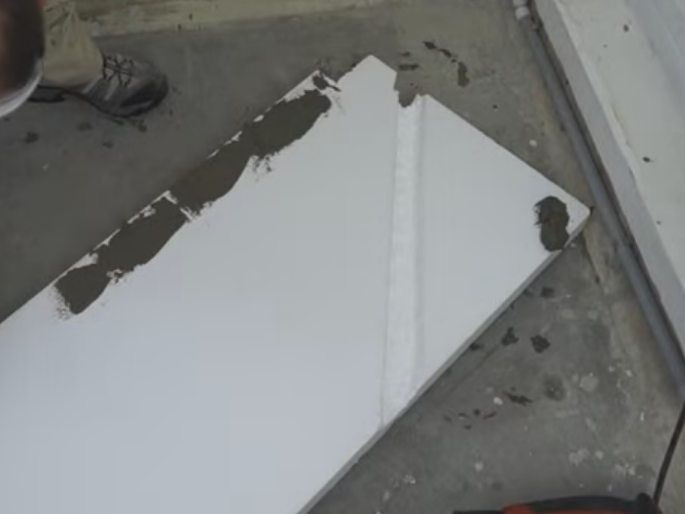
On the surface of the slab we apply glue and apply it to the wall.
| | |
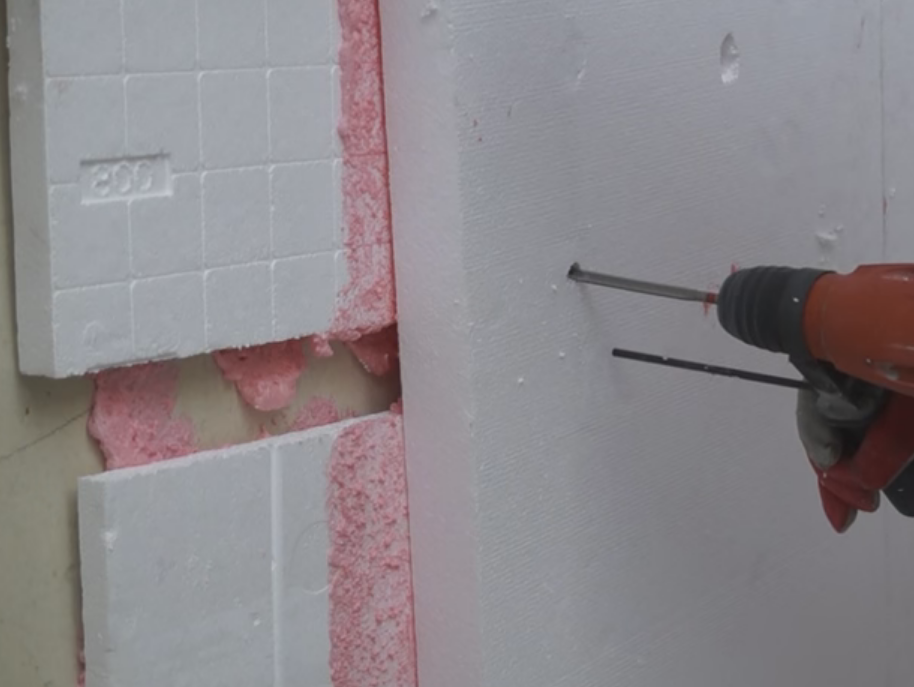
We try not to get the glue on the side faces. We fix the heater with special dowels with spacers in such a way that they protrude slightly above its surface. Until the end, we kill them only after the glue hardens.
To accurately fit the plates, use a special grater or sandpaper.
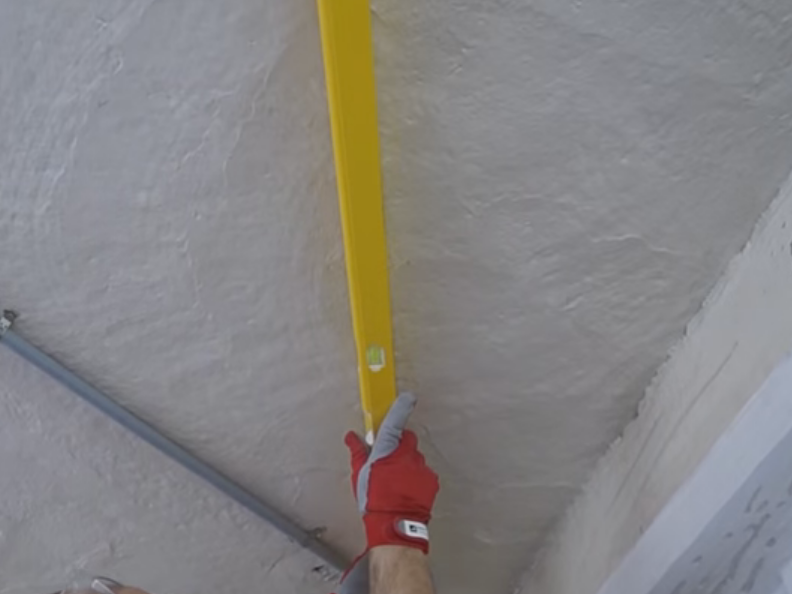
Constantly controlling ourselves by the level. We try to ensure that the gap is no more than 1 mm.
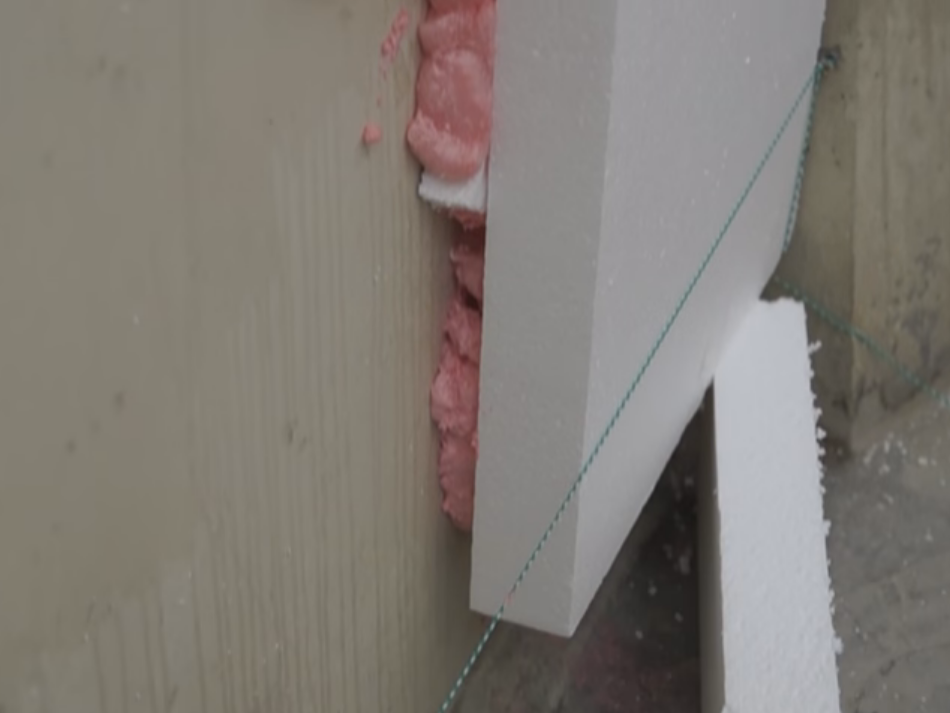
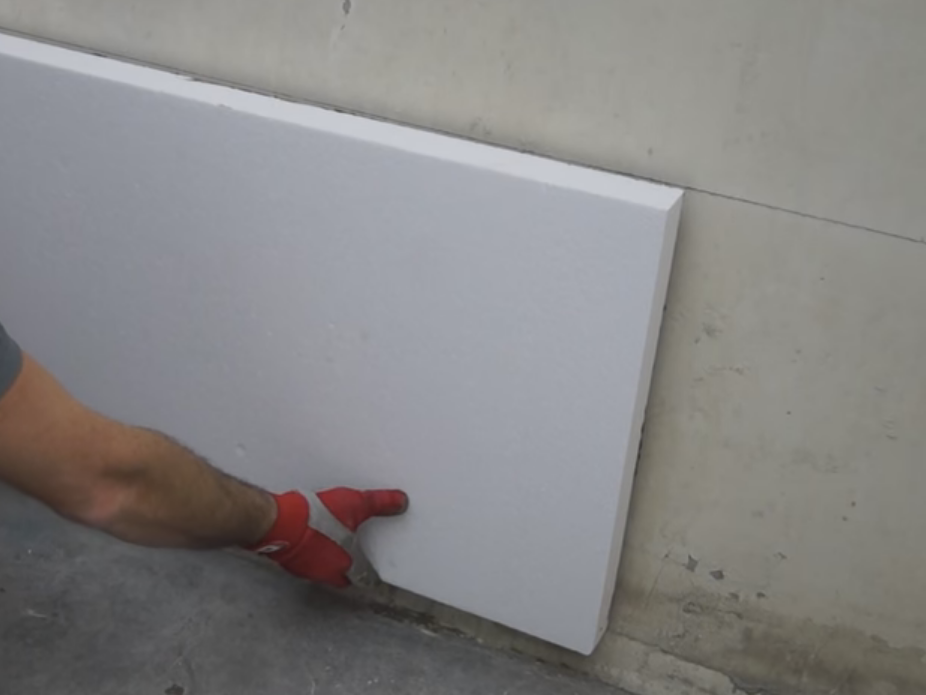
Working with expanded polystyrene, we use special polyurethane glue. We begin warming from the wall facing the street. Cut out the details of the right size and shape. With uneven walls, large gaps are possible, which fill with an additional layer of insulation, adjusting it to the desired parameters.
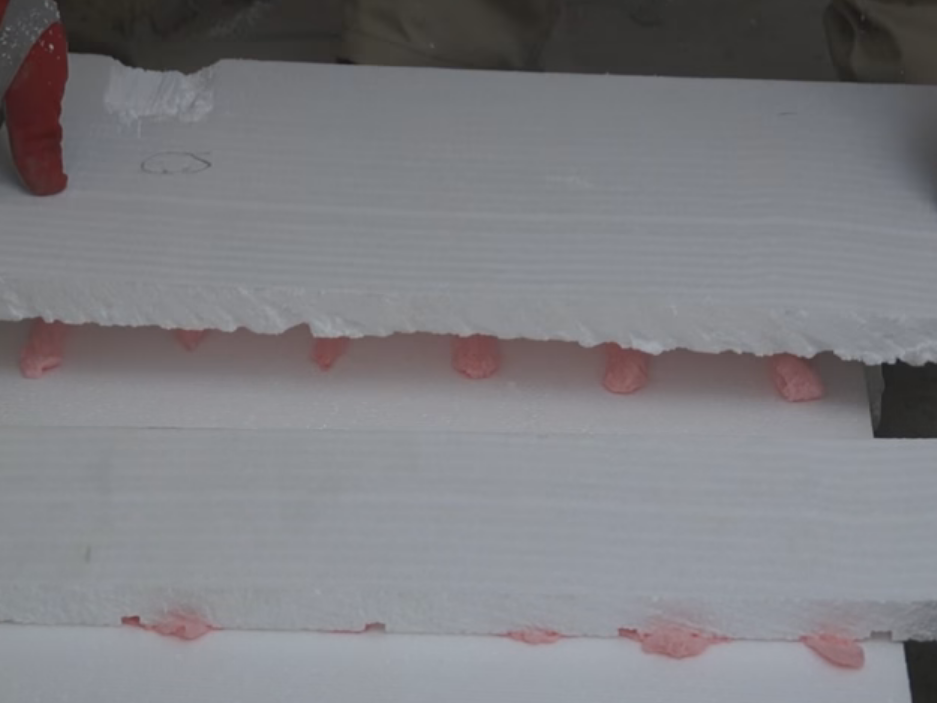
Adhesive is conveniently applied by means of a dispensing gun with strips or dots, for the purpose of ventilation. It is desirable that the glue does not get on the ventilation holes.
To the main slabs we glue the substrates, then we apply the prepared products to the wall, pressing dowels, which we drive to the end only after the glue hardens.
We work on the same principle, according to which the ceiling was insulated. We apply usual glue along the perimeter and in the center of the plate.
If necessary, cut out the substrates. It is more convenient to glue on horizontal lines drawn on the wall. The distance between the floor and the plate is filled with pieces of insulation.
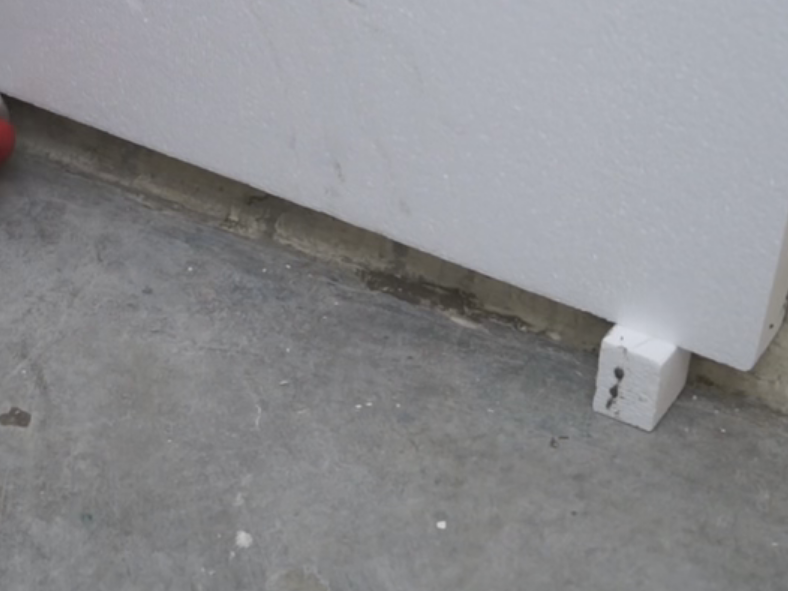
To support the plates we use pads.
We make sure that the vertical seams do not coincide, especially at the corners. We use the dressing method.
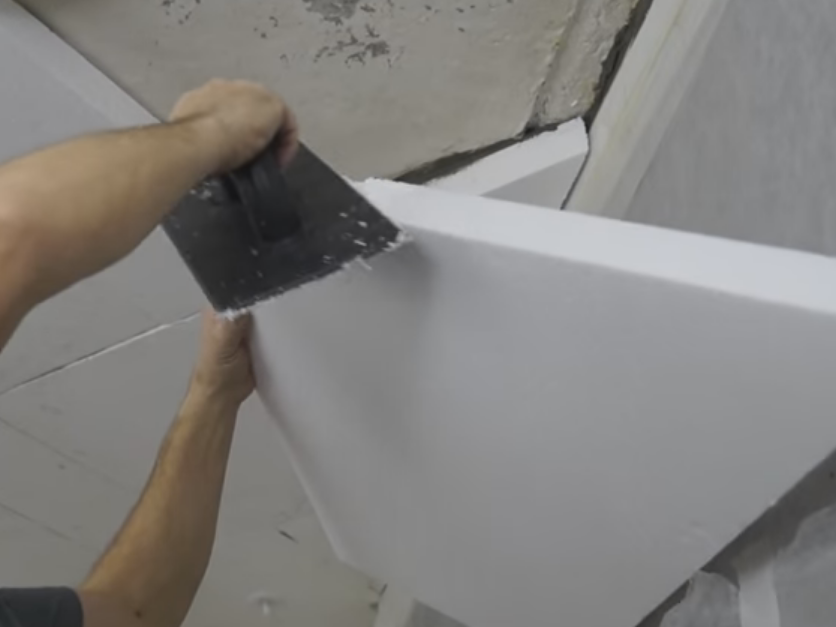
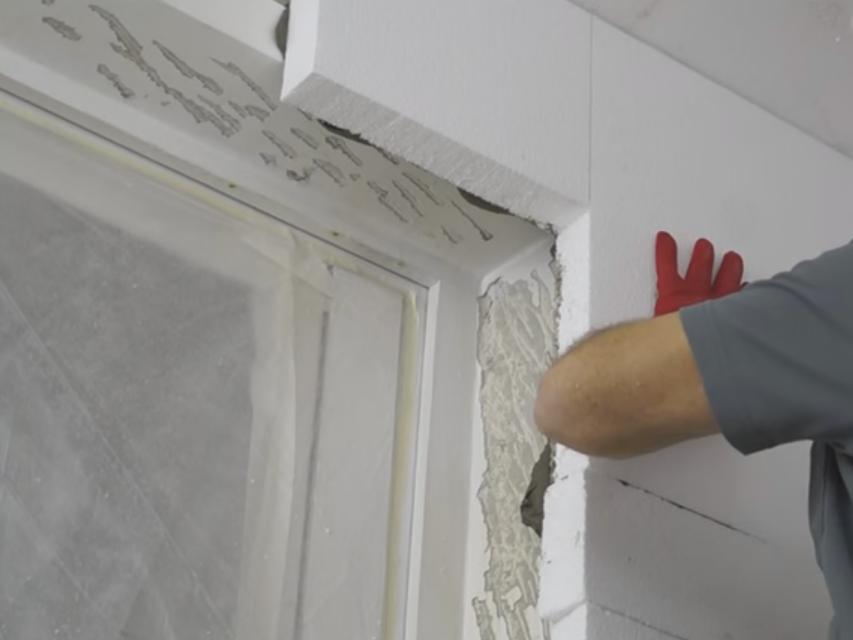
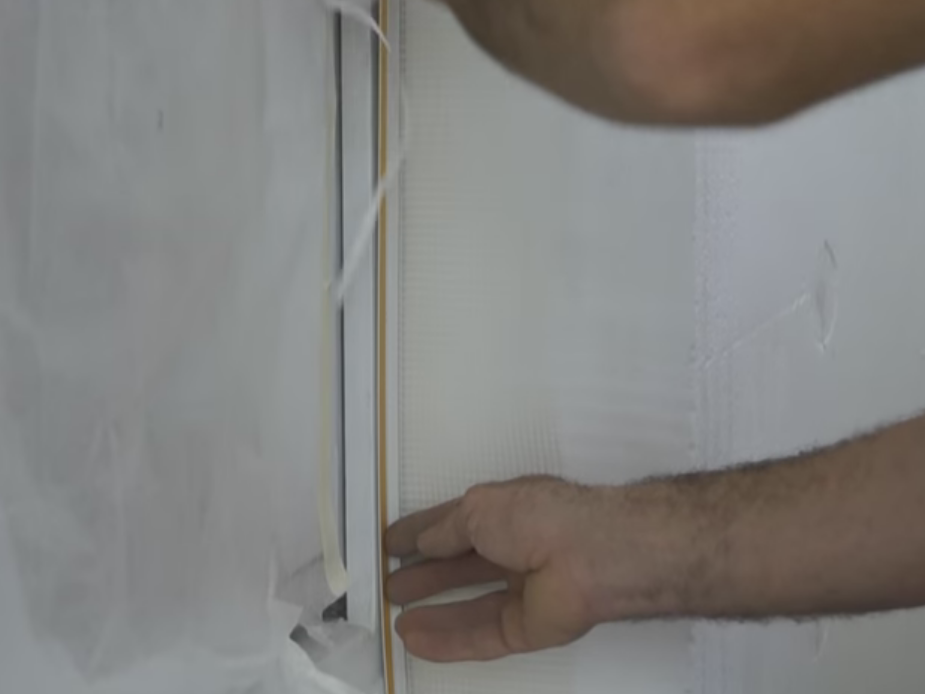
We form slopes, making L-shaped notches along the wall.
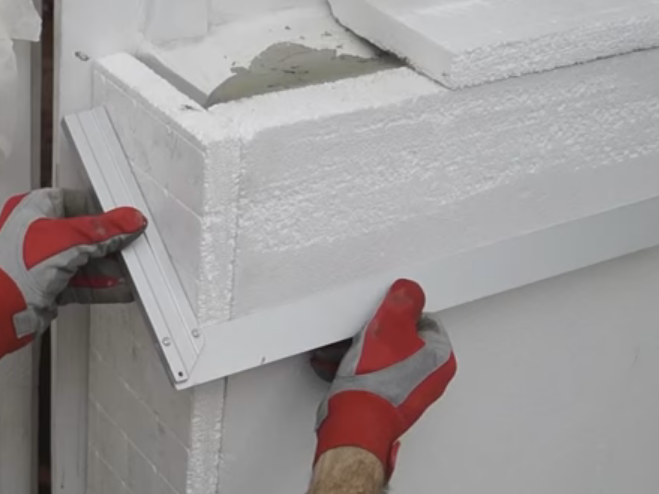
Bonding the correct size of the strip. We control the work done by the square. In addition, fix the dowels.
| | |