Beautifully lay the tile on the floor in the bathroom or kitchen - the task is not simple, but it is quite feasible if you approach it with attention and responsibility. The process of laying the tiled floor consists of several consecutive stages, each of which is necessary, so that in the future the result of the work has pleased you for many years with its high quality. So, let's see how to put the tile on the floor.
Waterproofing of the floor before tiling
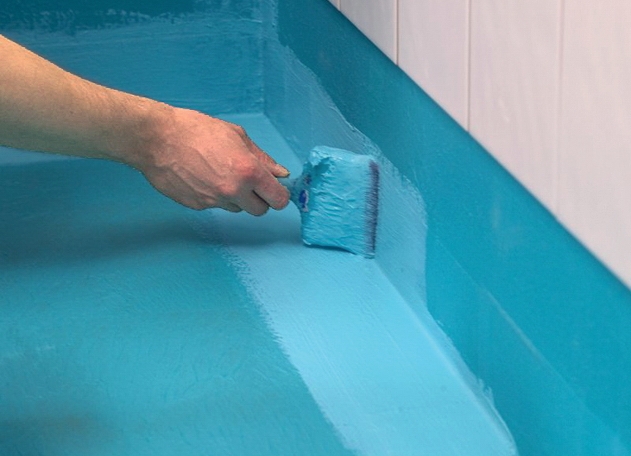
To once and permanently lay the tile on the floor, you should first think about the waterproofing of the room, since tiles are usually used in the rooms where the water pipe runs and vapor vapors accumulate. Therefore, to prevent the flow of water to the neighbors or in the basement, and you need to take care of good waterproofing. The easiest way is to conduct it by the so-called lubricating method, when the floor is treated with a special composition that does not allow moisture. To do this you need:
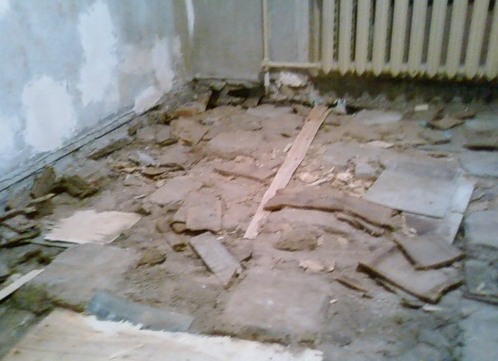
- Remove from the surface of the floor the remains of the old coating, remove the debris. It is also possible to lay the tiled floor on top of the wooden flooring, but make sure that the planks fit tightly to each other and do not have gaps.
- To treat the surface of the floor with a roller or spatula with a special moisture-proof composition. Pay special attention to the corners of the room and other hard-to-reach places.
- Specialists also recommend raising the layer treated with a composition 10-20 cm up the walls to prevent water from flowing.
After treatment, it is necessary to allow the moisture-proof layer to dry thoroughly. Then you can proceed to the second stage of repair - leveling the floor.
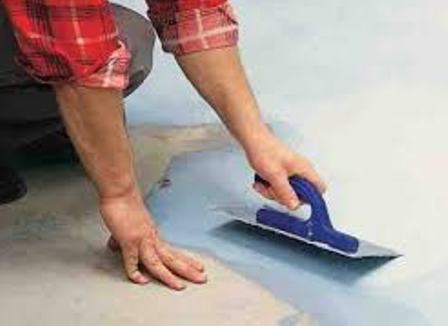
Floor leveling
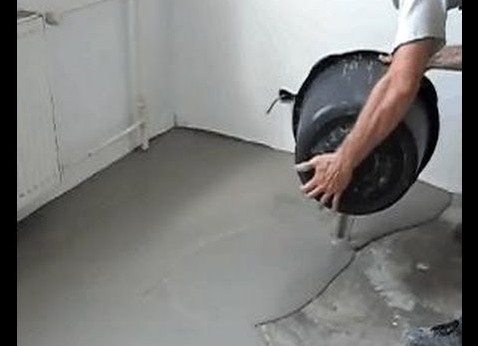
This is a very important stage, since the quality of the subsequent laying of the tile depends on it. The more smoothly the floor is made, the easier it will be to carefully glue the top cover, well, and all the irregularities of the base will have a detrimental effect on the final result. For floor leveling, special construction mixtures are used:
- First, the composition is diluted to the required consistency.
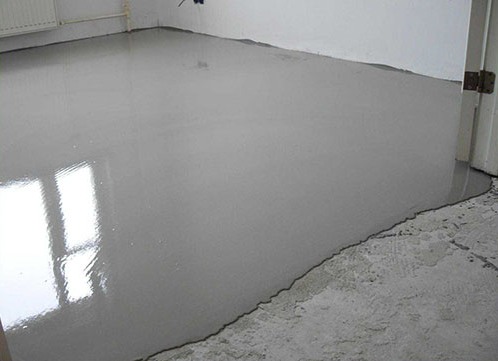
- Then they fill the floor area, previously treated with a moisture-insulating compound. The surface is leveled with a wide spatula. Thus, the floor is treated in the whole apartment. Some experts recommend that the floor in the room is slightly sloping to prevent moisture accumulation, but this is not a prerequisite for the tiled floor.
- The leveled floor must dry thoroughly. Usually this procedure takes up to 3 days.
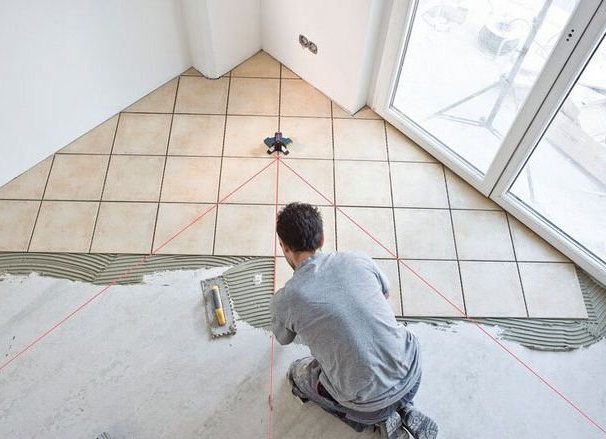
Put the tiles on the floor themselves
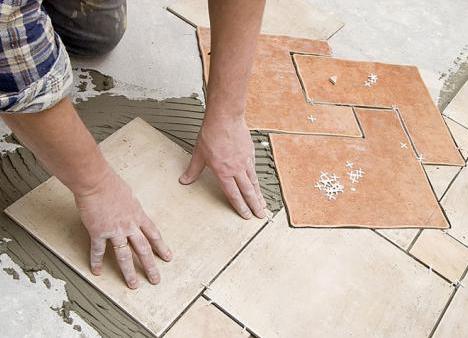
Now you can proceed to the final stage of the repair - laying the tiles. To beautifully lay the tile on the floor, you must first mark out its location. To do this, the tile is laid out on the floor, and the places of joints are marked. Now you can proceed with the installation:
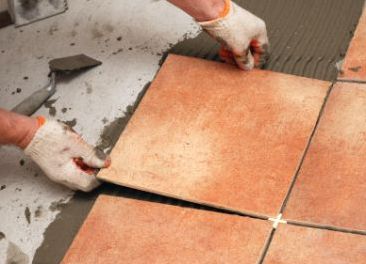
- Laying the tiles on the floor begins with the corner of the room far from the door. First, entire tiles are glued, and then cut. Cutting the tiles can be both a special tool and an ordinary hacksaw for metal. When stacking, it is necessary to focus on the previously placed labels and use the level.
- Each tile on the back side is treated with a special adhesive compound, then tightly pressed against the floor and taped from the corners for better adhesion to the main surface.
- Between the two tiles a seam is formed using a special plastic cross. Excess glue must be removed immediately.
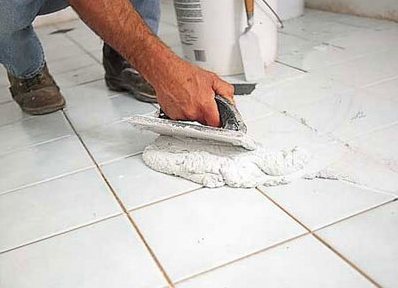
- After the glue dries (this process takes from 1 to 3 days), you can begin to rub the seams. For this, special compounds are used - grouts.
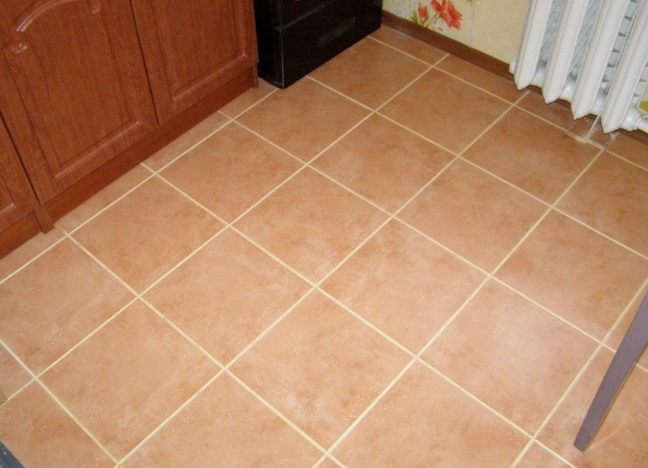
- When the grout dries, you can wet the room and enjoy its renewed appearance.