Today we will make a plasticine hare. With this task, a 4-5-year-old can quite well cope, but the younger children need the help of adults. First, show the child how to properly sculpt a hare, and let him make the next craft of plasticine himself.
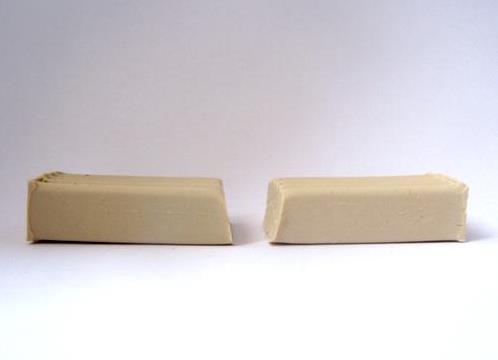
1. You need a block of plasticine white or light gray. Divide it in half with a knife for plasticine.
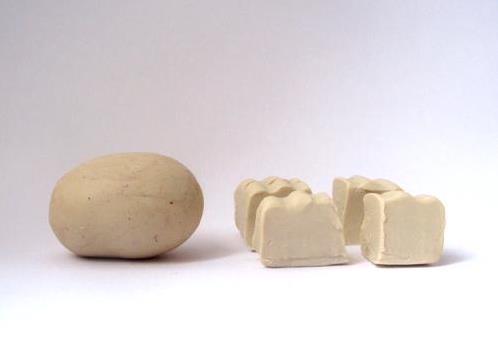
2. Divide one of these two parts by four more: in total you should get 1 large piece of plasticine and 4 small pieces.
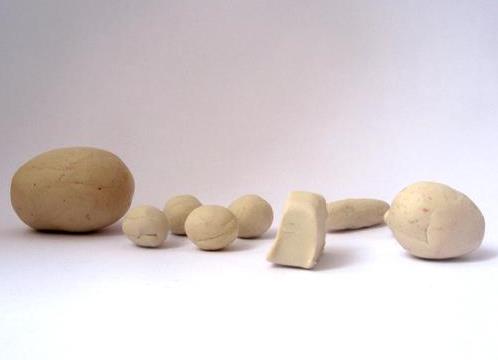
3. A large piece will bunny body, you can immediately form it in an oval. With small pieces you need to do the following:
- one of them will serve as paws - divide it into four parts and roll out of them small figures in the form of a droplet, flattened on one side;
- the second cut into two equal parts - these will be the hare's ears;
- from the third piece form the head of the animal;
- and the fourth part will come in handy later for modeling a small tail and muzzle.
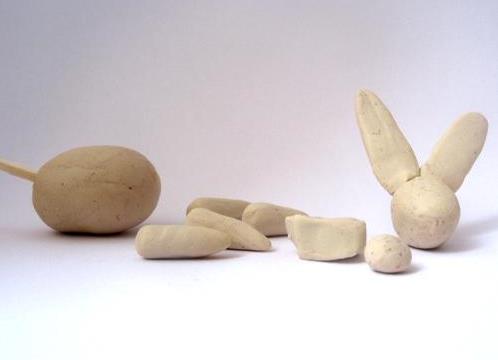
4. Glue the head with the ears, and the trunk - with the paws. Do not forget to put a match half in the trunk in order to keep the head well.
5. Collect the bunny figure, connecting the pieces in the right places.
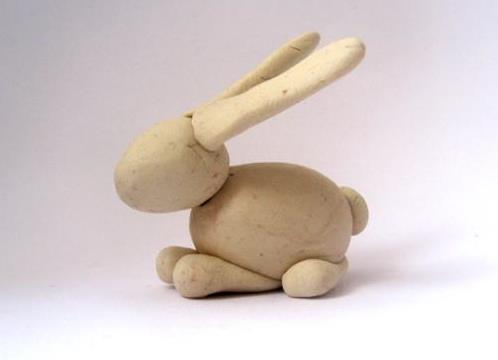
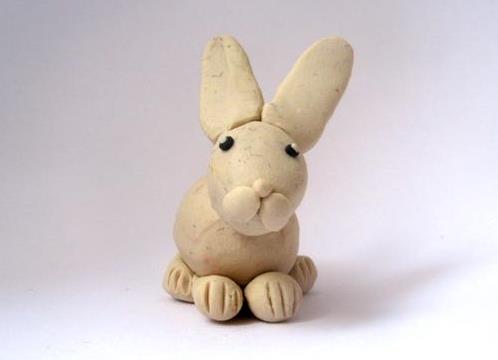
6. Next in line is the molding of the muzzle of a hare from plasticine. Stick a small ball in place of the nose, and just below it, place two small oblate ovals - the cheeks.
Now make a bunny eye from two small black balls. You can "revive" them by adding glare: glue all the tiny pieces of white plasticine on top of the black eye.
And the final touch - the fingers on the legs of the animal, which you need to do with a stack or a knife for plasticine.
7. Approximately so your bunny should look like (side view).
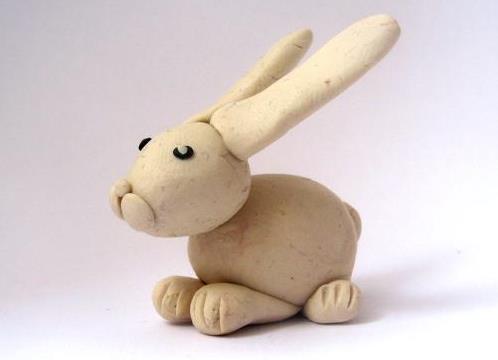
And to make it more fun to play, you can blind him with food - plasticine cabbage or carrots. That's how it turns out, it's easy to mold a hare from plasticine!