This variant of design is the most popular, as the balcony acquires a very presentable appearance and the owners for a long time decide the issue with the decoration of walls and ceiling . Before you can decorate the balcony with a lining, you should choose the right material. As a rule, use a tree, because it brings a touch of comfort and makes the balcony warmer. Equally well will look like glued and solid boards.
We cover the balcony with a clapboard with our own hands
So, let's look at the step-by-step instructions and general recommendations for finishing the loggia or balcony with wooden lining.
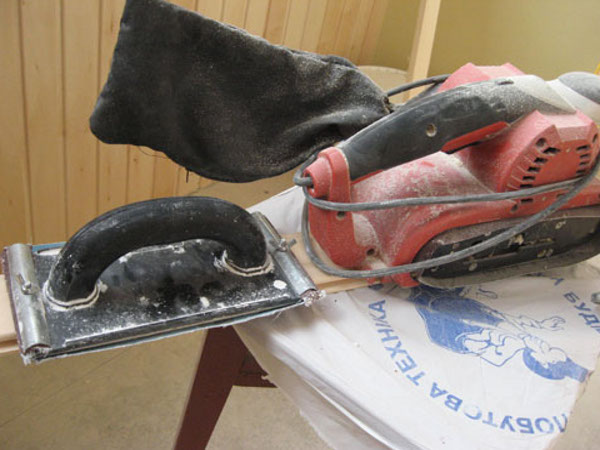
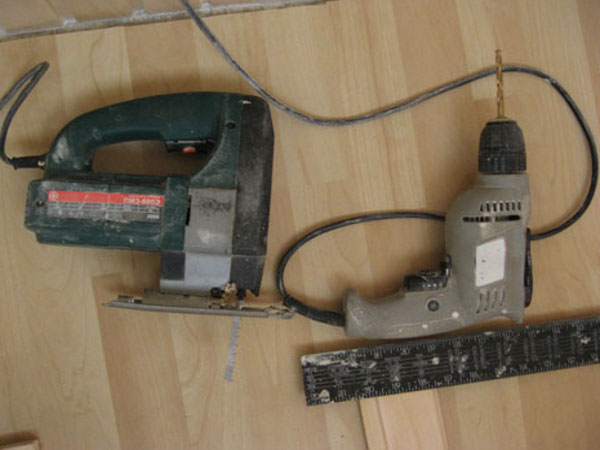
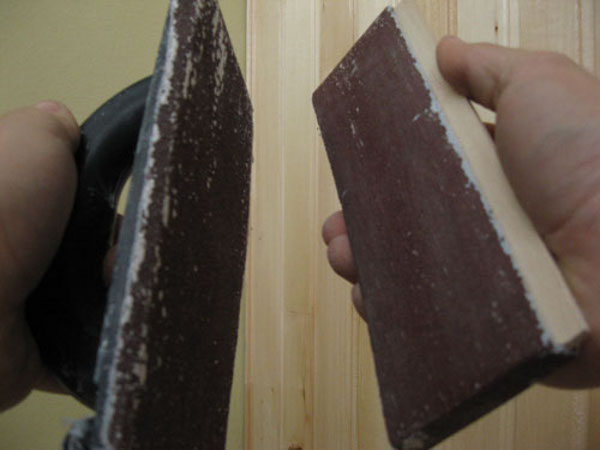
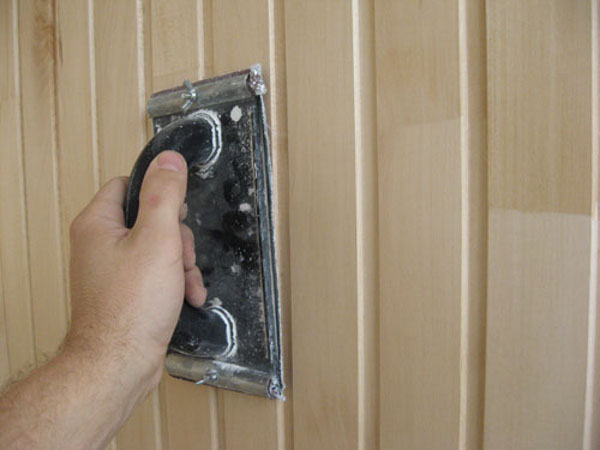
- The first step is to prepare the necessary tools and the surface of the tree. If you purchased a tree not of the first grade, you will have to grind it a little with a sanding machine. We also need dowels and screws, fixation clips, and special carving nails. All sizes are selected according to the chosen type of lining.
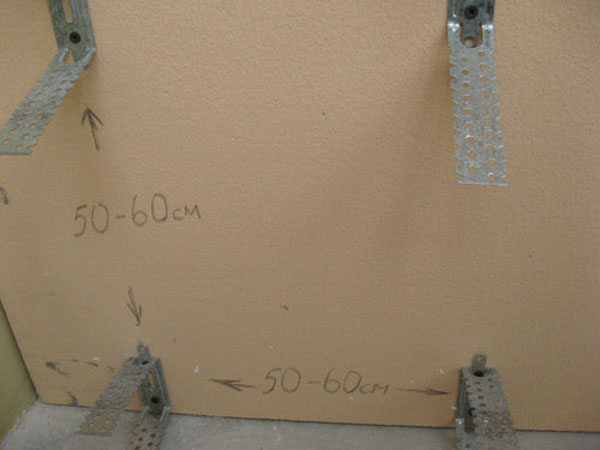
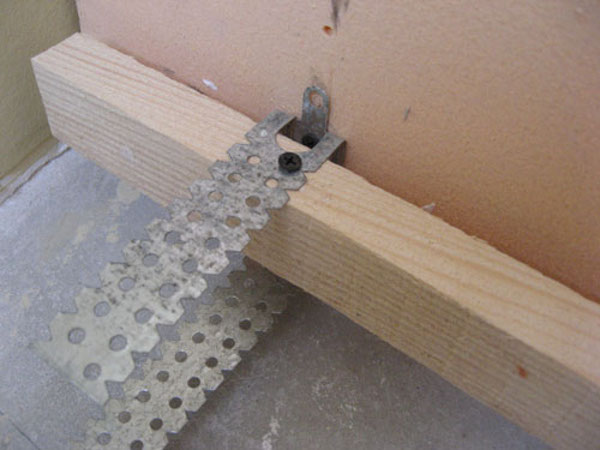
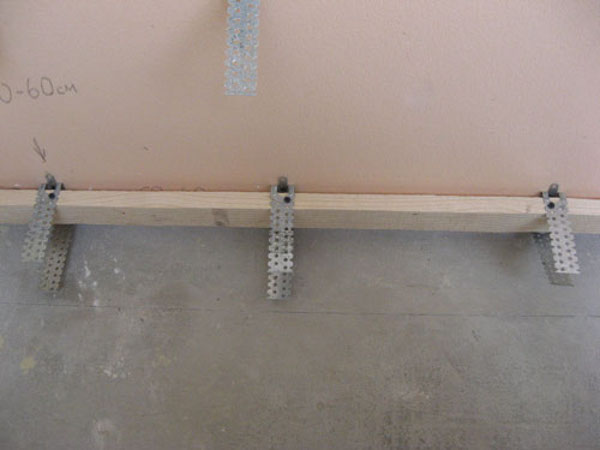
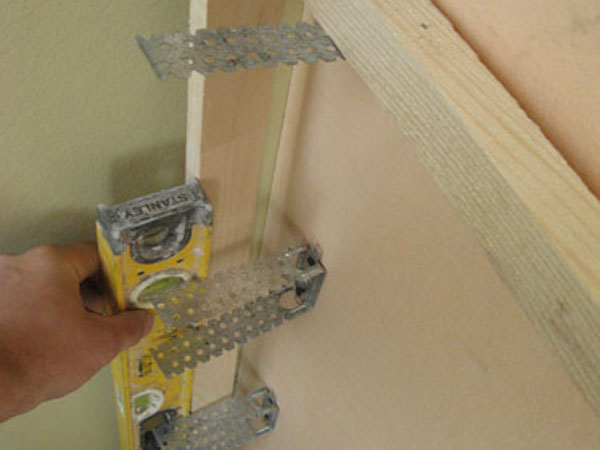
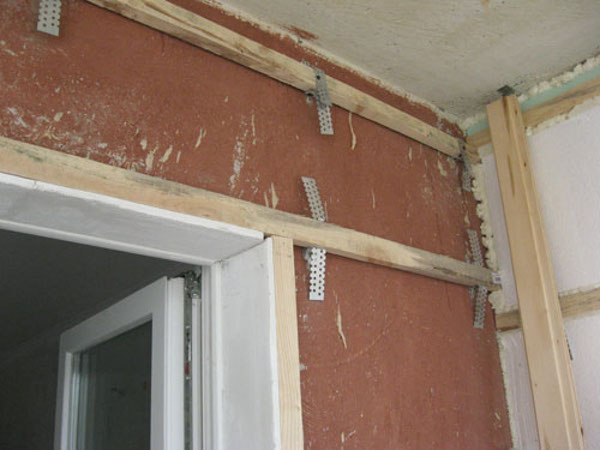
- First of all we mount these staples. If the walls on your balcony are flat enough, then you can do without them. The distance between the staples is about 50 cm.
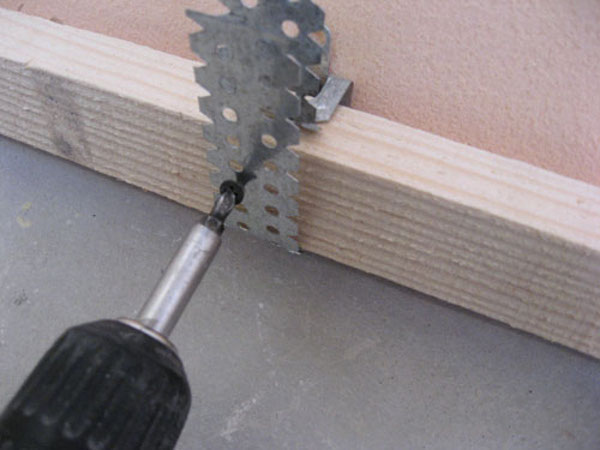
- Then we fix these wooden slats.
- First fix the bottom. Then we measure the distances, control their level, and fix the upper.
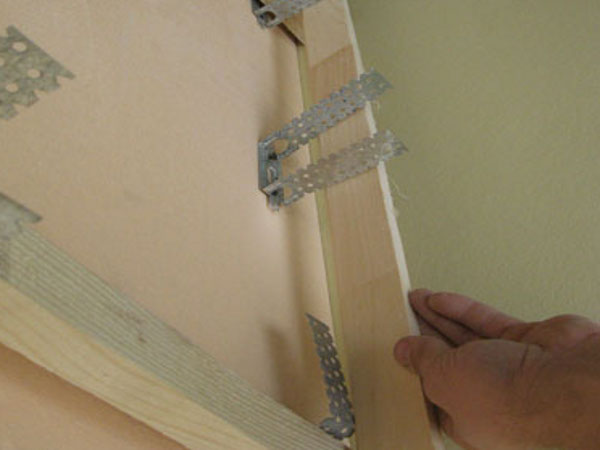
- Next, you need to install the so-called intermediate rails. To do this, we support the rack on the first two and again control the entire level.
- Ceiling slats are attached last. To this part, we will proceed only after the lining has been installed on the wall.
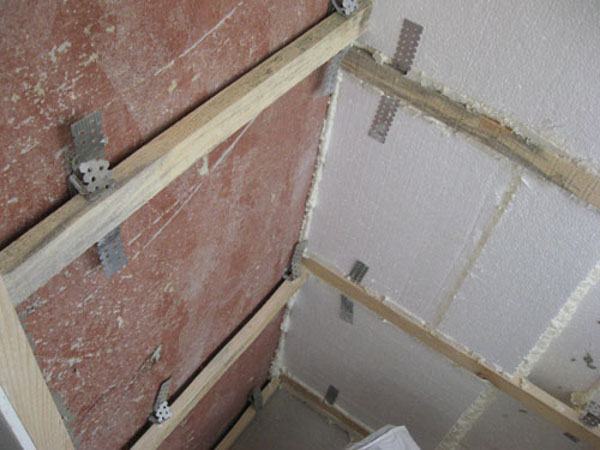
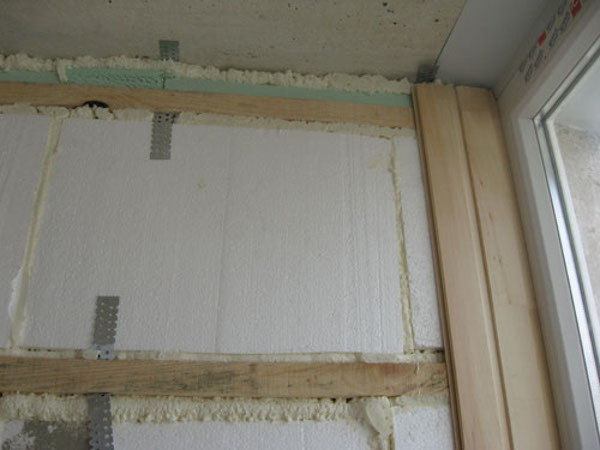
- To the balcony, trimmed lining, was not only beautiful, but also warm, it should be insulated. Only the walls that emerge outside and preferably the ceiling will have to heat up. After installing the heater, everything is good.
- The doorway is pre-decorated with plasterboard.
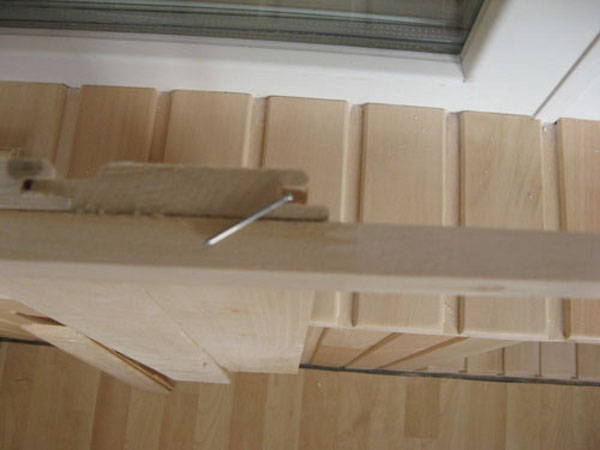
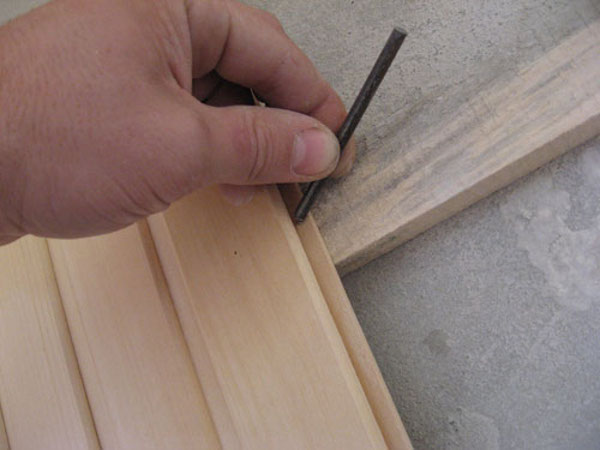
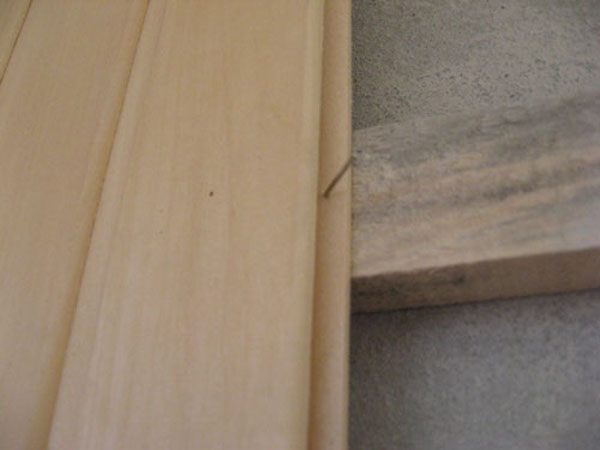
- Now it's time to emboss the balcony with a lining. It does not matter where you start from. The main thing is to carefully nail every nail into the groove, using this insert.
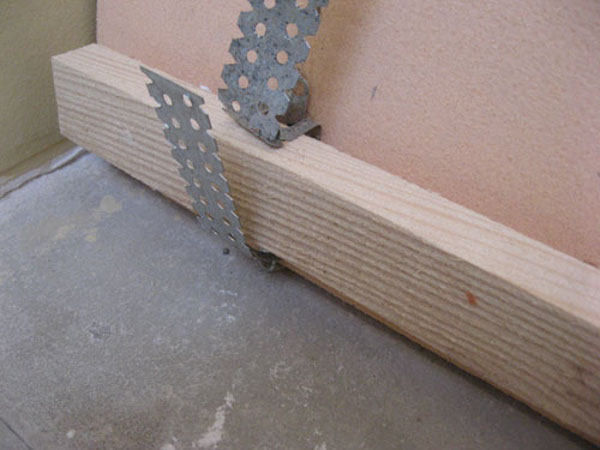
- The photo shows how you can not fasten the lining.
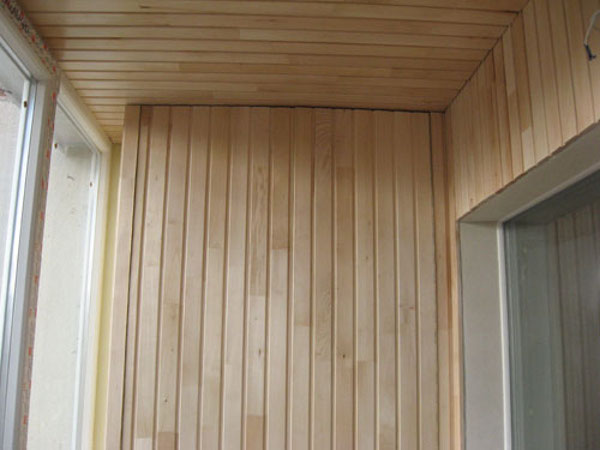
- The first stage of mounting the vagonki on the balcony with your own hands is completed. Then you can proceed to finish the ceiling.
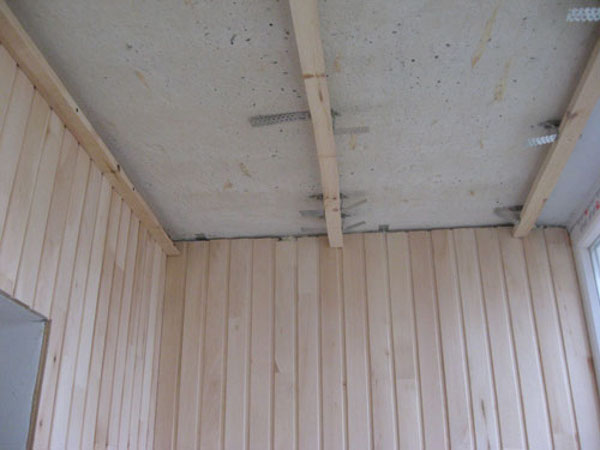
- Before you trim the ceiling of the balcony with the lining, you should already use the familiar method to fix the slats. We mentioned them at the beginning of the lesson.
- First, we attach the rail to the lining, here you can do without staples. On this first rake we will fix two more.
- To cut the ceiling of the balcony with a lining is not much more difficult than walls. The process is completely repeated: we hammer nails into grooves and move gradually from the side that suits you.
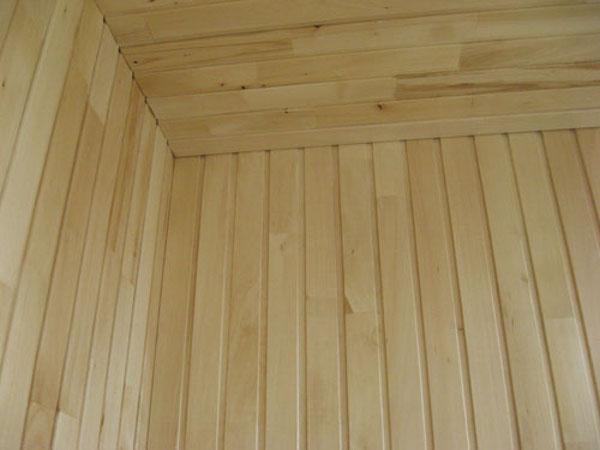
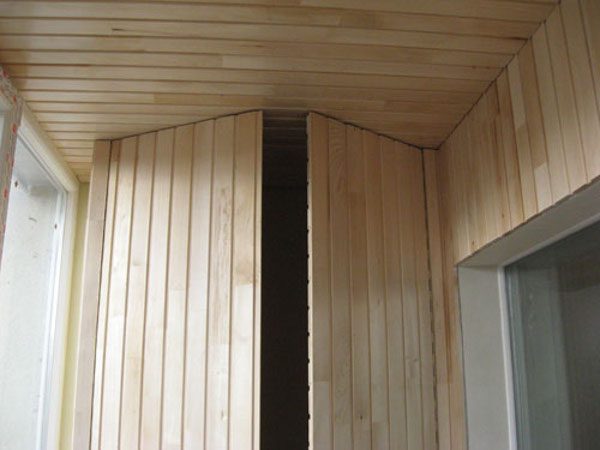
- This is how the connection between the wall and the ceiling will look. If there is a desire, you can finish the joints with wooden skirting boards.
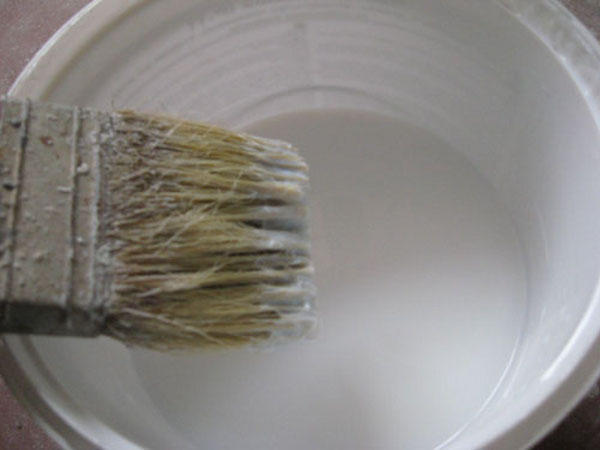
- After installing the lining, it must be covered with a layer of lacquer. For today there is a rather wide choice, but many masters recommend acrylic lacquers. They are not afraid of frost or heat. Are made on a water basis, therefore allow wood to breathe.
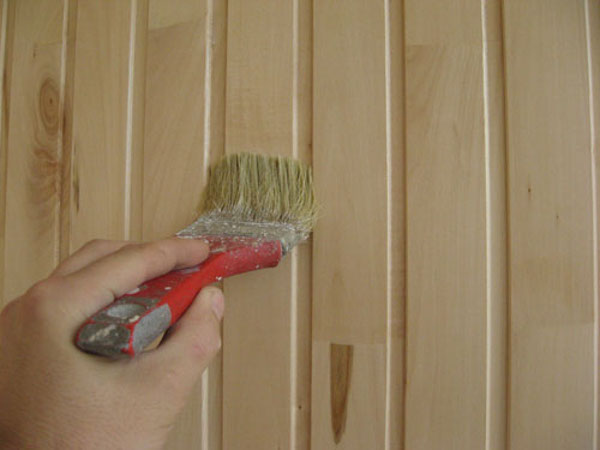
- After you have applied the first layer, let it dry properly. After drying, all the villi on the surface of the wood will necessarily rise. So we'll have to work the tree again with sandpaper.
- After grinding, thoroughly wipe the damp wood with a damp cloth and remove the dust. Then we apply the second and third layers.
- As we trim the balcony with our own hands, a full picture emerges. Many decide to add here these lockers or niches. Balcony of wood looks cozy and tidy. It is very easy to look after the lining, but on the balcony there is always order and cleanliness.