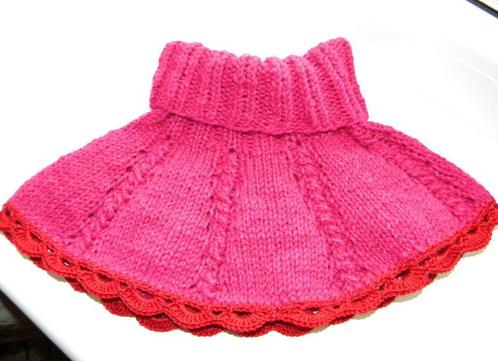
If we knit a collar-shirtlet for children with knitting needles, we can create it for every taste, pick out the right color and decorate as you please. This accessory indicates that the child has a caring mother-needlewoman. So, let's get down to business!
Master-class: simple kneading with knitting needles for a child
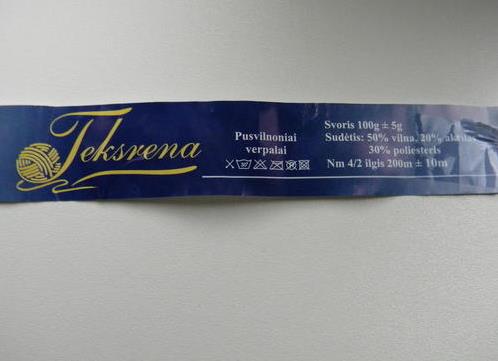
- Before you bind the knitting needles for a baby, you should purchase these very knitting needles. For this product, they will require two types - simple hats and circular with number 4. And, of course, choose the right yarn. It is desirable that she "does not bite," because the shirt will cover the neck and may irritate the baby's skin. To do this, the collar-shirtlet required one hundred-gram skein of Lithuanian threads. If desired, you can use several shades, combining them at your discretion.
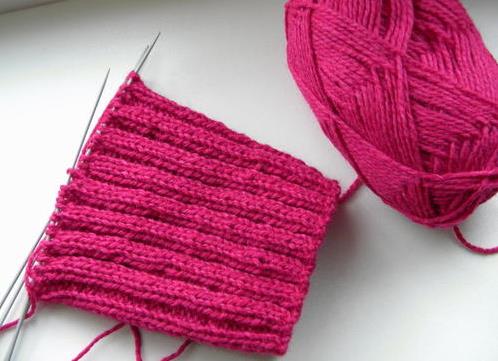
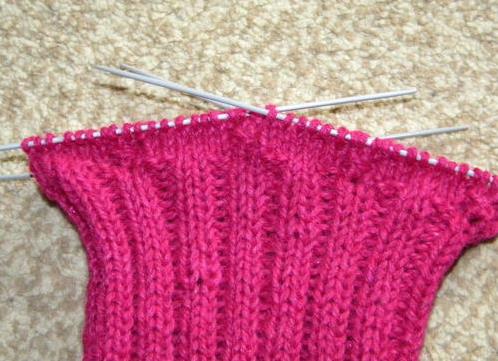
- We type 64 hinges on the hosiery knitting needles, and we evenly distribute them on four spokes - each will have 16 loops. First we knit the neck with a regular elastic band, as for socks or mittens - after two purlins go two facial. So we tie about 14 centimeters, but the length depends on the age of the child.
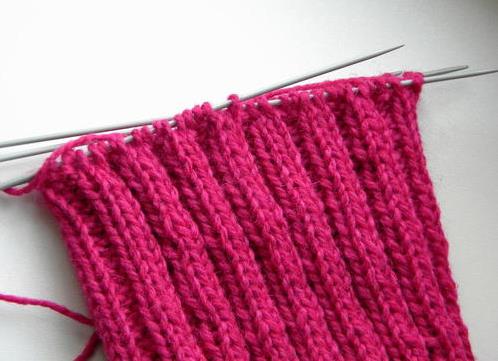
- Now the neck begins to expand, by adding loops: add two of the bottom row (that is, from the broach), after one purl. Then again one of the back and six facial, so repeat eight times.
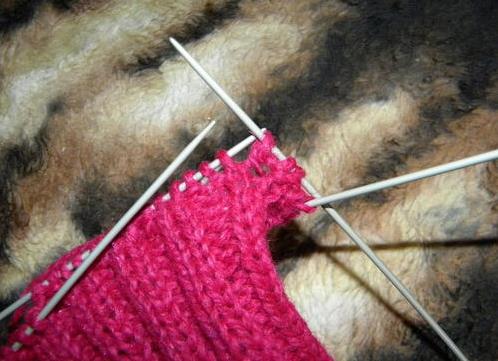
- Continue the banding around the circle - the purlins are sewn with the purlins, and the loops that were added (2 pieces) form the pigtails, which should turn out 8. One row turns out to be even, and the second with crossed loops, the next again exactly and until the end, alternating them. In every fifth row add one loop at the beginning and end of each of the eight sectors, only 16. When knitting is no longer fit, you need to throw it on the circular knitting needles.
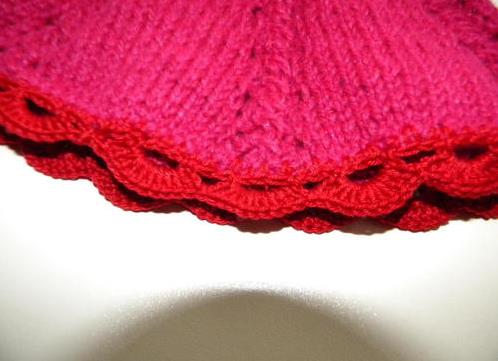
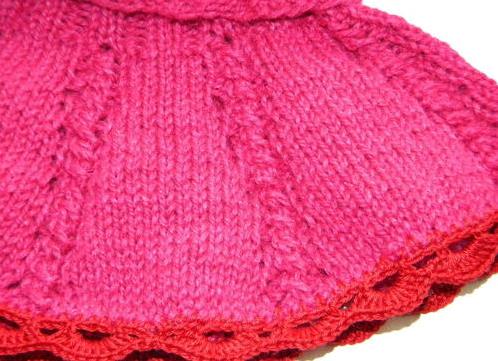
- Expanding from the top to the bottom of the rows should go 26, but if desired, the shirt can be made shorter or longer. You can lace the edge of the product with a crochet or leave it as it is.
- The neck of the shirt-front can be tucked or left as it is.
- That's such a nice shirt for the girl managed to bind literally in one evening. Try and you!
| | |